-
Timber
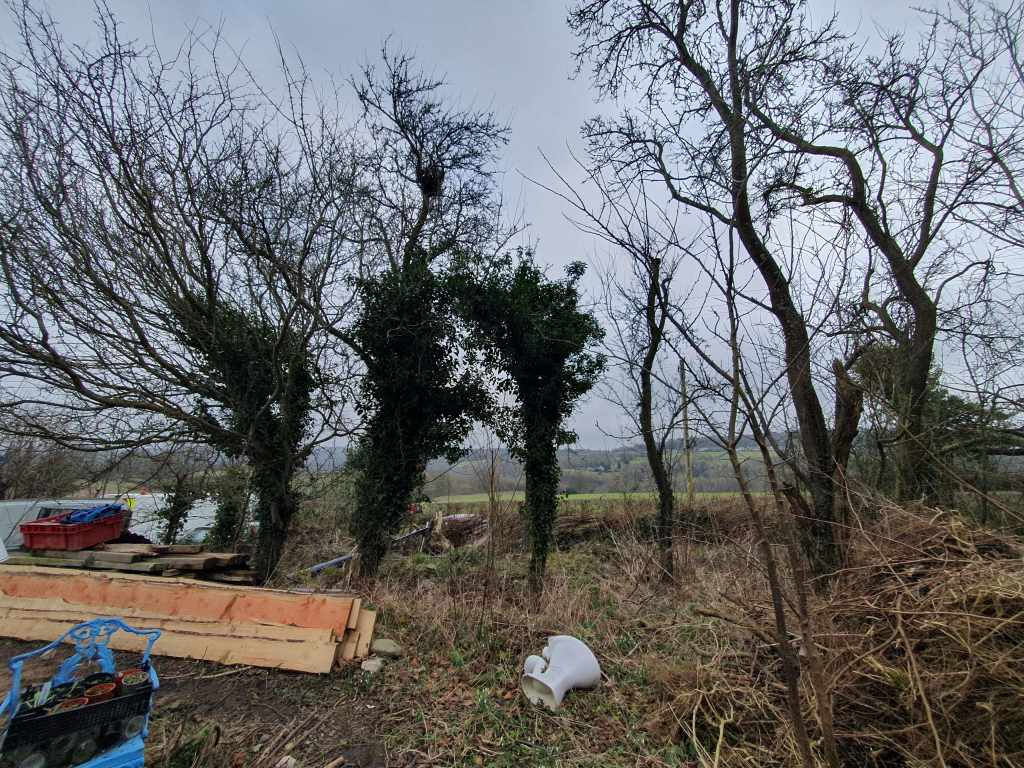
One of the biggest disagreements myself and Chris have had about the house renovation has been how many trees to take out in the garden. Having been abandoned for forty years, the majority of the garden was covered in tall trees or scrub. Personally, I would prefer not to take out any trees – as having mature trees in the garden is something money can’t buy, and great for wildlife.
Chris’s argument was that trees are healthier and happier when they aren’t too crowded, which is also true. In the end we agreed to take out two of our line of overgrown plum trees, and coppice a third. The trees were struggling under heavy crowns of ivy, and very close to their neighbours, but it was still kind of sad to see them go.
We have planted a small plum tree in the gap, but a little further into the garden, so this will one day fill the space.
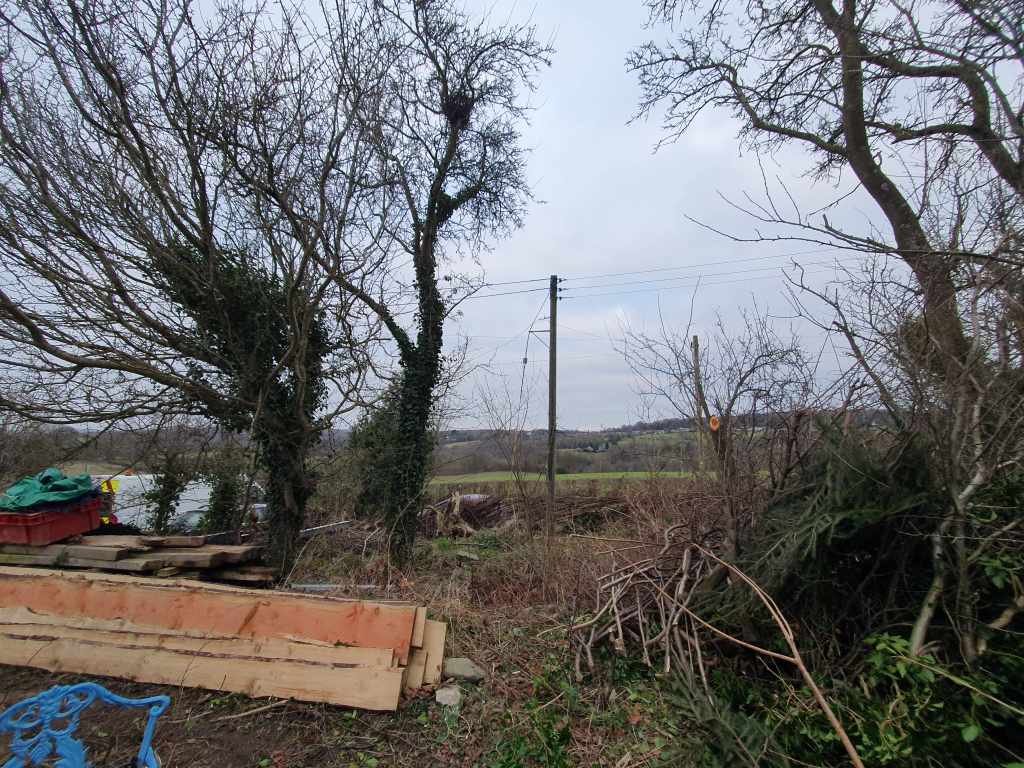
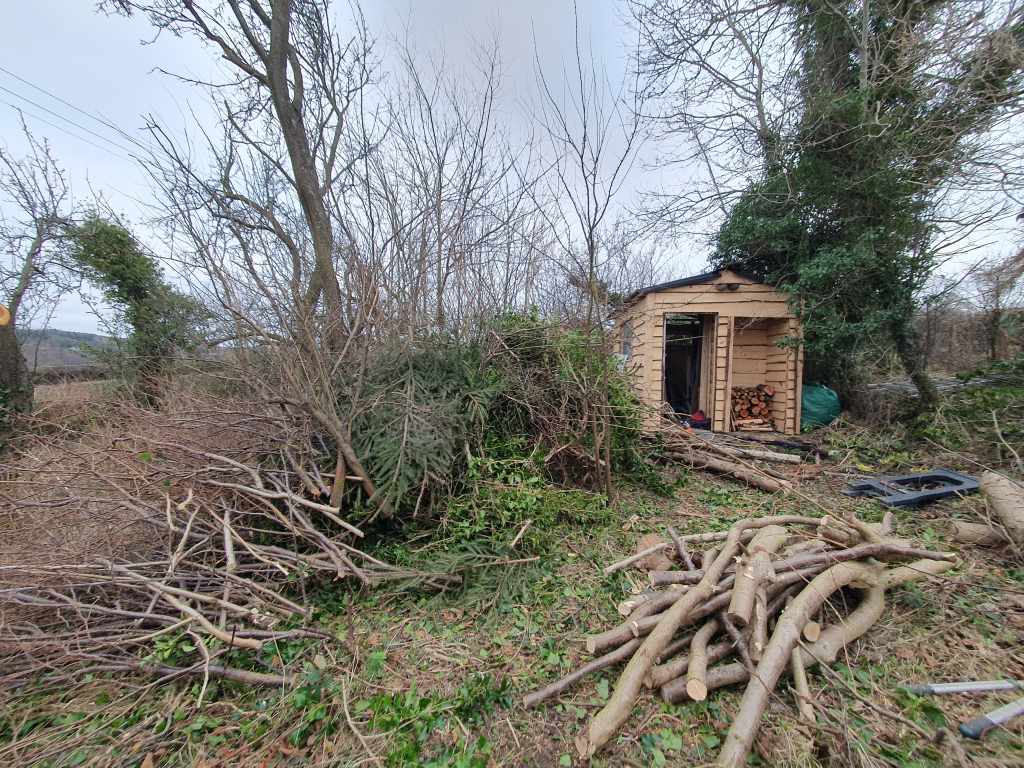
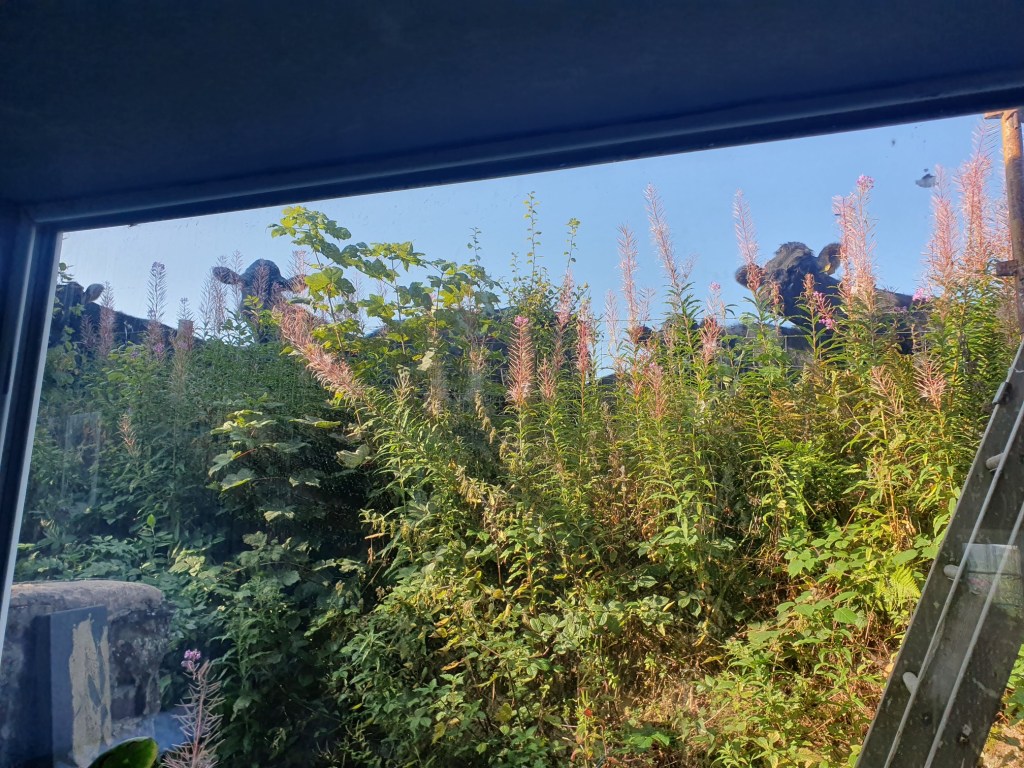
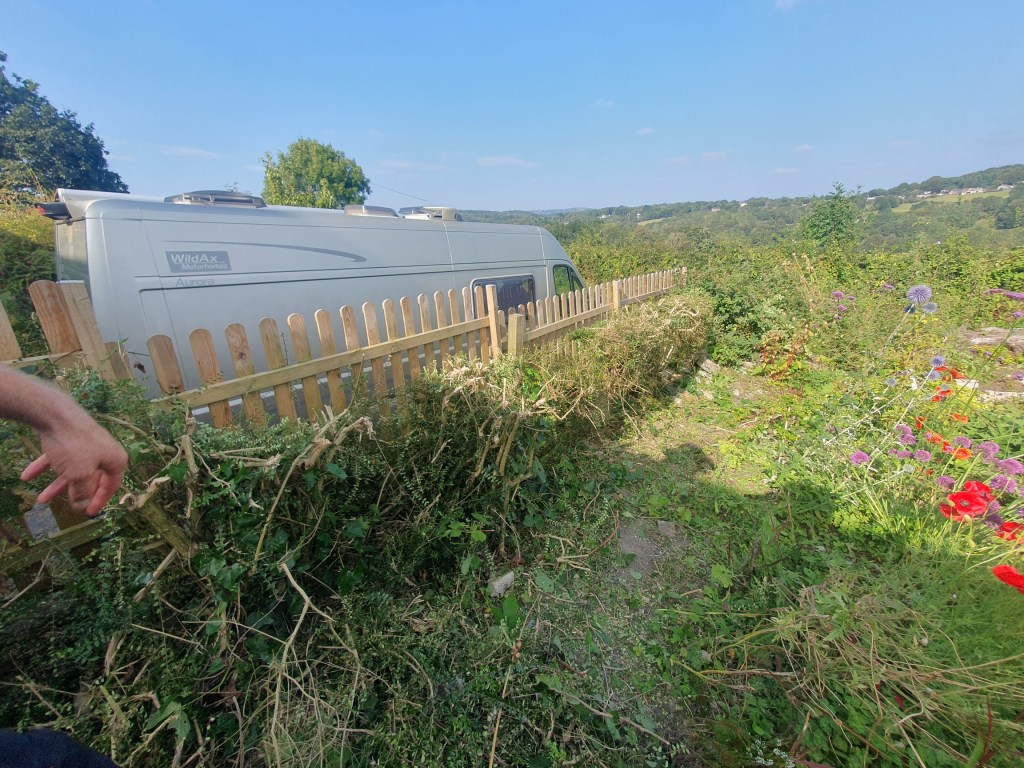
Down the side of the garden we had a line of scraggly blackthorn. We were keen to lay a hedge along this line, but because of the poor condition of the plants, it was better to cut them down to the ground. While they regrow, we can also plant some more mixed species to make the hedge more diverse. It can then be laid a few years down the line.
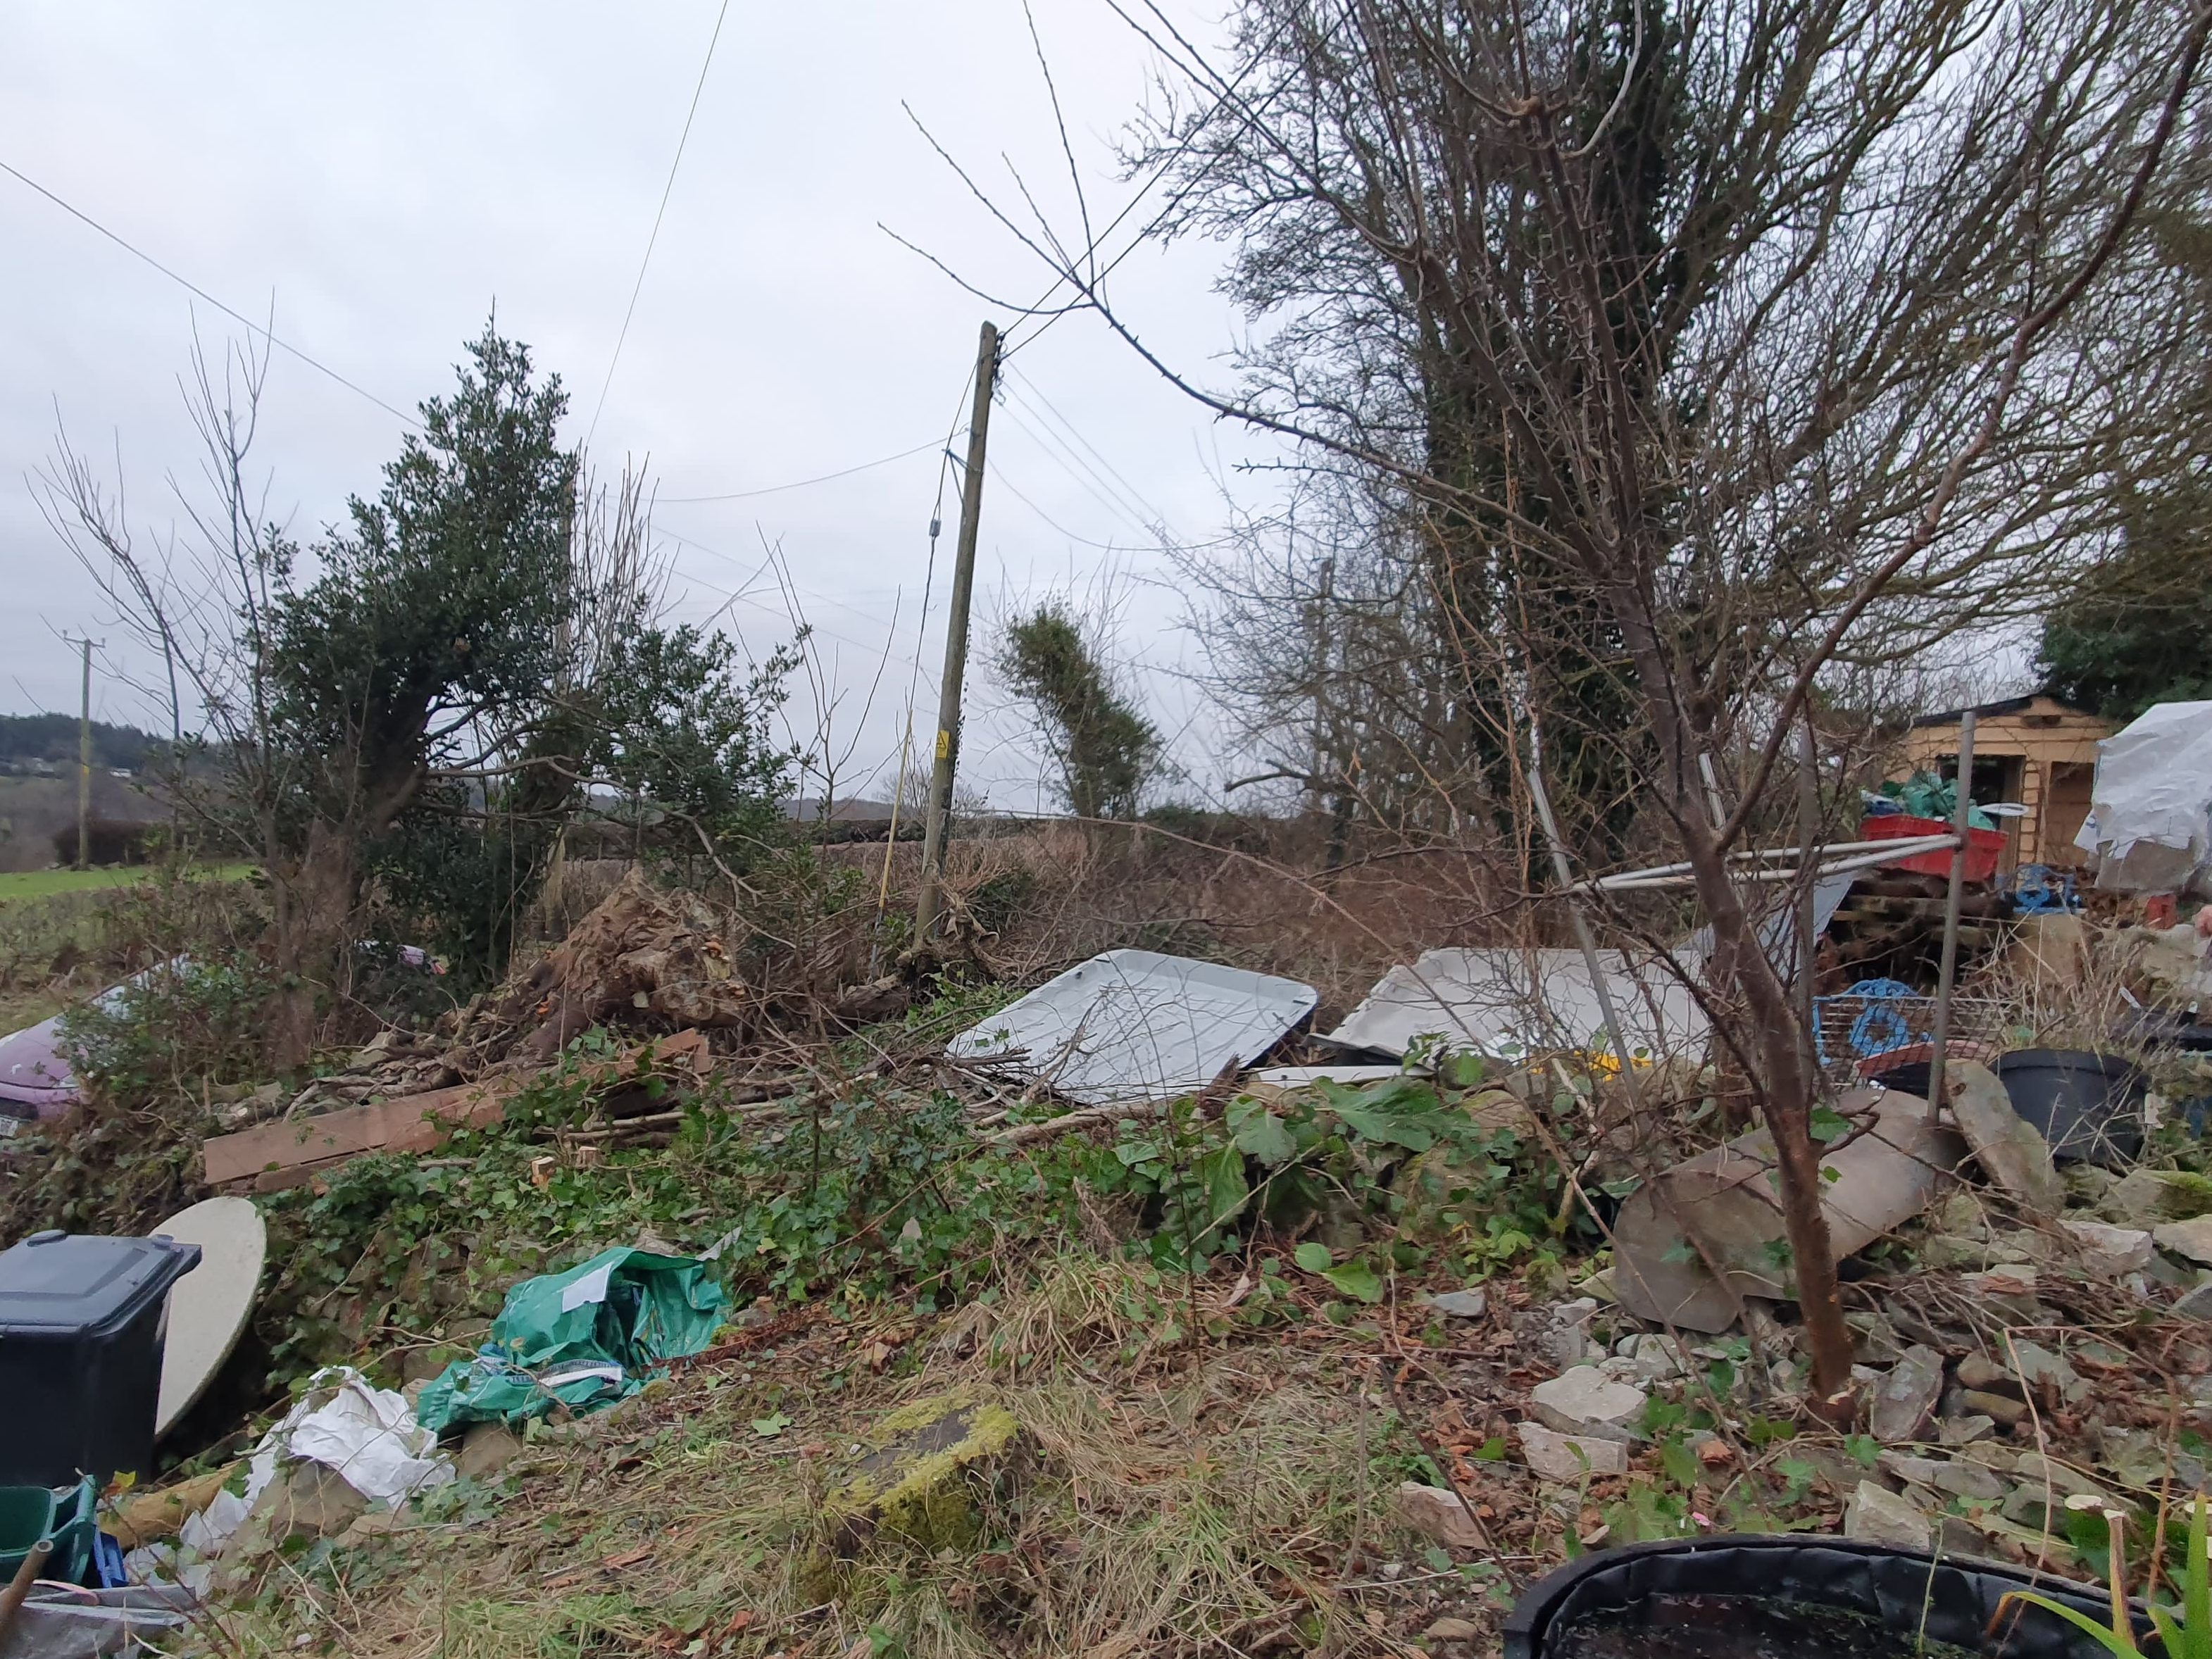
Unfortunately, clearly the blackthorn also means we can see more of our assorted mess (made up of things we don’t need and things we don’t need just yet). But it’s motivated Chris to make time for a few more tip runs, so that’s no bad thing.

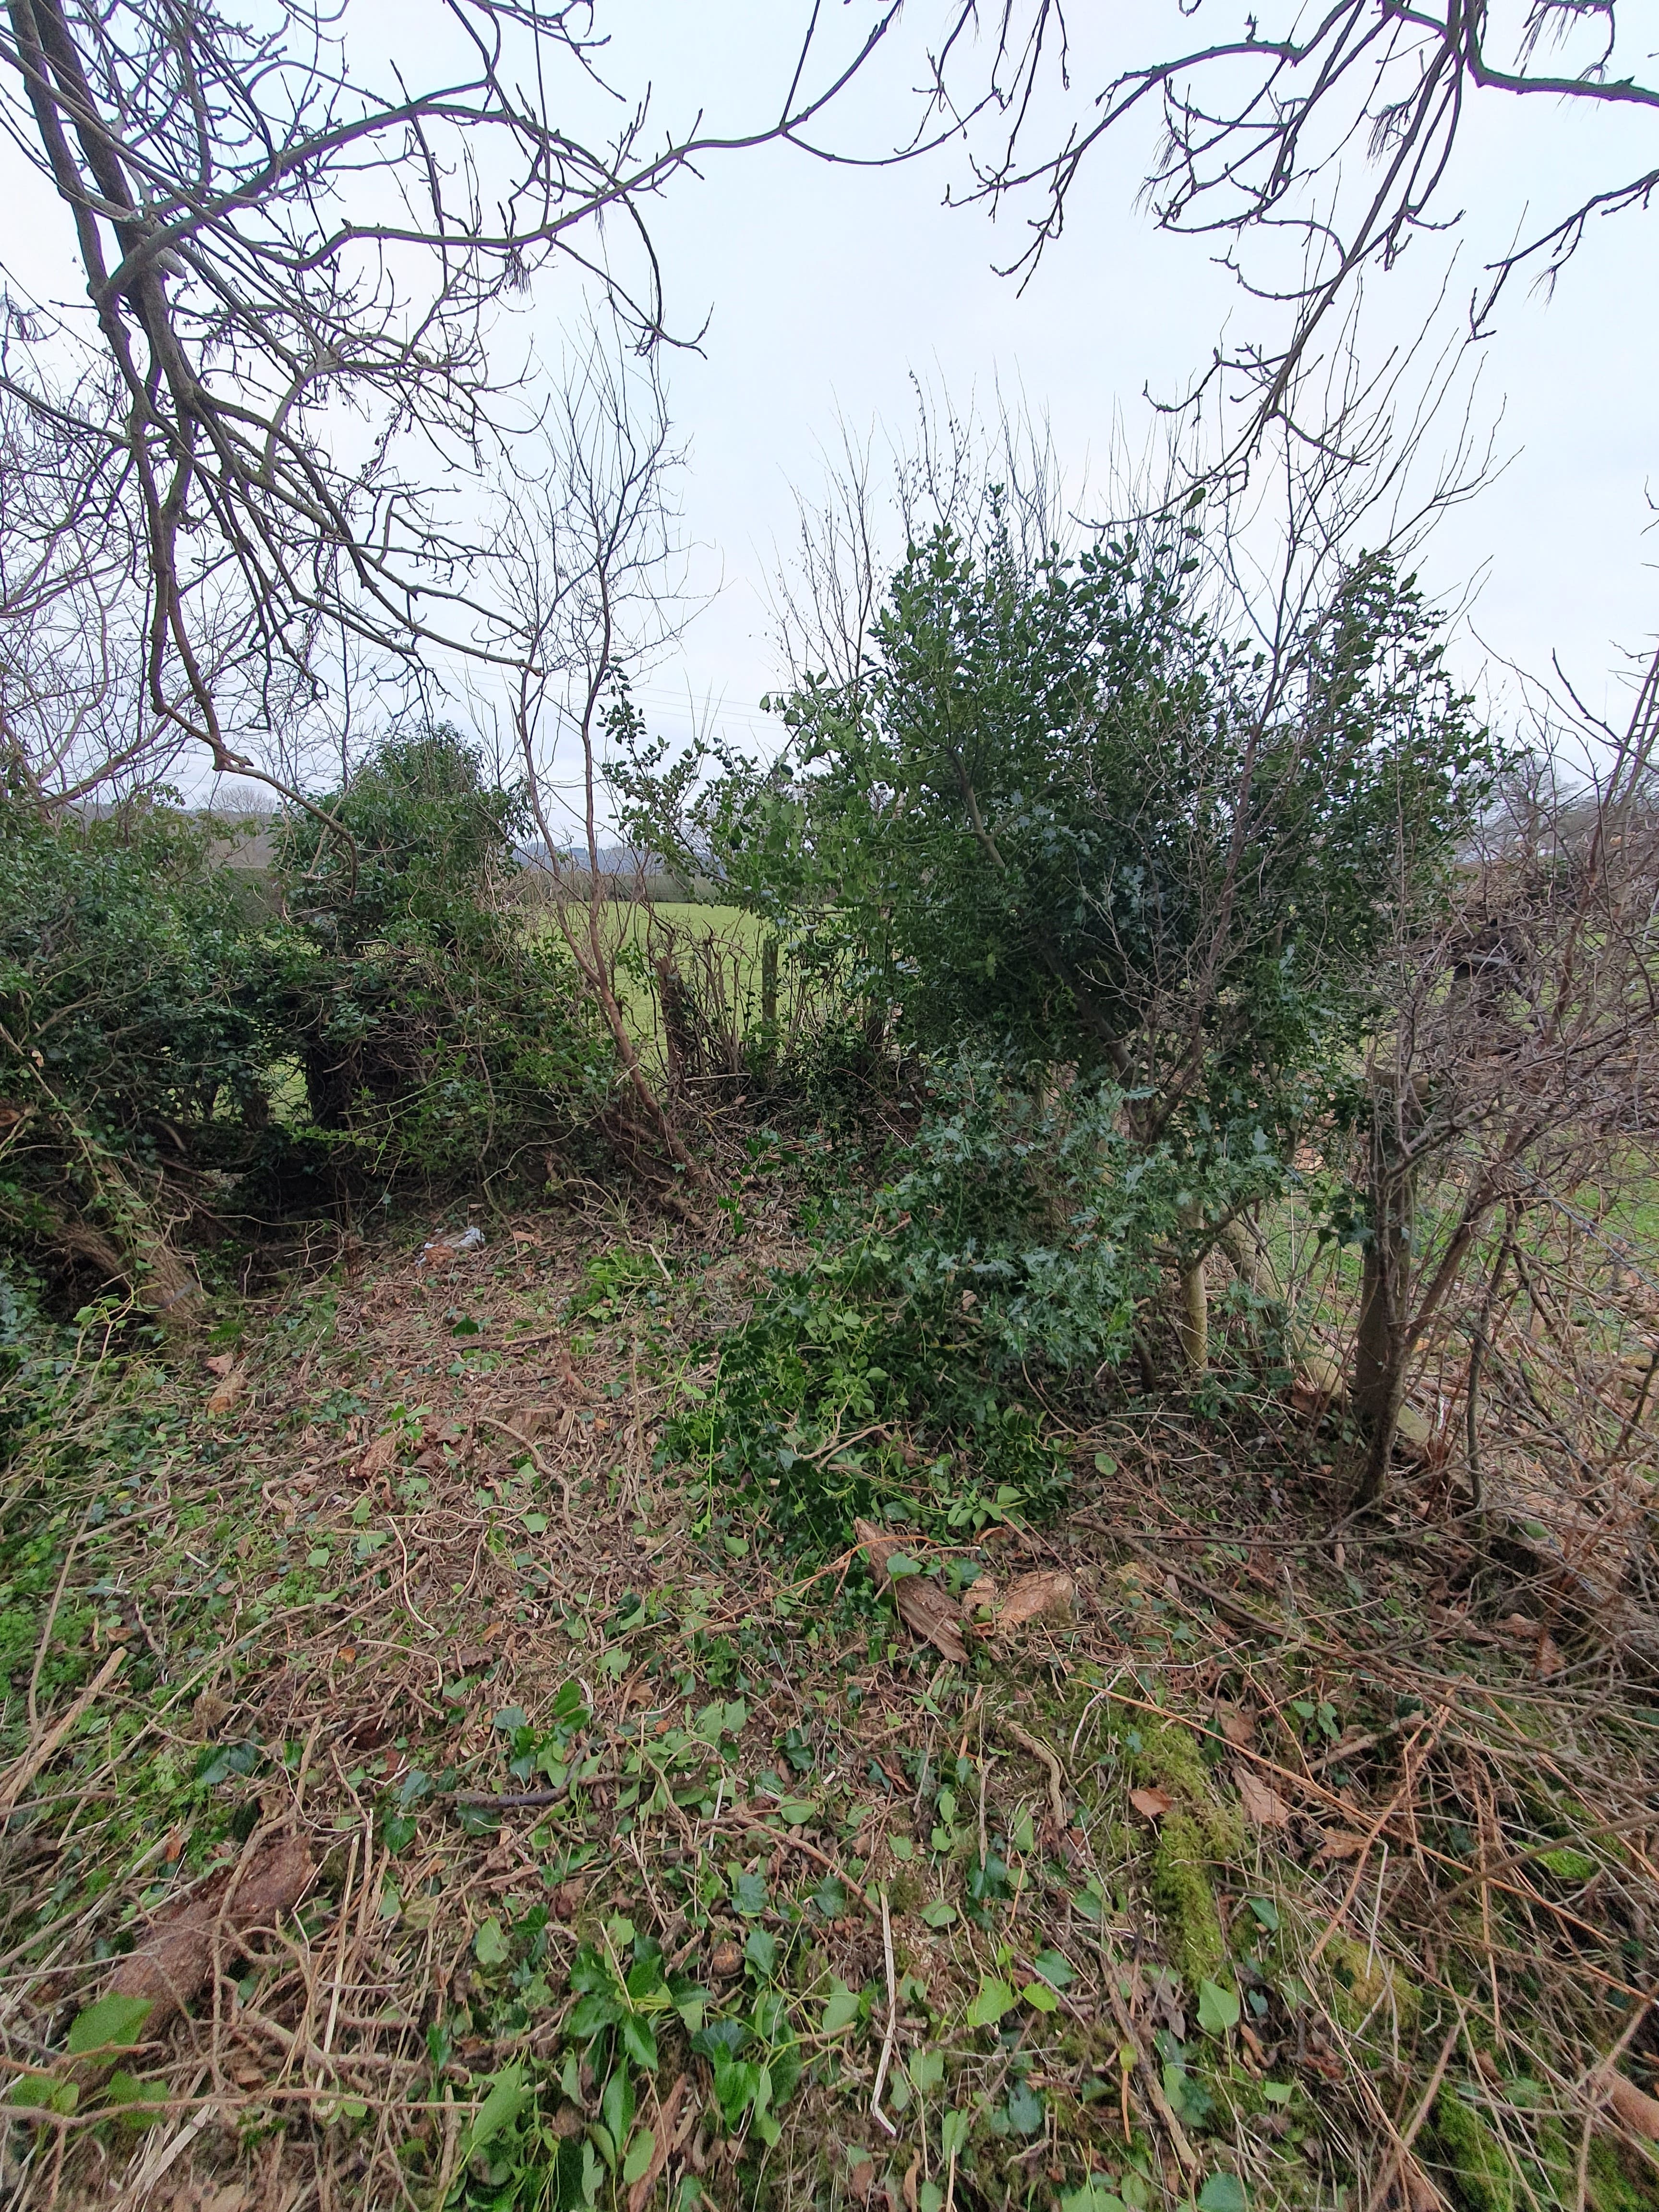
Down the back of the garden we cleared out what must once have been a group of three plum trees. At some point they collapsed, and rotted, then became tangled with huge mats of ivy. Removing the stumps and ivy matting means we can now get in and lay the hedge along the back wall.
With all this felling, we now have a huge pile of logs to be chopped up for firewood, and an even bigger pile of branches to be burnt in a bonfire.
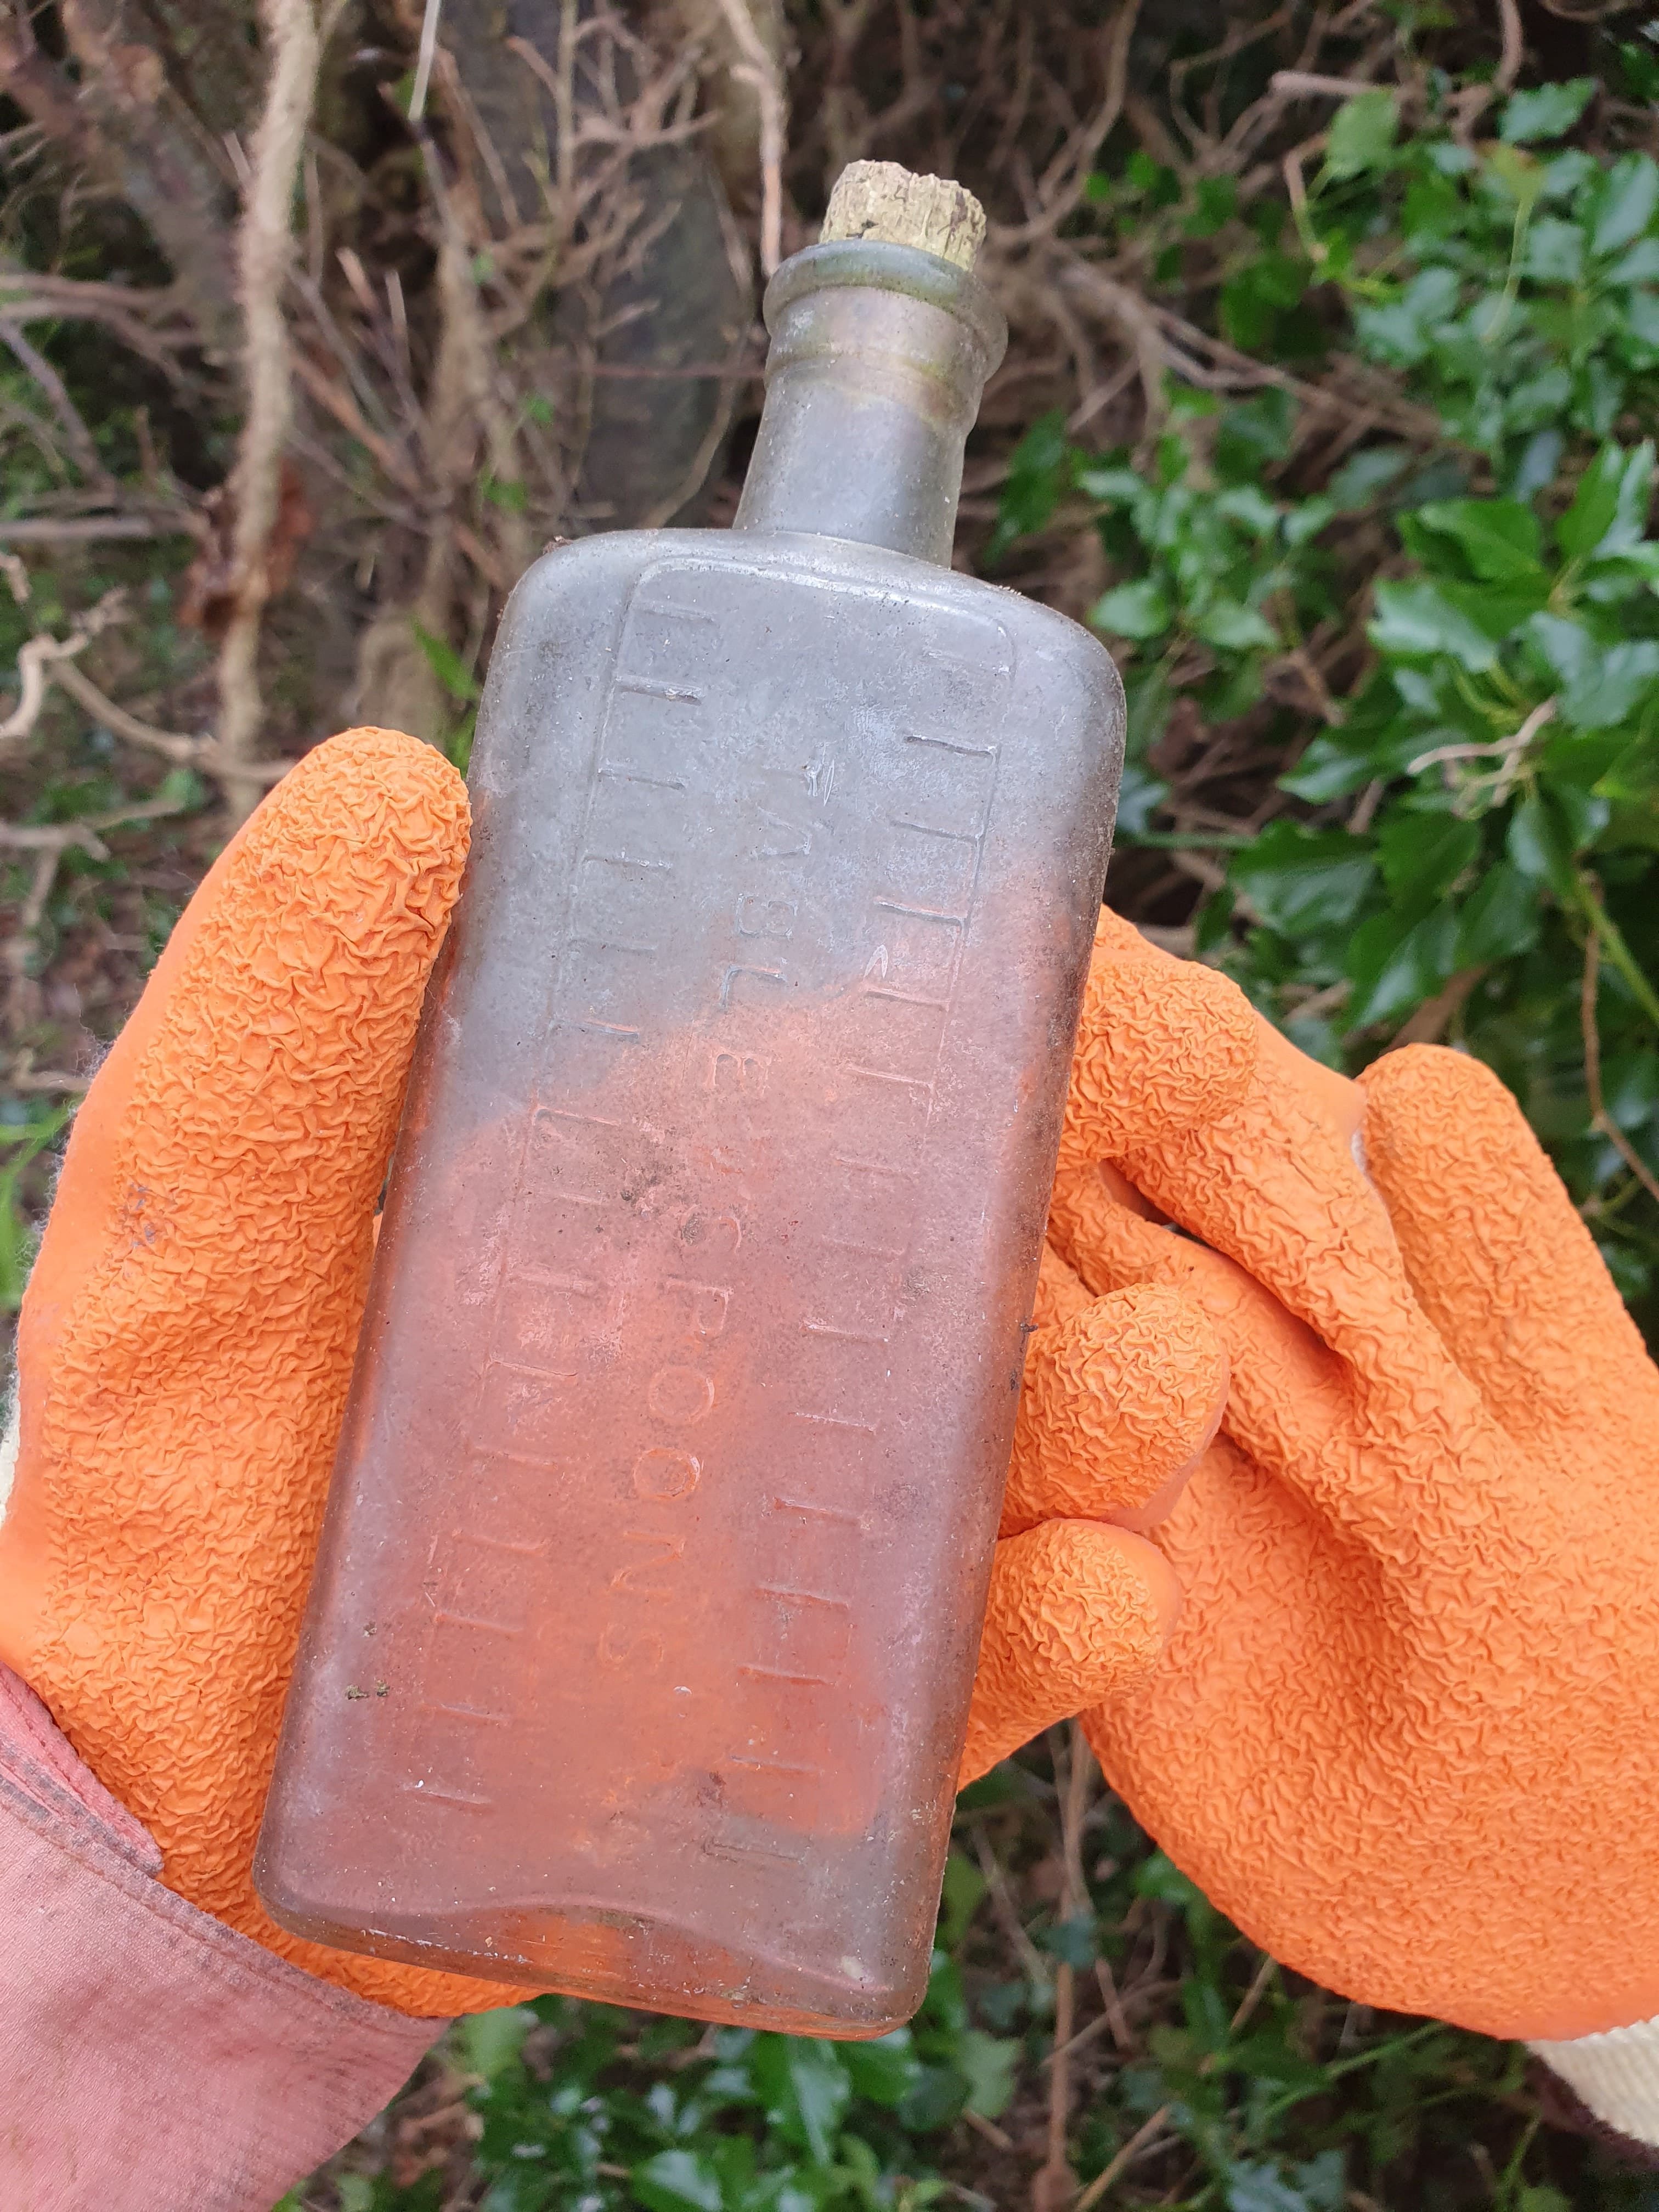
I was pretty pleased with a vintage bottle that turned up amongst the foliage.
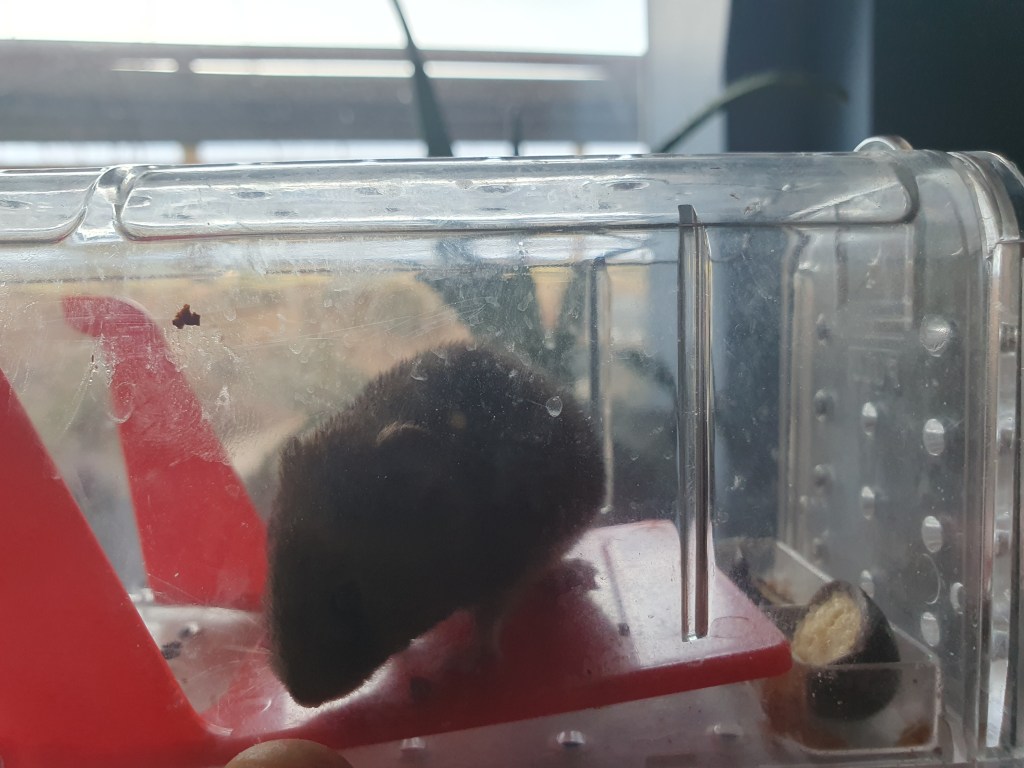
In the house, we’ve had a few unwanted guests scuttling around the walls. They are very cute, but not very hygienic, so they are being removed to the garden.
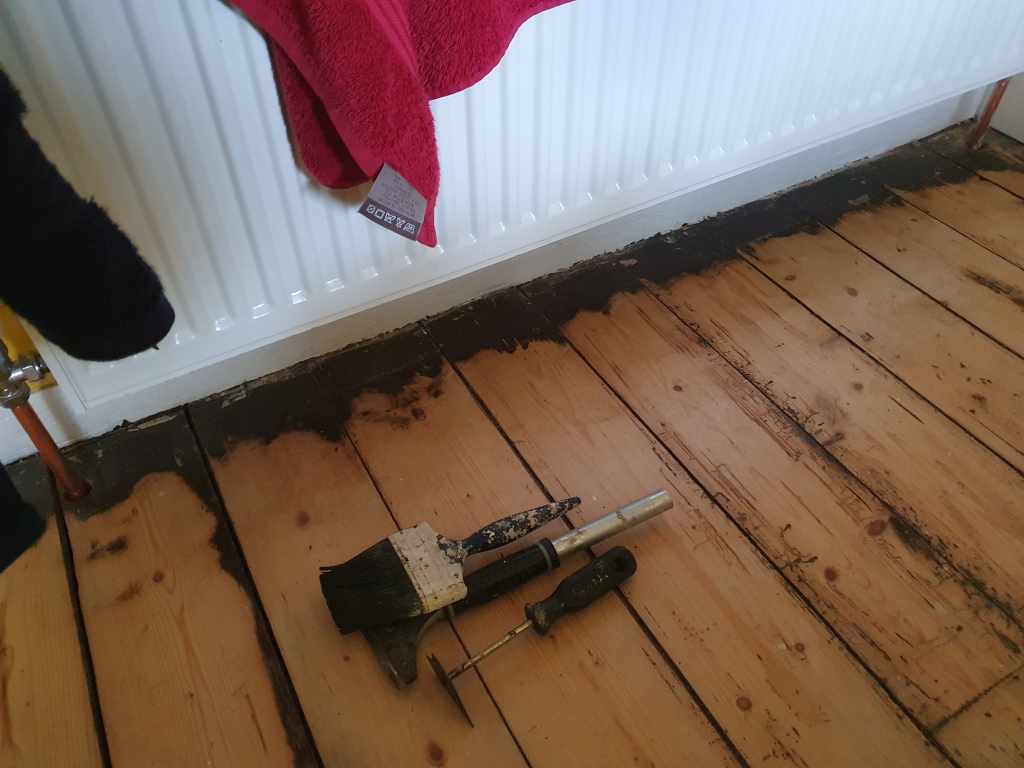
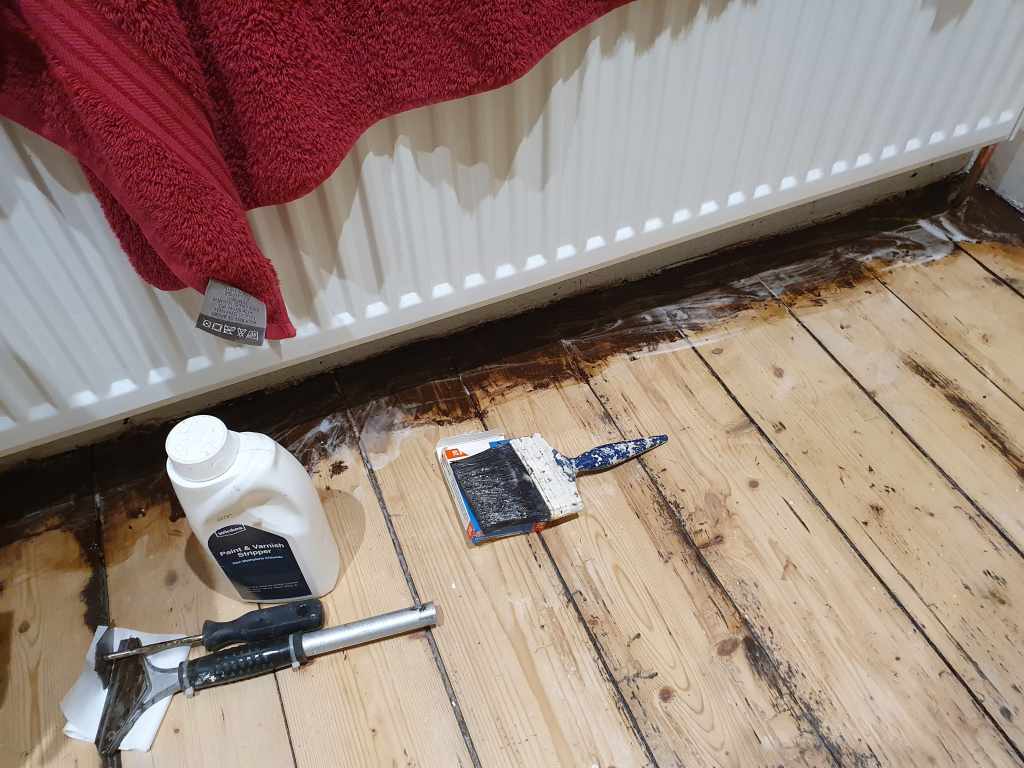
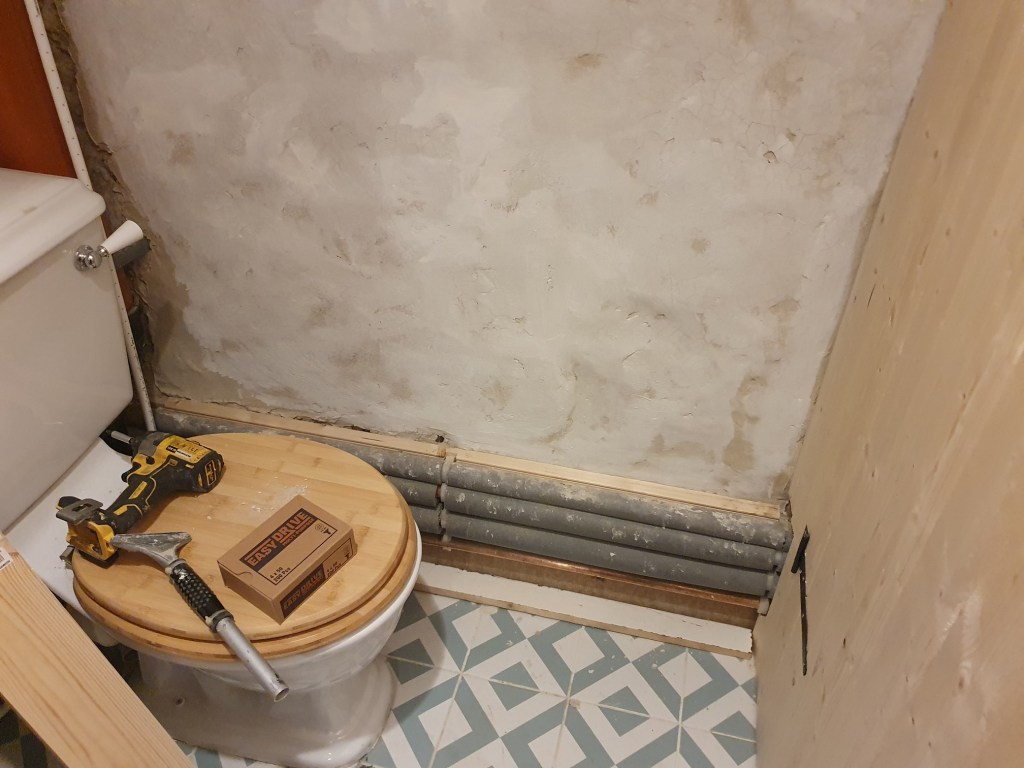
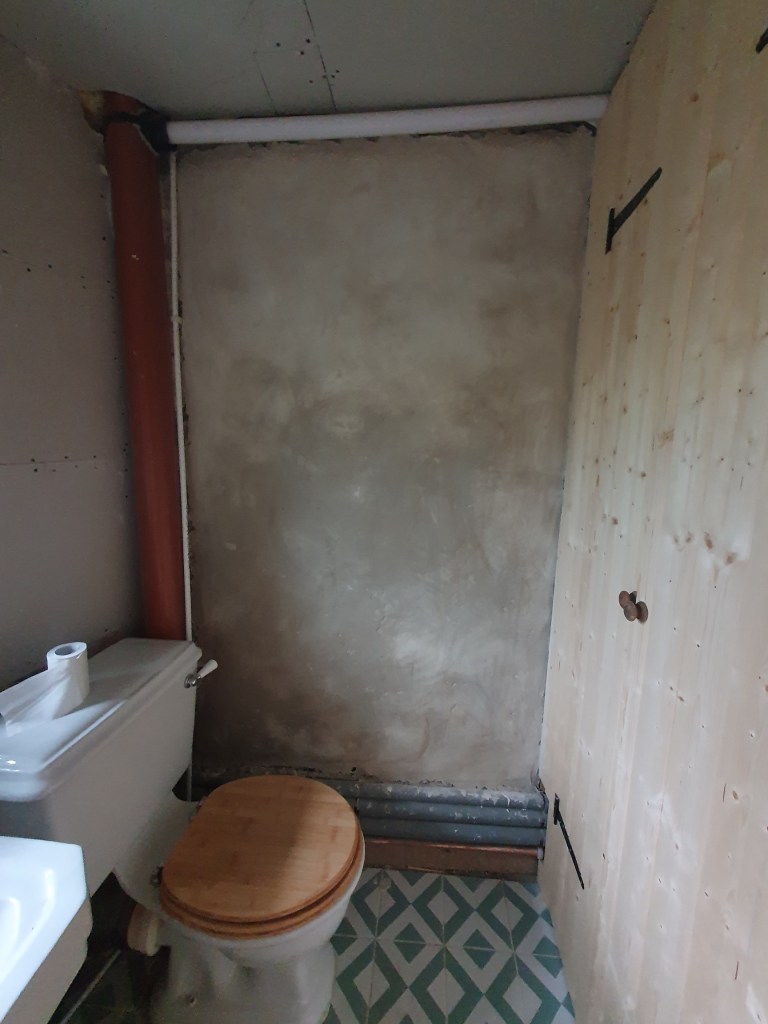
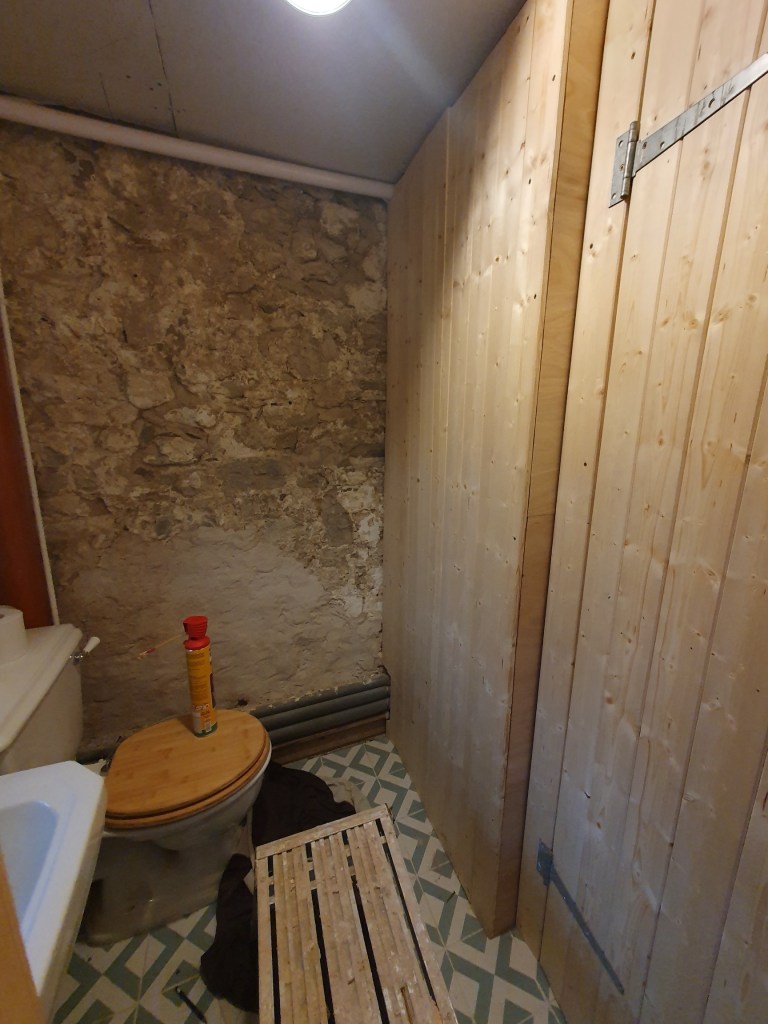
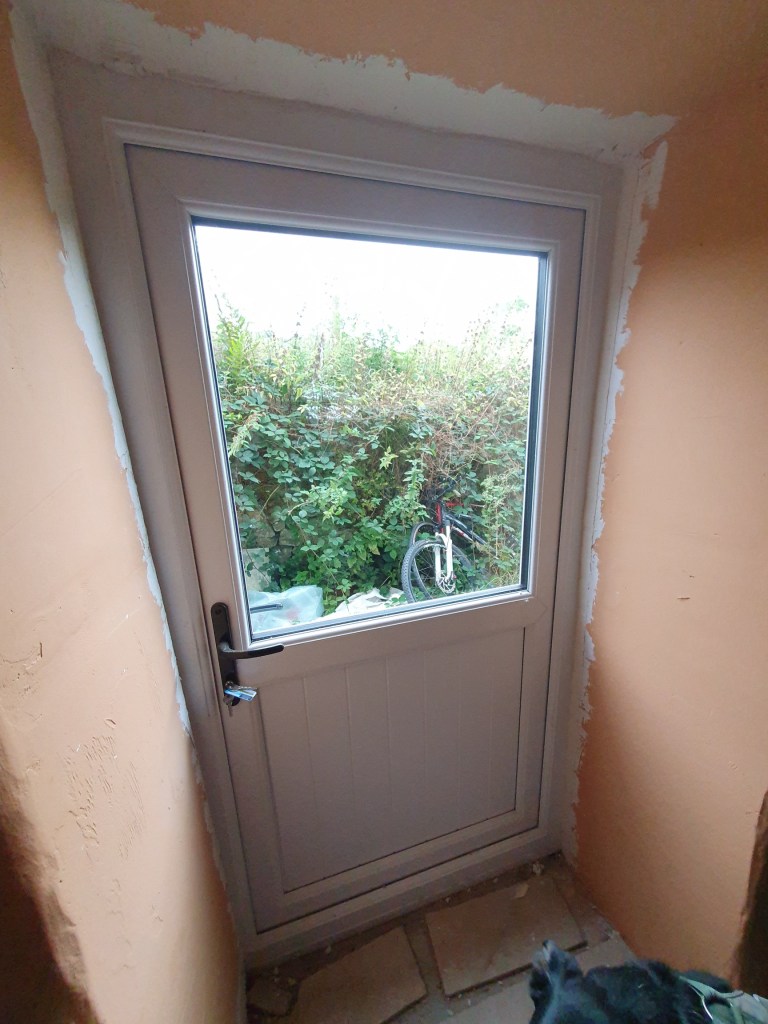
I haven’t had much time for anything inside the house, but I’ve started stripping an awkward bit of varnish below the radiator in the bathroom. The sander we used couldn’t quite reach. It’s incredibly thick paint, meaning I have to keep adding more layers of paint stripper to even begin to get to the wood.
There’s plenty to do inside the house, but with bird nesting season not far away, it is worth getting any major garden works out of the way. We both have a little time off soon too, so hopefully that will be a boost to the inside workload.
-
Strip and Paint
It’s been a busy start to the year, with Chris off skiing, and me having two house guests, in the form of Chris’s brother’s dog Ned and my friend Becky.
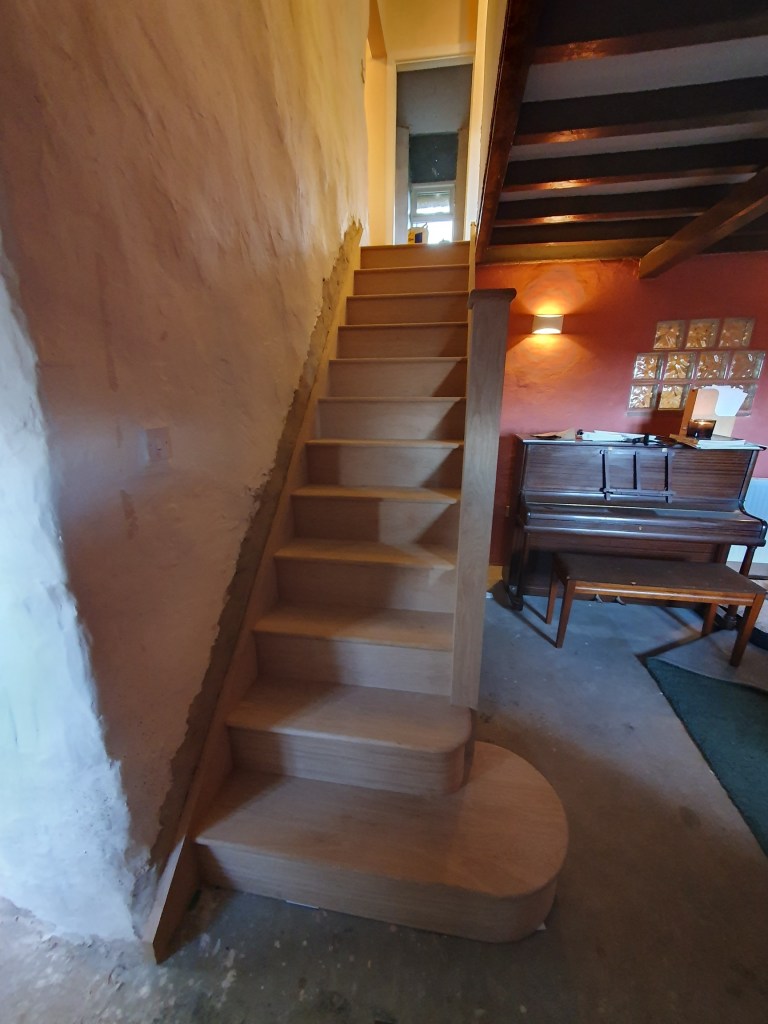
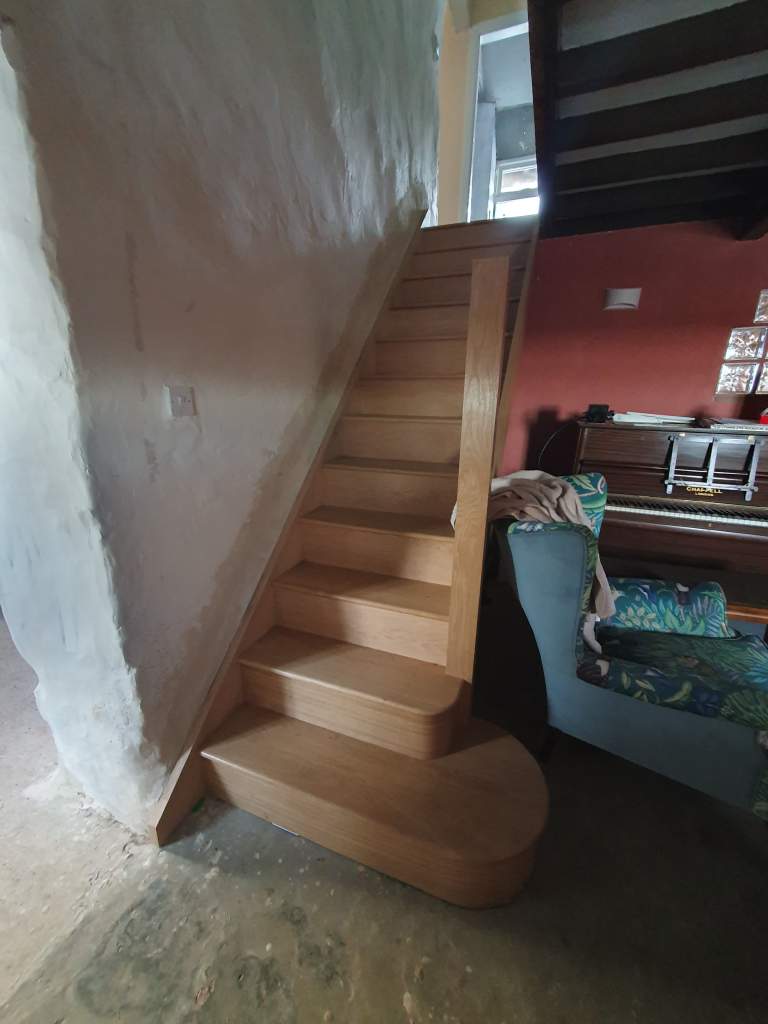
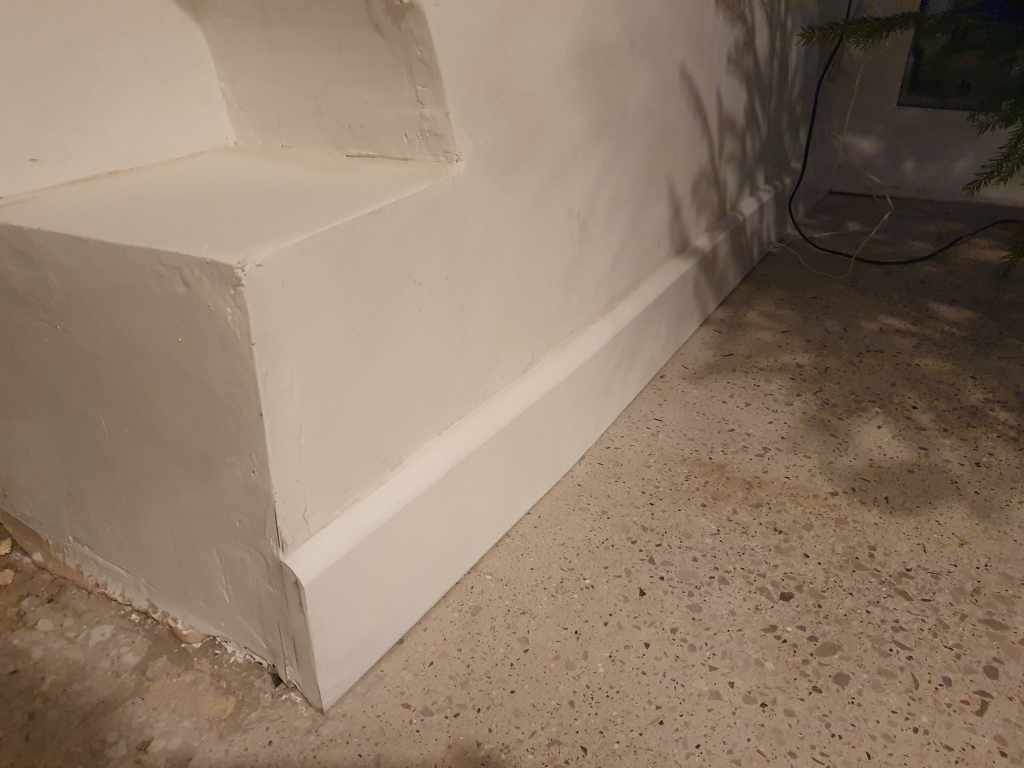
With an extra doggy guest arriving, we wanted to protect the stairs from damage by staining them. I did two coats, with a sand before and between. They are definitely much more protected now, if a little slippy for doggy paws. I also added the lime plaster coat on top of the rough plaster along the edge of the stairs. While I had the mix out I also plugged some gaps in the kitchen walls.
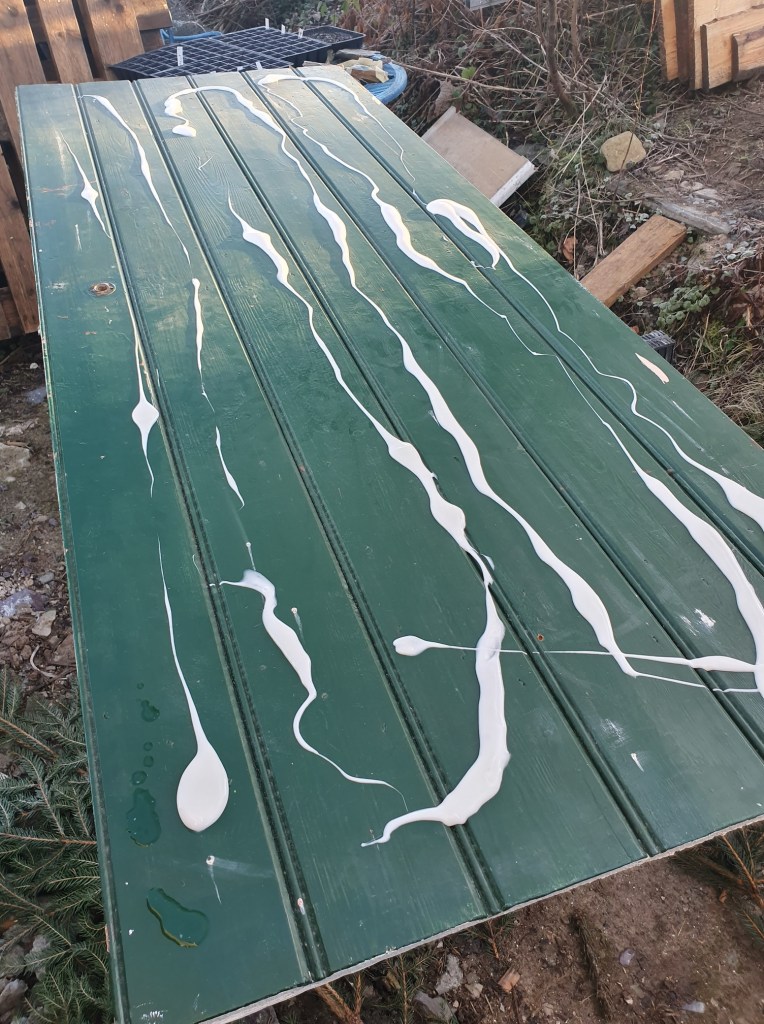
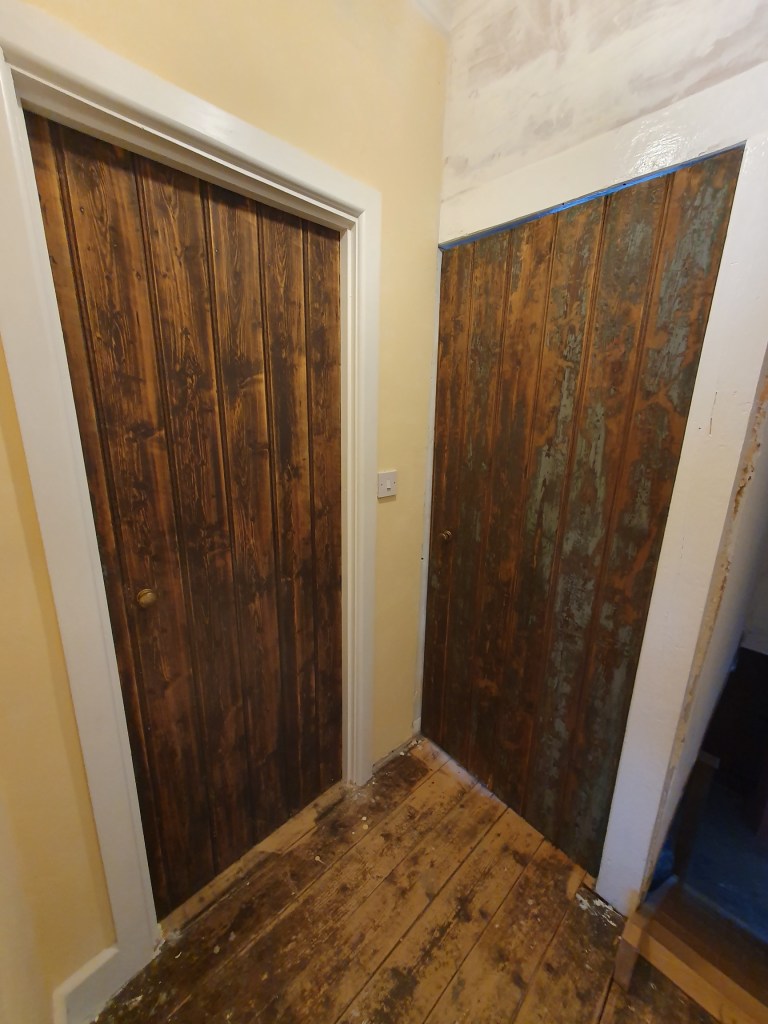
Having flipped our bedroom door to open the other way, I was now staring at the green side most nights, so as I’d done with the bathroom door I using paint stripper to take it back to the wood. Unfortunately, the paint stripper couldn’t quite get through all the paint layers, so I ended up hand sanding as well. But I’m happy with the end result.
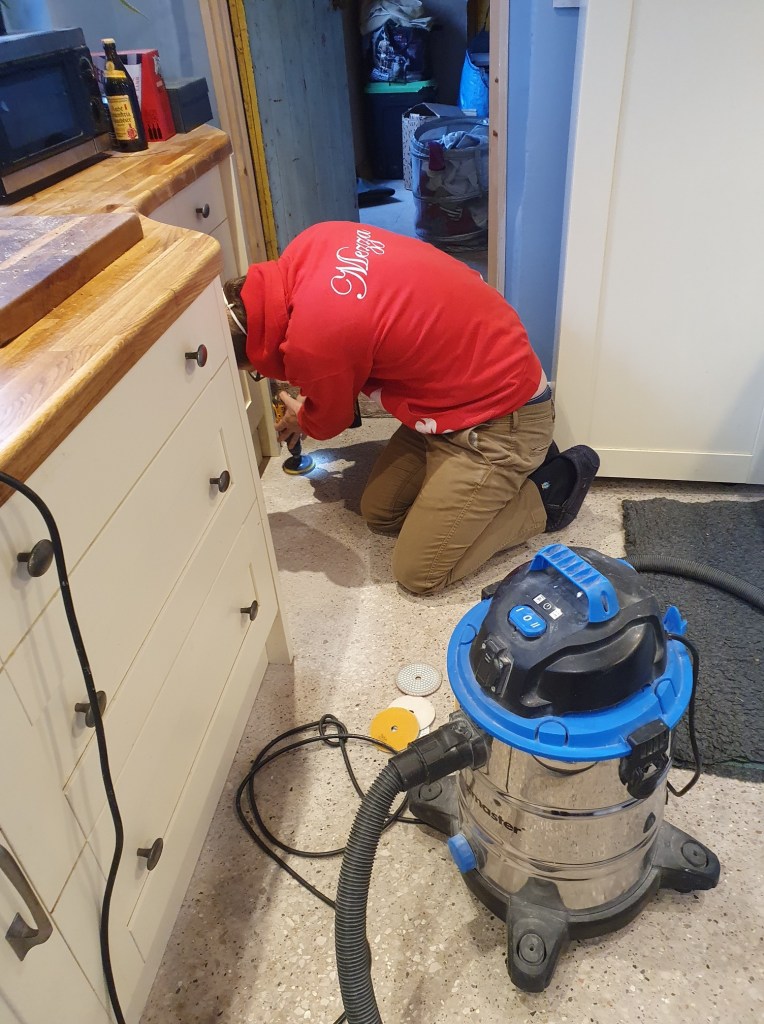
Before Chris headed off on holiday he decided to polish out some accidental stain marks on the concrete kitchen floor. They’d happened when he’d spilt wood stain from the worktop on the floor. Luckily they polished out fine.
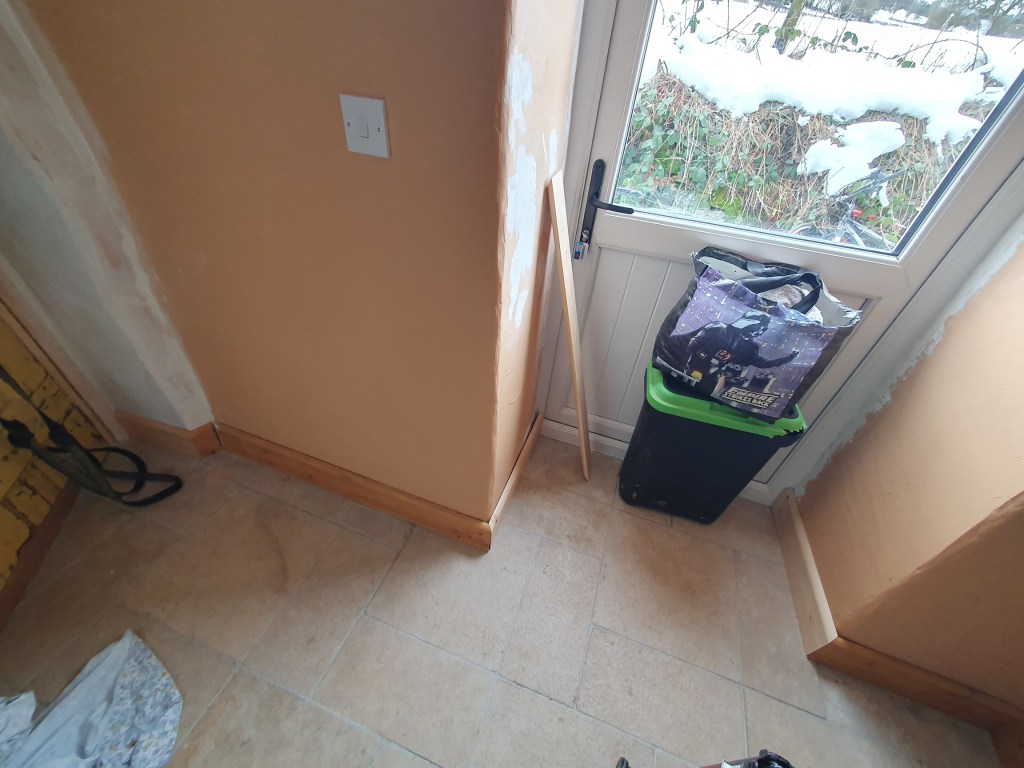
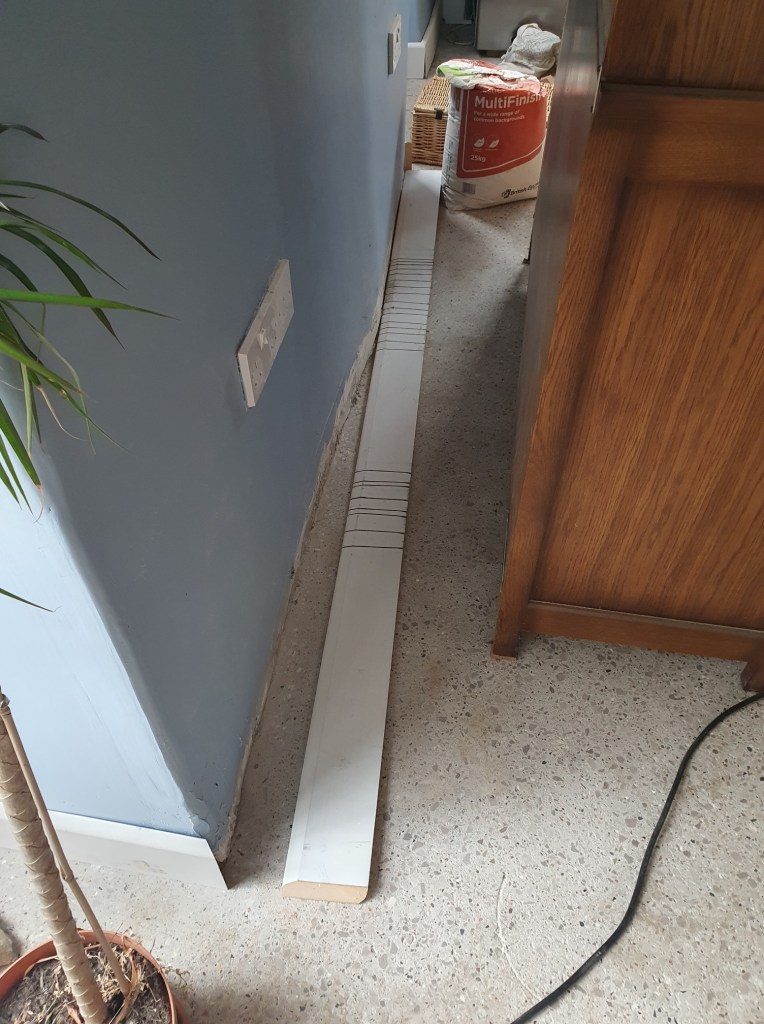
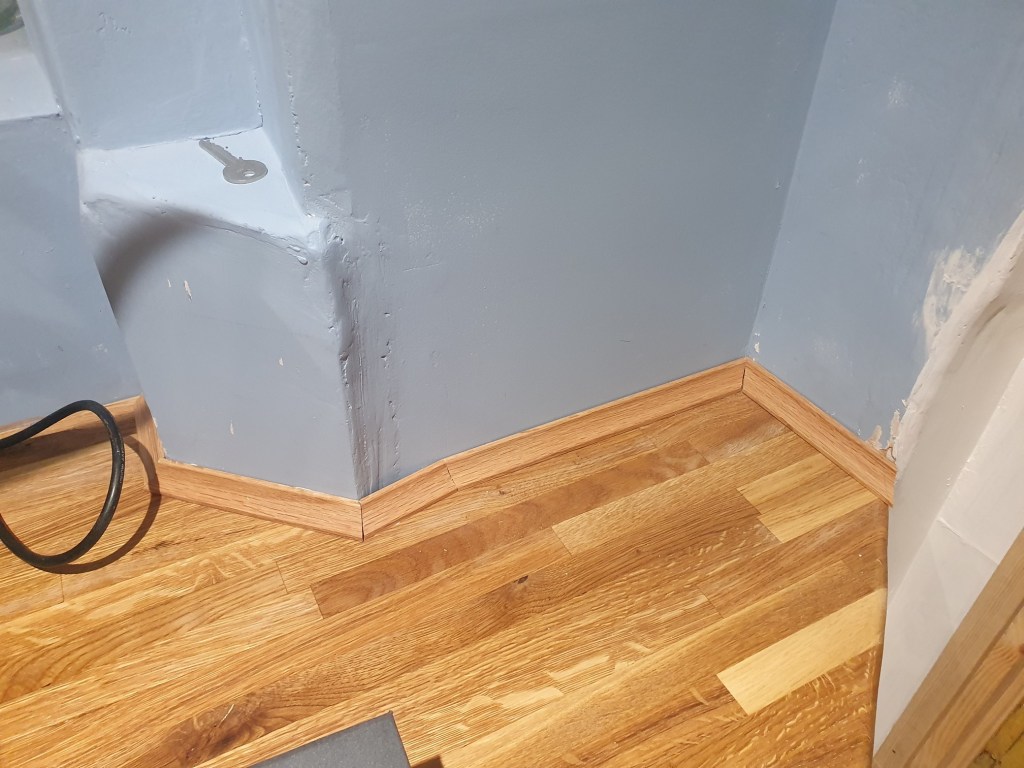
In the utility I cut the final pieces of wood for the skirting. I need to stain them and then I can attach them. I also cut the final piece of architrave for the back of the worktop.
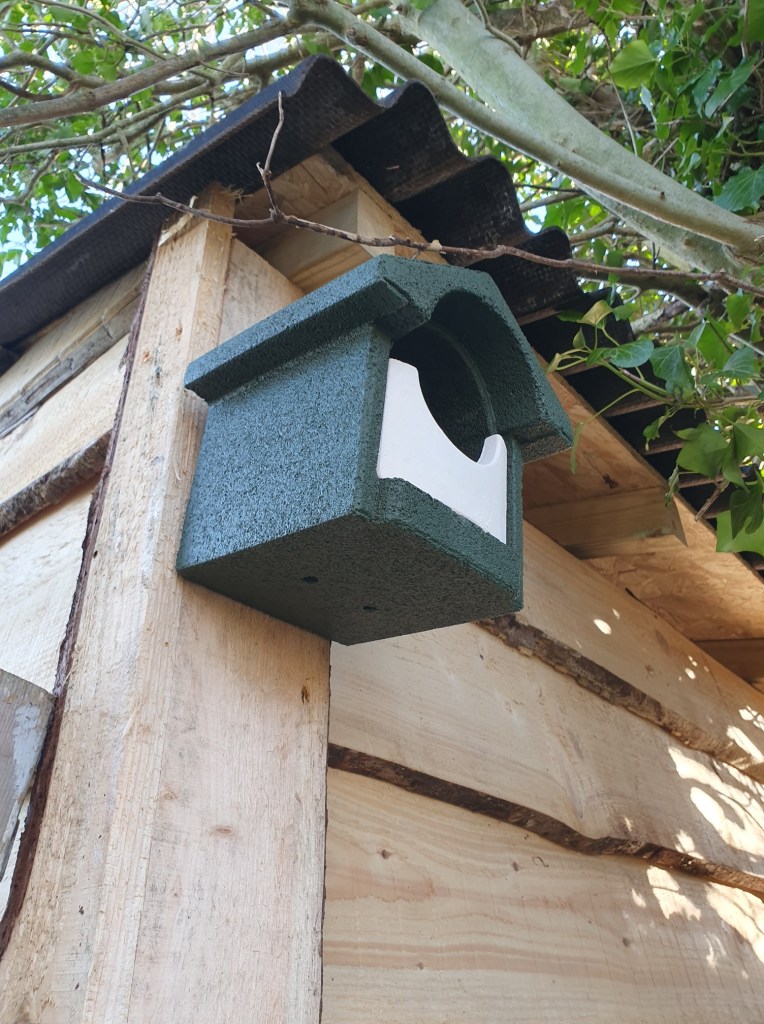
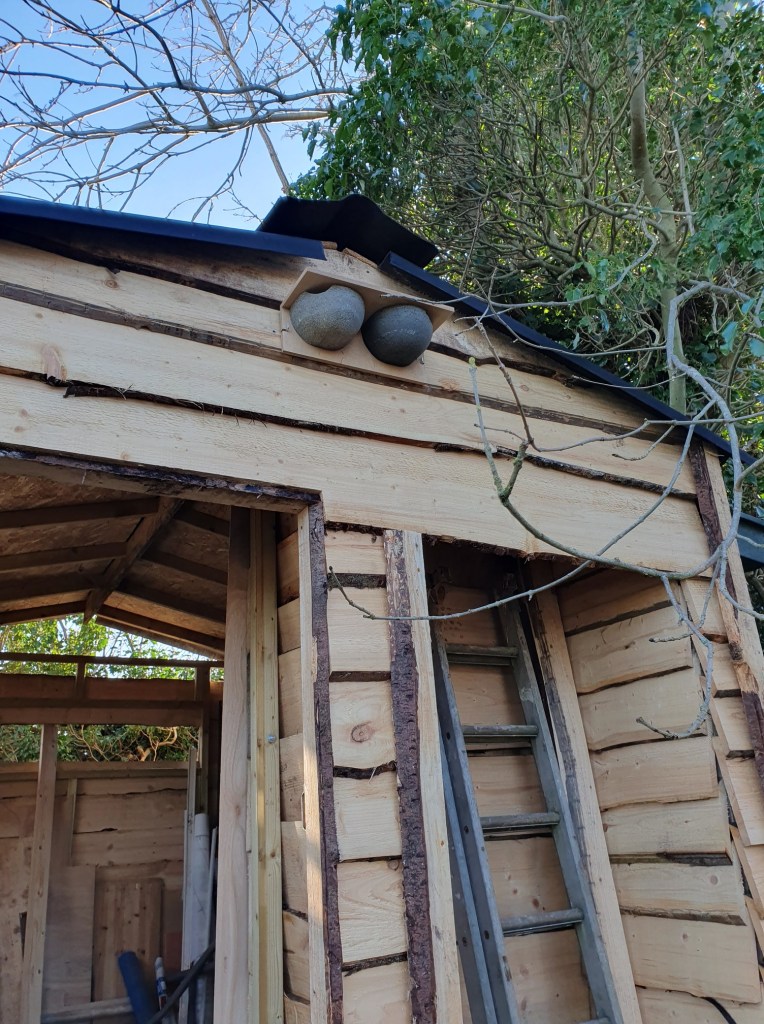
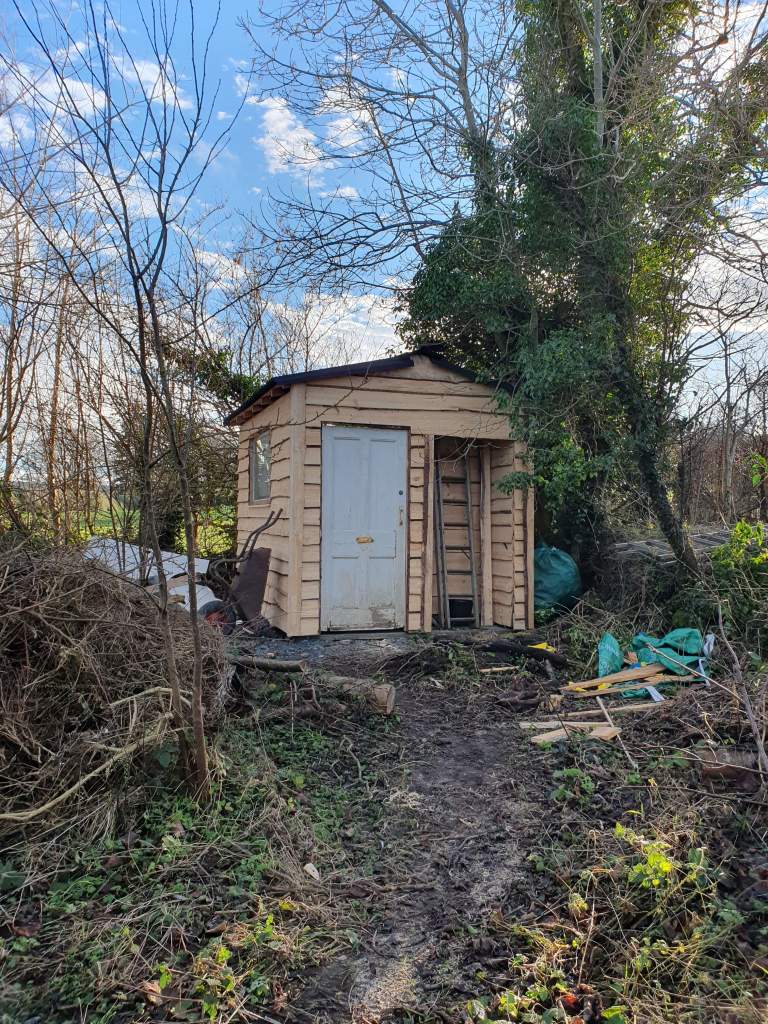
Chris bought me some bird boxes for my birthday, and I finally got round the attaching them to the shed. It’ll be lovely if I get some house martins in my house martin boxes, but the more generalist bird box is probably more likely to get a guest. I’d also like to put a swallow nest box in the shed itself.
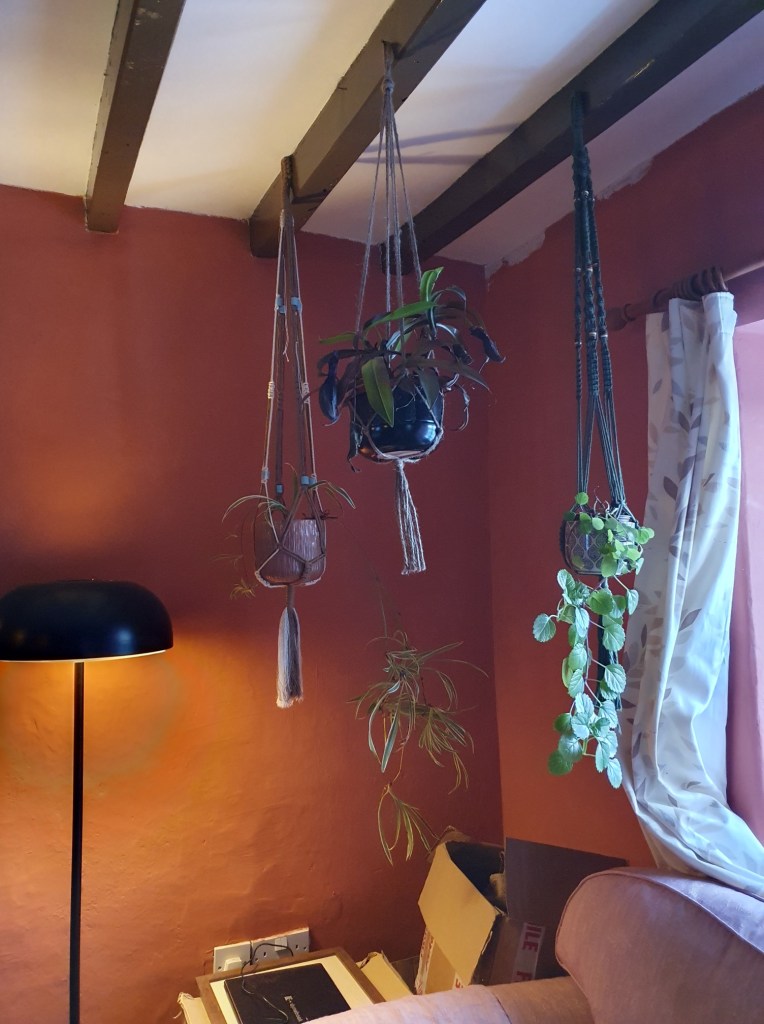
Becky had previously made us a plant hanger, and another had been bought for us by Chris’s cousin for Christmas. Chris requested that Becky make us a third to complete the set, which she obligingly did.

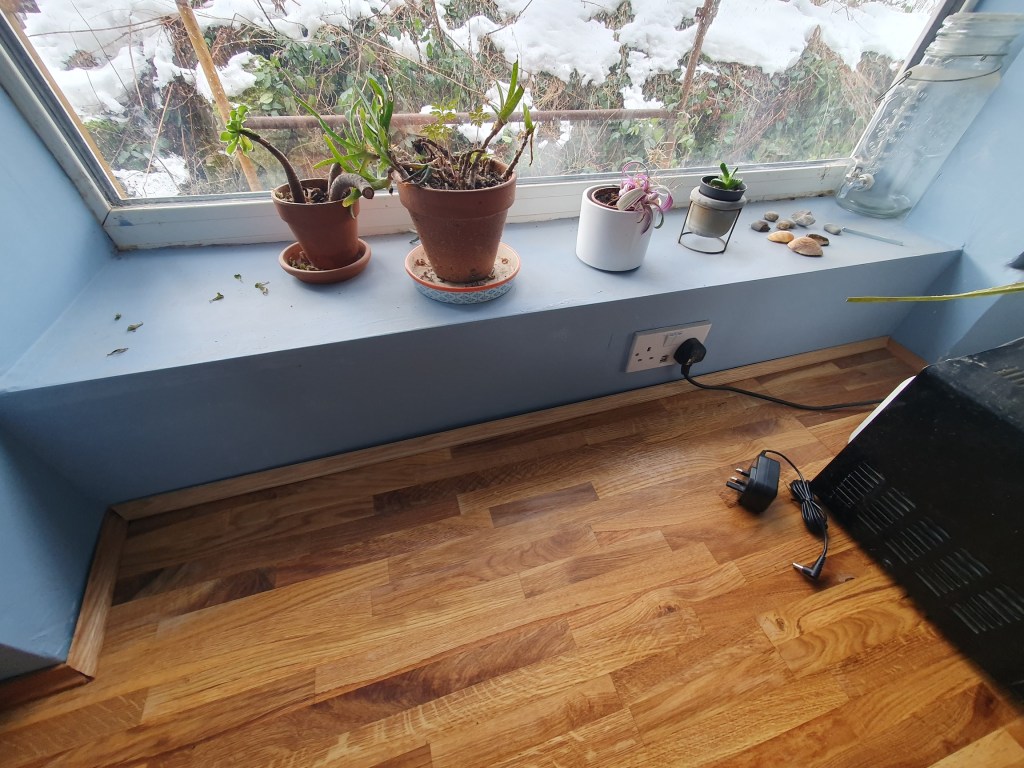
It feels like lots of bitty jobs at the moment, but that’ because we’re building towards some bigger ones. Still the house has stayed warm and comfortable in a cold and snowy week, showing how far it’s come since we started the renovations.
-
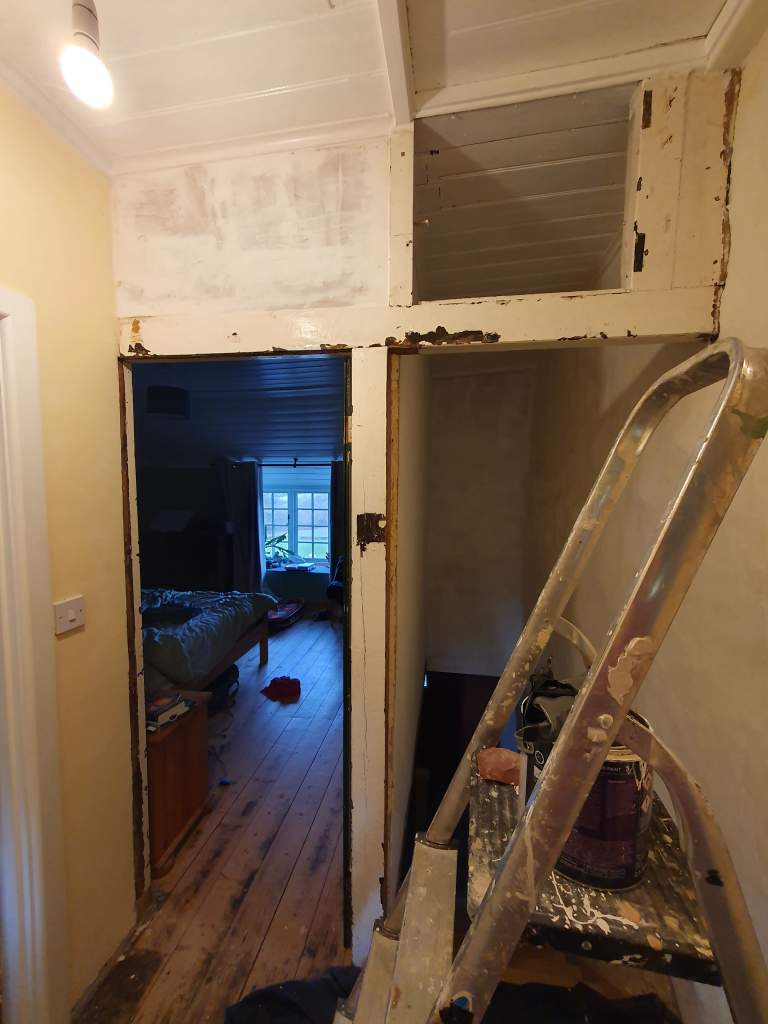
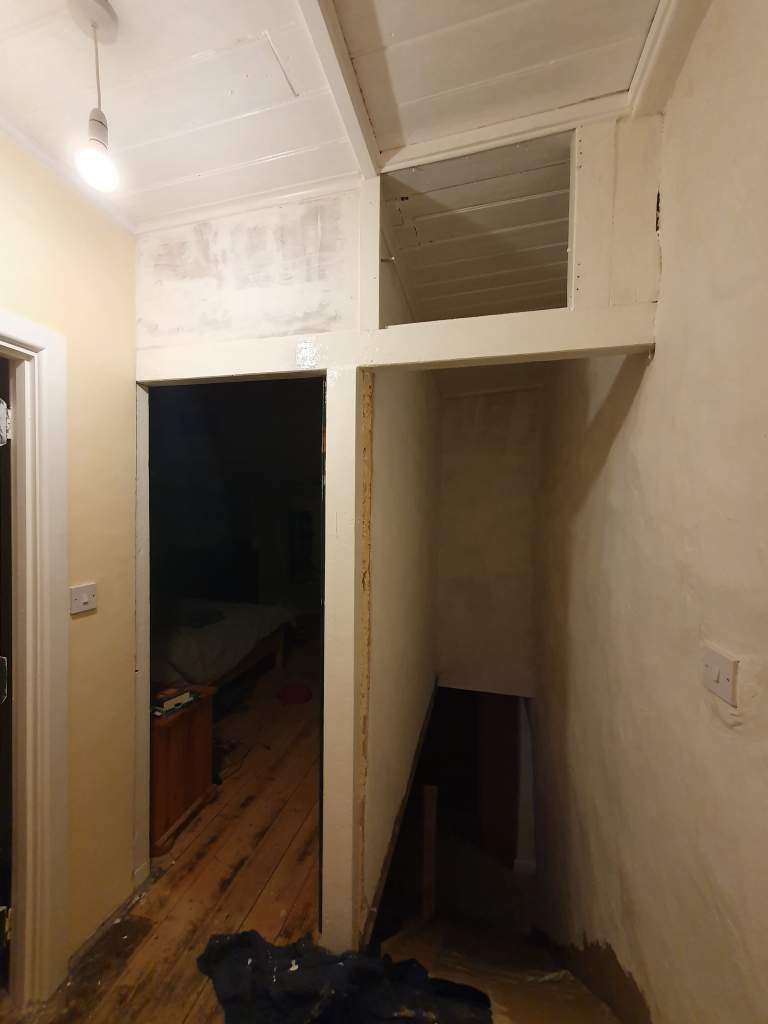
Stairs
The very dull world of installing skirting kept me busy for a good week. Even once it was attached there was the filling, sanding, second filling, second sanding, caulking and of course first coat and second. It’s done anyway, aside for the doorway, which is complicated as it currently catches on the door.
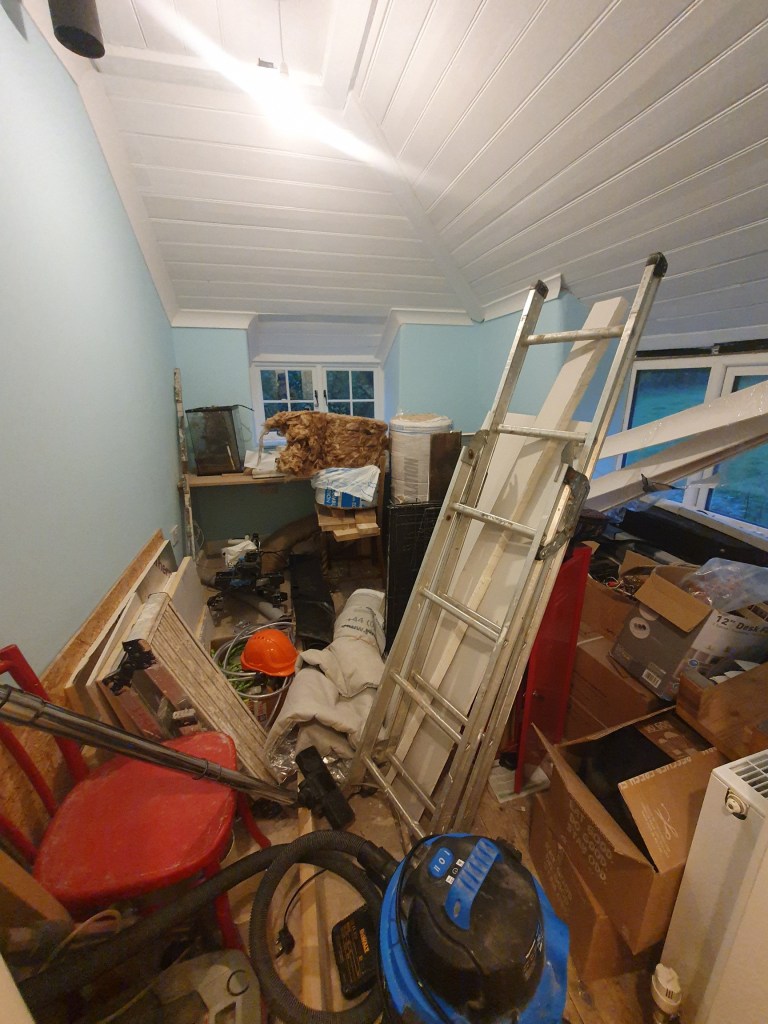
With the shed watertight enough to move our tools into I’ve lost all interest, as I’d like to finish off more of the inside of the house. Chris carried on however adding some of the corner pieces and a missing panel or two. He also moved in the majority of the tools, though I was left to sort through the mess and dregs that always seem to be left behind once you’ve move the more straight forward bits. Managed to locate a few missing bits, and throw out lots of rubbish we’d just chucked back into the tool room when busy.
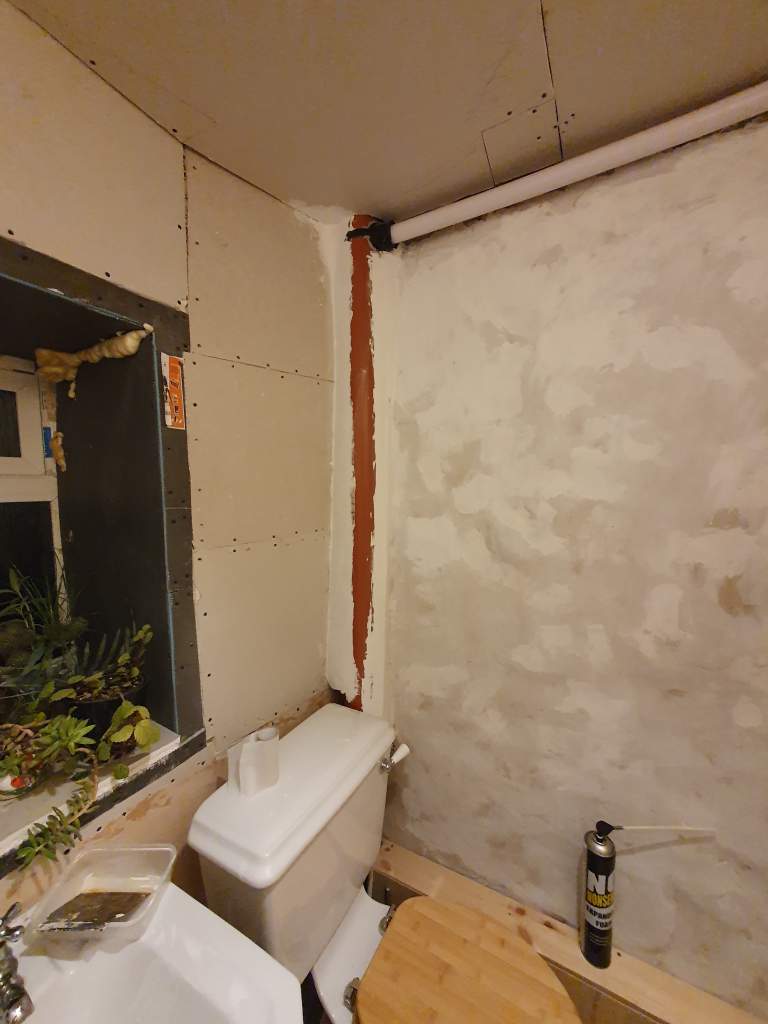
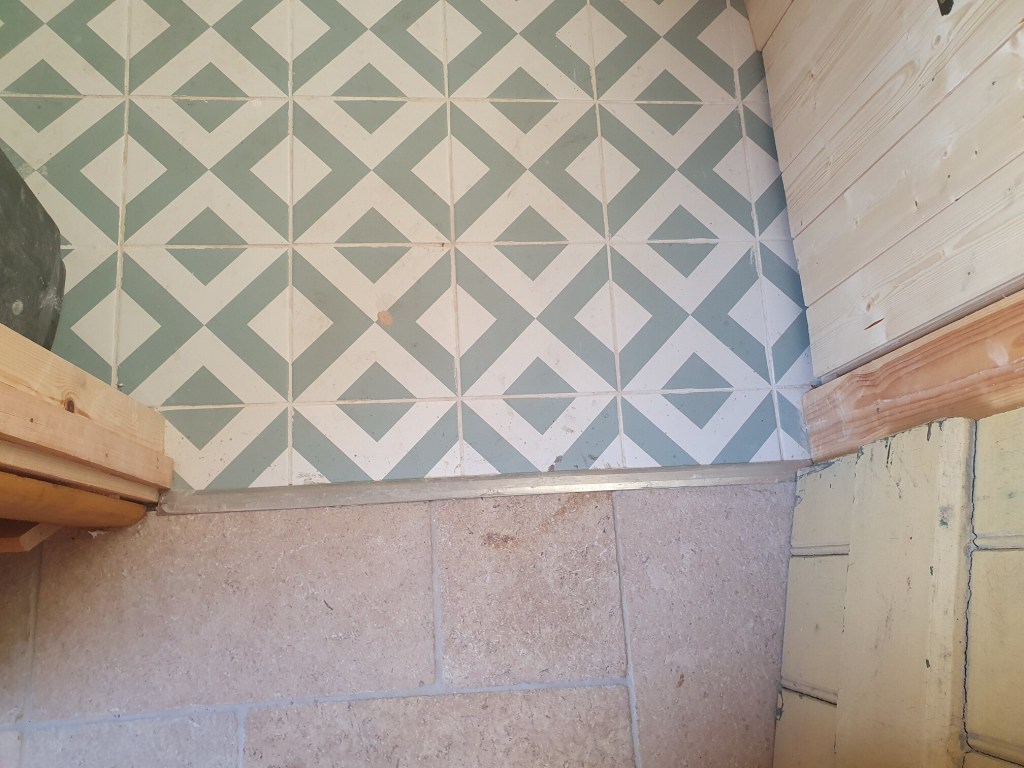
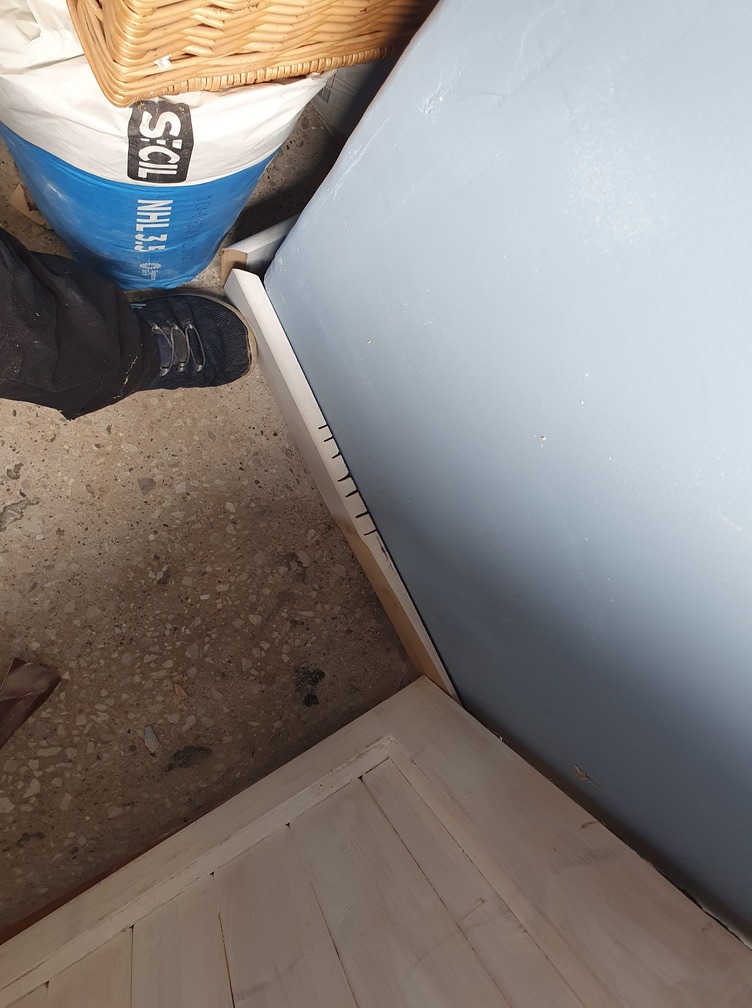
Having boxed in the pipes on the floor with wood, we couldn’t figure out how to attach the boxing for the soil pipe. So in the end I filled the gap with expandy foam and cut it back and filled. We can then paint it the same colour as the wall.

Early on in my filling odyssey I didn’t realise some fillers could only be used on stone and some on wood. I filled a load of holes in the study ceiling, only to have the filler crack and new gaps open up – very annoying. So I spent some time scrapping off ruined caulke and filler, to then refilled and recaulked. With all that finally done I did a second coat of white paint on the study and bedroom ceiling. A very unsatisfying job, but it needed doing before we get a carpet.

While the paint was out, I redid the wood in the landing. A proper job would have been to strip the old paint first but that seemed like a lot of work so I just gave it a light sand and repainted.
Outside Chris also had an unsatisfying job. I’d mortared around all the new windows I could reach, but some were too high for me even on a ladder. Chris finally got round to the remaining four windows. A slow job and one we’d forgotten we hadn’t finished so it feels like lost time to go back to it. But still, nice to be watertight.
In the utility I finished filling and sanding the walls and door, just need to finish the skirting so I can paint.

The big job, however, was replacing the old stairs. The new stairs arrived in one piece, from a bespoke online dealer. The delivery man, though at first very pleased that he didn’t have to carry them into the house, couldn’t believe I was the person carrying them with Chris instead of him. I often get this attitude from delivery drivers and I have to explain that I’ll be the one shifting them around in the house, however far they carry it to the front door.
The old stairs came out very easy and someone took them away to use for a two story shed. The new stairs were a little more tricky. We were keen to widen them to full width of the gap, but while Chris checked carefully, the stair manufacturers added an extra 3mm, making them incredibly tight.
We started off with Chris lifting at one end while I moved the other end towards him, but the tightness of the gap made it impossible. Rethinking, we remembered the pulley system we used to get the steel in place. Using the wooden beam above the stairs, Chris used the pulley to winch the end of the stairs up while I moved the base forward from below. It was still tight, but eventually we got it into place. Annoyingly, I had some great photos of the process, but I broke my phone and lost them.
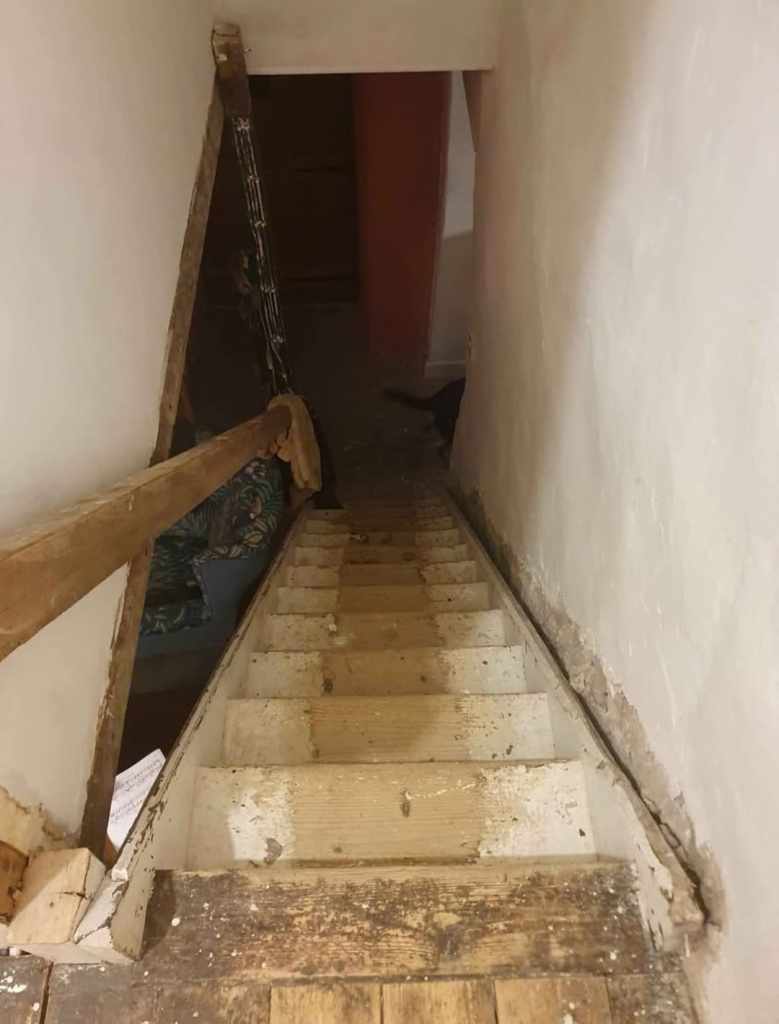

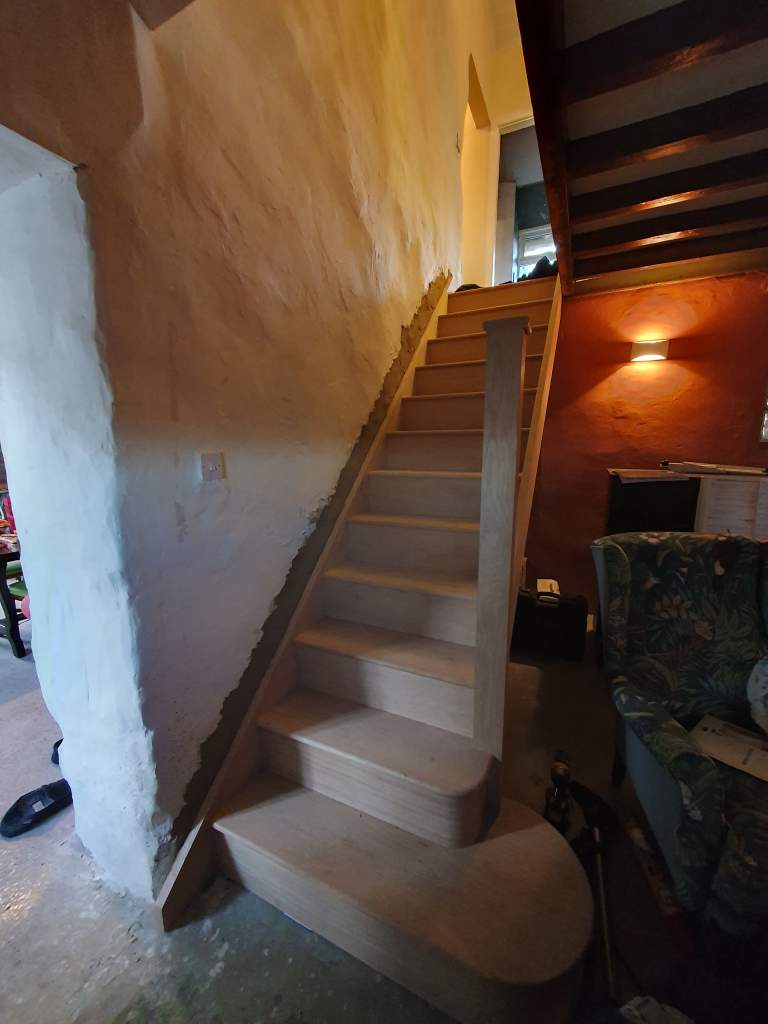
Chris filled the edge with expandy foam, and added some screws into the wall. I used the leftover mortar from Chris’s repointing of the windows, and replastered the walls beside the stairs.
Next we need to add wooden slats along the gap, and a banister.
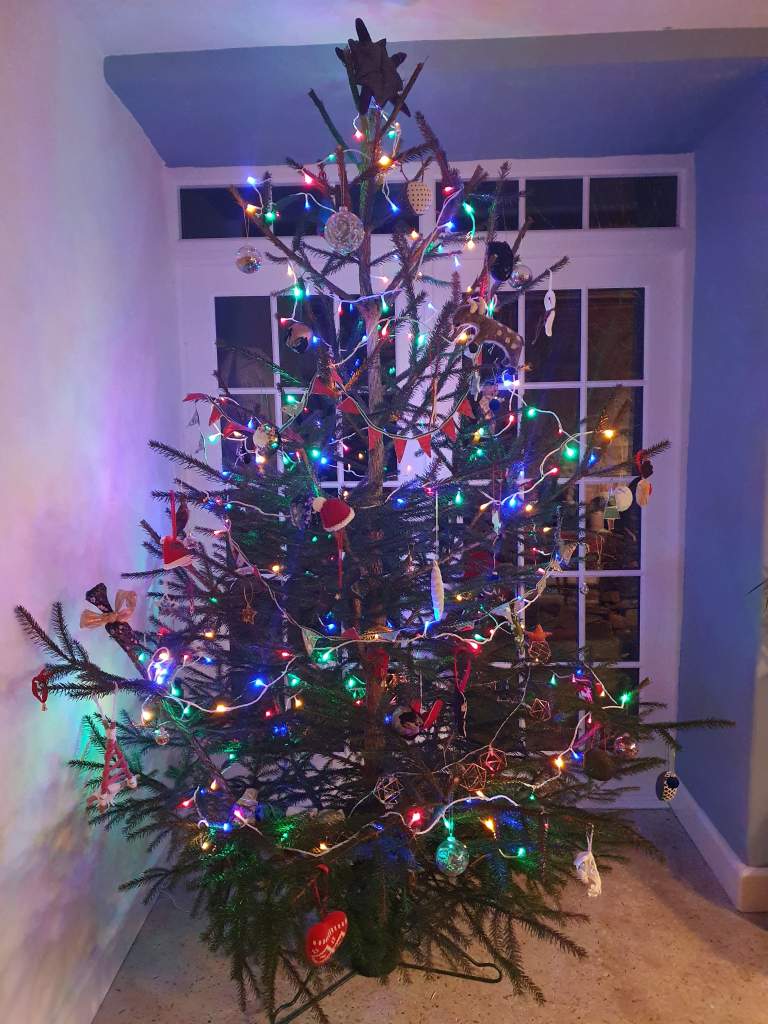
With Christmas here we have a few days off, but looking forward to getting back to it in the new year. For now Nadolig Llawen from Wales!
-
Touch of Paint
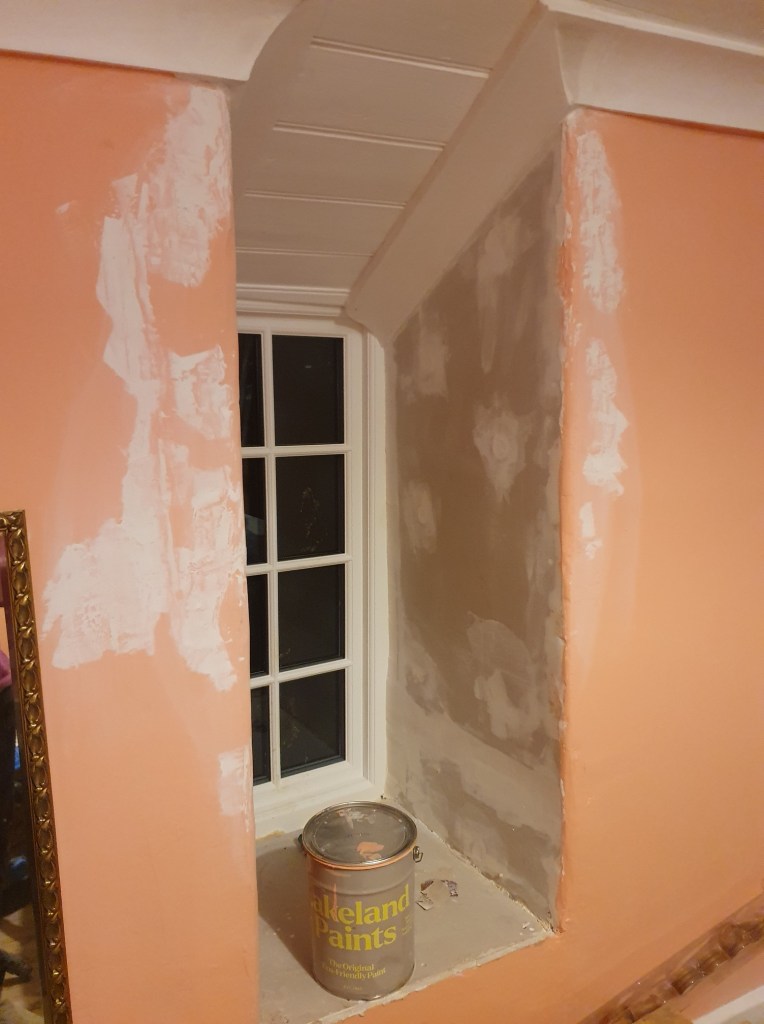
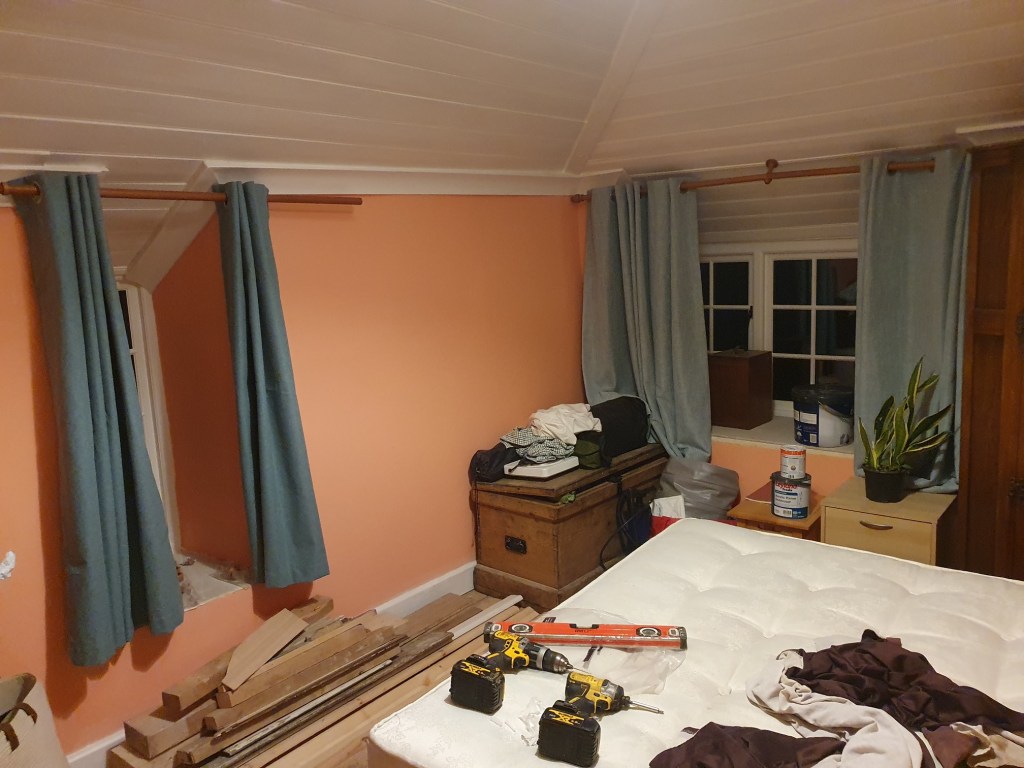
With guests coming to stay soon, I wanted to tidy up the last few bits in the guest bedroom. This meant filling and sanding a few areas, and then painting the window reveals and coving.
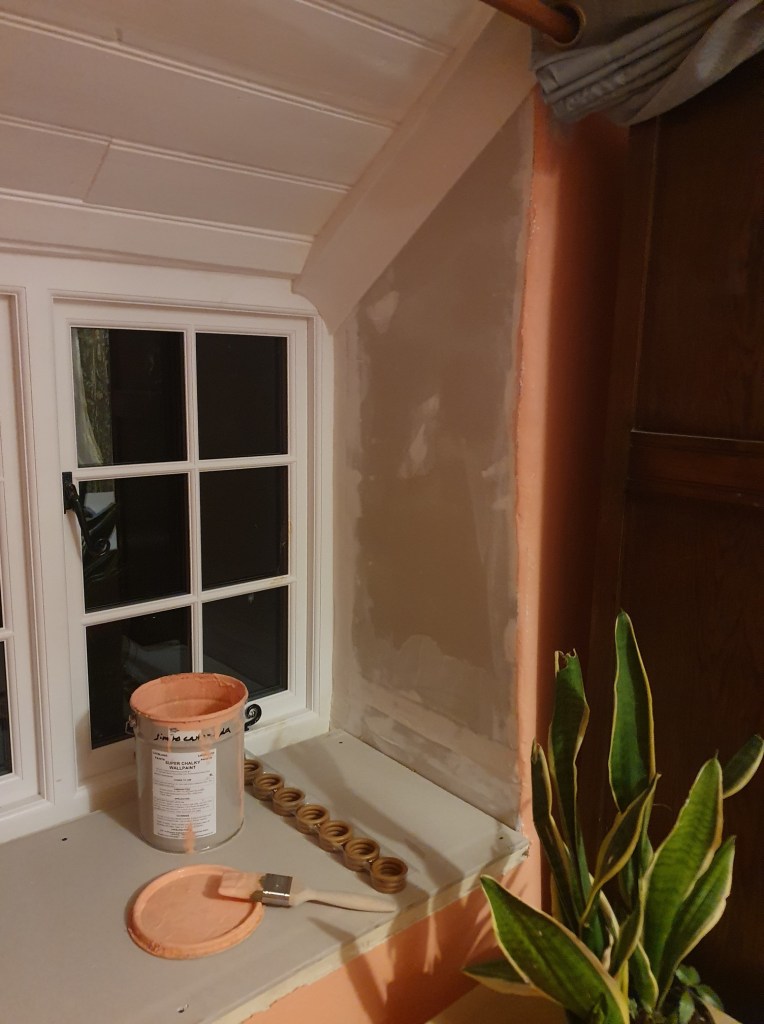

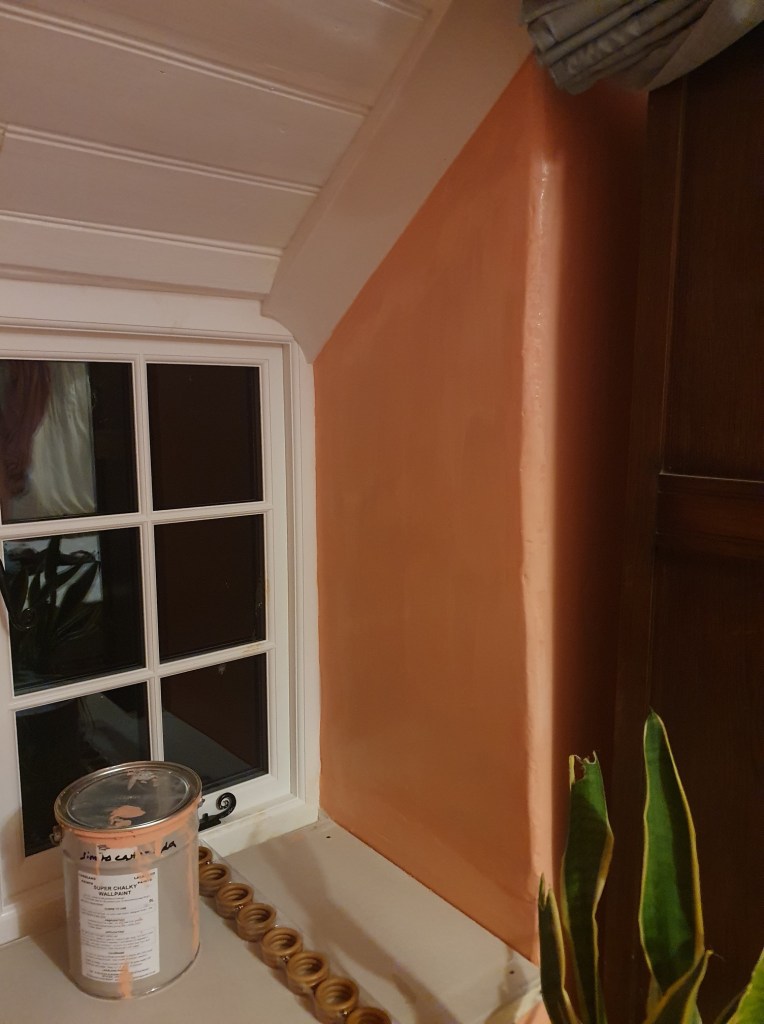
I bought a second curtain and put up the curtain pole on the second window. Because of the wonkiness of walls and ceiling, the curtain pole looks all askew, but it’s actually the only straight element.
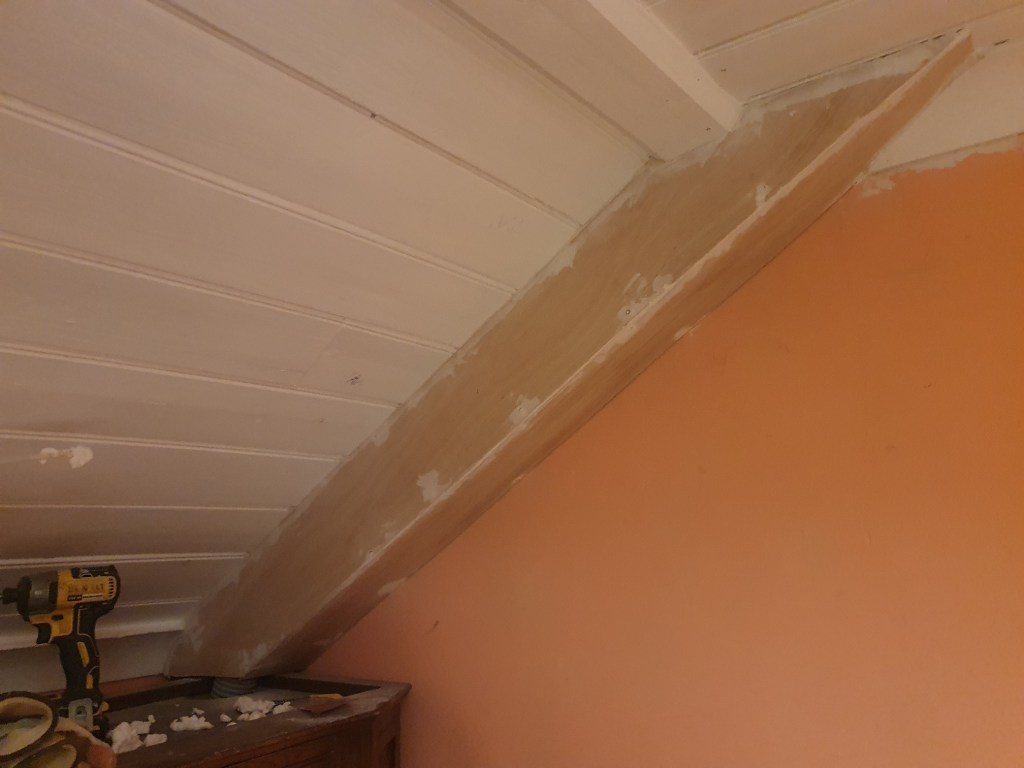
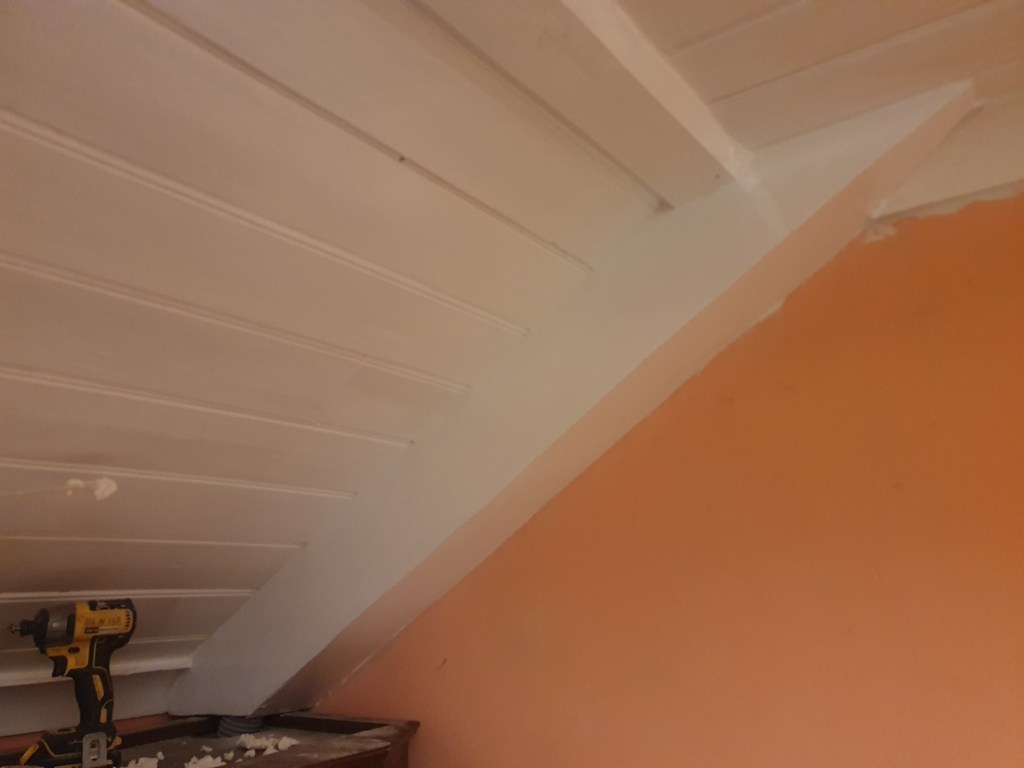
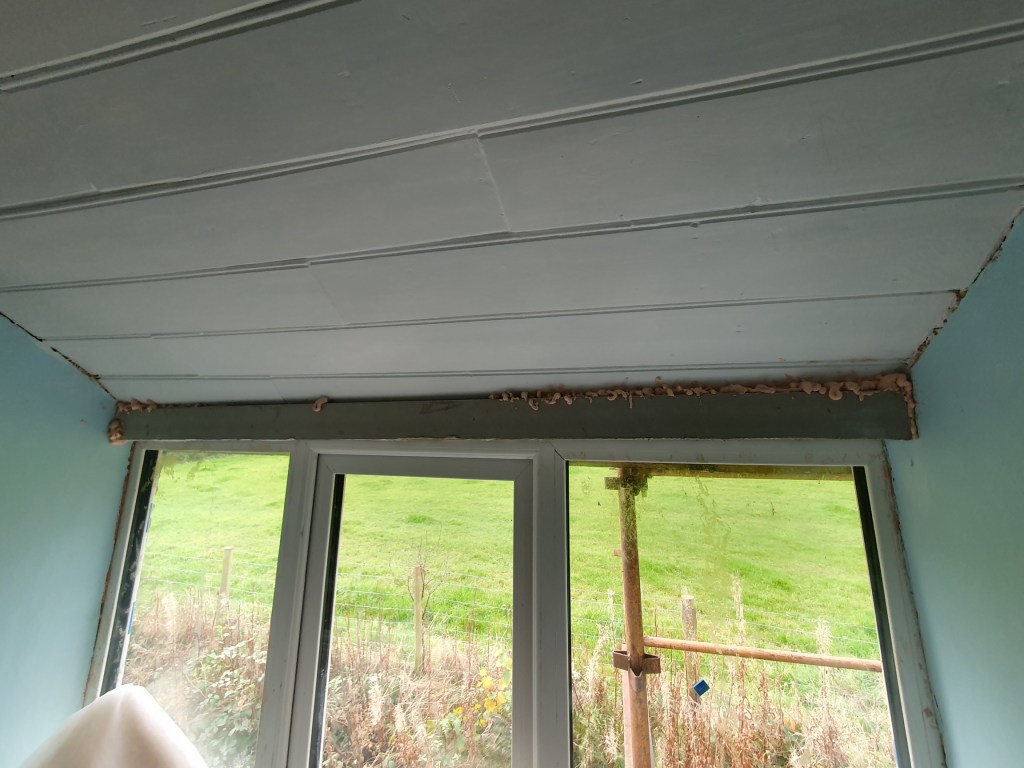
Having covered the lintle in the study, I added the coving and filled, sanded and painted around it. The coving around the windows has been a painful job, with the odd angles and wonky walls making it difficult to line up. I’m glad to have the last one done.
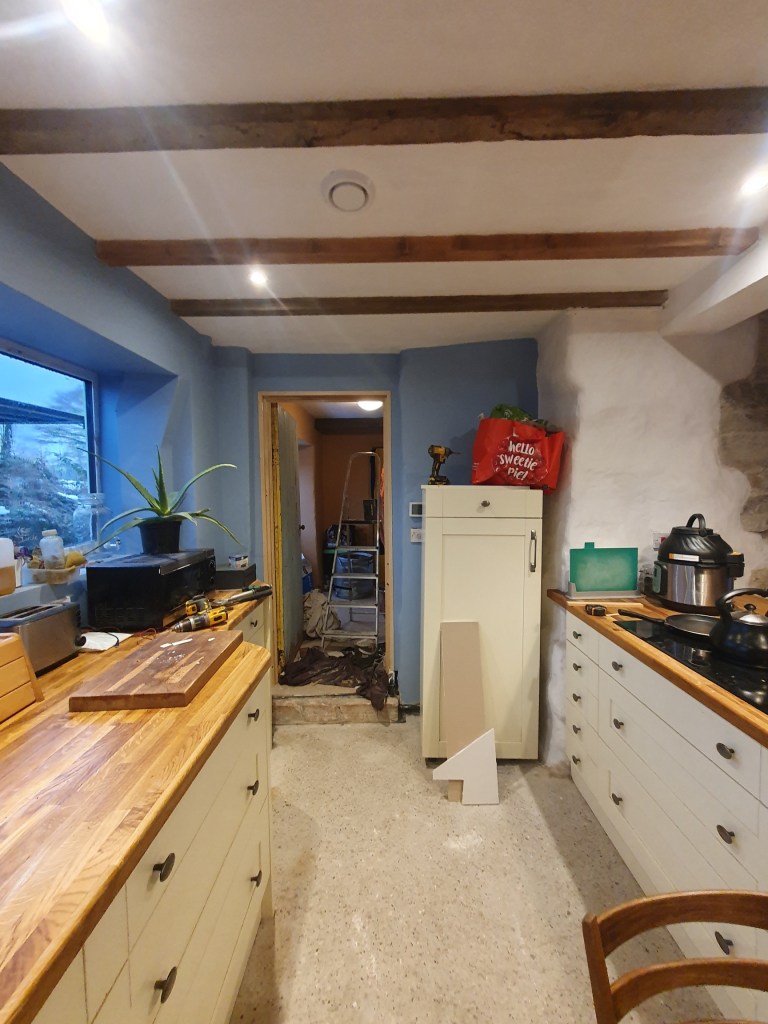
In the kitchen I painted the bare plaster with a watery paint mix before painting the section blue. Soon the whole kitchen will need a second coat but at least it looks passable for now.
In the utility I covered the very old and unattractive lintle with plasterboard and filled the gaps. Another bit of plasterboard will need to fill the gaps above the door but first we’ll need to add architrave.


In the downstairs toilet I started to build the boxing around the pipes. The verticle soil pipe we’ve decided will be covered in expandy foam, filled and painted, as we can’t see a reasonable way to box it in. At least the horizontal pipes were a fairly easy job.

One small but satisfying job was to start organising the shed, so all the wood that’s been sitting around in piles in the house could be moved into it. We’ll need to install the windows and door before we can start moving the tools in, but getting the wood out of the house is a nice first step.

Chris focused his attention on finishing the electrics for the extractor fan in the kitchen and adding edging to the bookcase.

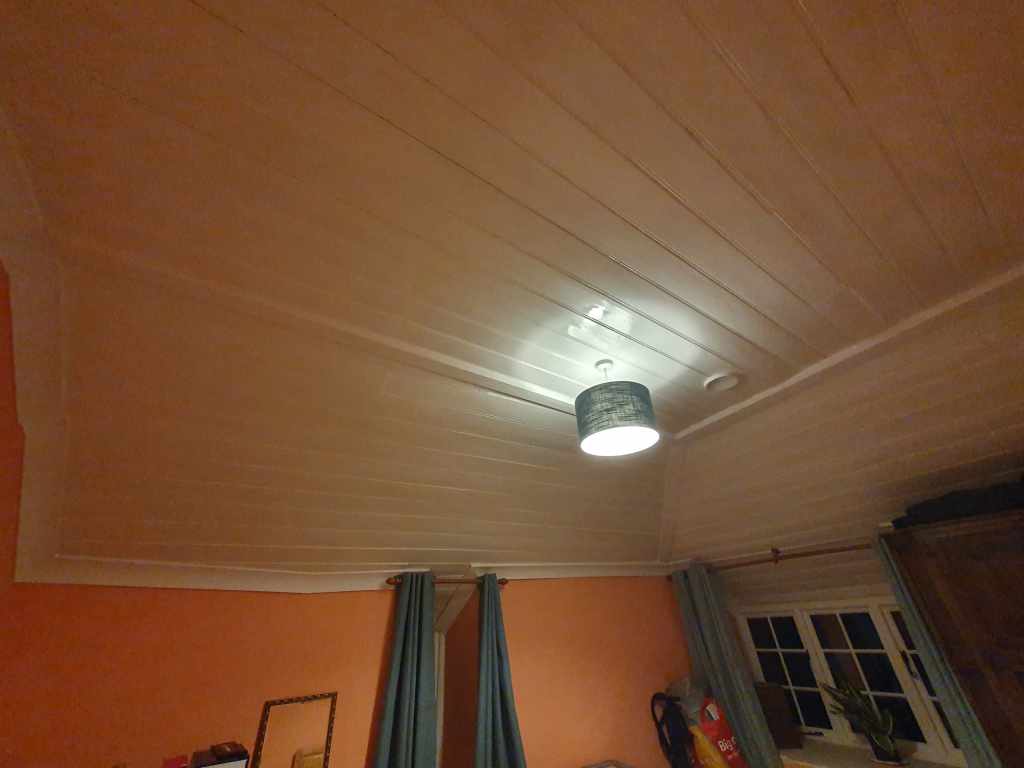
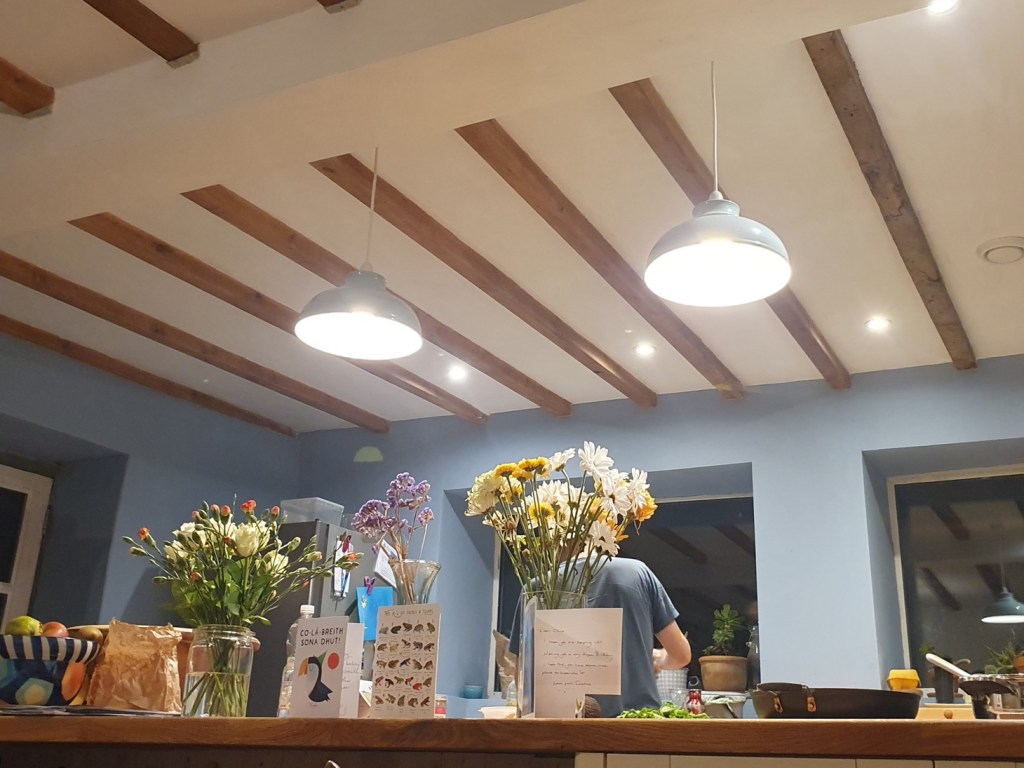
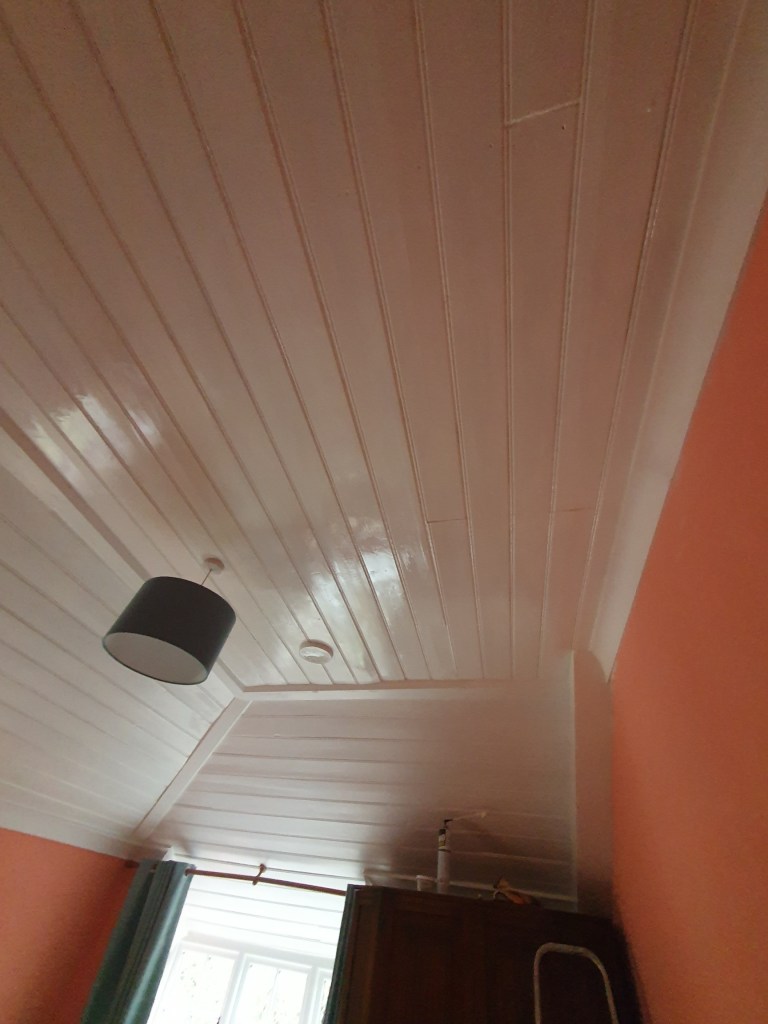
He also did the fiddly job of lowering the kitchen lights. We hadn’t had enough cable when we originally installed them so they’d ended up close to the ceiling. They’re much more of a feature now.
The next job that really needed to be finished was the skirting in the kitchen, but its a horrible job and both myself and Chris had been trying to avoid it in the hope the other person would do it. In the end I caved in. I’d avoided it in part because all the skirting upstairs had been a nightmare to attach, but actually this lot went on without a problem. Having filled the gaps the next job will be sanding and painting.

We got treated to a winter wonderland this week, with a heavy dump of snow that blanketed everything for days. It certainly made the building site of the garden look a little more appealing.

-
Coverings
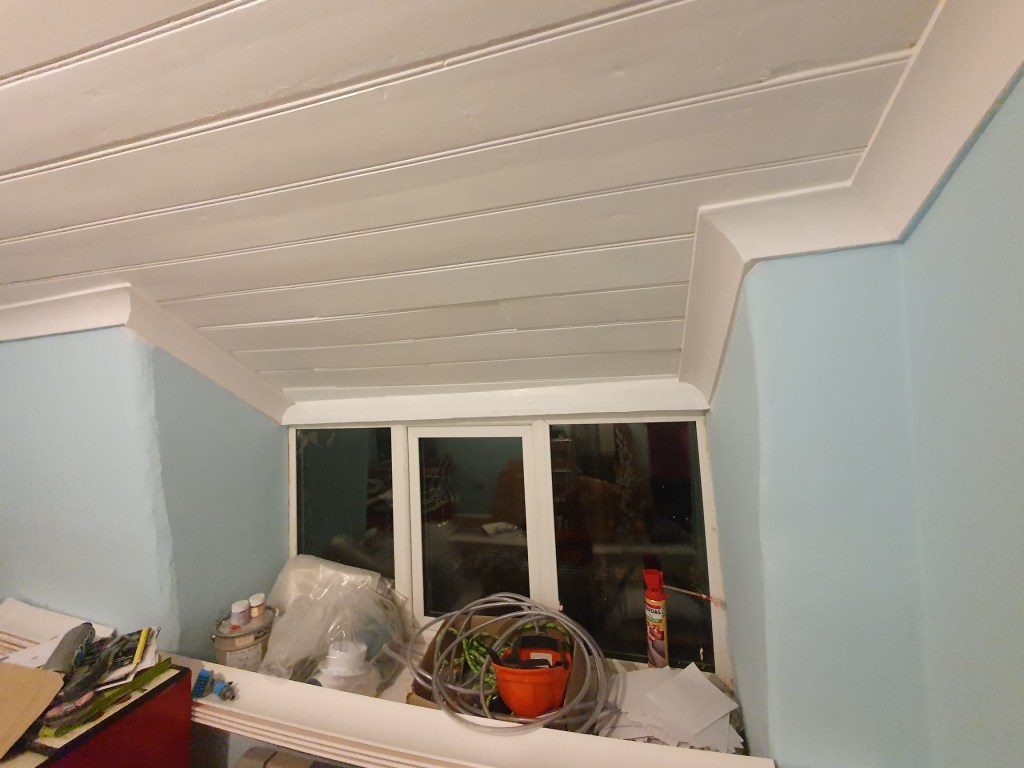
I’ve been plodding away on the boxing in the spare room. I filled and sanded the screw holes, used expandy foam, filler and caulke around the edges, and painted the whole thing with primer. The final step was a couple of coats of white wood paint. I located a pot and painted the wood. Then, looking up at the rest of the ceiling I realised that also needed some caulke and another coat, so I moved on to that. It’s an annoying job but I was pleased to get it done.
Until that is I looked back down at the paint I’d been using and realised it was gloss… Chris claims it’s not particularly obvious but there are definitely shiny patches. It’s low on the priority list but at some point I’ll go over it again with satin paint.
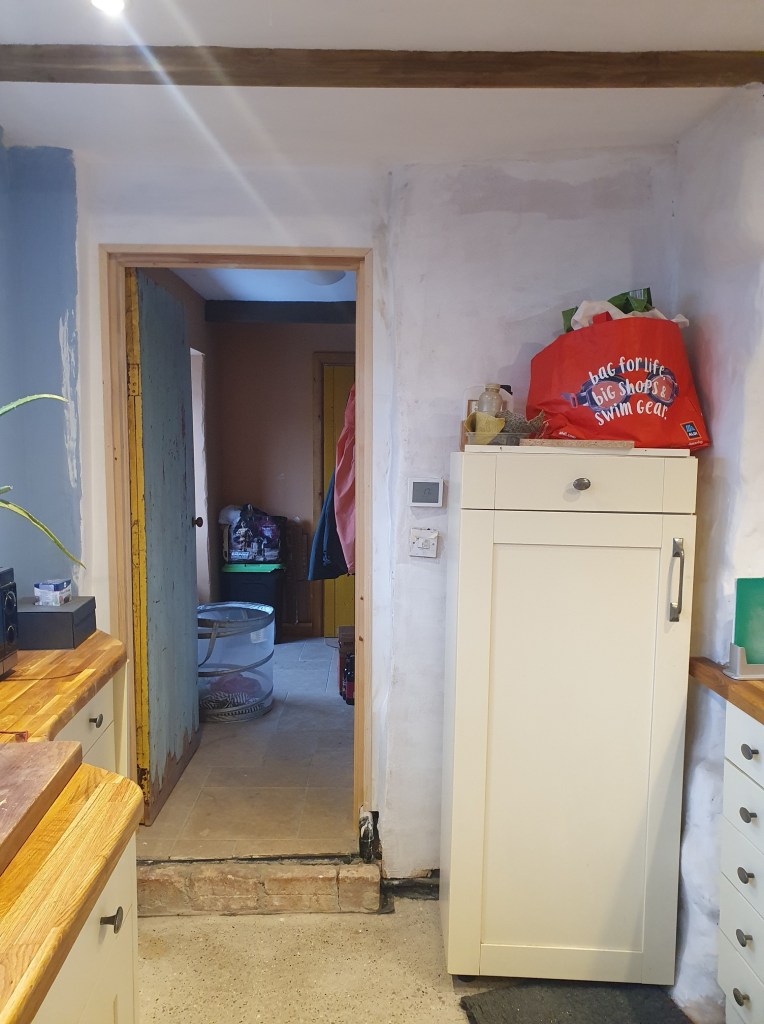
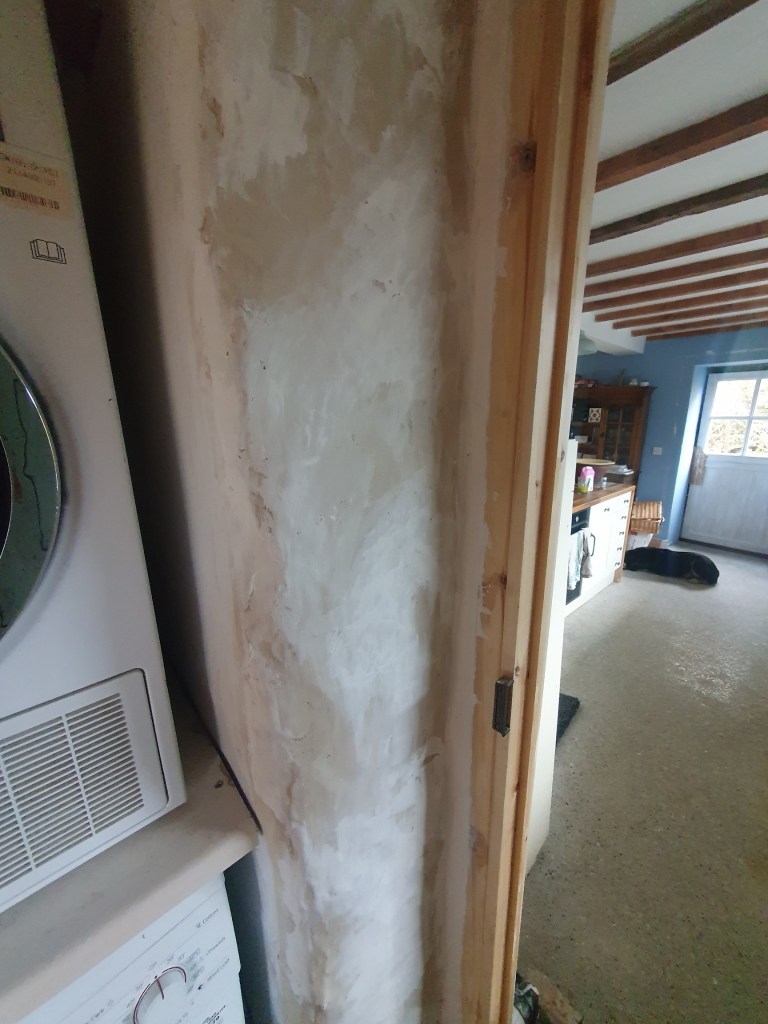
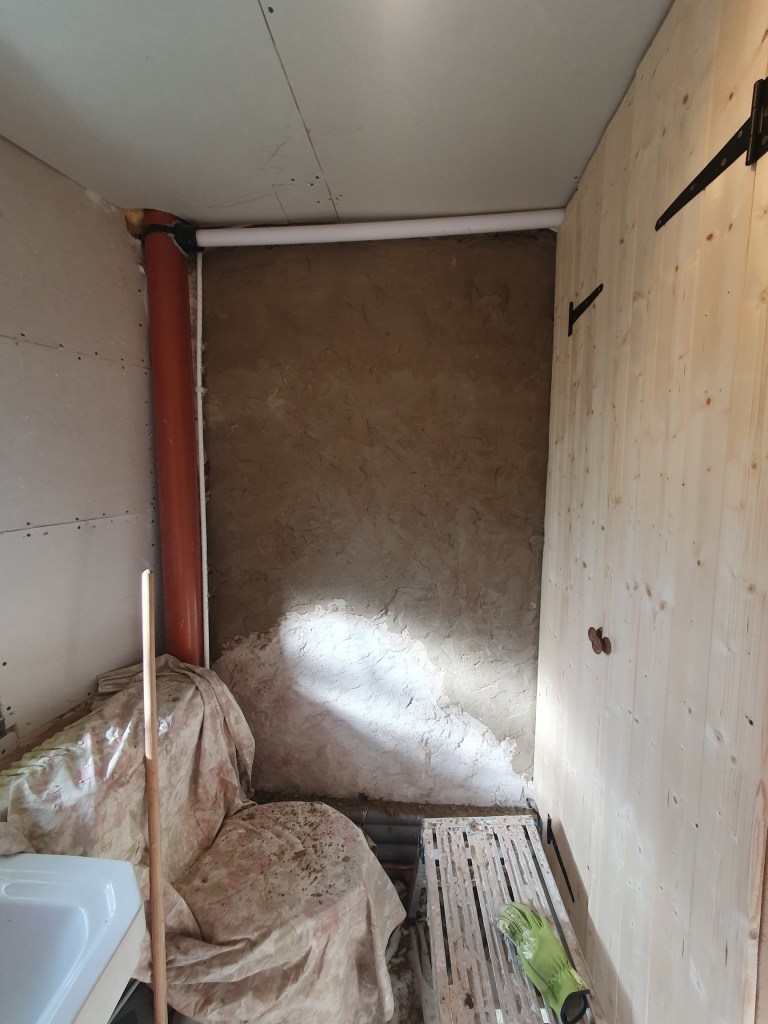
In the utility I covered the rough lime plaster with a coat of pure lime to create a better finish. Where I’d done lime coats last week I used filler to cover the cracks and the smooth over the edge of the doorway.
I got round to attaching the last bit of insulated board over the lintle in the study. It just needs filling and painting next.
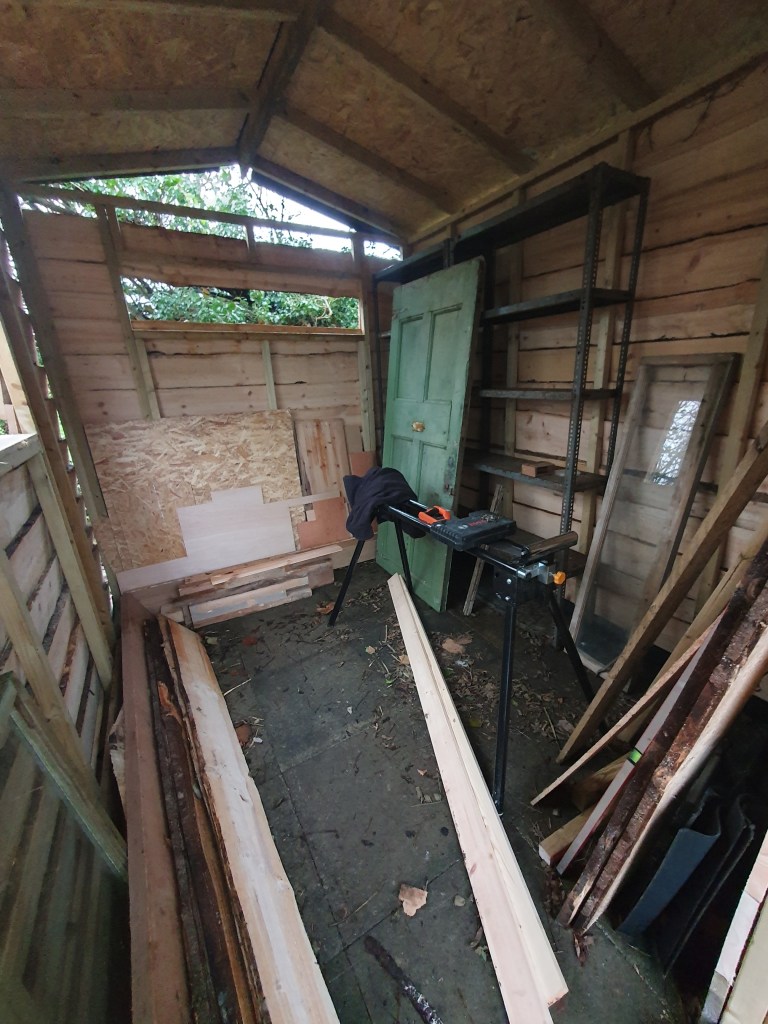
But the big job was getting on with the shed. Chris had spent an evening attaching the boards to the roof, and another moving gravel to backfill around the base. This meant we could move straight onto cladding the outside. We cut the waney edge spruce to size and overlapped it from the base to the roof. On the roof we cut and attached bitumen roof sheets.

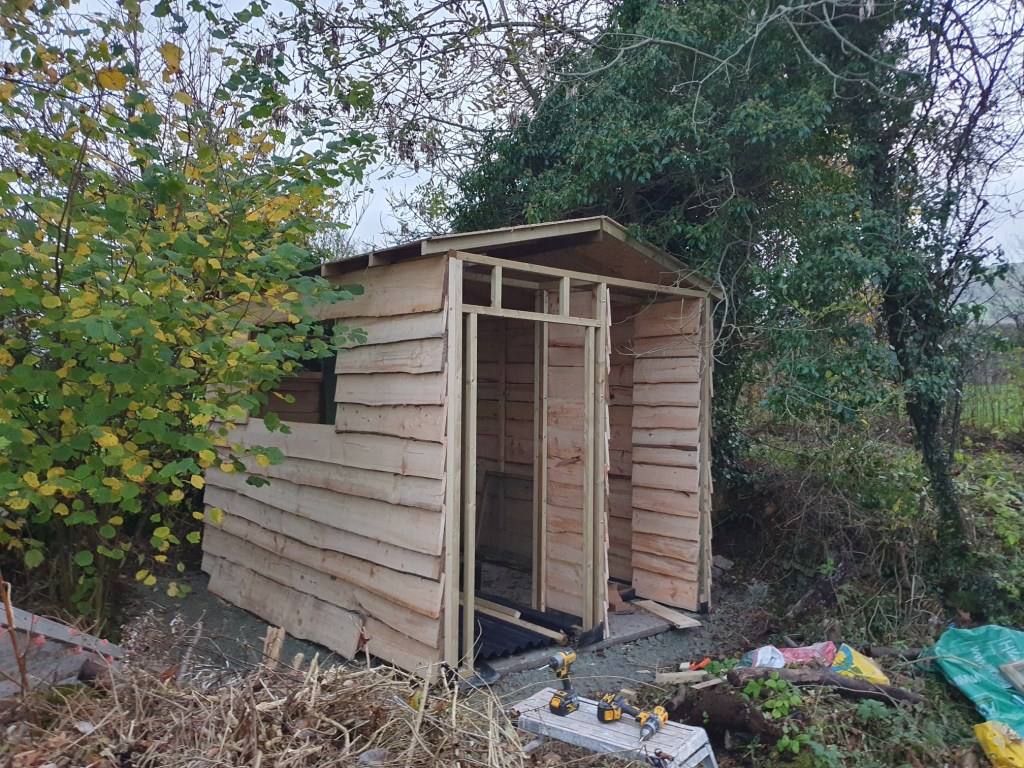

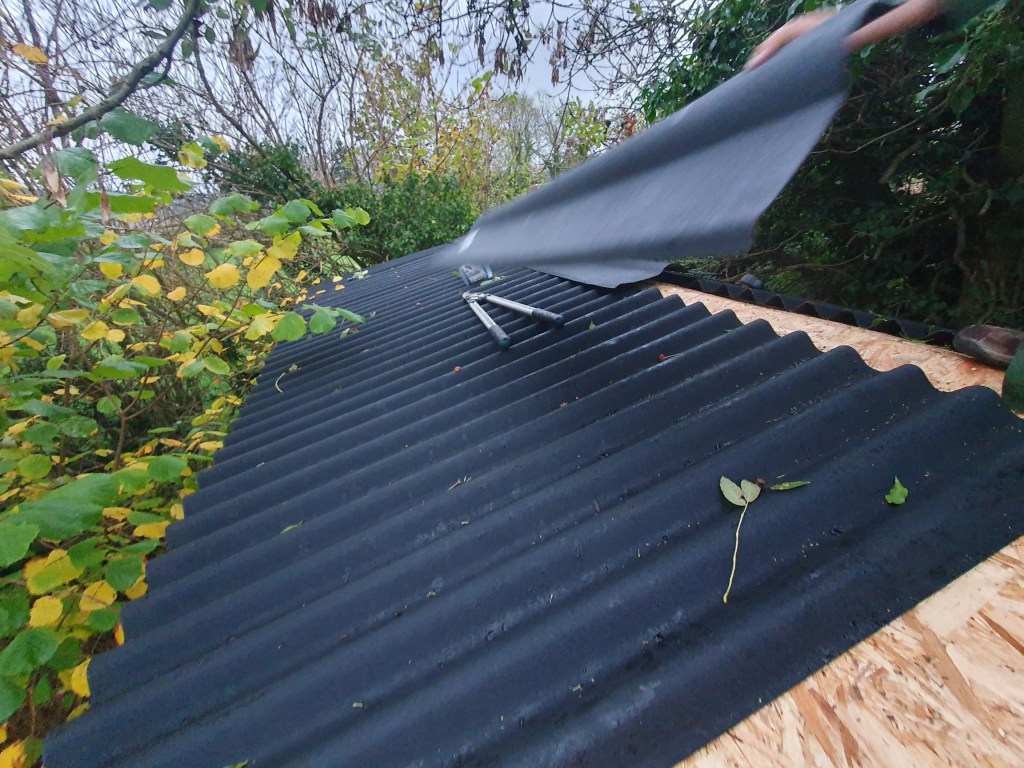
The shed is pretty weatherproof now, with only a few final bits of cladding needed, as well as the windows to install. Soon we should be able to move in some of our tools, and clear out the house a little. Chris is on the look out for old kitchen cabinets to start building a work bench.
-
Shedding
I can’t say that I’m particularly excited about building the garden shed. This is largely because there are undone jobs I look at every day inside the house I’d rather be getting on with. But Chris has been dreaming of a shed ever since we moved in, and says I can’t replace the stairs till the tools are out of the house – hence a shed.
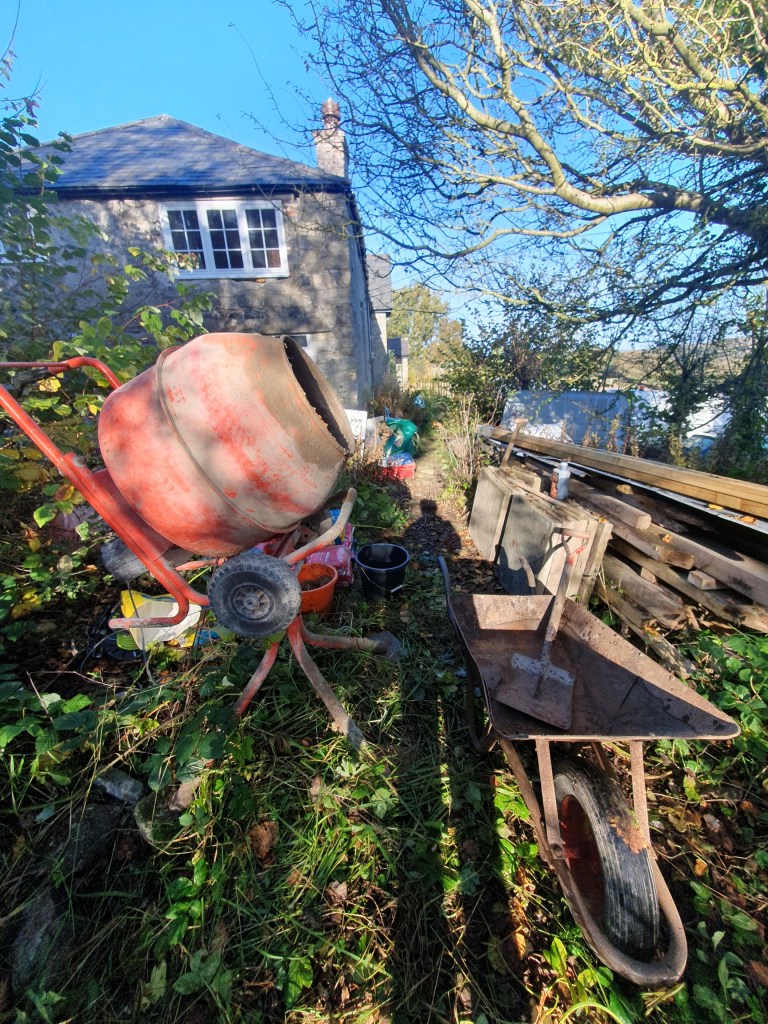
We borrowed Chris’s brother’s cement mixer and spent last weekend laying the concrete slabs for the base. As I can’t lift the slabs on my own, Chris laid the slabs while I wheelbarrowed sand from the drive to the cement mixer, and then wheelbarrowed cement to shed base, in a continuous loop for hours. For something that looks like such a small job it took a full day, and was pretty exhausting.
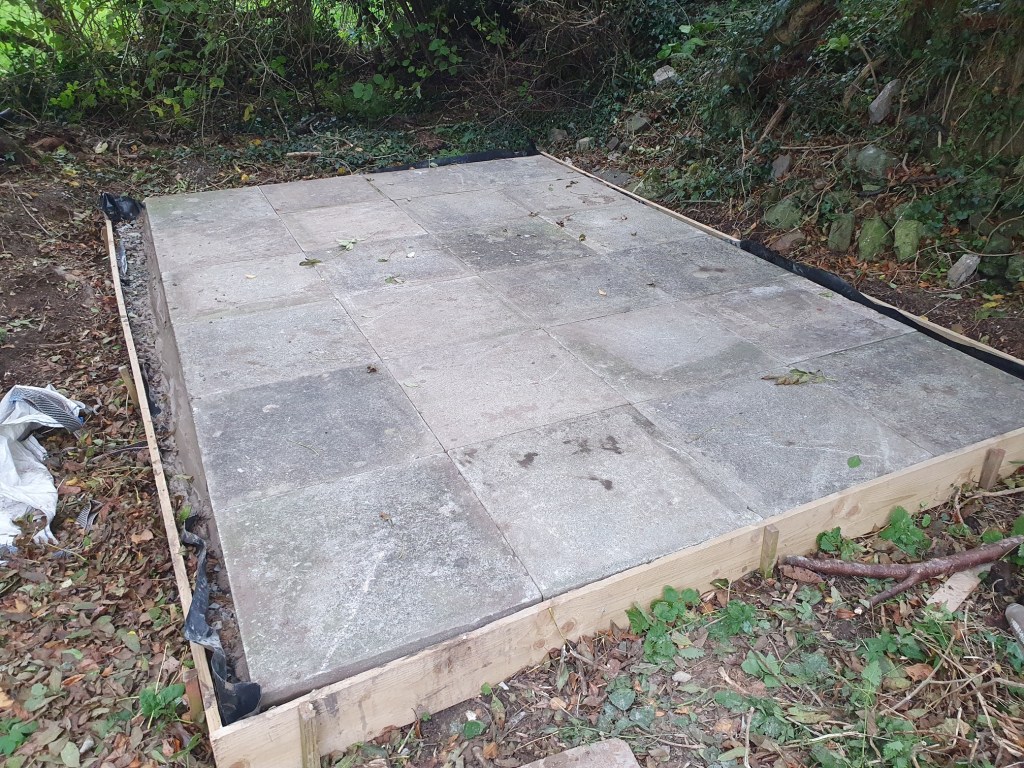
With the base done and dried, we started on building the shed itself this weekend.

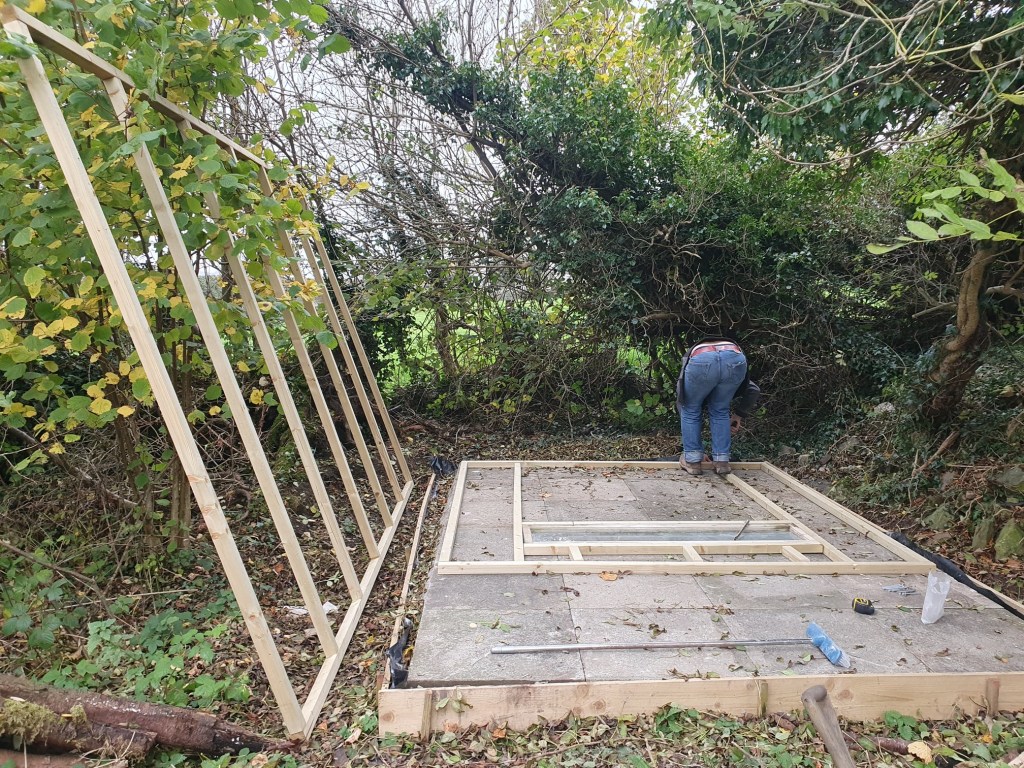
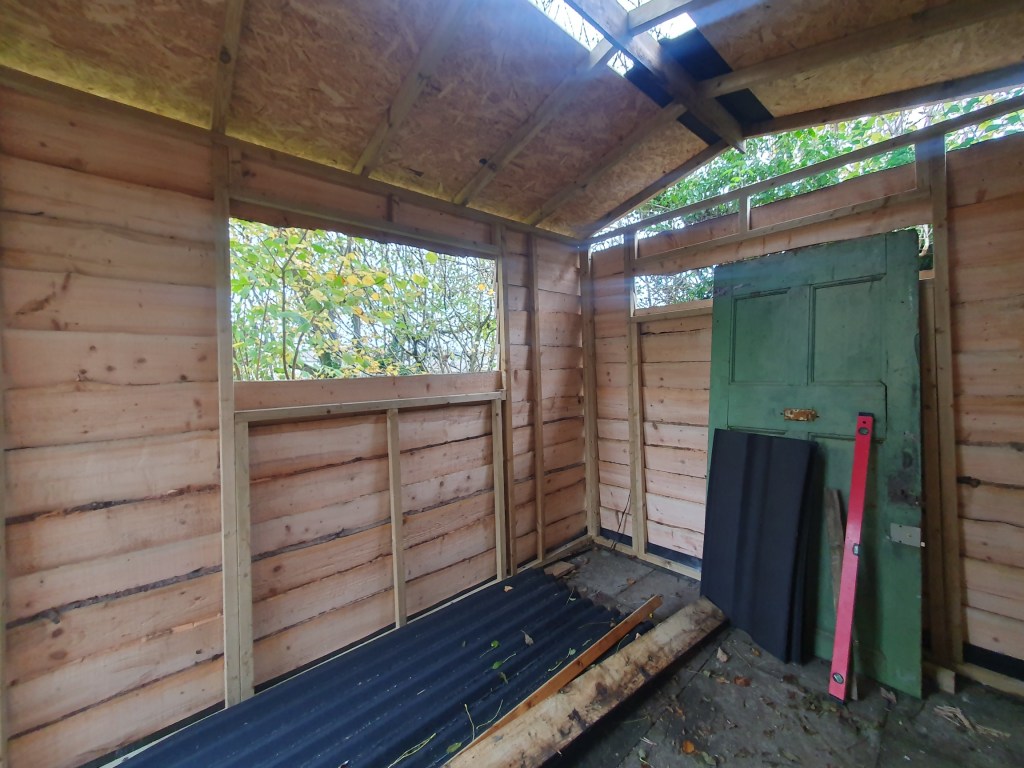
Chris has spent several evenings pondering on the design. He was keen to maximise the size so he could use it for tinkering on projects in the future. We also had an old door, two of our old windows, and some second-hand shelves that had to be worked into the design. My only inputs were a request for a green roof, an entrance for swallows, and an inbuilt bug hotel.
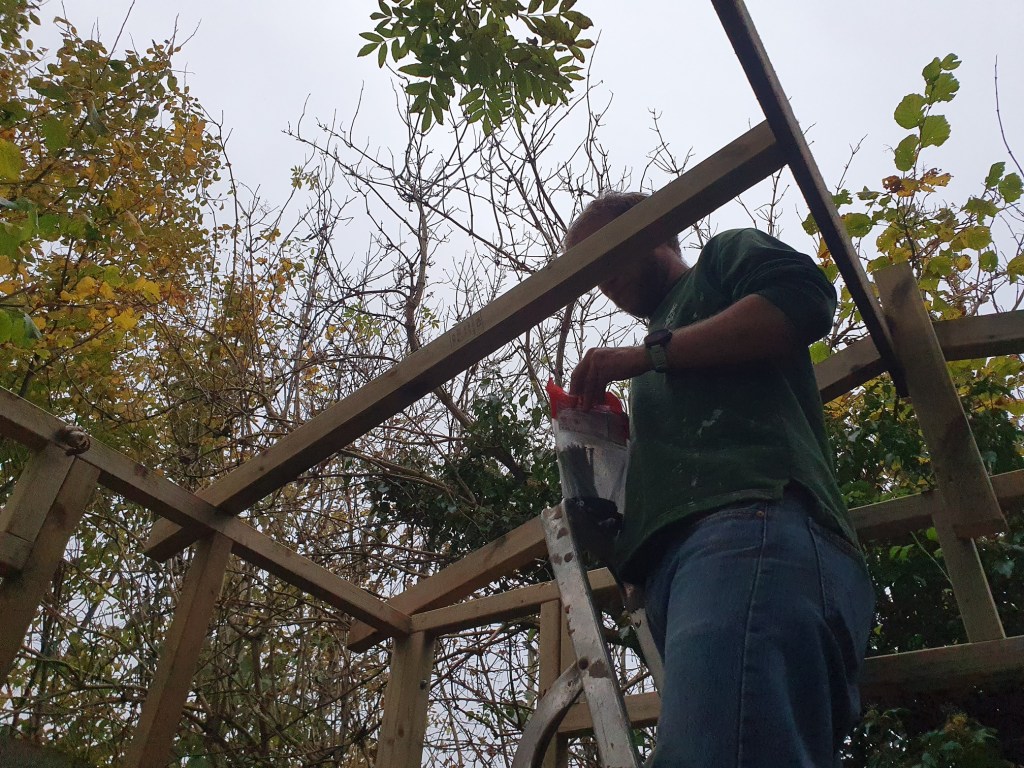
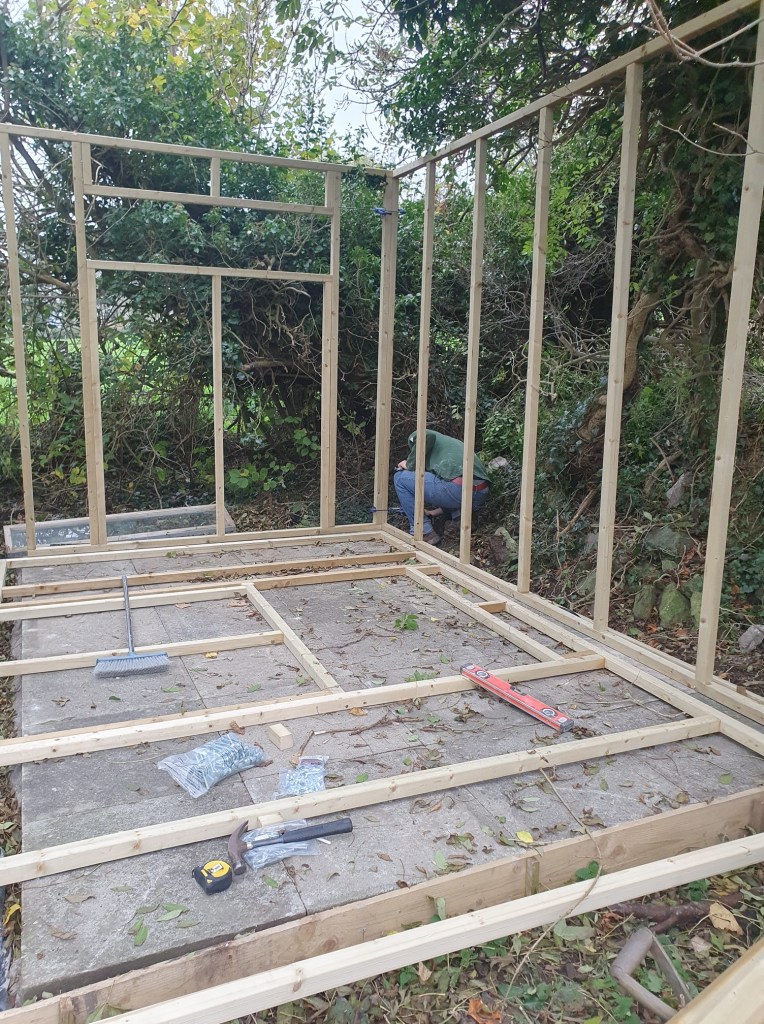
I spent my time cutting the wood to size while Chris hammered them together into frames. Once the frames were together we lifted them up and bolted them together. We then screwed the frame to the floor with a vapour membrane beneath it.
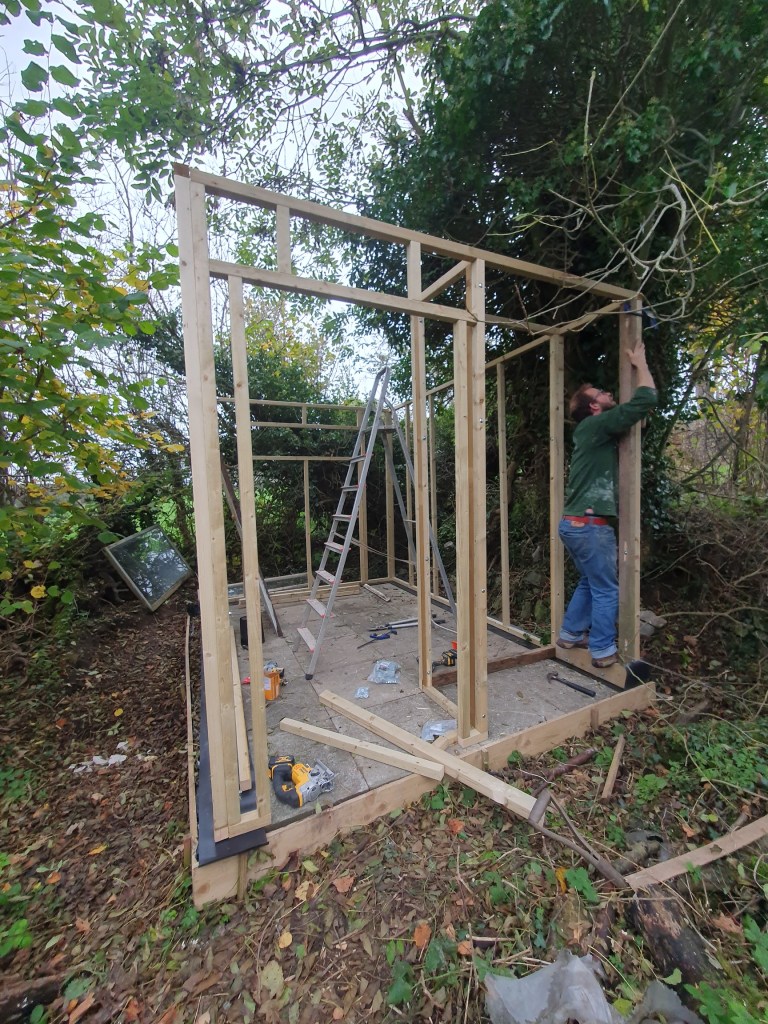
Next Chris cut the joists for the roof and we used a gravelboard from the shed base to begin constructing the roof.
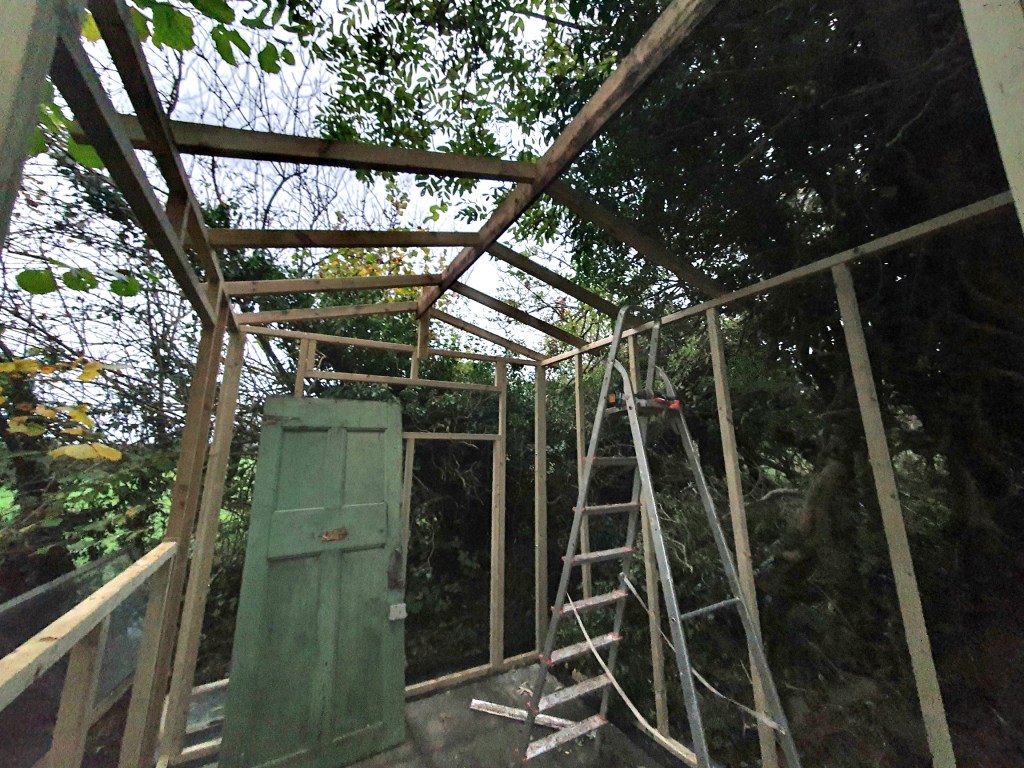
A few more joists to put in and next weekend the larch boards should arrive the clad the outside. It might not be one of my priority jobs, but at least it’s moving on quickly.
-
Background features
With weekends pretty busy I’ve been trying to get a few little jobs done in the evenings where possible. But I really wanted to get on with some bigger jobs so decided to book off a few days to help move things forward.
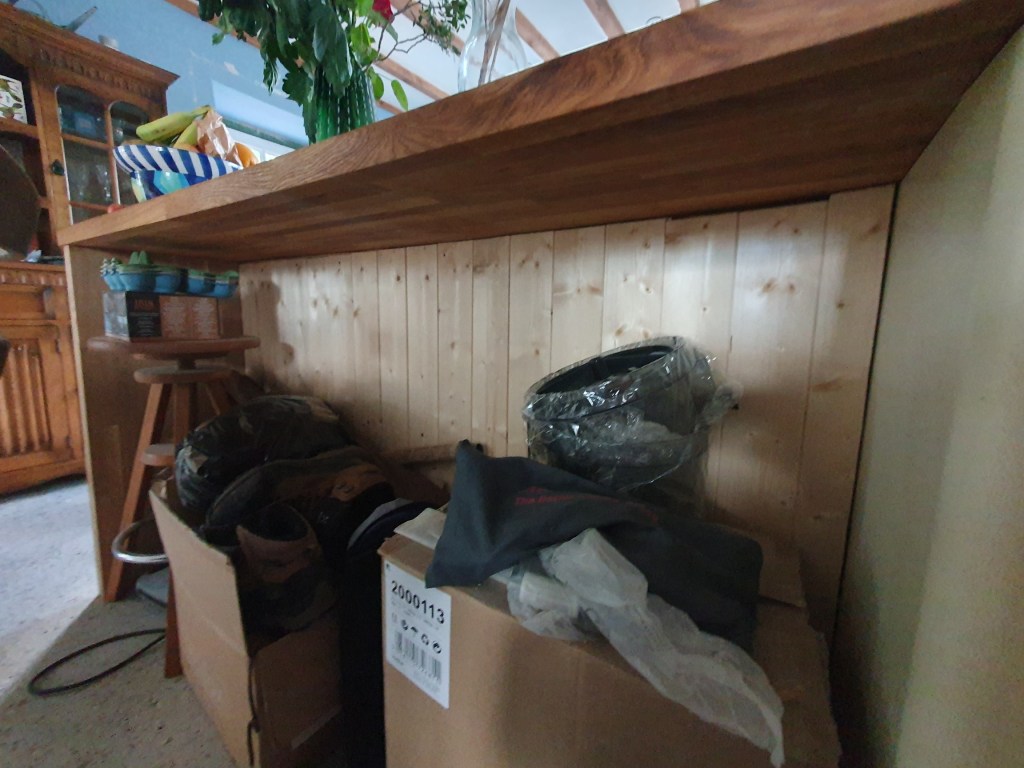
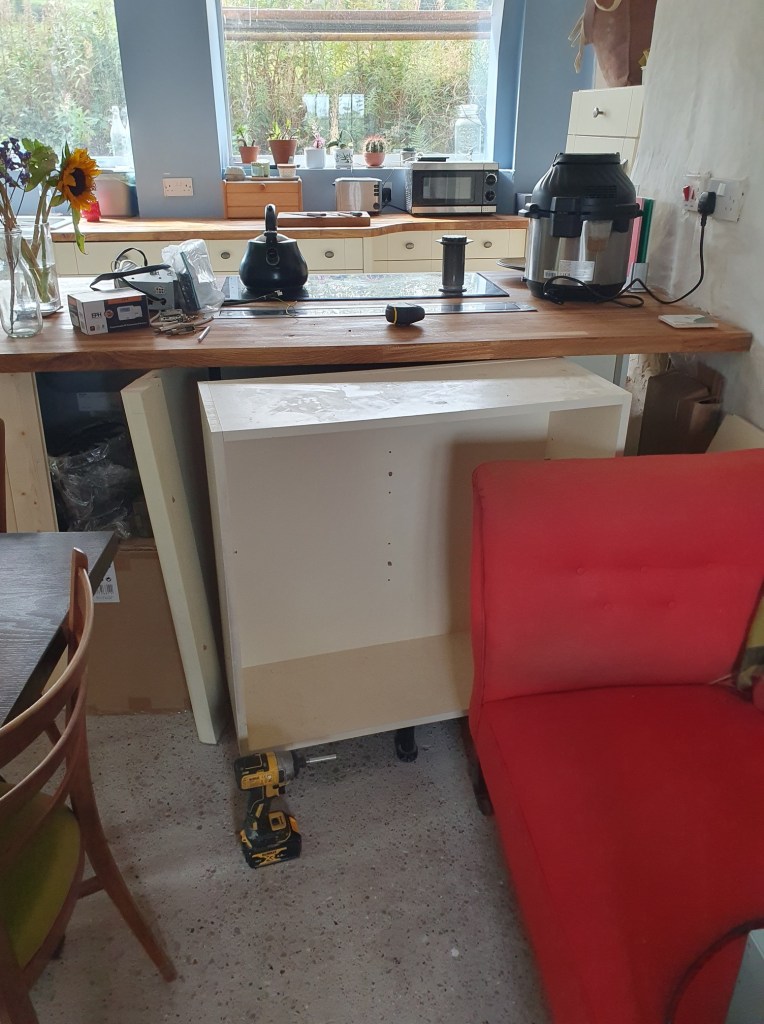
I’d been itching to panel the back of the breakfast bar for ages, but Chris said I couldn’t do it till he finished the extractor fan. The breakfast bar looks much better, though Chris says you can’t notice the change much as we currently use this space to store items for the recycling center and resale, but one day it’ll be empty and ready for some bar stools.
We decided to use architrave to cover the gap at the back of the breakfast bar. I treated the wood with the same stain as the worktop and chopped it up. Unfortunately, there a lot of odd angles along the back of the breakfast bar, and Chris had to give me a hand working out how to calculate the angles.
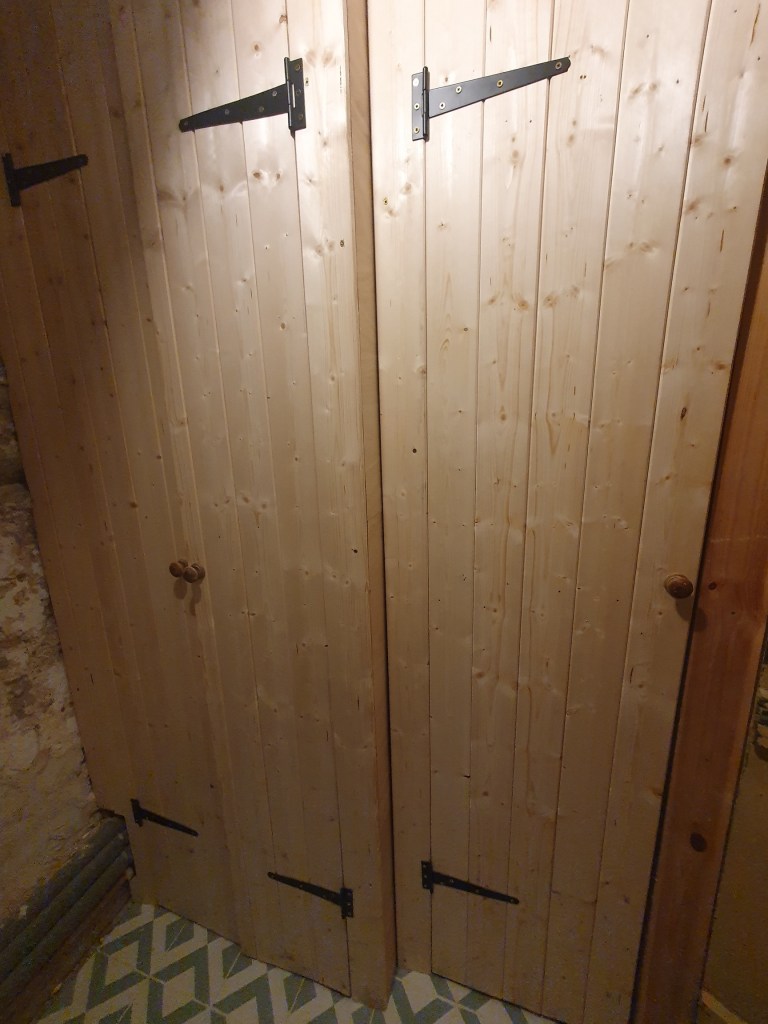
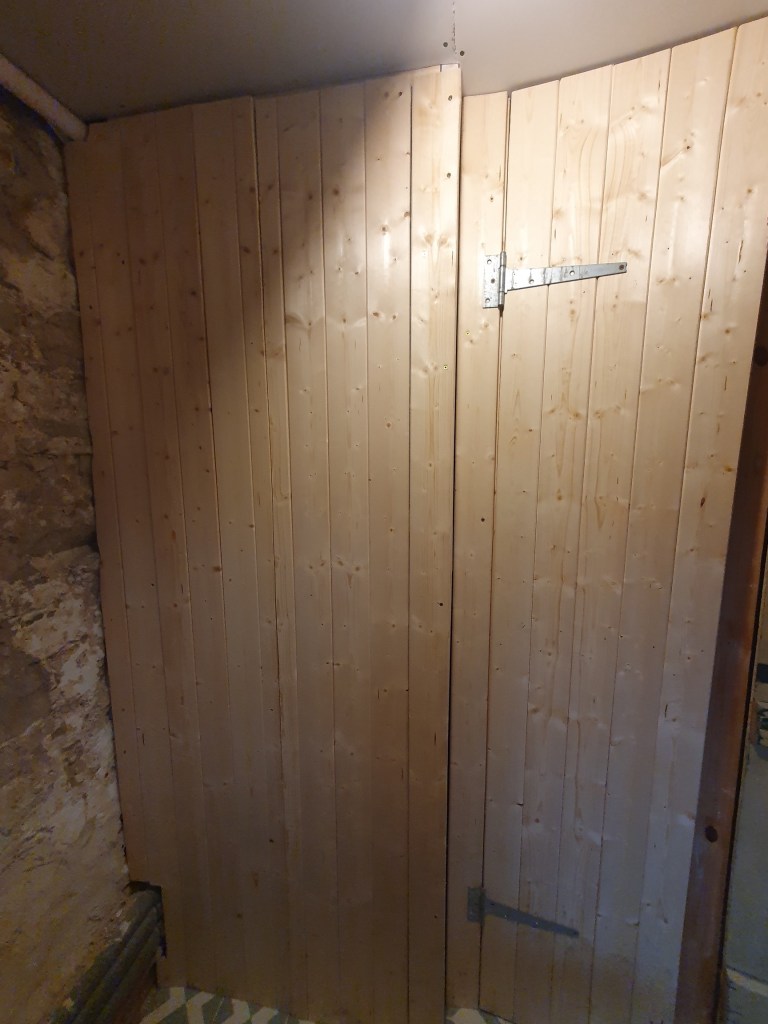
I finished off the downstairs toilet cupboard doors with hinges, door knobs and closing mechanisms.
Chris finished up the last of the tiles in the utility, and you can’t tell they went in after the other tiles.
To finish off the edging in the utility Chris added an entrance strip between the two tiles.
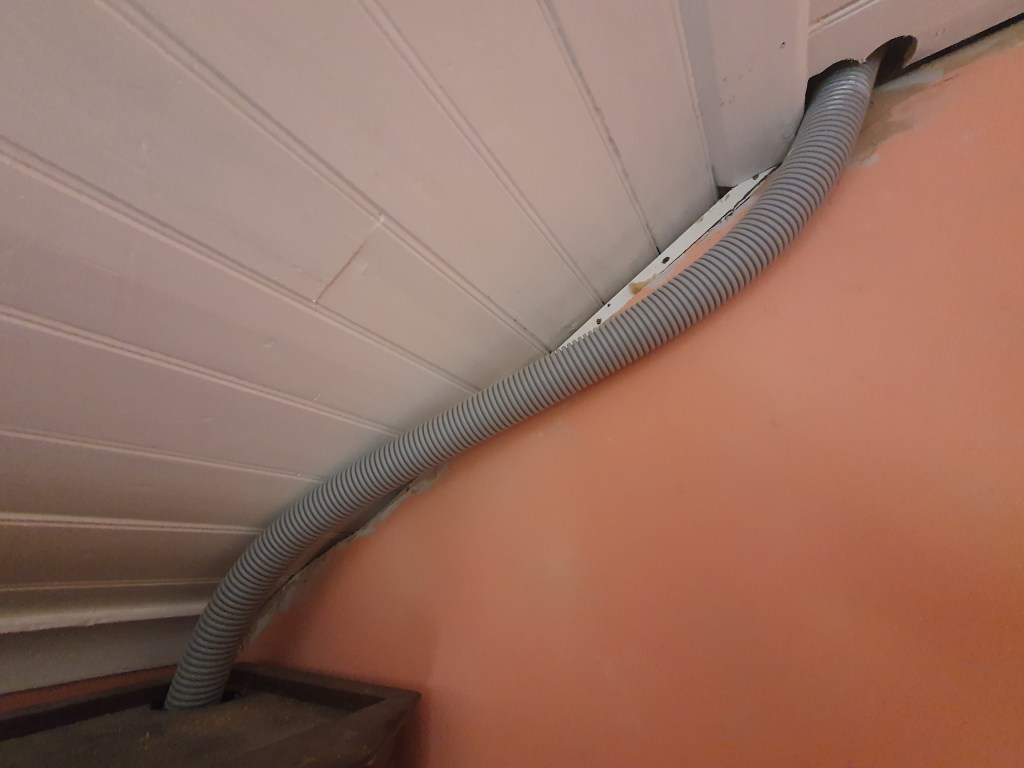
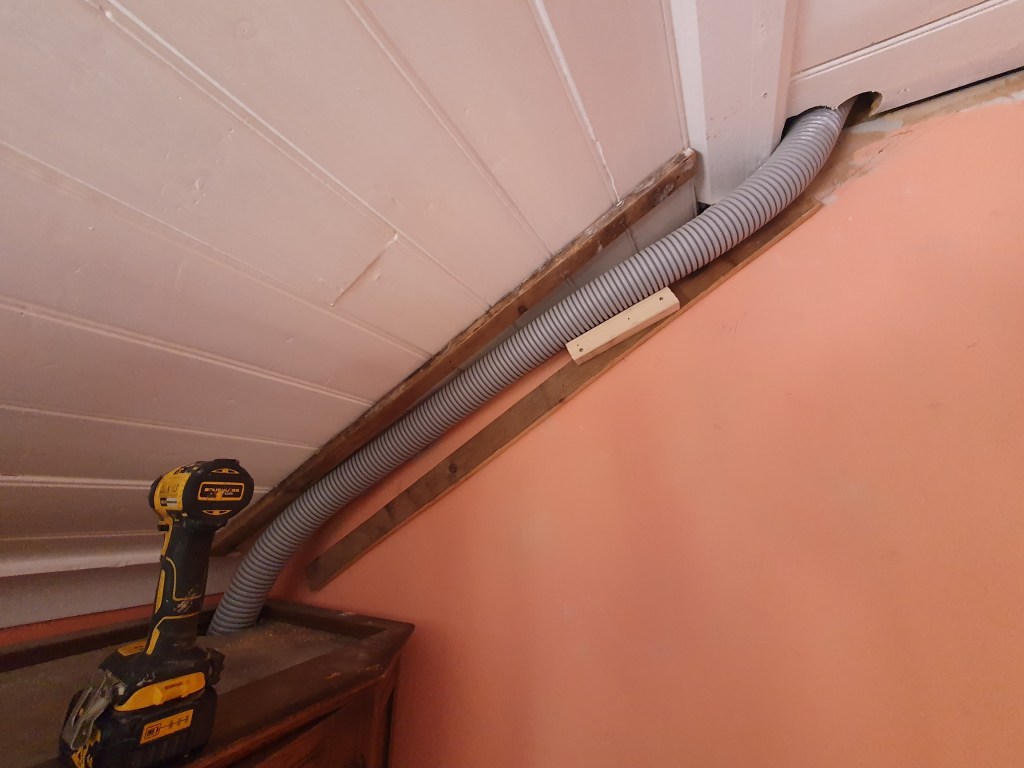
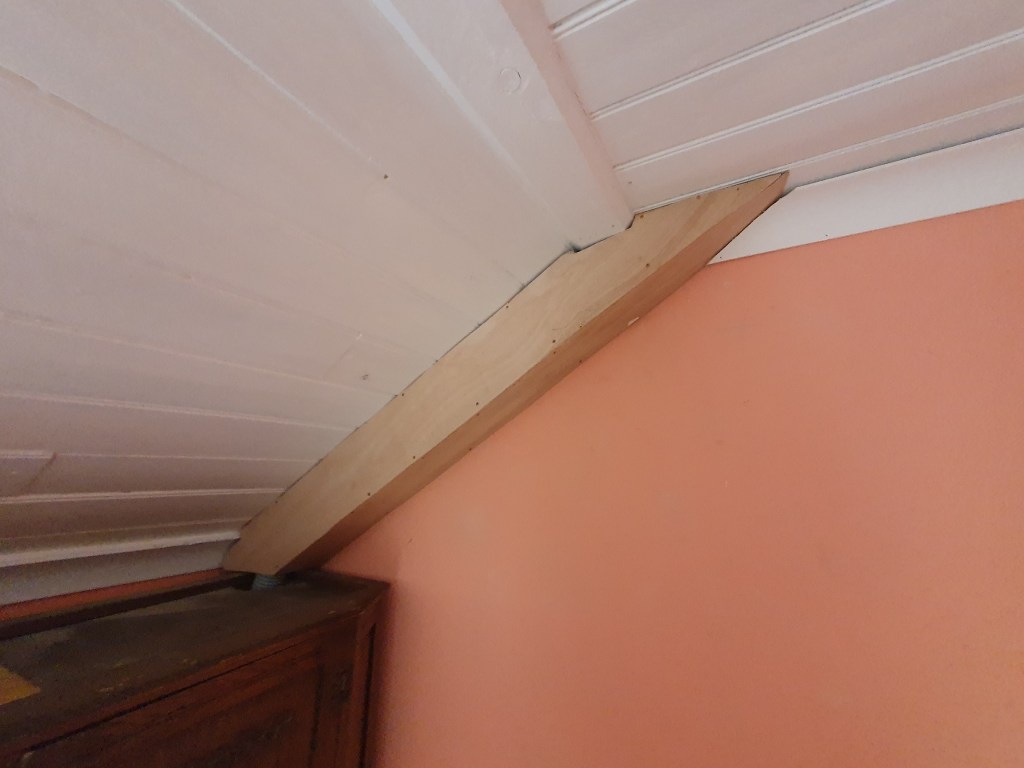
I boxed in the ventilation pipe in the spare room. It was a horrible job, with cutting the shape of the wood to match the ceiling taking an age. I then attached the final bit of coving. Next it will all need filling, sanding and painting.
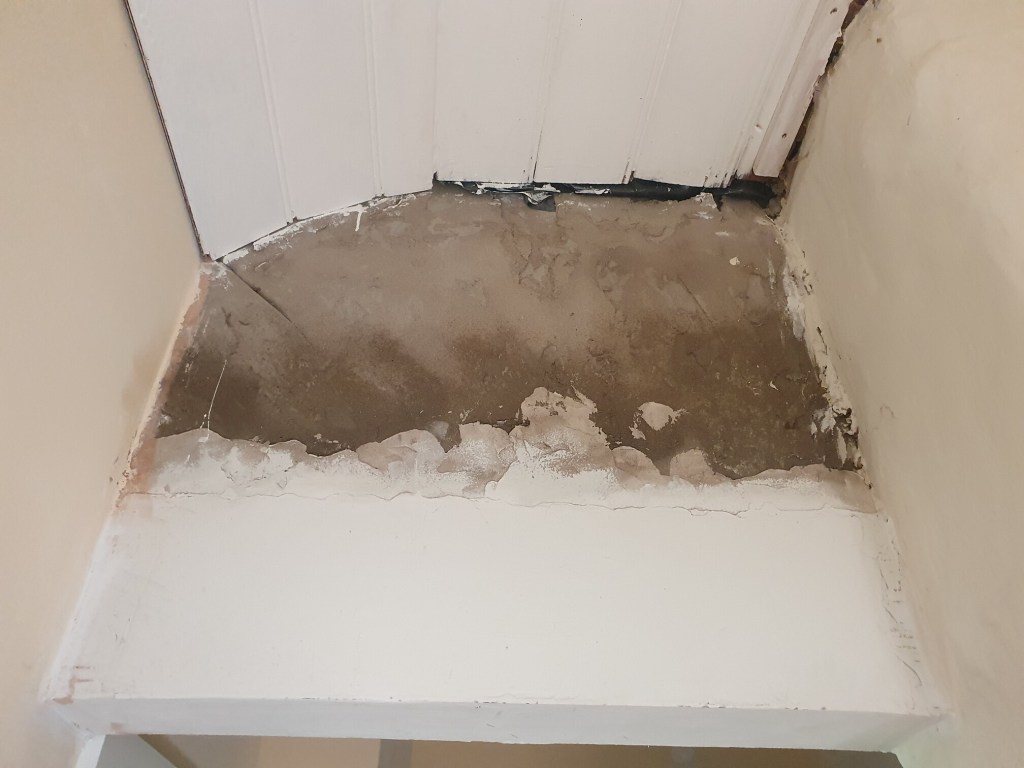
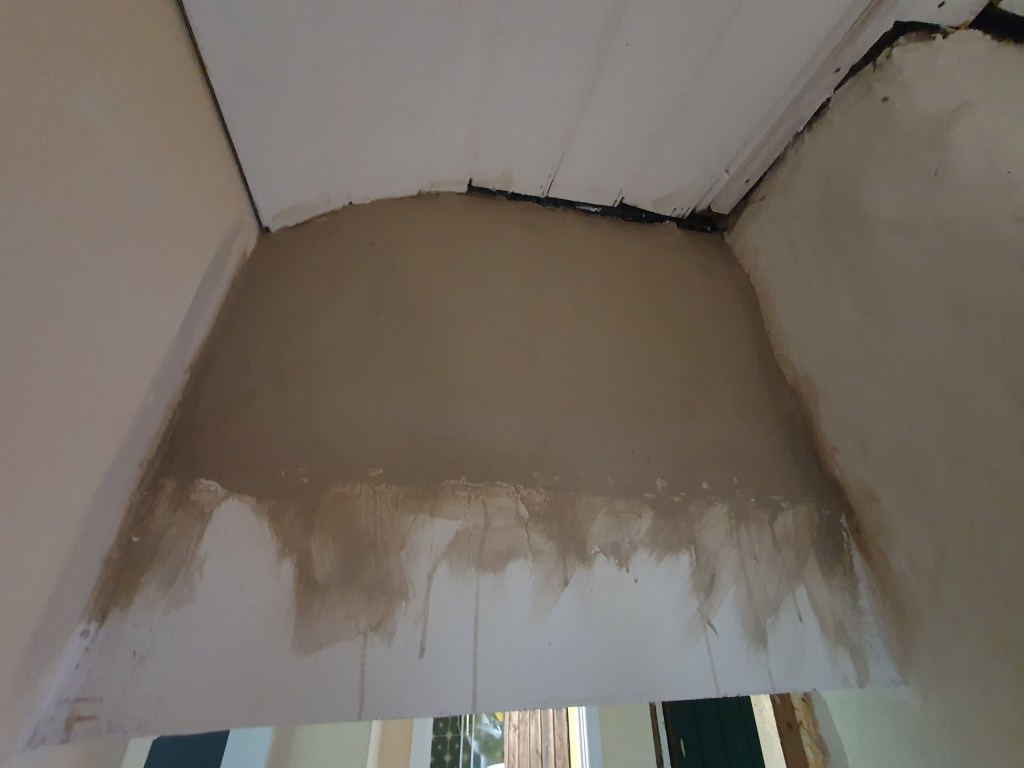

I’ve been avoiding a number of small plastering jobs because they’re a pain, but I got down my list and couldn’t avoid them anymore. I plastered the wall in the downstairs toilet with lime mortar, and filled the utility doorway with the remaining mix. I then smoothed out some previous lime mortar surrounding the doorway and above the doorway on the landing with lime plaster.
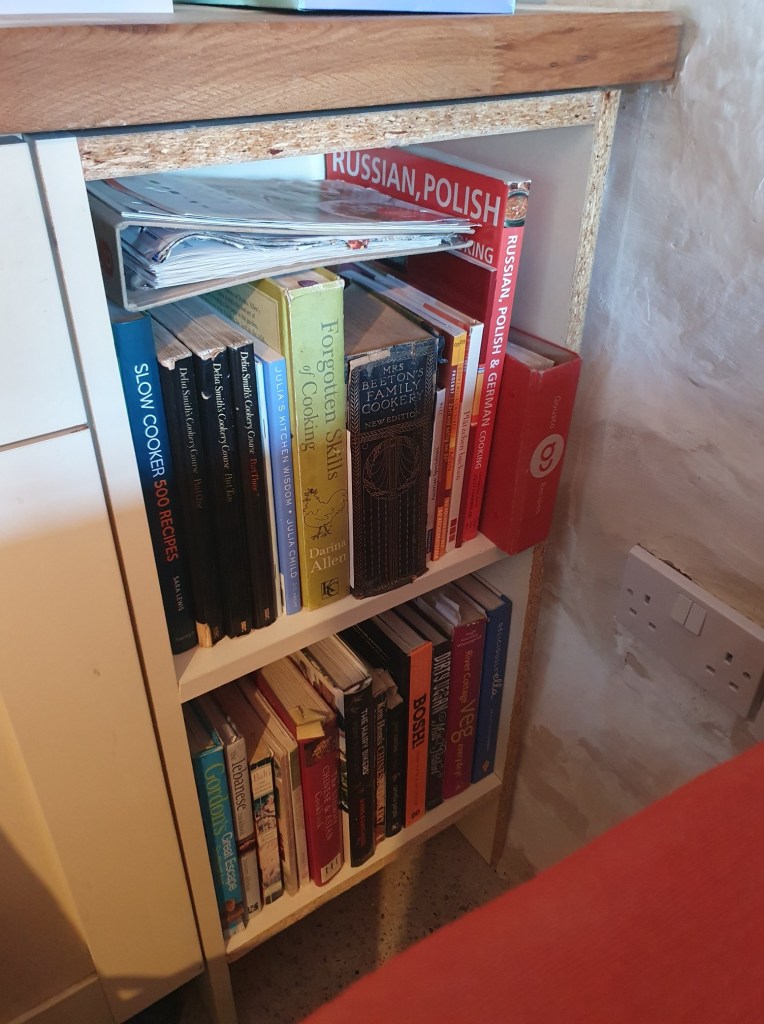
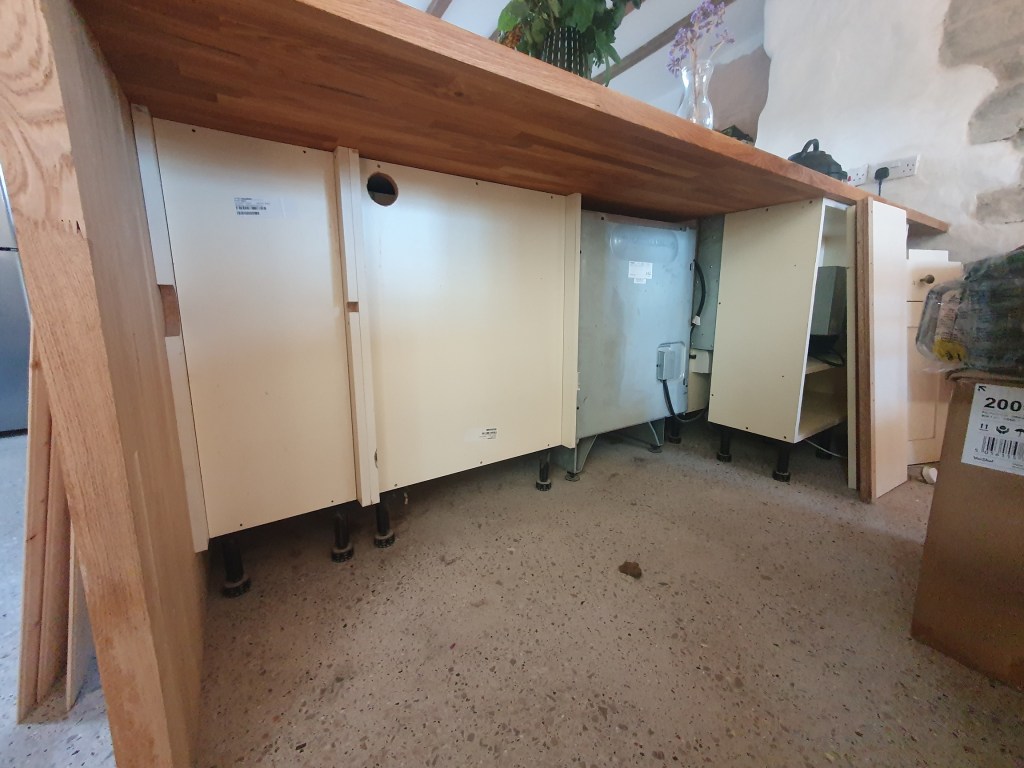
In a gap under the worktop Chris used the spare cupboard shelves to create a small bookshelf for our kitchen books. He’ll then use some iron on edging to cover the exposed wood. This tiny bookshelf means another moving box is finally emptied.
Chris’s brother has lent us a cement mixer, and Chris plans to start laying the slabs for the shed. A big order of wood has also gone in for the structure – meaning the kitchen will once again be piled high with building supplies, but still it’ll be exciting for the shed to start going up. We just need a little sunny weather to help it along.
-
Filling some gaps
We only had one day free this weekend for DIY, so I made an effort to get through a few small jobs in the evenings.

I gave the lounge beams a final coat of paint, before washing the brushes, putting everything away, and then remembering the one solitary beam in the utility that still needed painting.
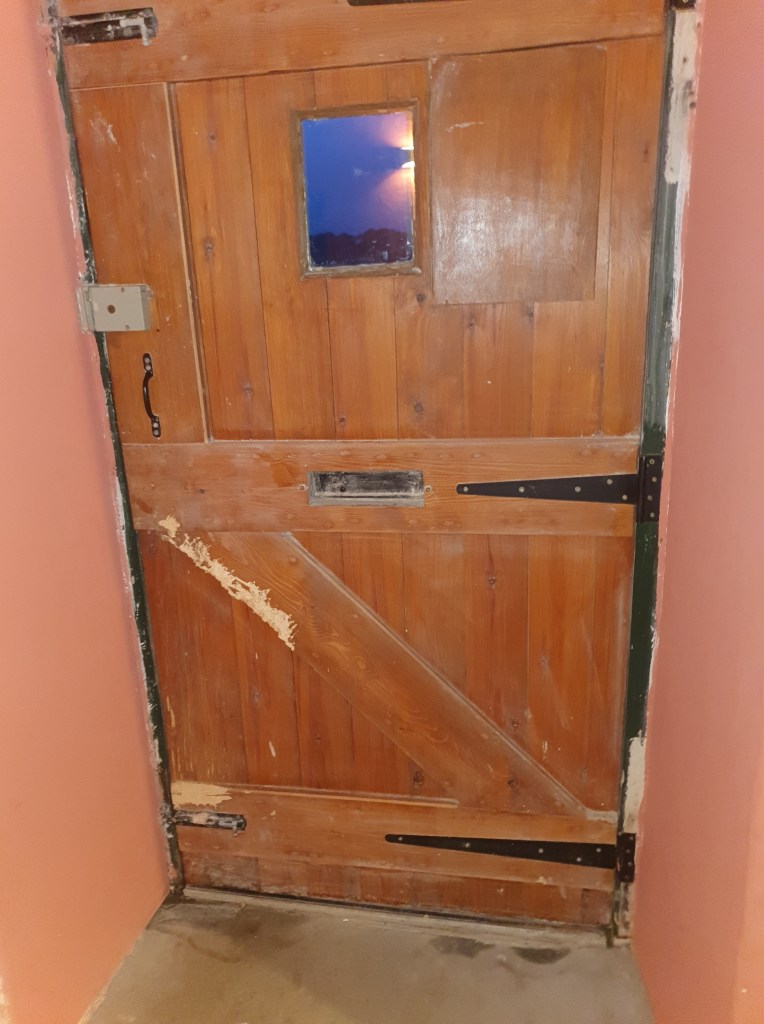
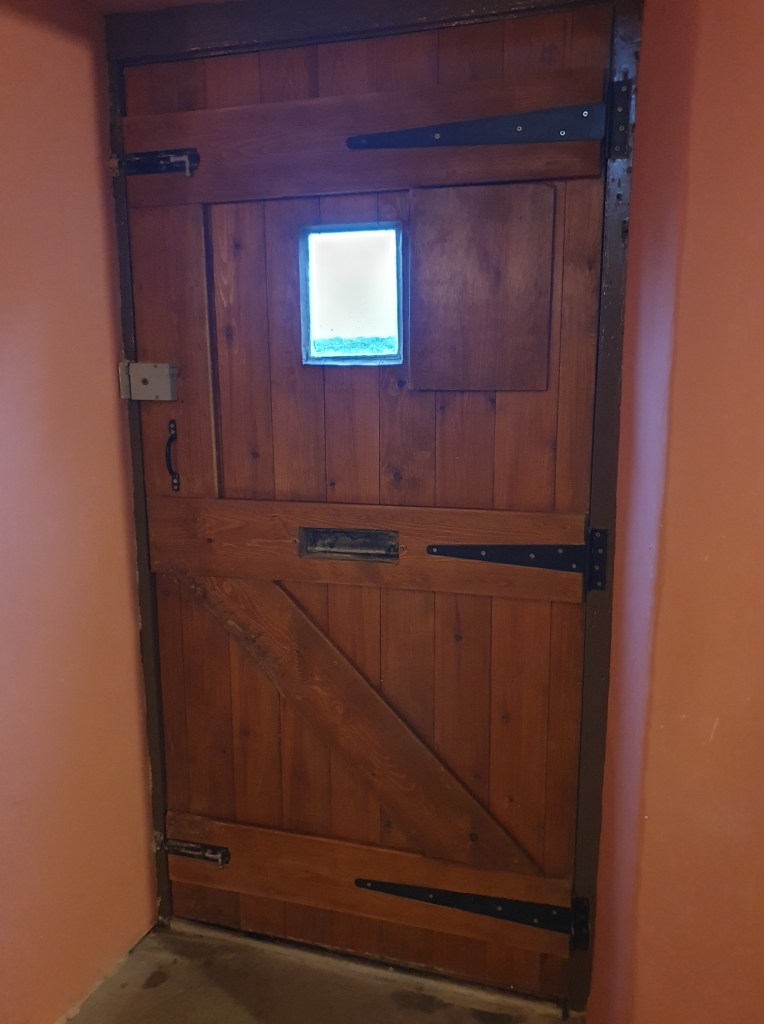
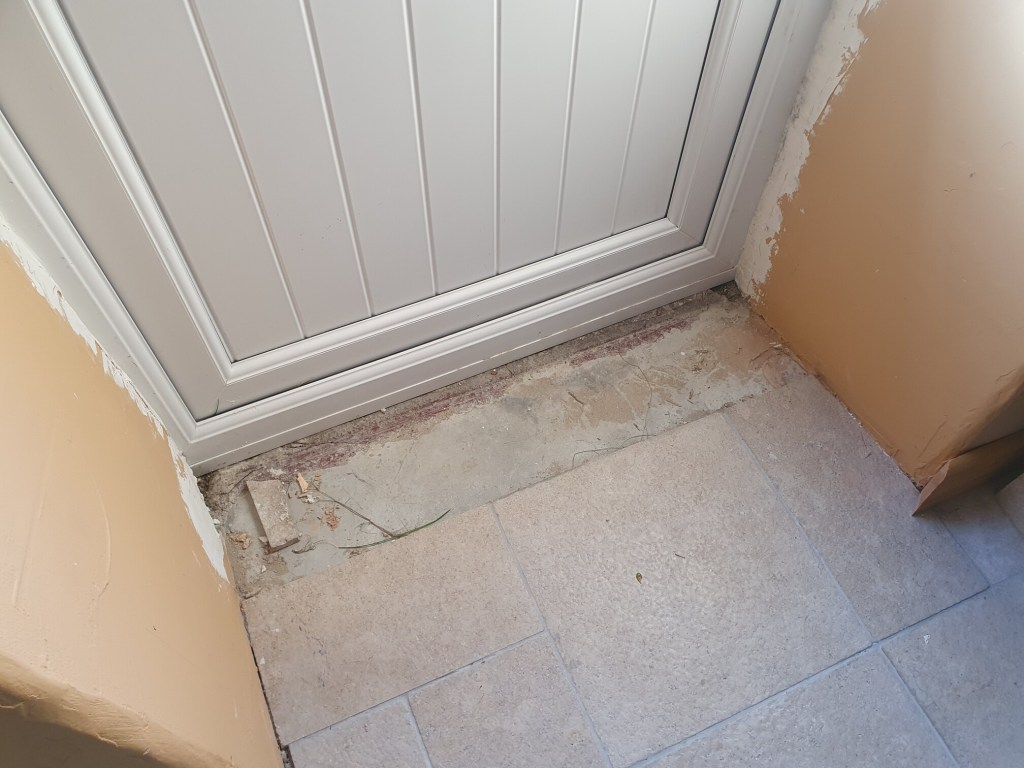
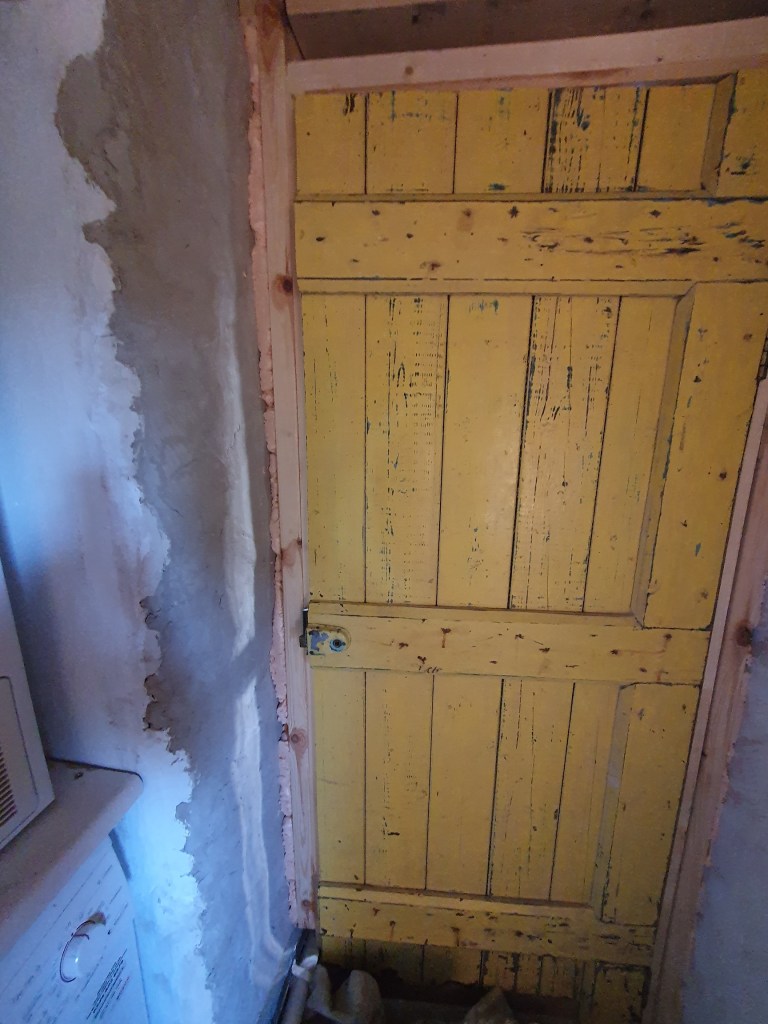
When we first moved in we left Idris alone for one of his first evenings without us and he decided he’d burrow his way out through the door. Luckily he now feels more comfortable in the house on his own, so it seemed time to undo the damage. I used a chisel to smooth out the worst of the roughness, then sanded it down before adding a coat of stain to the bare wood. The whole door then got another coat, and the frame a couple of layers of the brown paint.
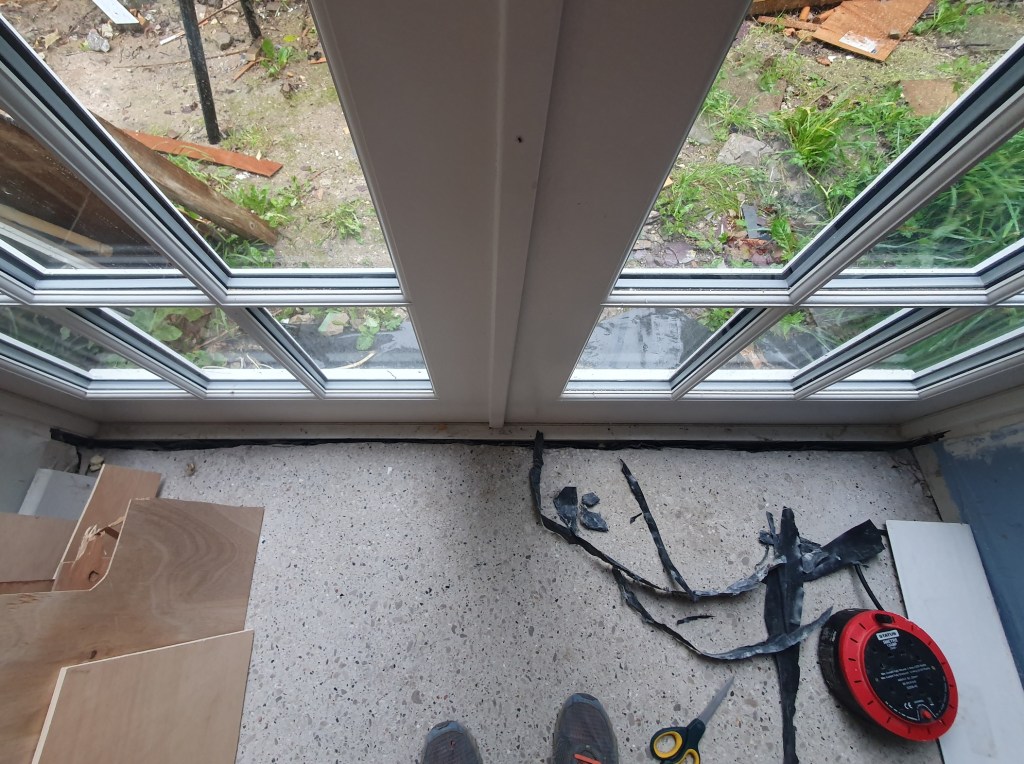
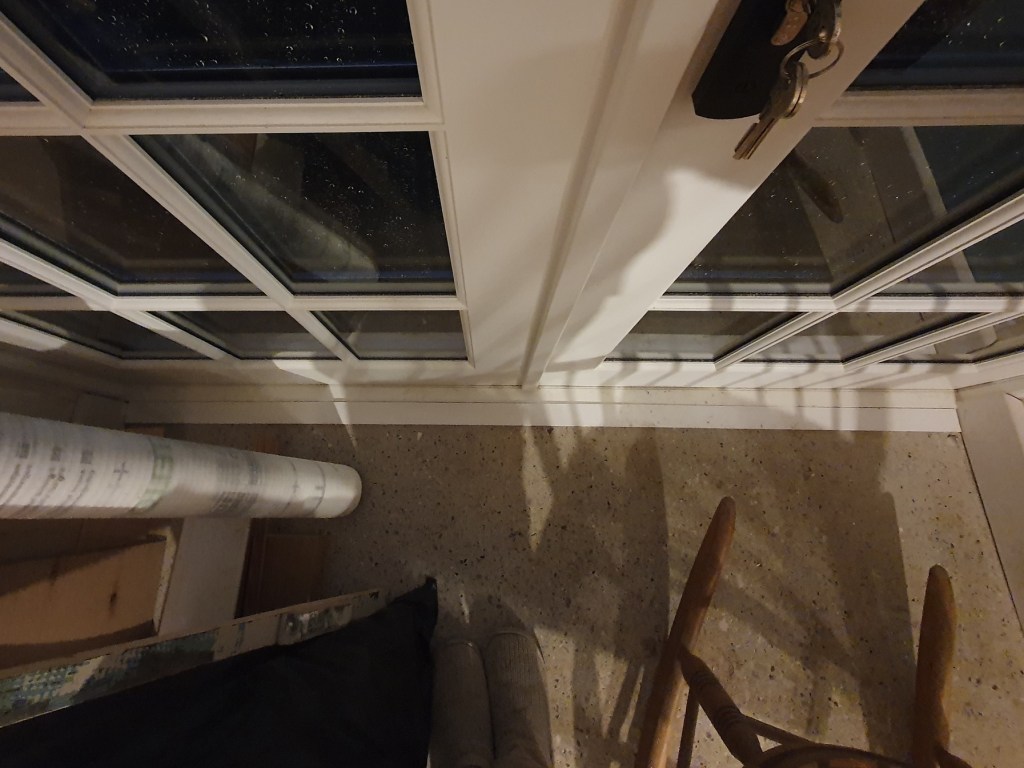
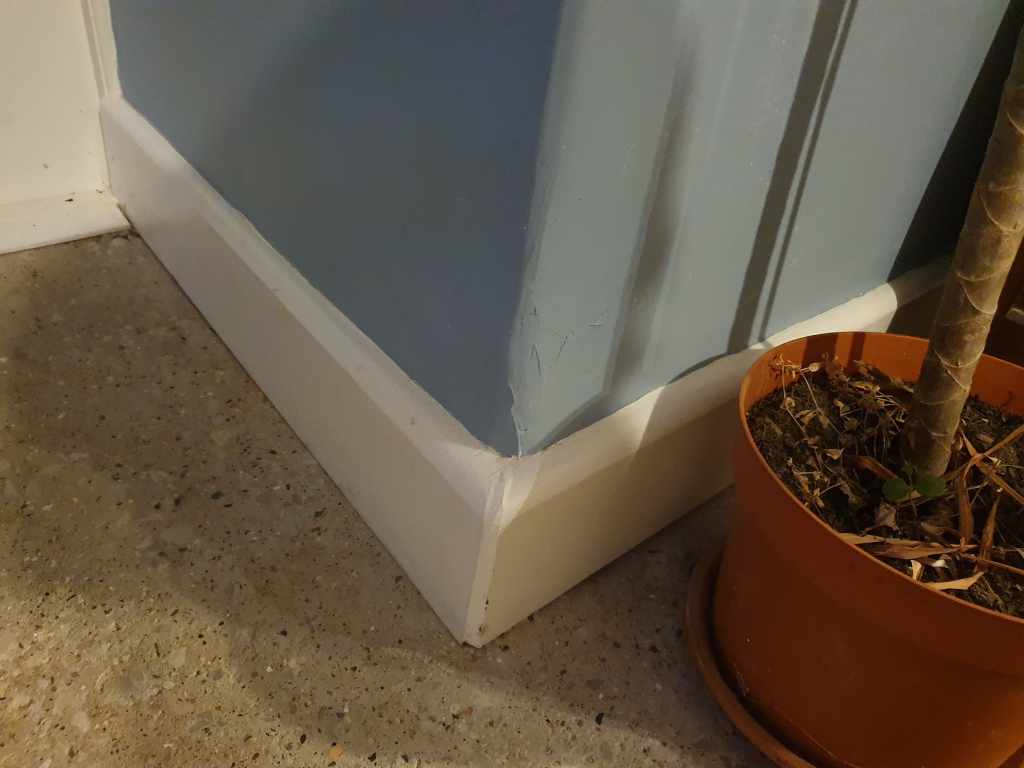
Where the edge of the concrete floor meets the door, there’s a ugly gap, which needed a piece of trim to cover it. I cut it to size, primed and paint it, and stuck it down. It’s a very small change but it’s surprising how much its changed the room.
I having previously started the skirting in the kitchen I had to stop as the new doors weren’t in. I restarted, but remembered how complicated the tiny bit of remaining skirting was going to be – as the lack of space beside the door means they’ll have to be trimmed down. I managed one piece and moved on to something simpler.


I continued with the boiler doors, building them in the same vein as the previous door. The only added complication was that the frame needed a bit of additional support, which meant using expandy foam to stick pieces of wood to the wall to screw the boards to. Still all done now, just in need of hinges to finish the job.
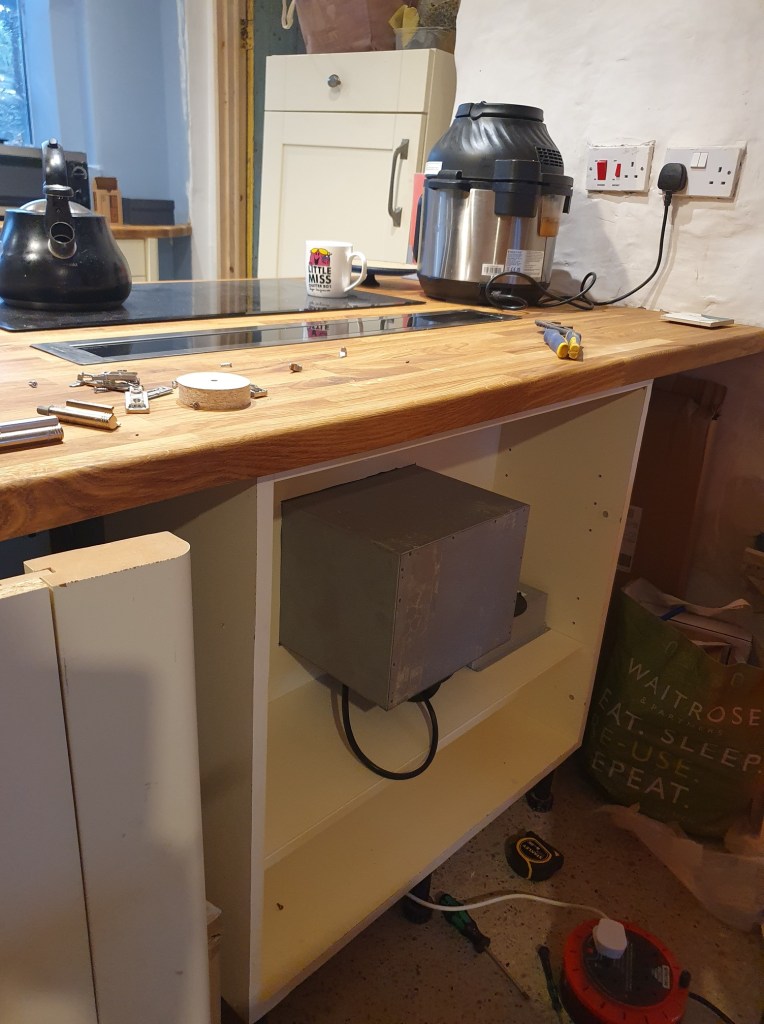
Chris’s big job for the weekend was finally connecting up the extractor fan, which was a fiddly task, involving cutting holes through the cupboard and getting all the electrics connected up. Chris was triumphant to finally put the fan on and see it drawing in the steam. The only negative is that he got his electric wires mixed up and now you press the ‘-‘ to turn the extractor up and ‘+’ to turn it down…
We’d spent out Saturday morning cleaning the layers of dust ready for visitors, only to have new layers laid down after our day of DIY on Sunday. A never ending cycle of dust and dusting. At least it’s slightly less dust with each passing cycle.
-
Fiddly and annoying
It’s been a long time since I last posted – that’s largely because it’s been a long time since we’ve been able to do a decent bit of DIY. Between our holiday to Norway, friends weddings and a few other commitments, we’ve barely had time to pick up a hammer. Although it’s nice to do other things, it’s also frustrating when nothing progresses and we’re stuck looking at the same uncompleted jobs day after day. But finally we had a weekend free to get back to work.
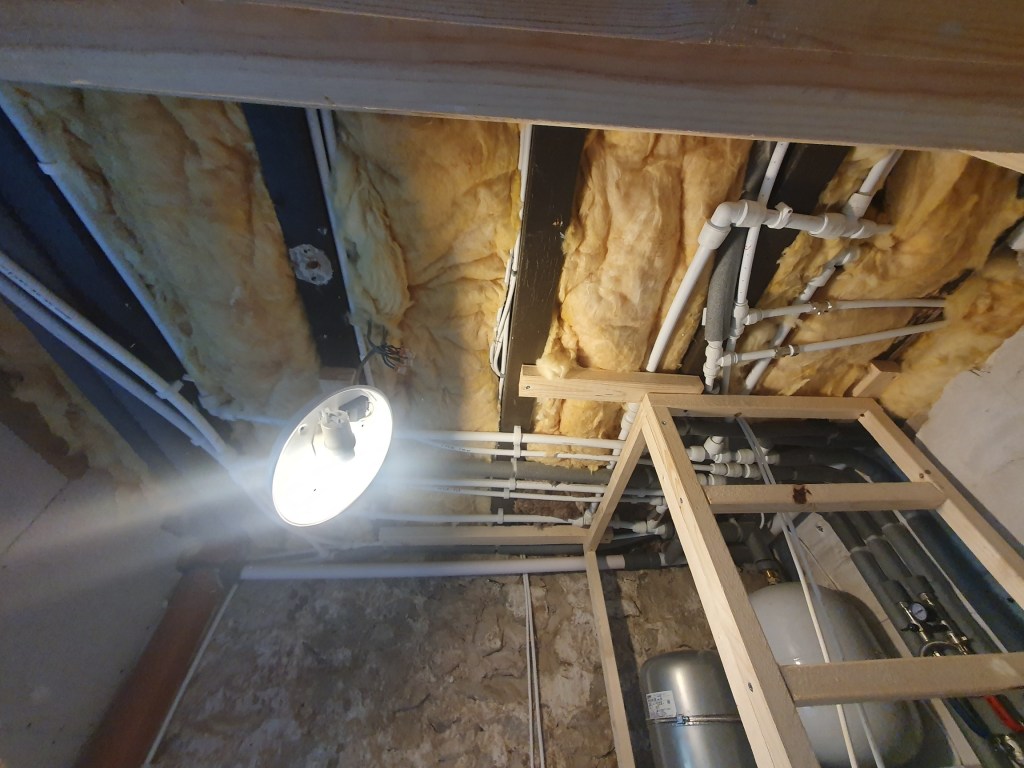
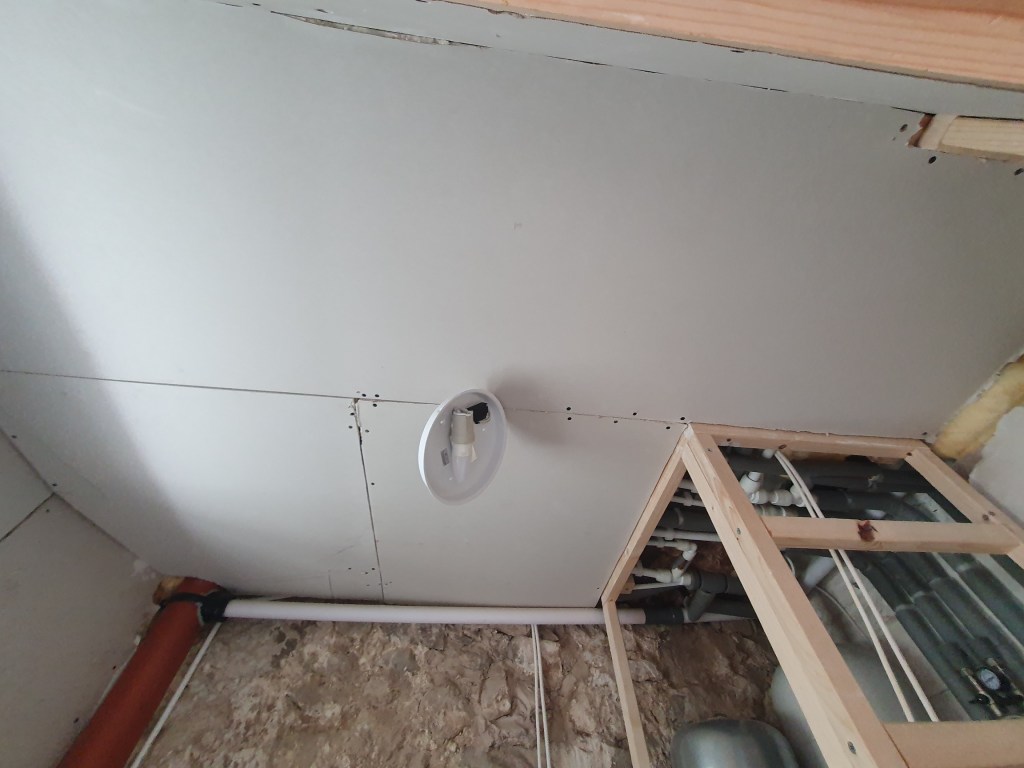
We’re at the stage in the renovation where it seems all the remaining jobs are ones we’ve been putting off because they are so annoying to do, and relatively unsatisfying. The downstairs toilet ceiling is an awkward mass of pipes, making it fiddly to get the plasterboard up and in place. I got to work on a day when Chris was busy and was pretty pleased I managed to hold the board up with one hand while screwing it in place with the other. There was lots of swearing involved.
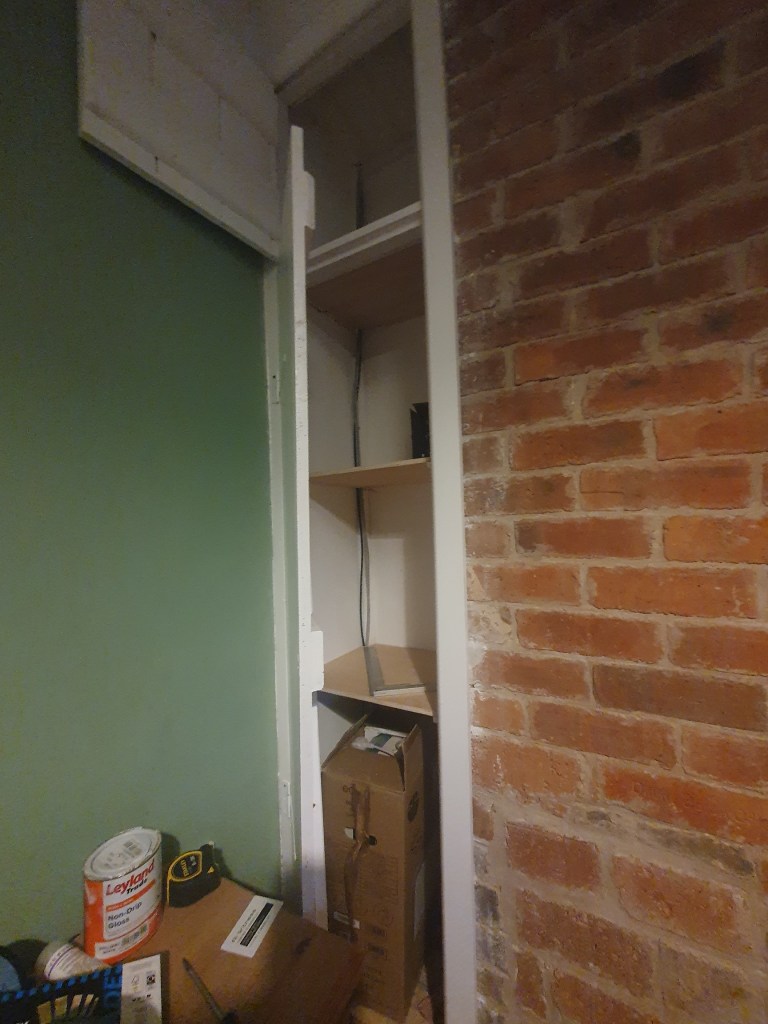

Chris’s big achievement, on a day where a power outage meant he couldn’t work for a few hours, was finally putting shelves in place in our tiny bedroom cupboard. I then primed and painted them, so we can finally use this space.
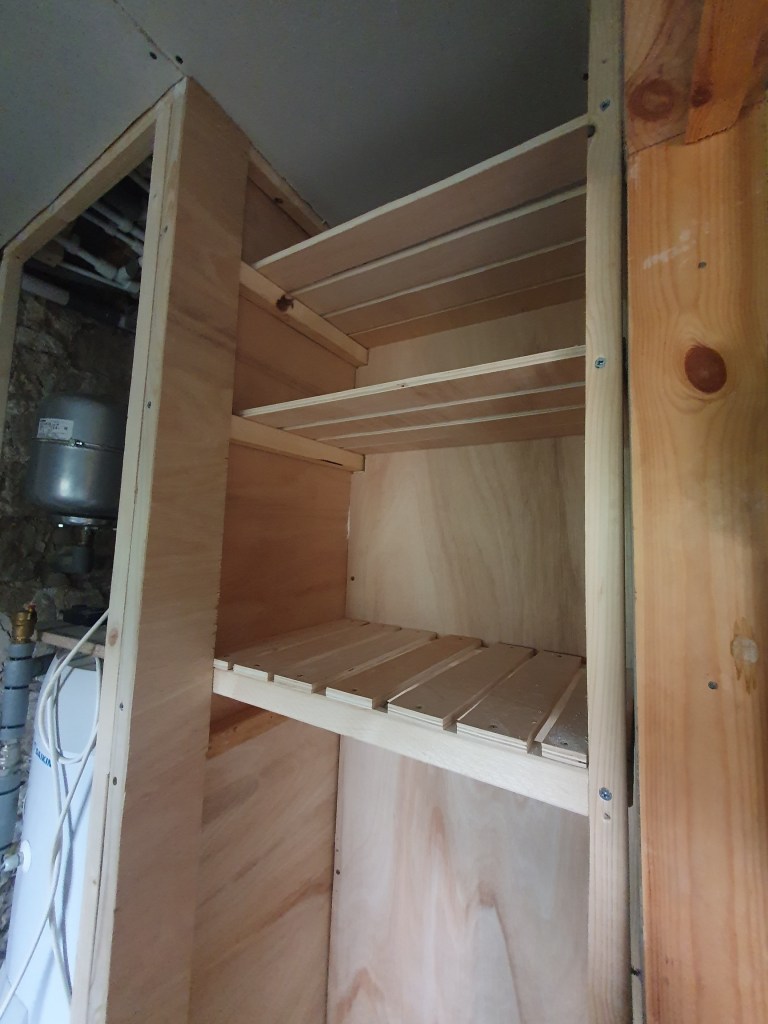
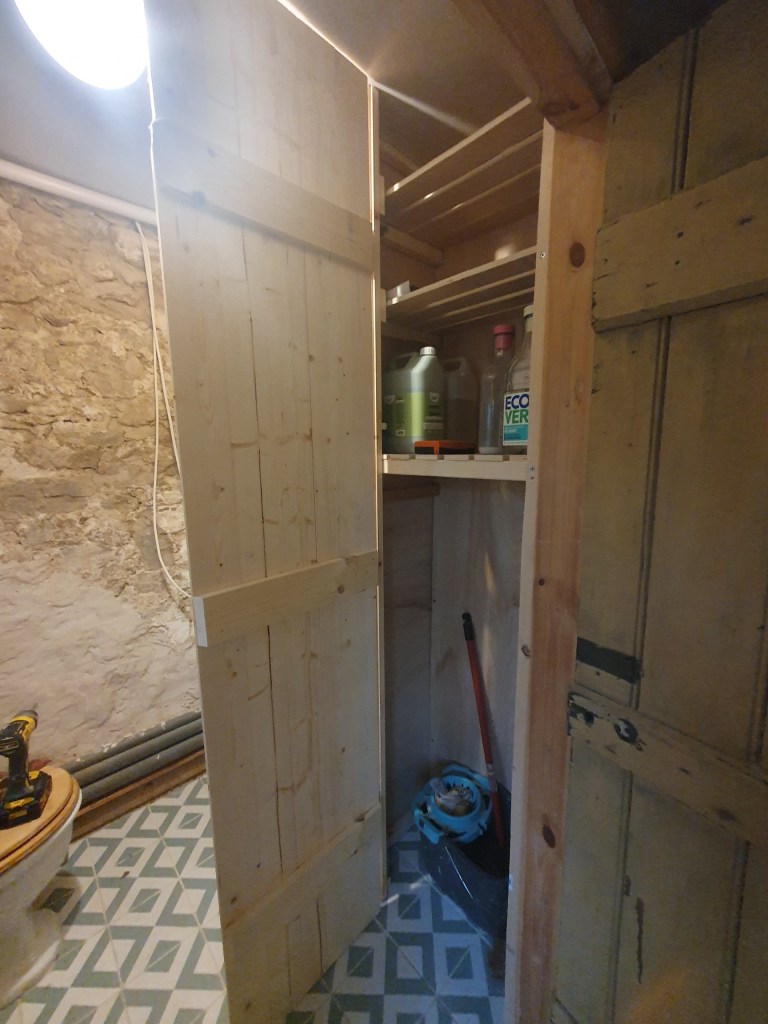
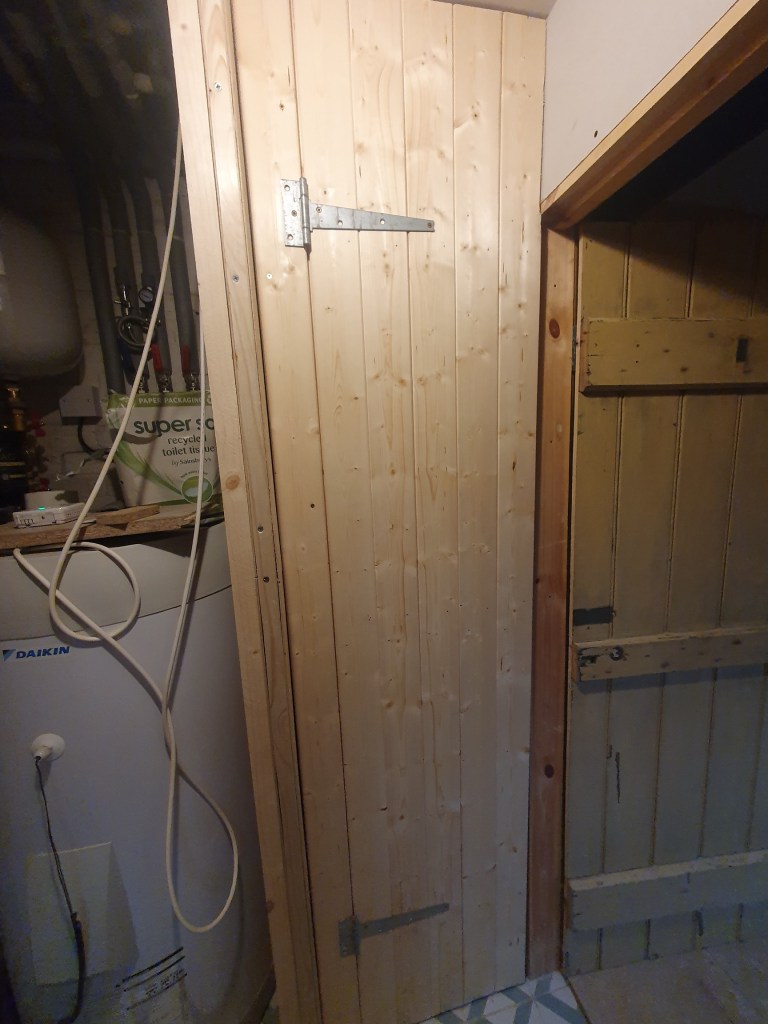
Continuing on the theme of cupboards I returned to the frame I’d built in the downstairs toilet and added a back and side panel before installing shelves. After spending ages on the internet getting quotes for custom doors for £250, we decided to make our own, so I spent some time cutting out boards to build the first door, with another two to go for the boiler cupboard.
In the utility both new doors needed the edges filling and sanding. Chris also spent some time adding a door handle and door jam to the interior door.
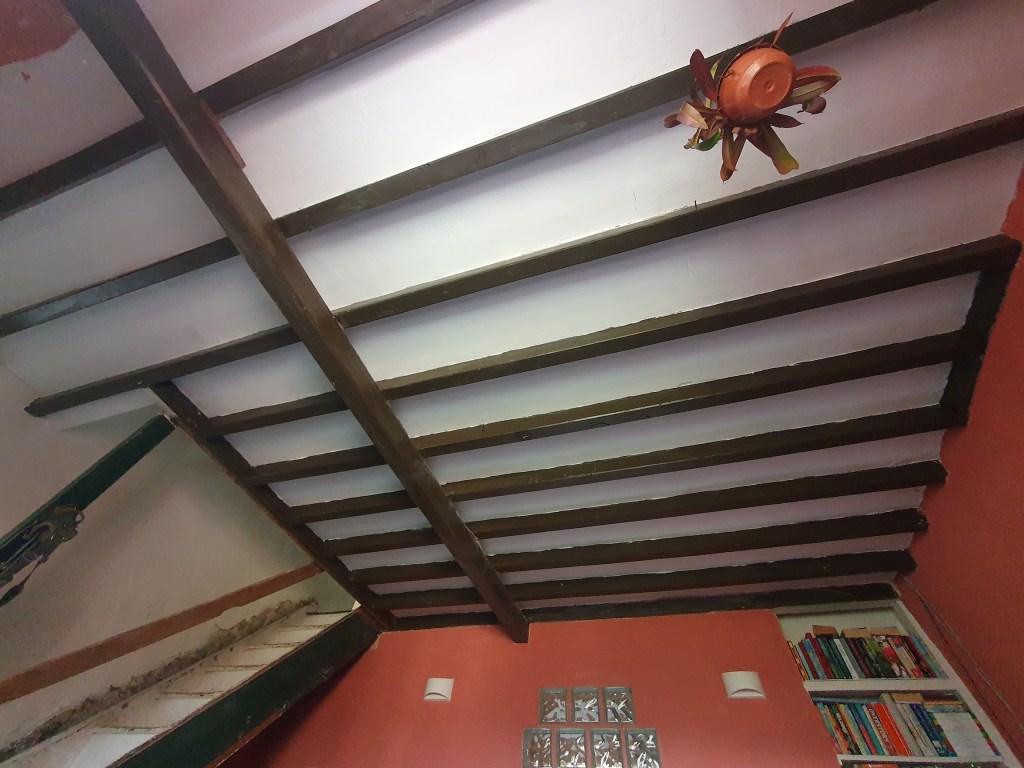
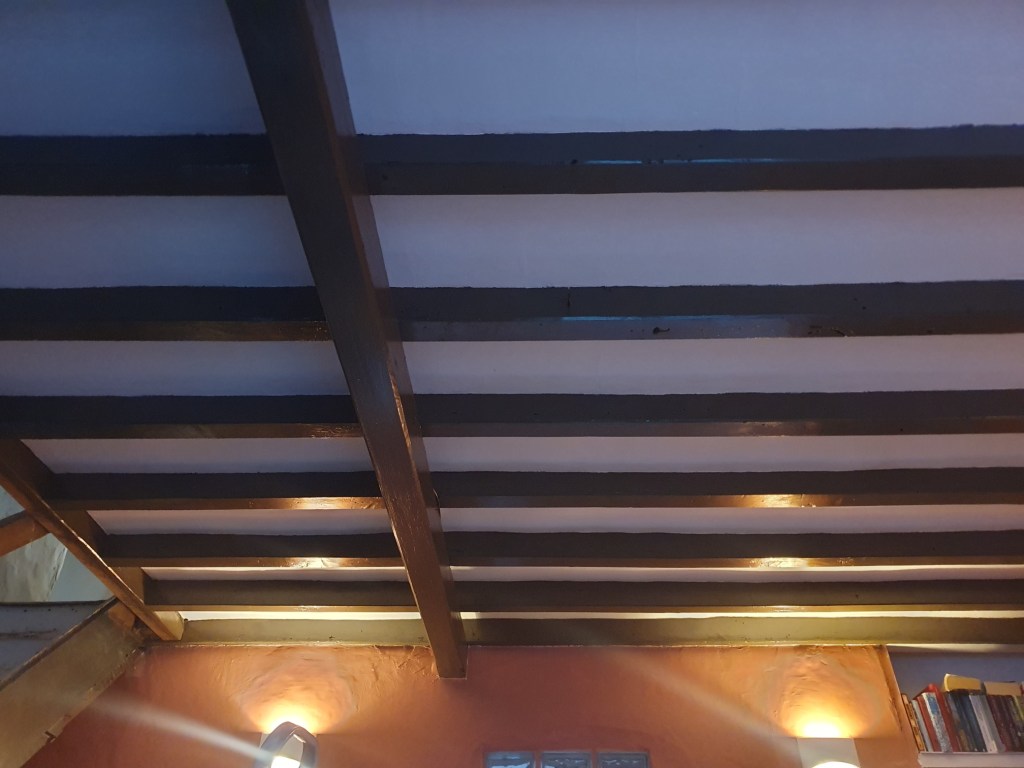
In the lounge I’d been putting off repainting the beams, but Chris told me we couldn’t get new flooring until we’d done it, so I bought the paint and chipped away a few at a time in my evenings. A thankless task but it does mean I can stop staring at all the white paint drips.
In the garden the neighbours have been getting a little nosy. Chris decimated our box hedge in the hope it grows back a little happier next year.
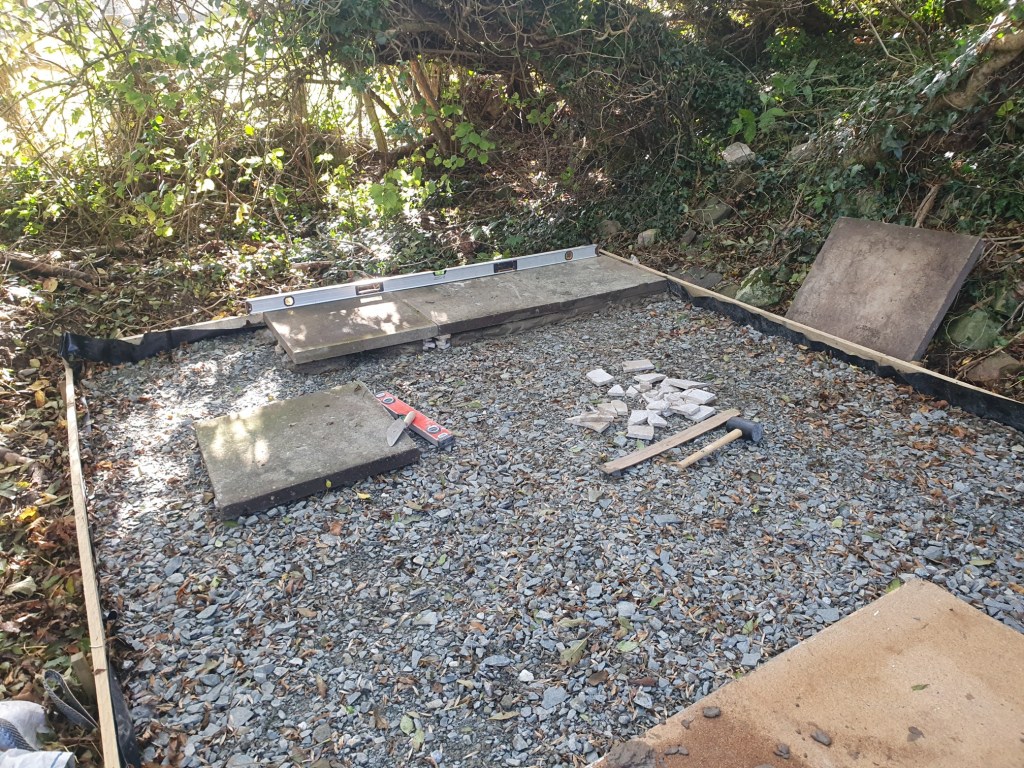
He also borrowed a compactor off a neighbour to compact down the shed base so we can lay the concrete slabs. Just need it to stop raining long enough for us to get on with it.
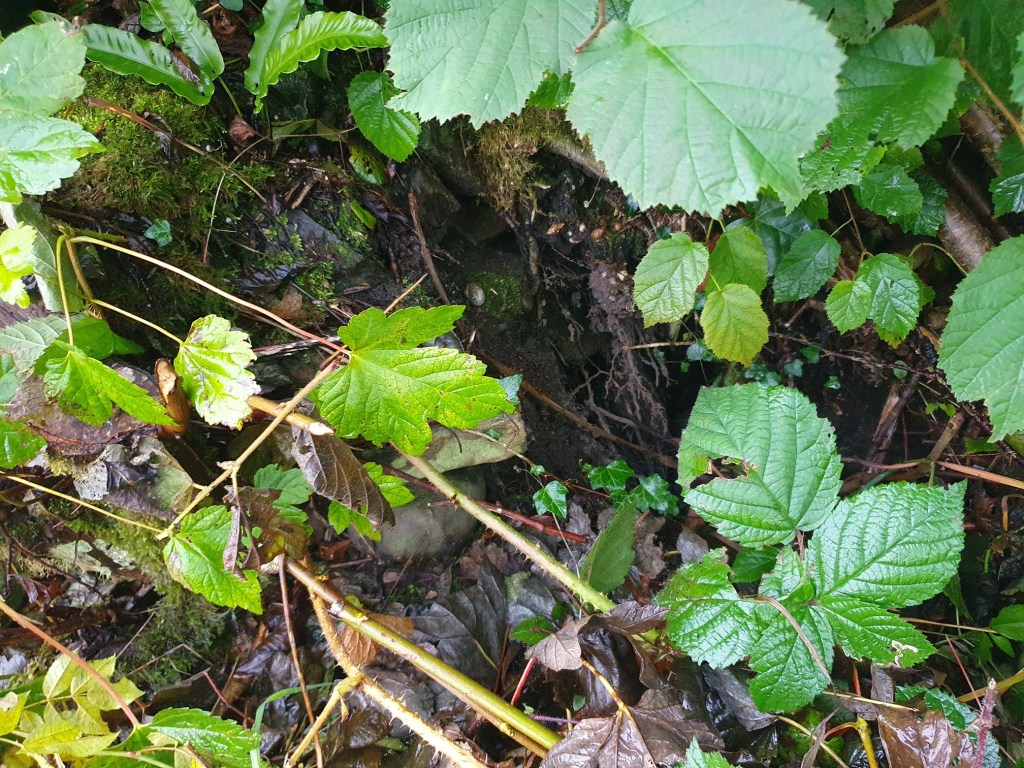
Also in the garden, the sinkhole has reopened. We thought it was still active as a few of the trees are leaning over into it, but now a new hole has opened up. We’ll have to buy some gravel this time to fill it up, which seems a waste. Just hope it eventually becomes full.
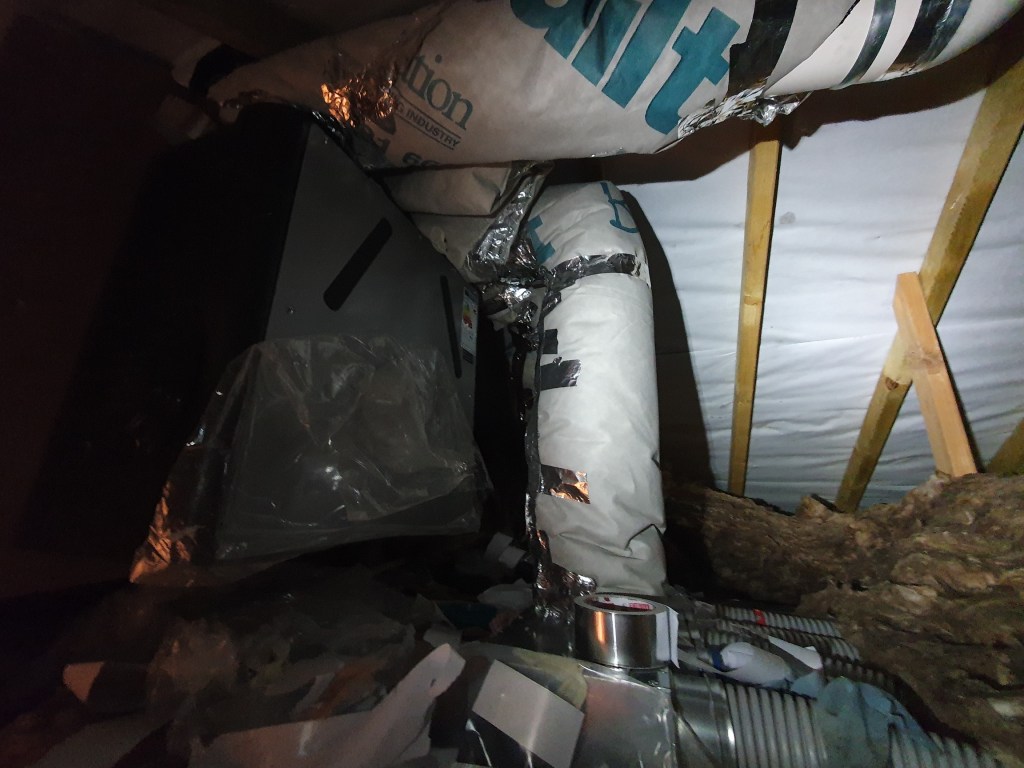
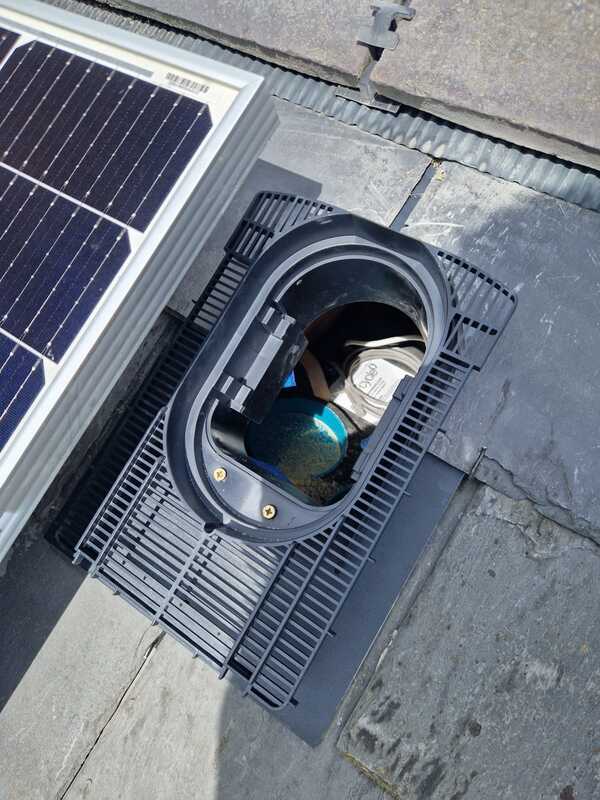
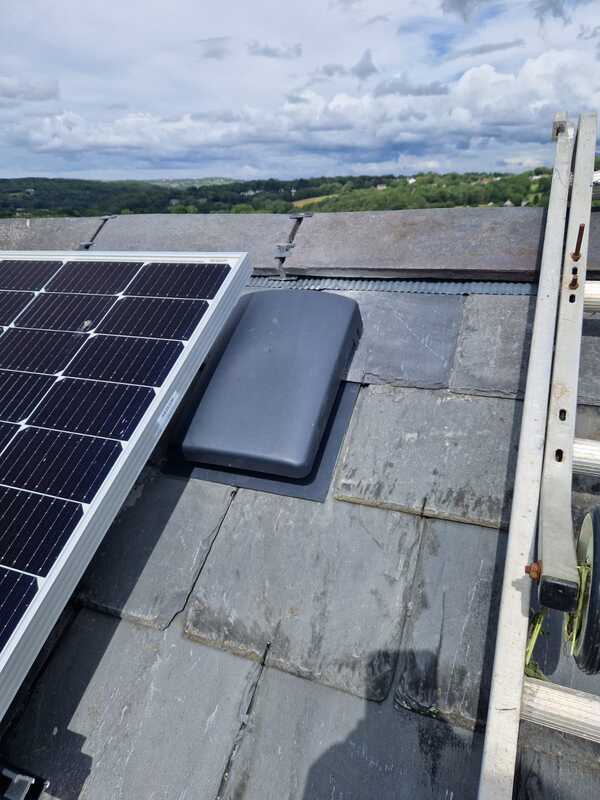
Chris’s big success has been getting the second external vent in for the ventilation. This means the whole system is now in place, it just needs wiring up. I don’t have any photos of the process, as Chris doesn’t take any, and I was busy cupboard building, but it involved lots of crawling around in the attic and climbing onto the roof.
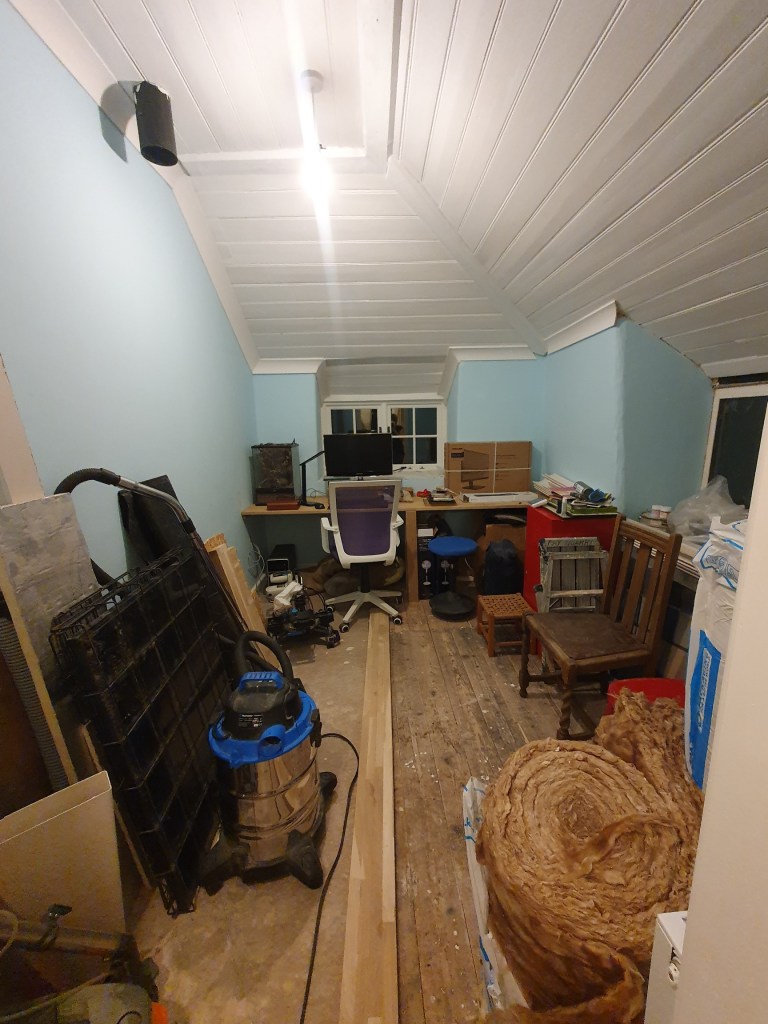
Still, now the ventilation is largely finished I can finally clean out the study, which has largely been used as a ventilation pipe storage room for the last few months. Getting one more room looking like a room is certainly be a little more satisfying than some of the other jobs I have on my list. Still any job ticked off is still a job ticked off, however small and annoying it is.
-
DIY to the Max
Unfortunately for my cousin Max, his name makes a good pun – bad luck. However, it has felt like a good week for DIY, with his arrival not only giving us always welcome extra pairs of hands, but giving us a boost too. Max arrived on the Friday night and stayed till the following Friday. So he wasn’t on his own too much, myself and Chris both took off two days to work on the house, so it really felt like we got a good amount done.
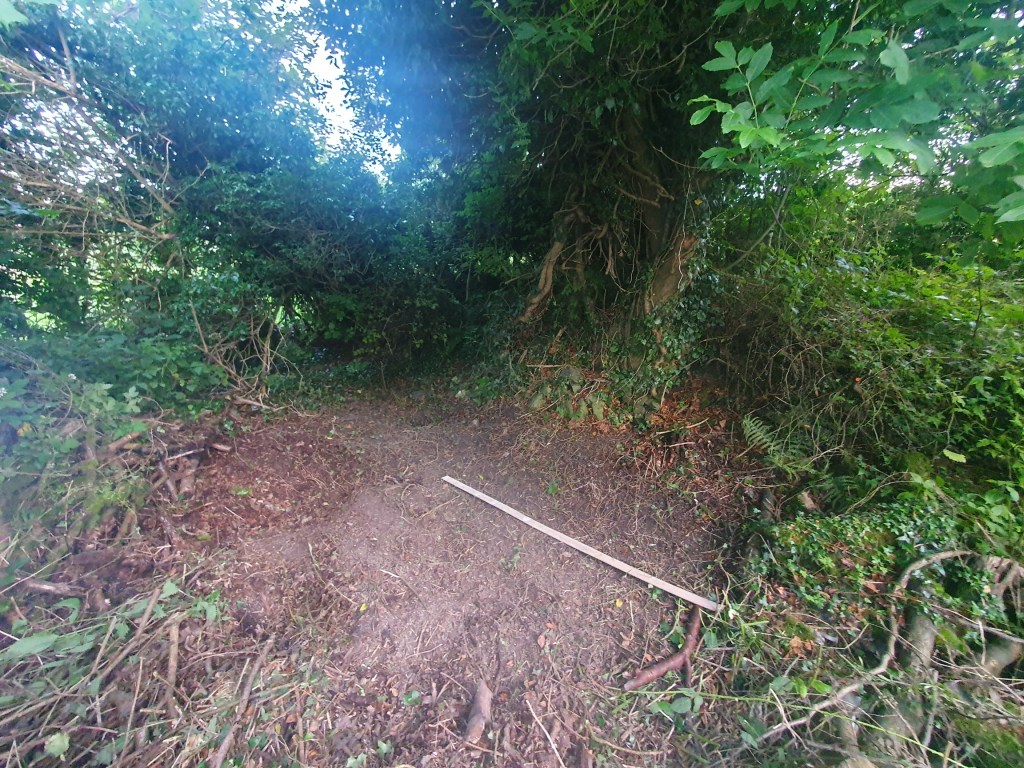
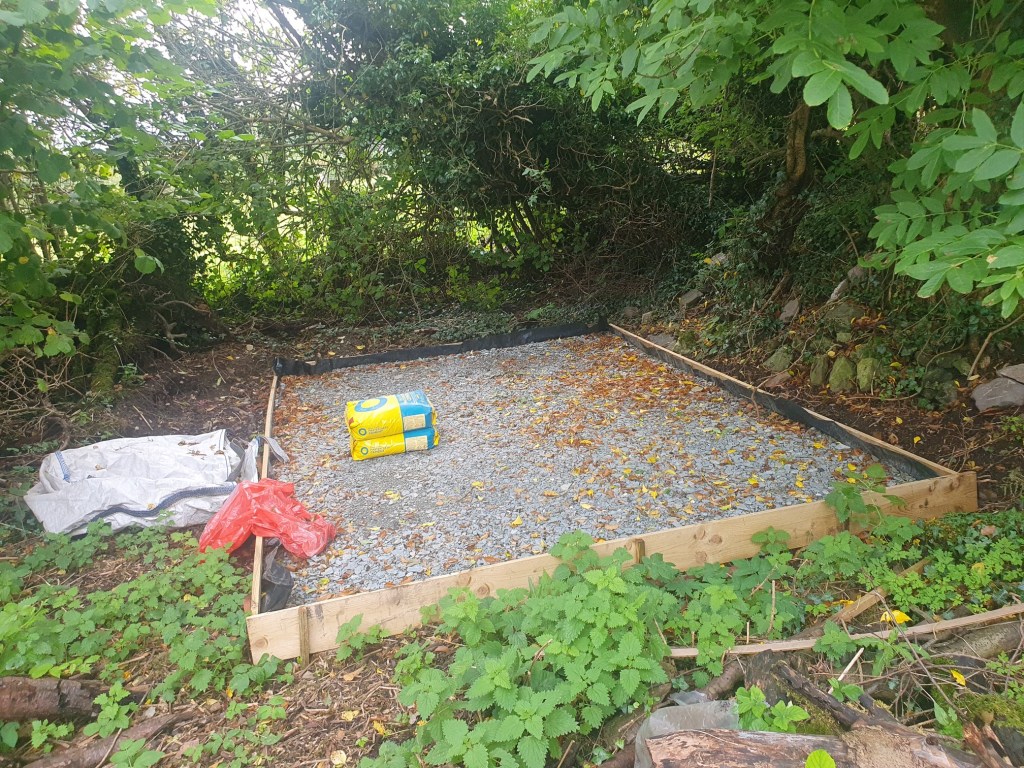
We did give Max the option to rest after his long journey, but he decided to dive right in, starting by clearing the corner of the garden where the shed will go.
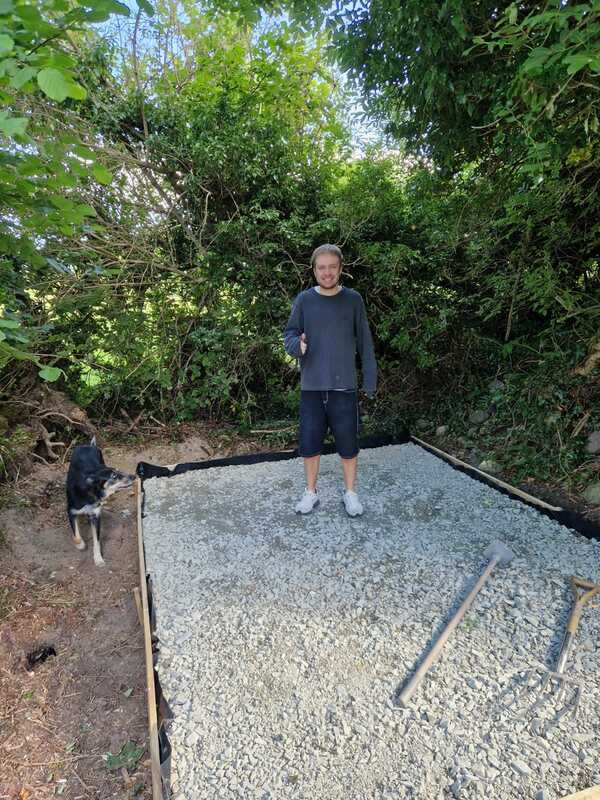
Later in the week he returned to the job, leveling the ground, securing gravelboards and wheelbarrowing in load after load of gravel.
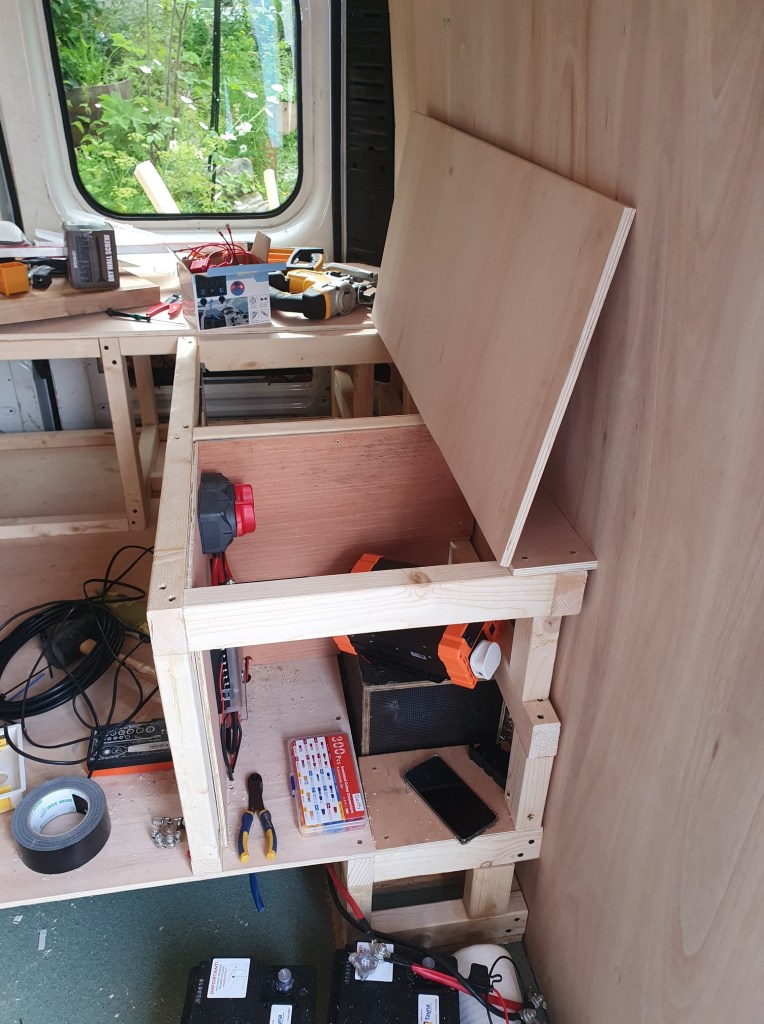

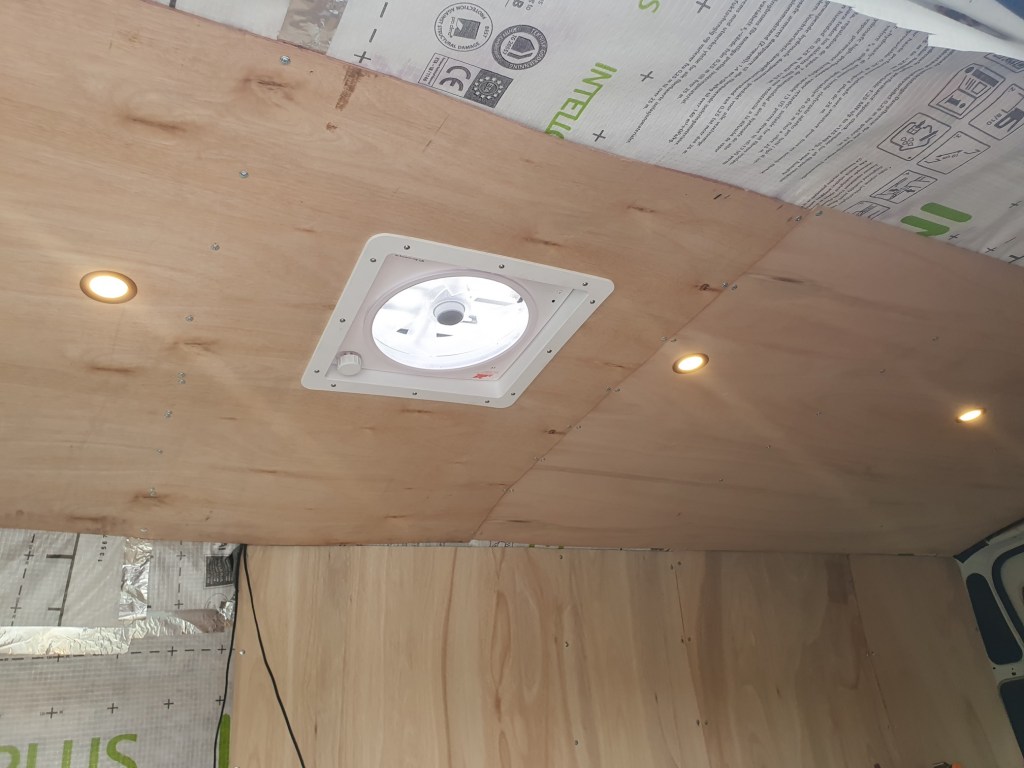
On the weekend myself and Chris focused on the van, with Chris working his way through the electrics, while I cut the awkward pieces for the roof. It was exciting to have the lights and the fan finally working.
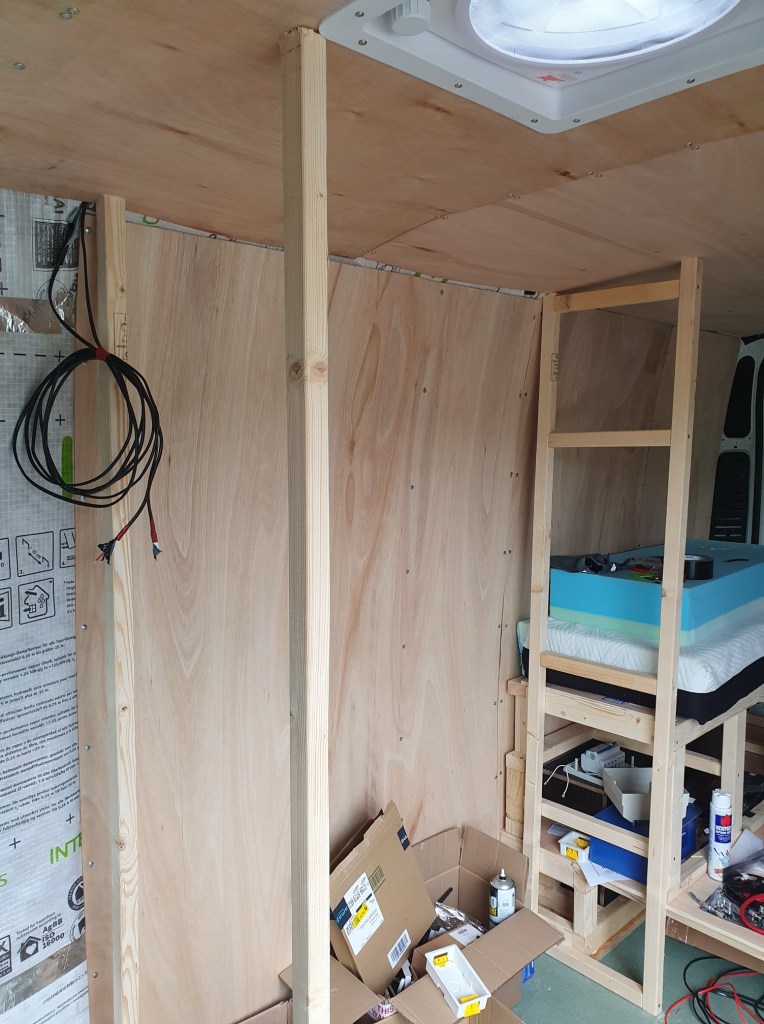
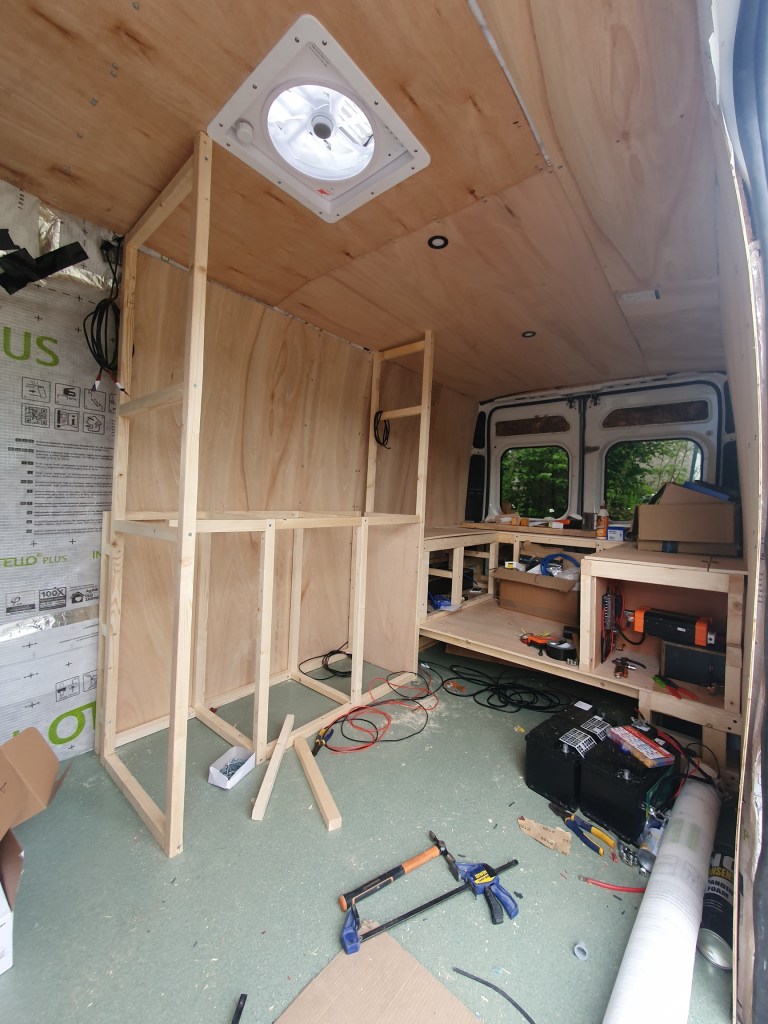
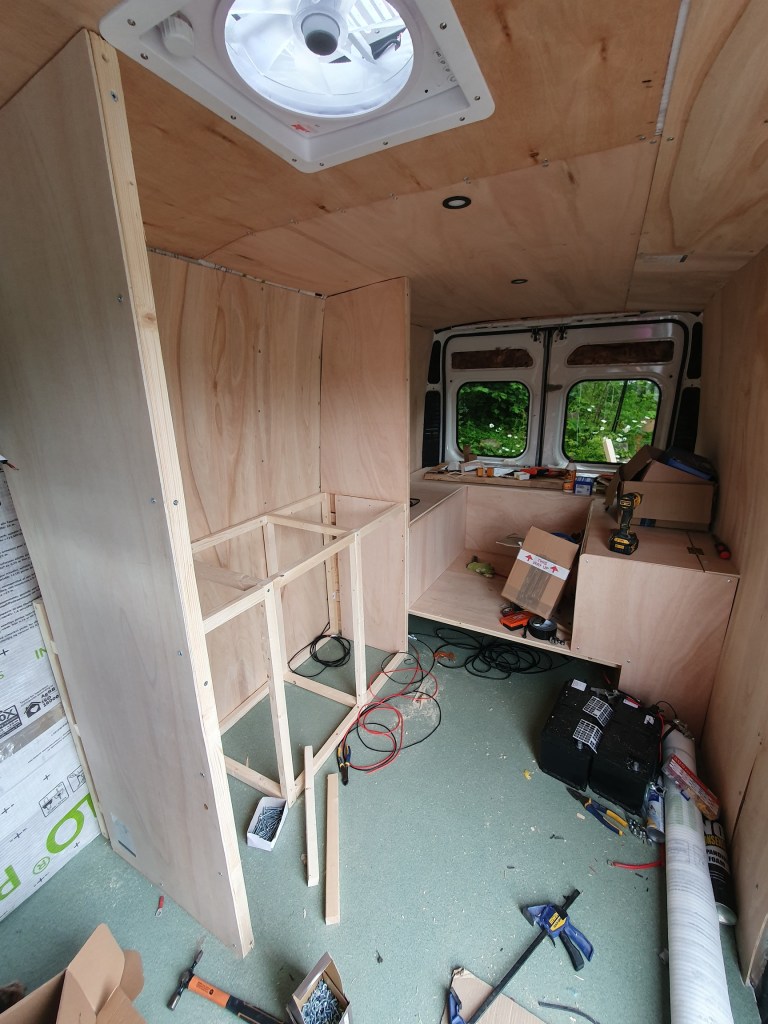
I then focused on building the kitchen units and attaching boards to the sides of the kitchen and the bed.

Chris added the worktop and began connecting up the electrics across the van.
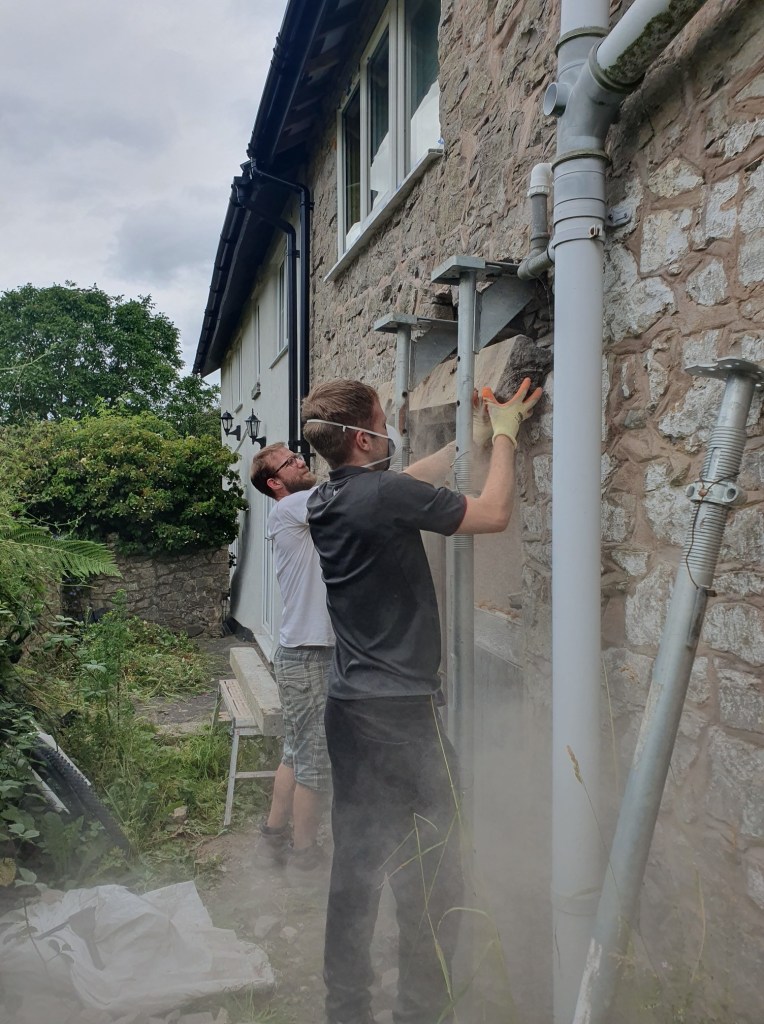

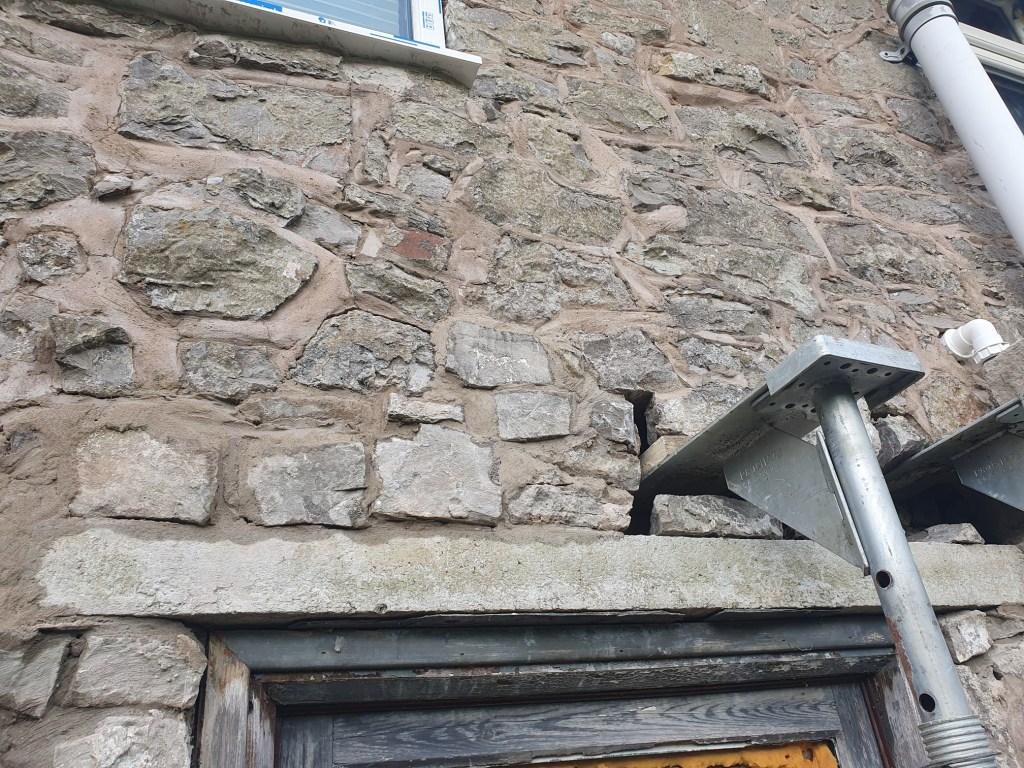
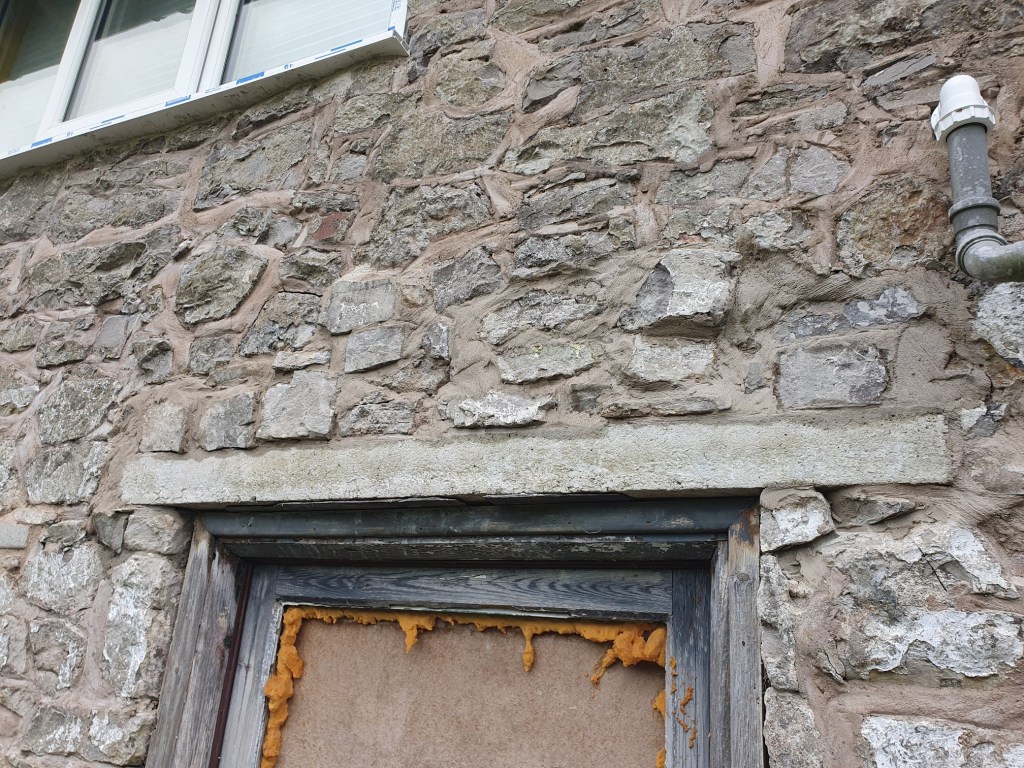
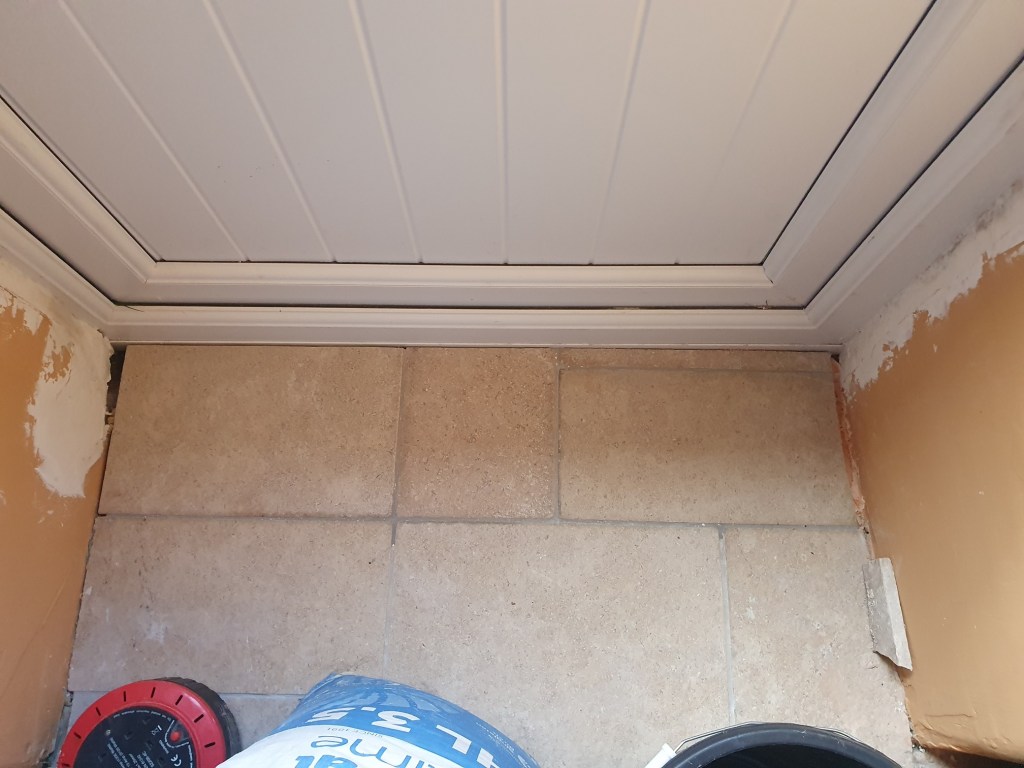
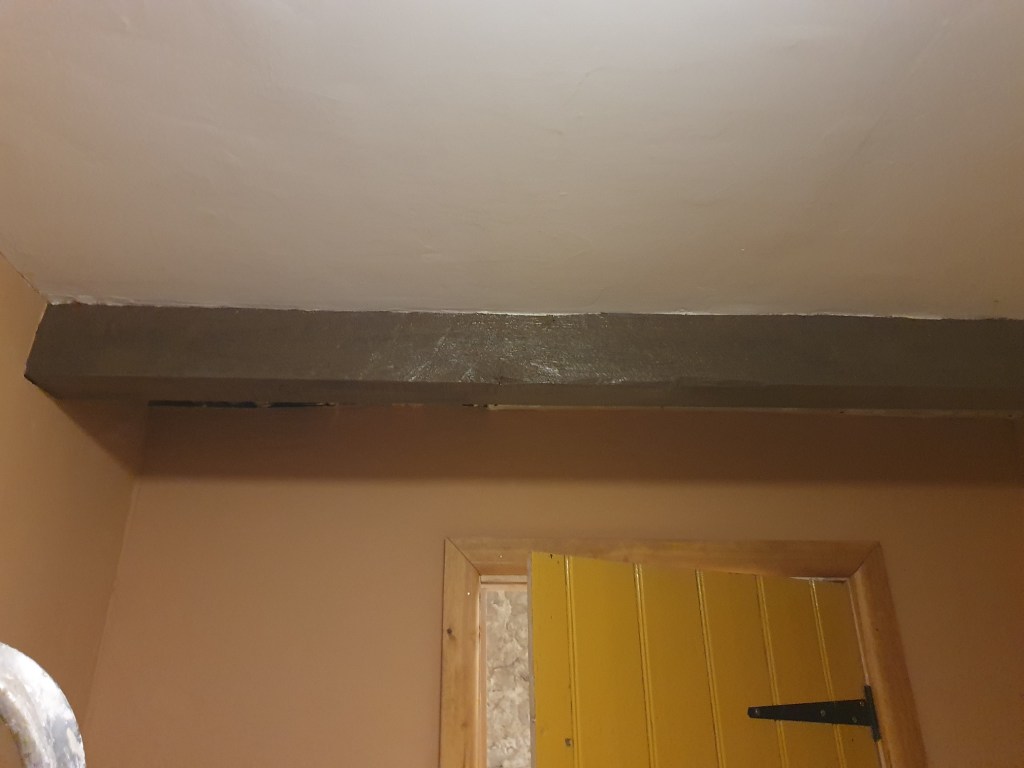
Chris and Max removed the old lintle over the back door, propping up the wall with acro props, and inserting the concrete lintle. Once in, Max was left to rebuild the wall above and mortar everything in place. The end result is seemless with the old wall.
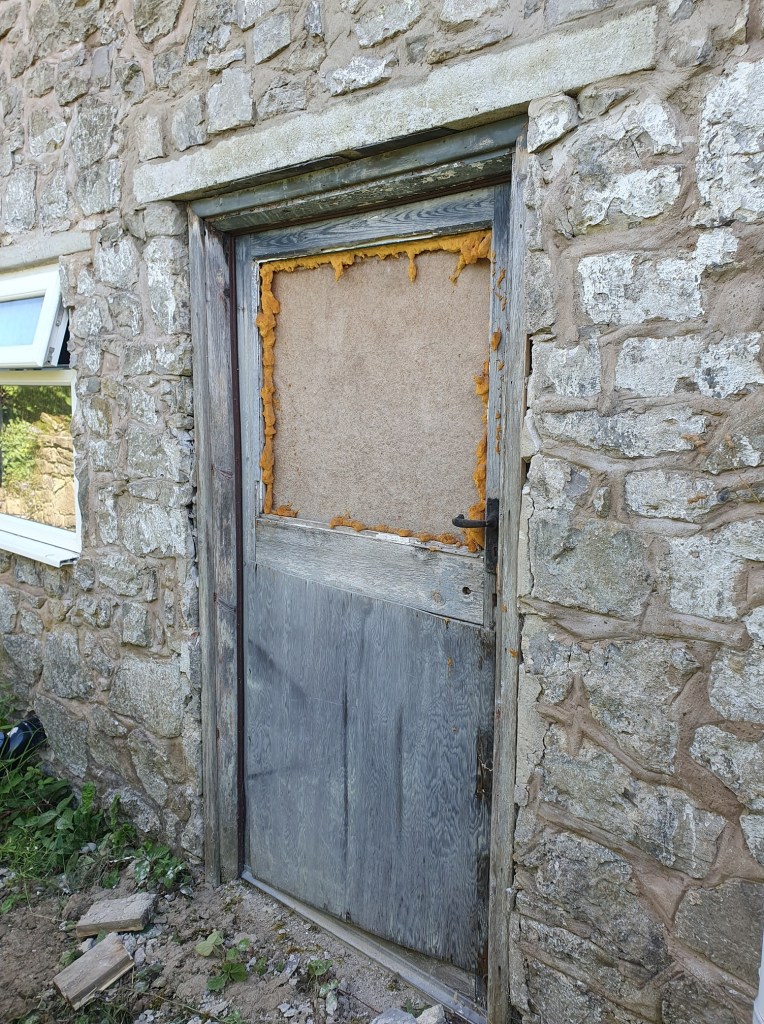
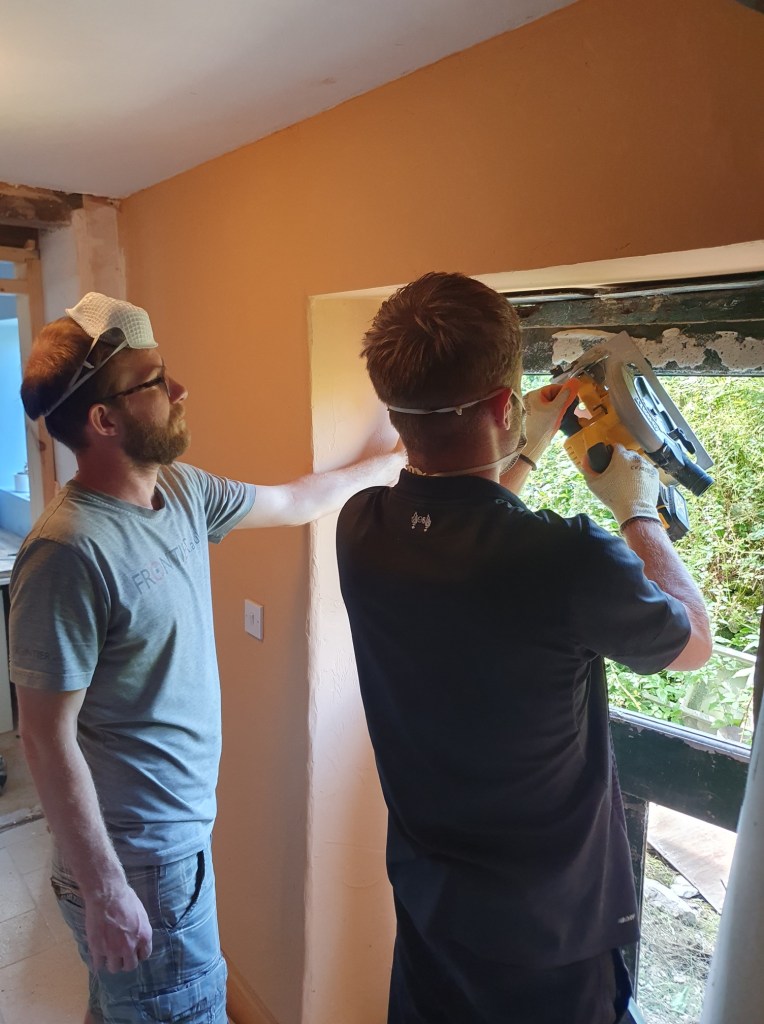
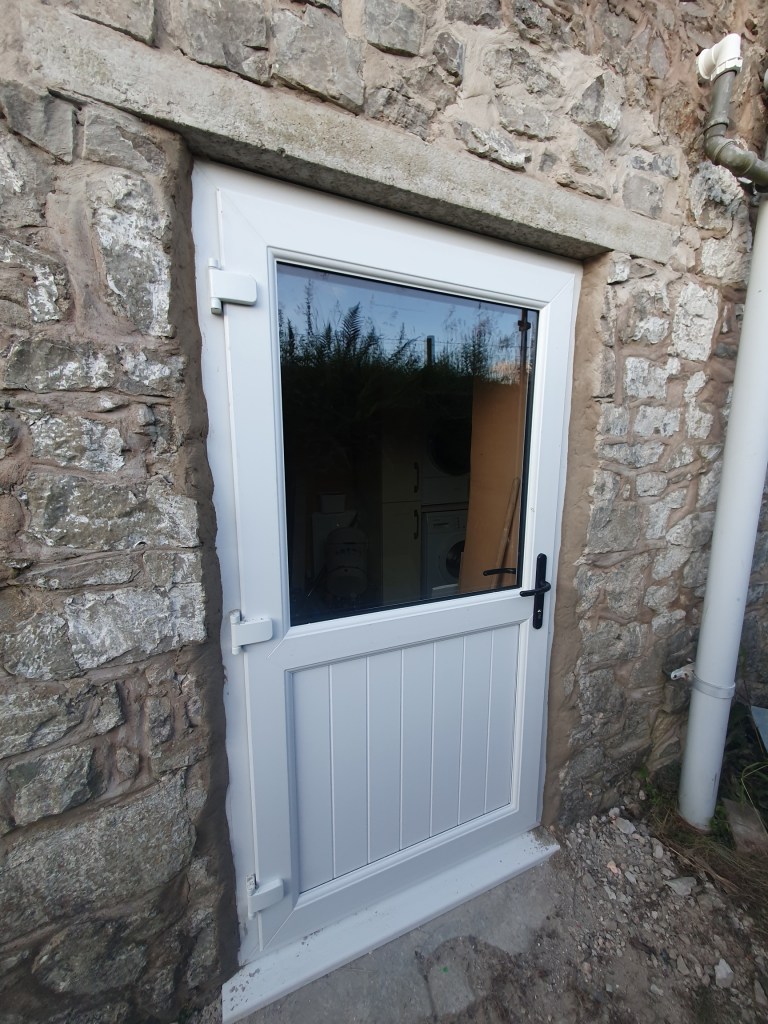
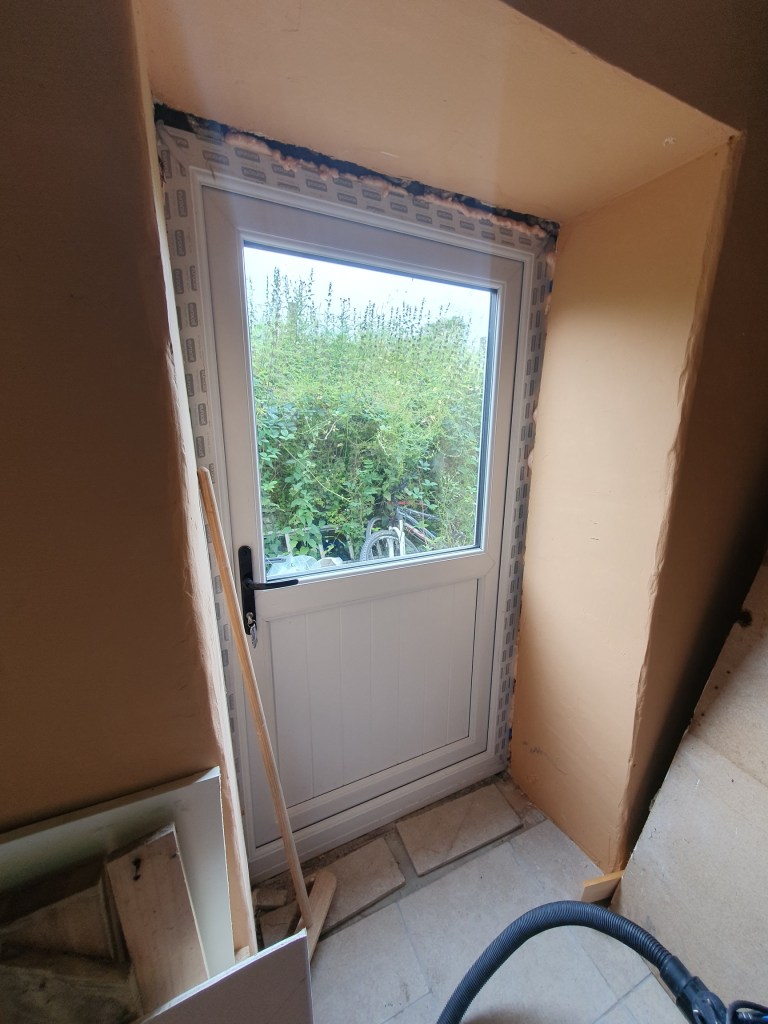
With the new lintle in and set, Max and Chris set about removing the old door. The frame of the back door was too rotten to save, so the whole thing had to be cut out. We’d bought a plain PVC door for this space, as it won’t be on display, as this will be our muddy boot room. Together, Max and Chris got the new door in and secured without too many issues.

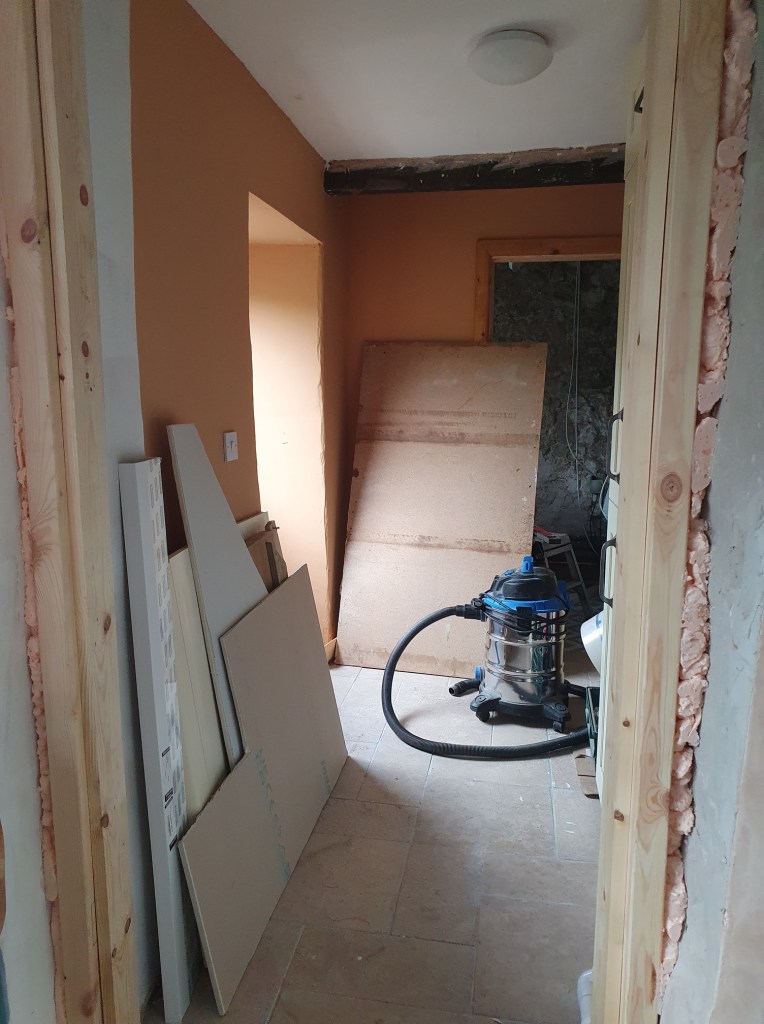
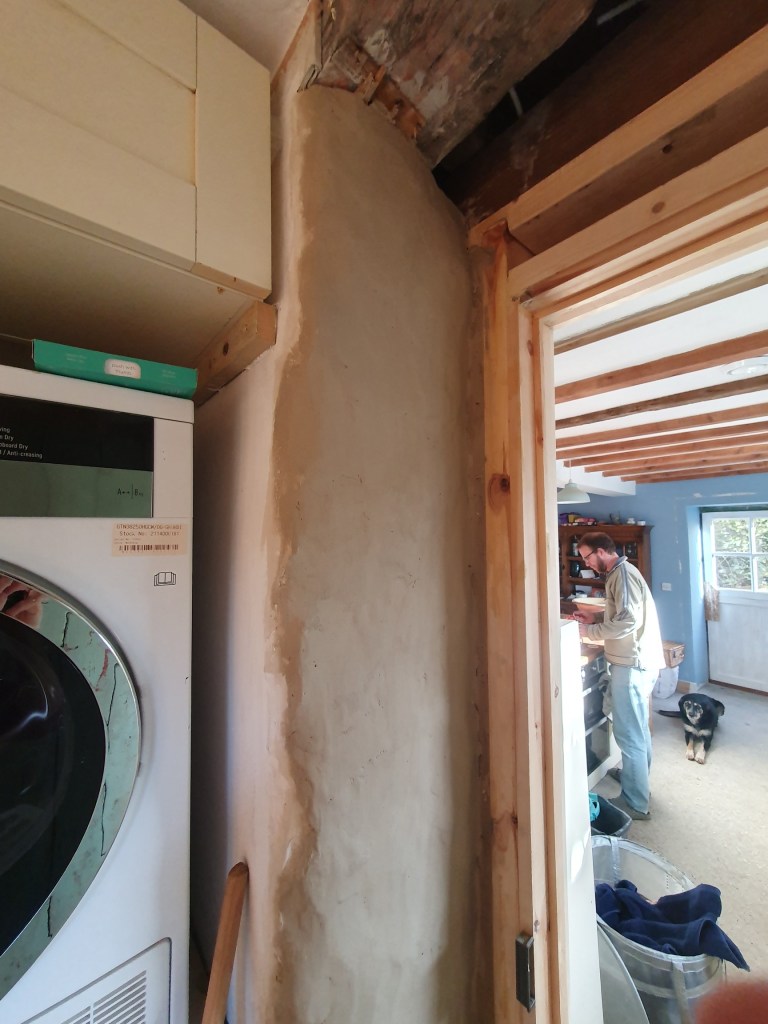
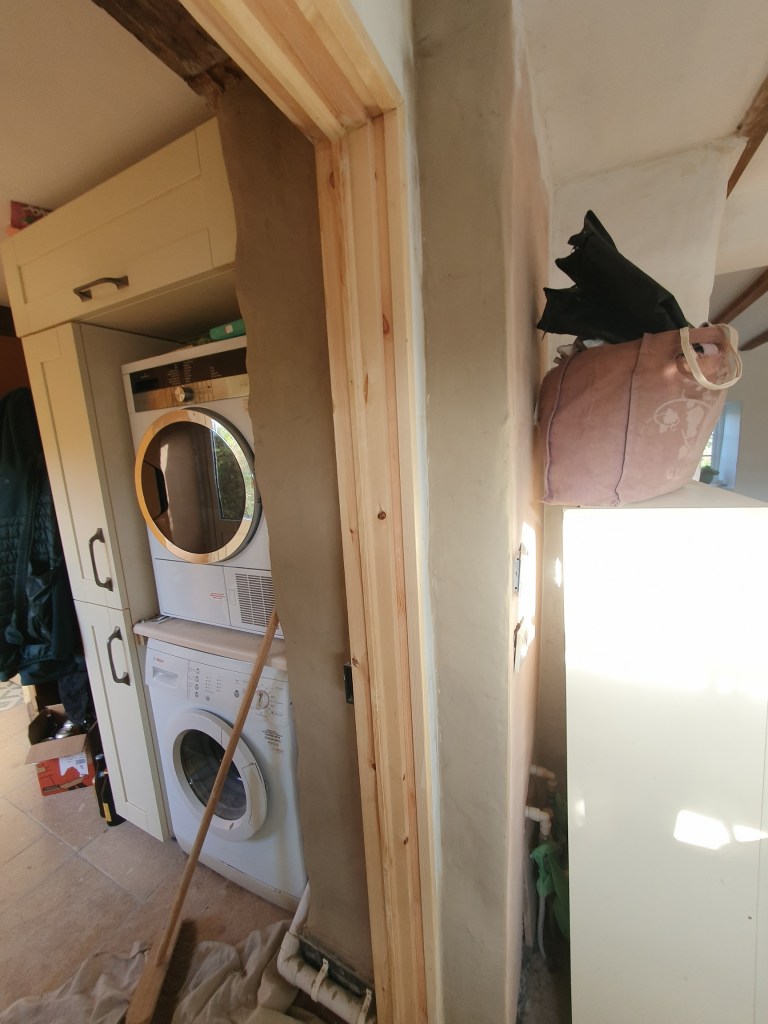
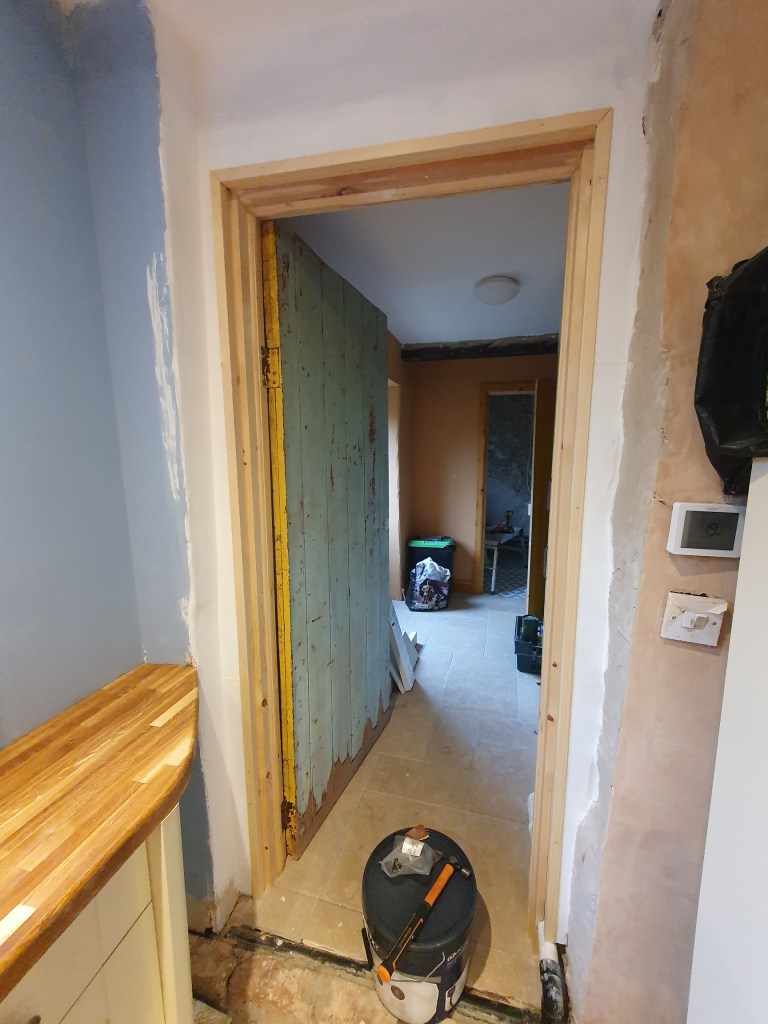
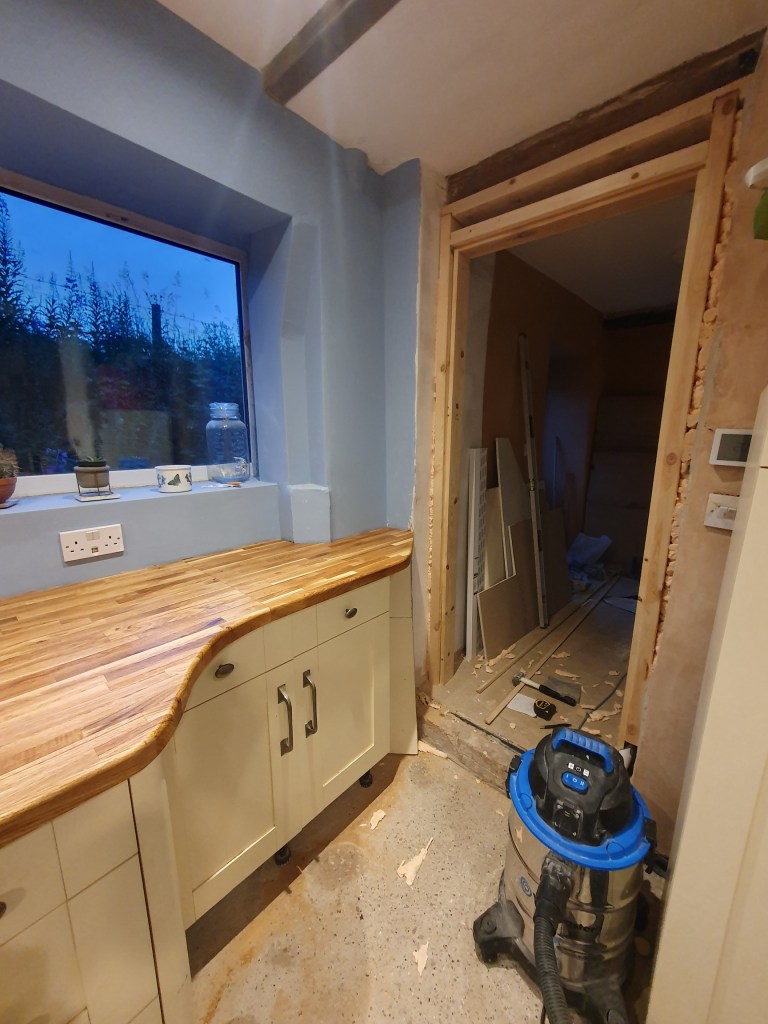
Another door we’d been putting off was the doorway between the kitchen and the utility. The wonky walls, with one just plasterboard and the other solid stone, meant we’d known it was going to be a pain to do.
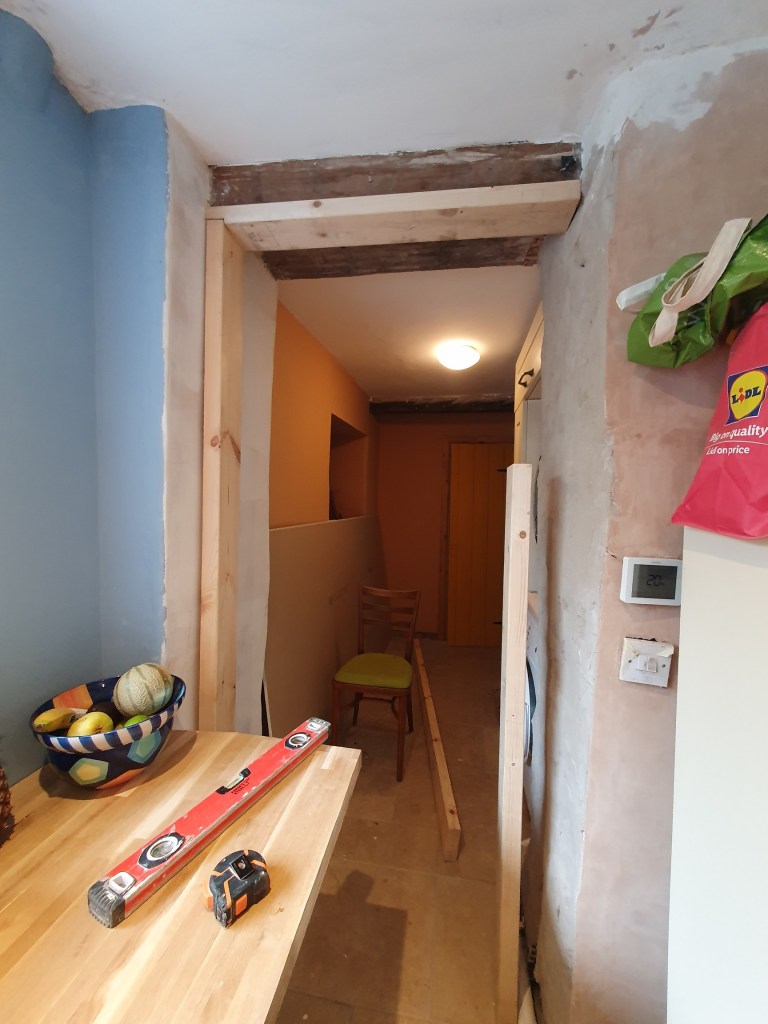
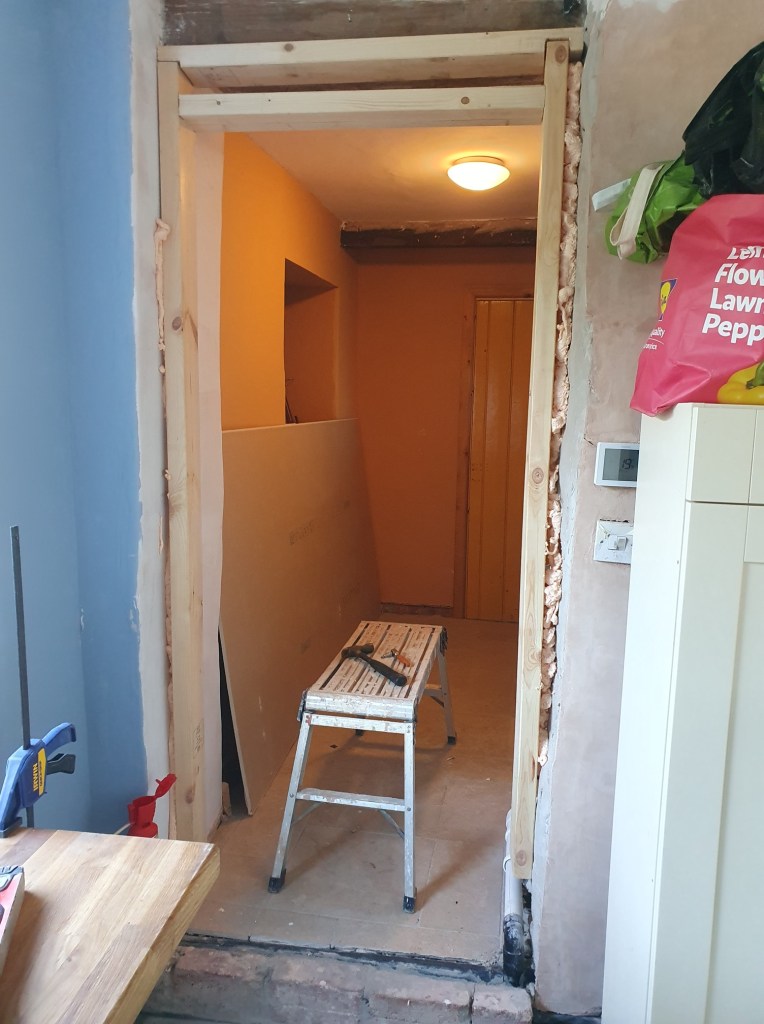


With a pipe running down one side of the opening, we realised the doorway would be too small if we put it on the inside of the pipe. The solution was the attach the frame above the pipe, which was fiddly. Max lent a hand with the tricky process, and eventually everything was secured in place. Chris then added the doorframe and cut the door to size.
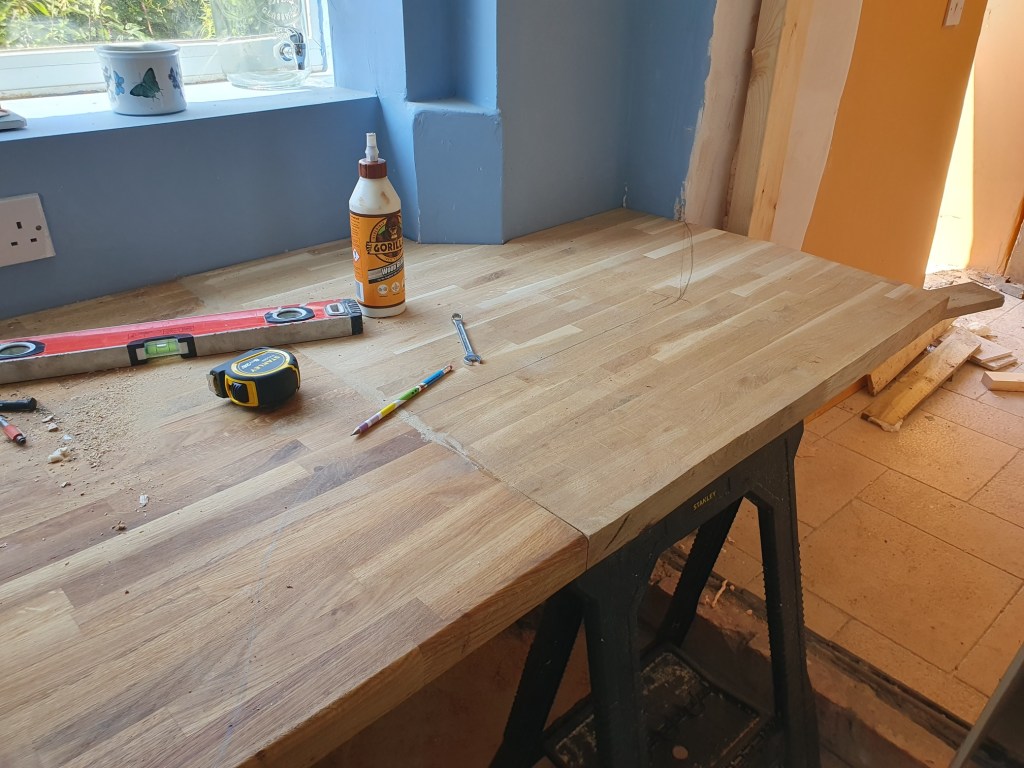
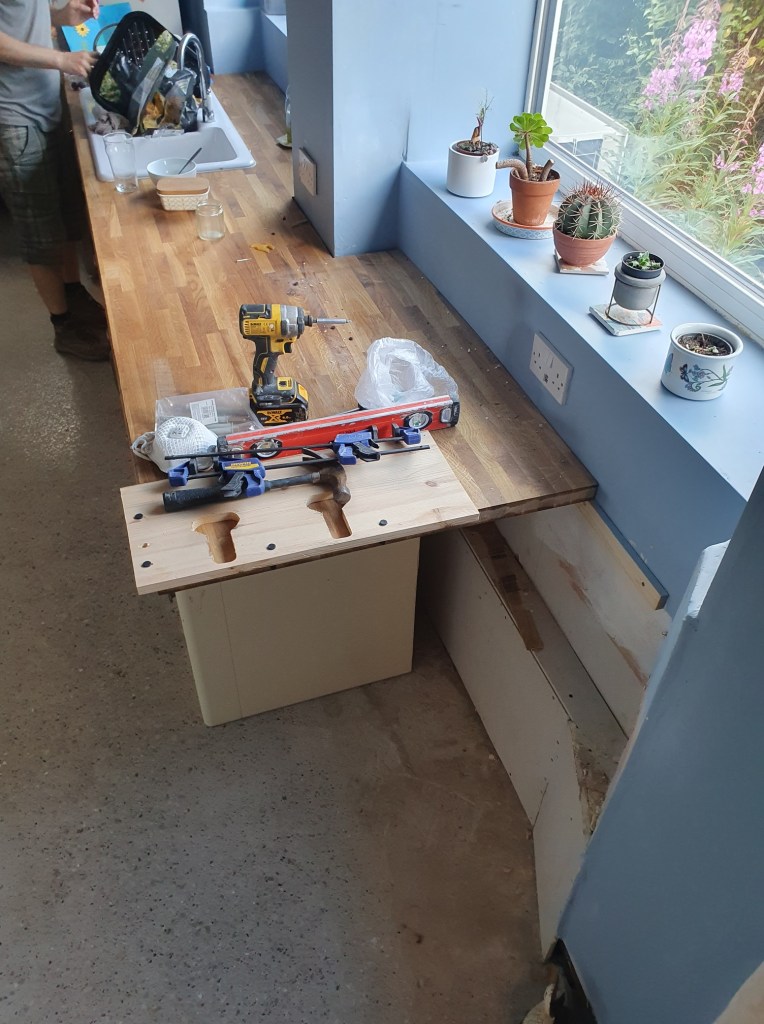
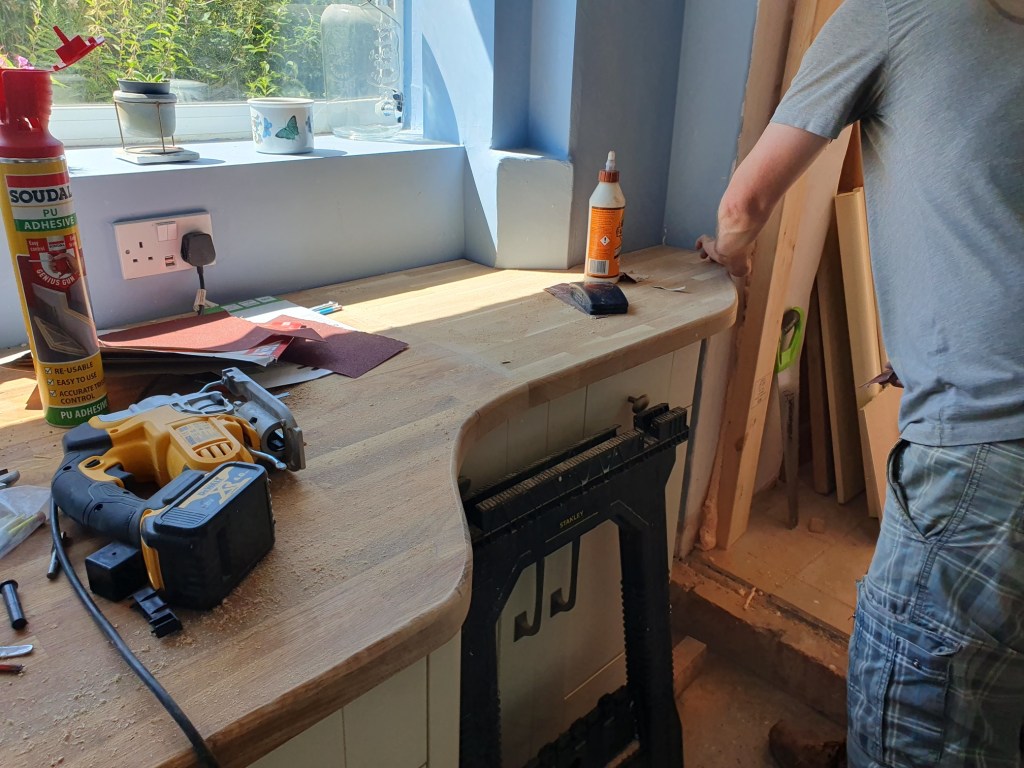

One particularly exciting job, was the shaping of the last bit of worktop. Chris had been putting it off because it was going to be so awkward and time consuming, but in the meantime we’d had to shuffle passed the worktop taking up half the doorway to the utility. Now it’s cut to follow the cupboards it opens up the space completely.
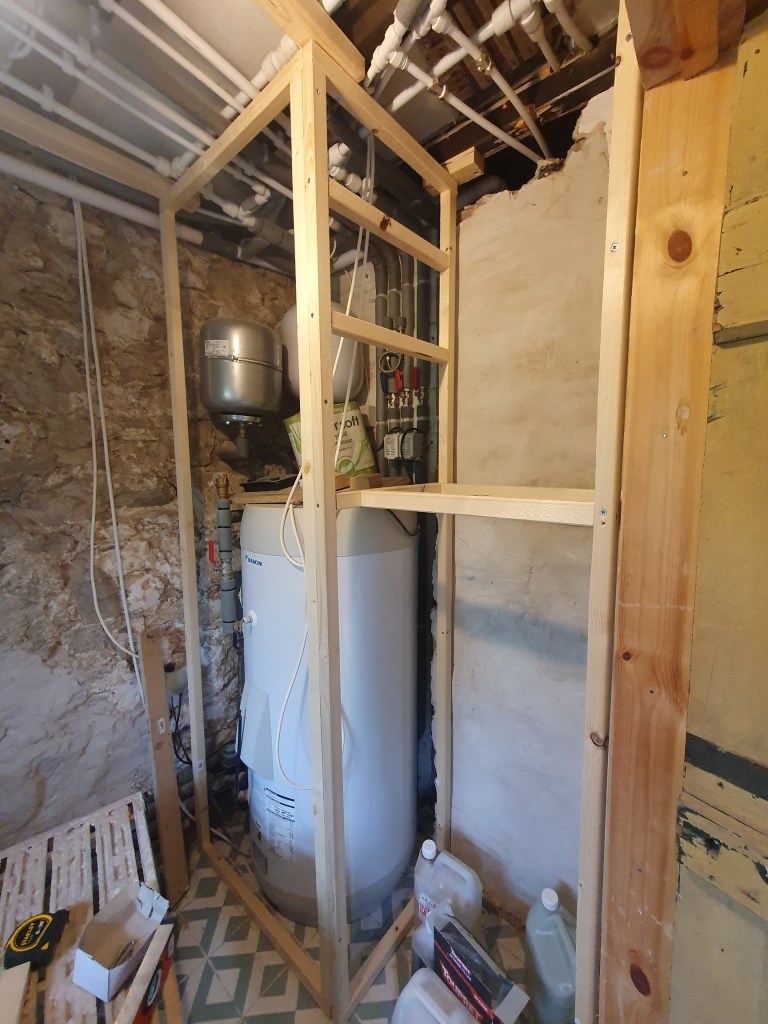
Another annoying job that we’d been avoiding was building the boxing round the boiler in the downstairs toilet. Awkward because of all the piping on the ceiling, and the fact that the beams were at different heights, and the floor has a slight slope towards the boiler. To provide stability to the boxing I started with the cupboard next to the boiler, setting shelves at approximately the right heights for our cleaning products. Still work to do but getting there.
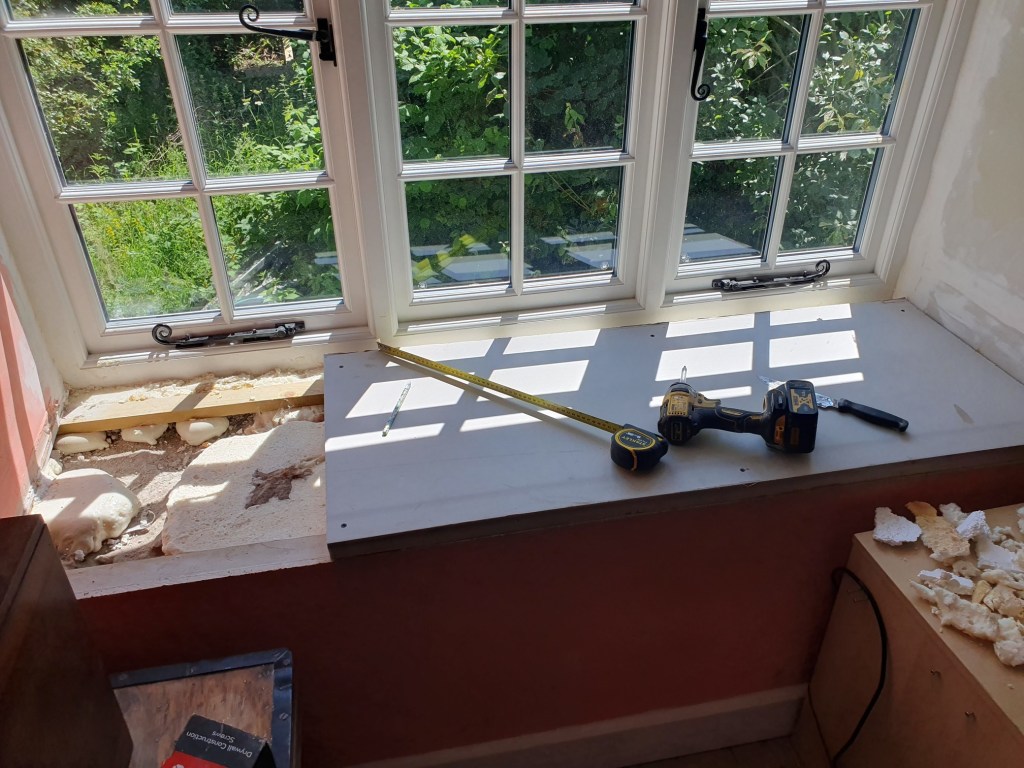
Between his other jobs we asked Max to replace the insulated plasterboard on the windowsills in the spare room. It had collapsed when we’d had to climb all over it when installing the windows.

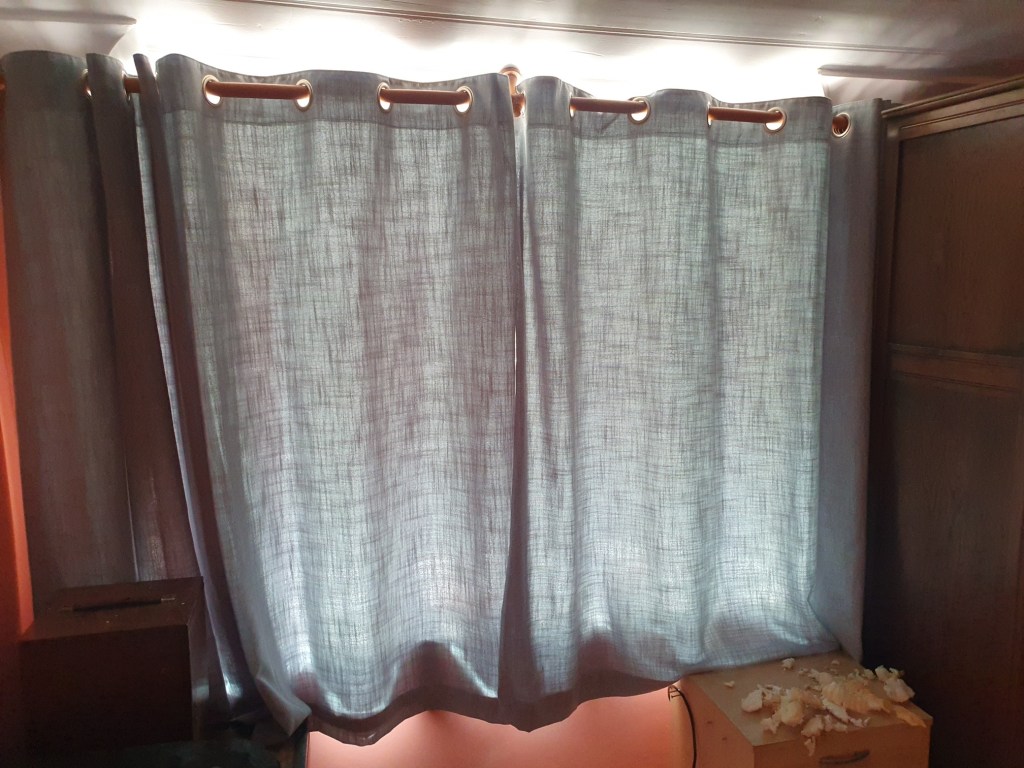
I finally got a curtain pole and set of curtains up too.
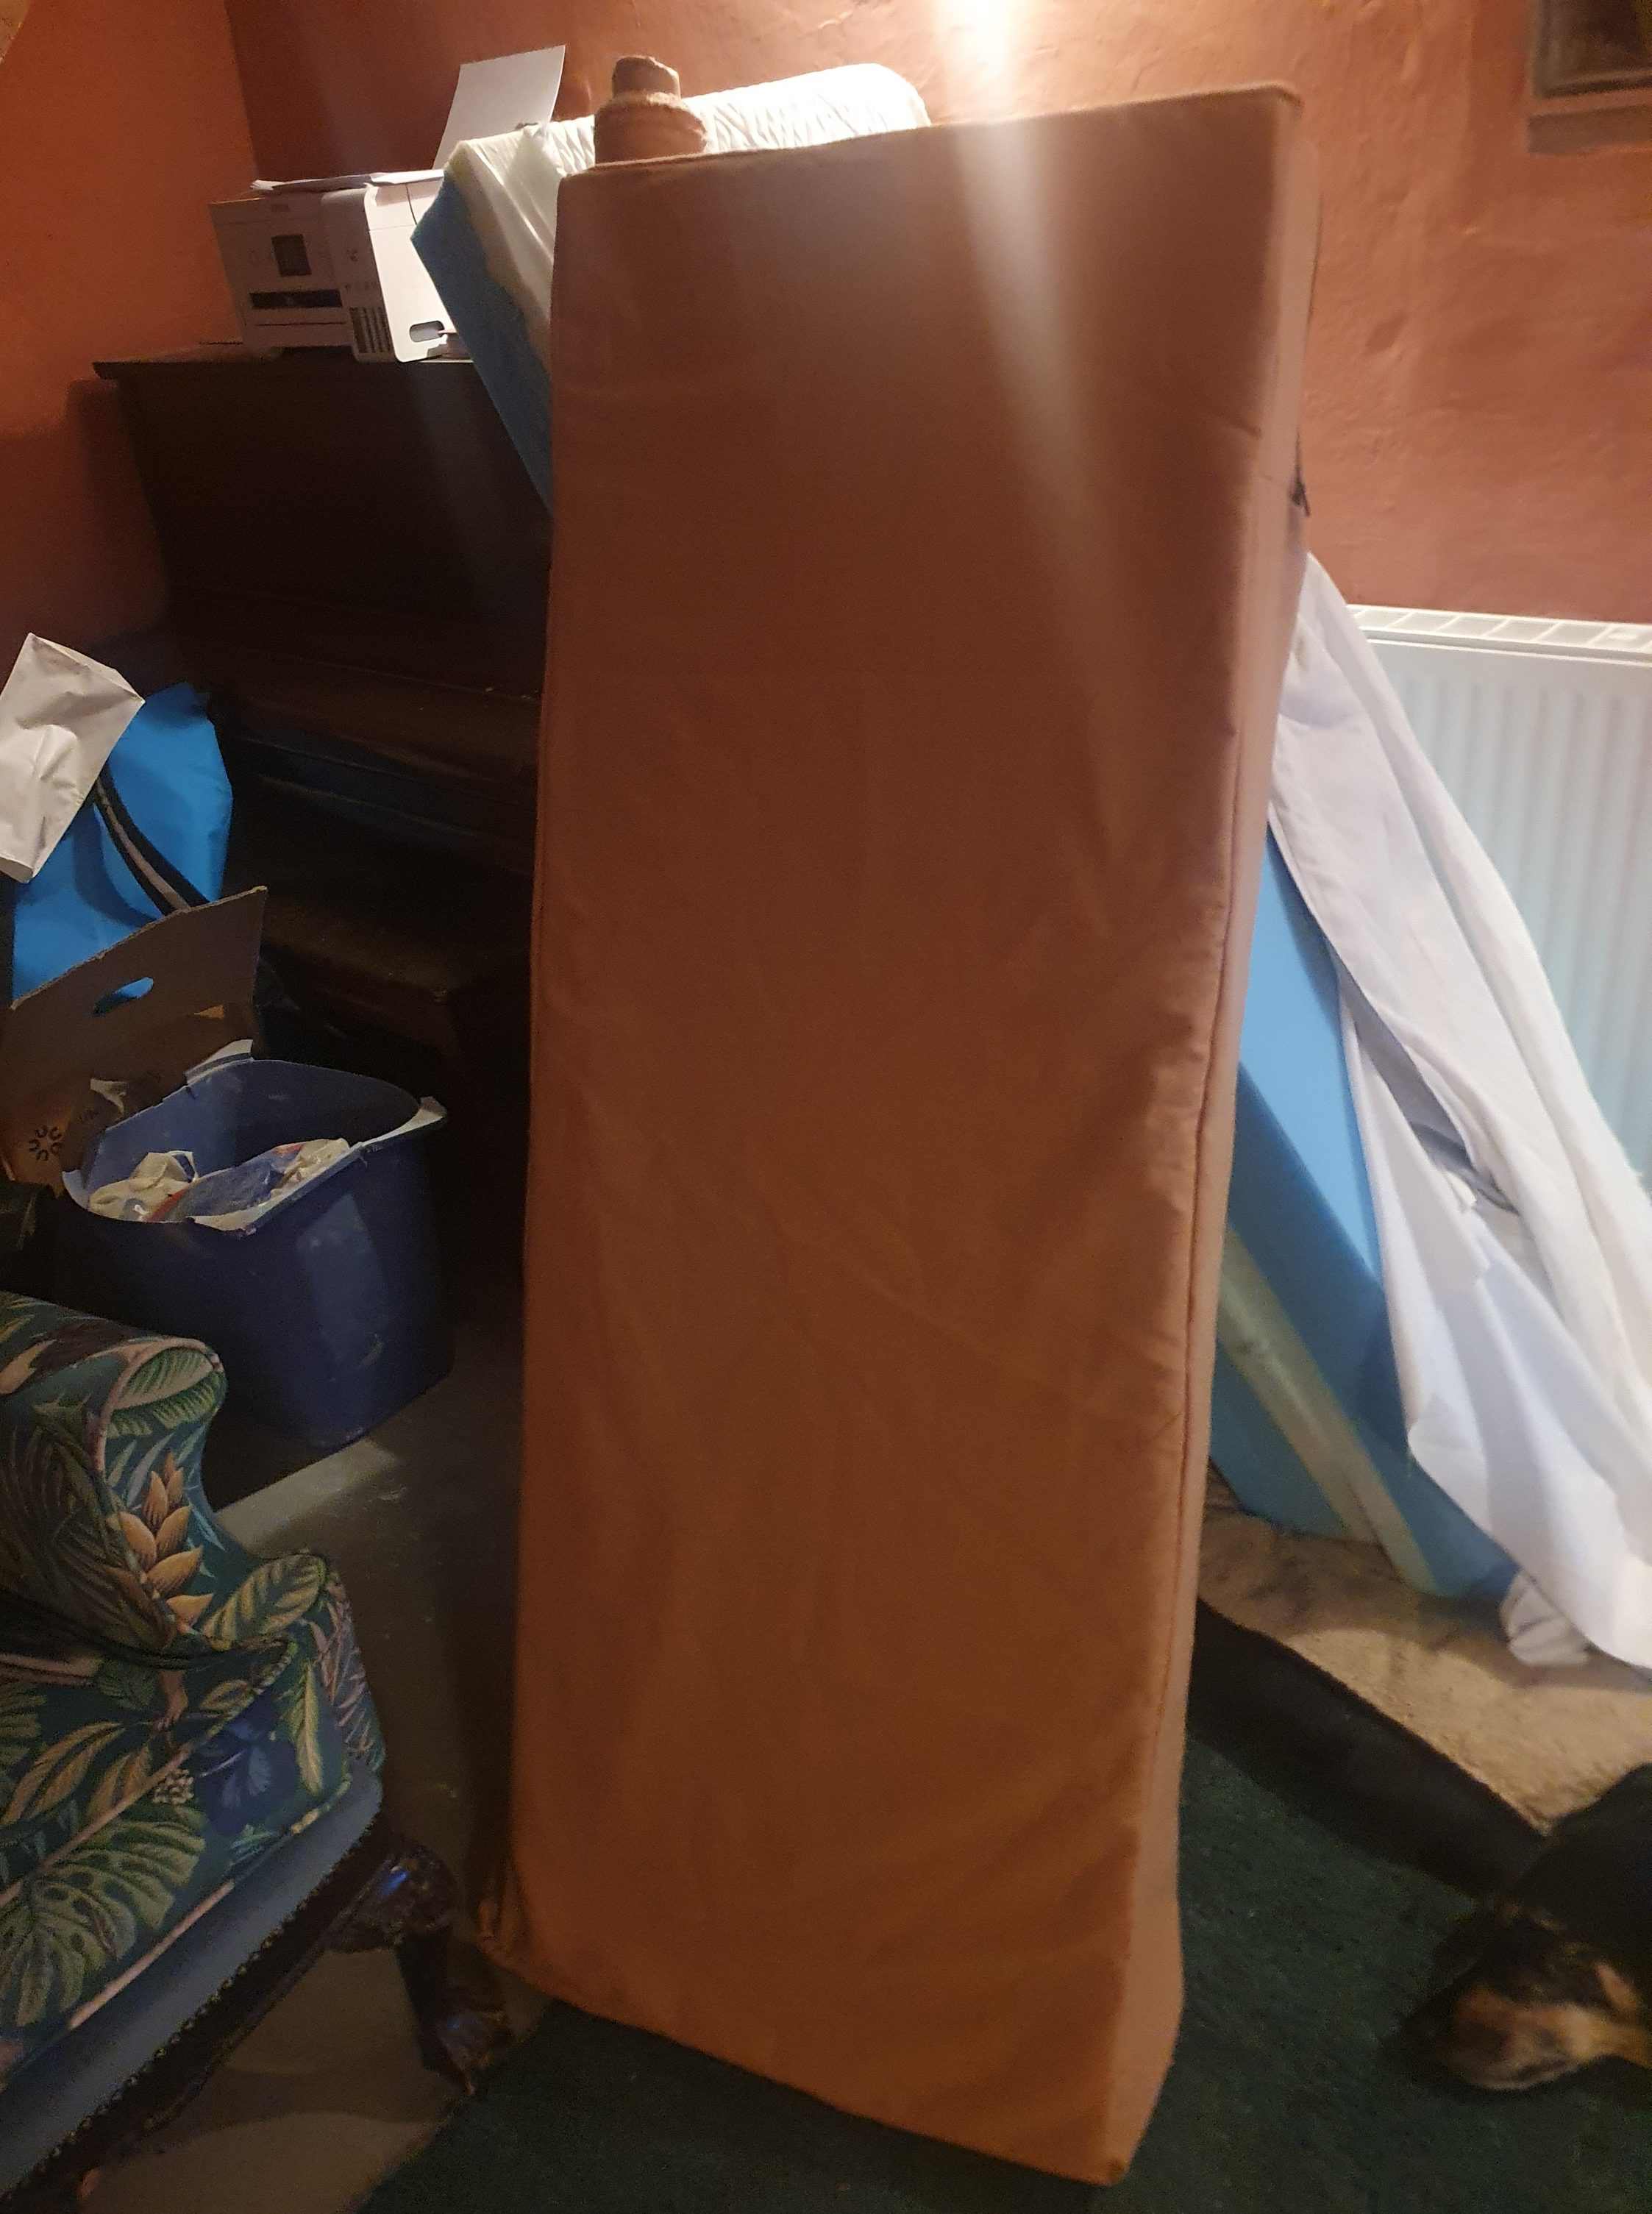
My final job of the week was to start making the covers for the campervan bed. I haven’t sewn in years since I had to relearn the process. They might not be the fanciest cushions, but fine for our first few trips.
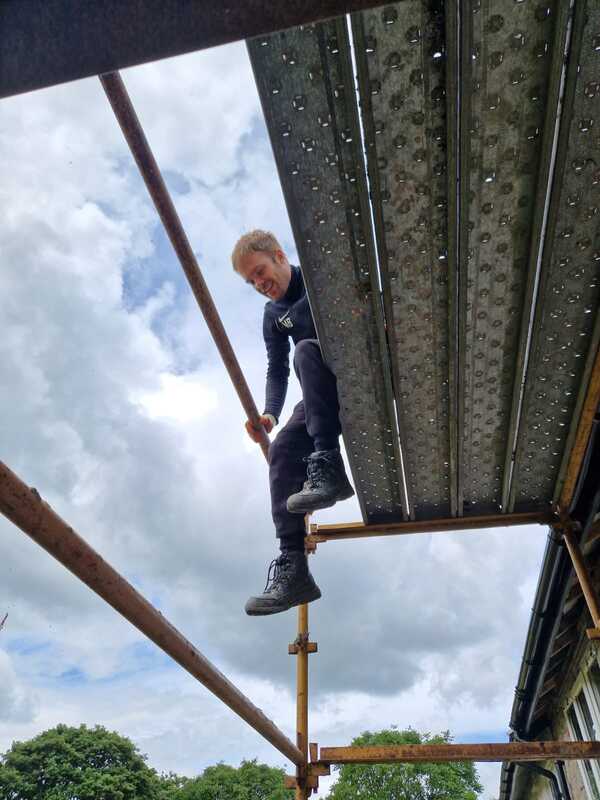
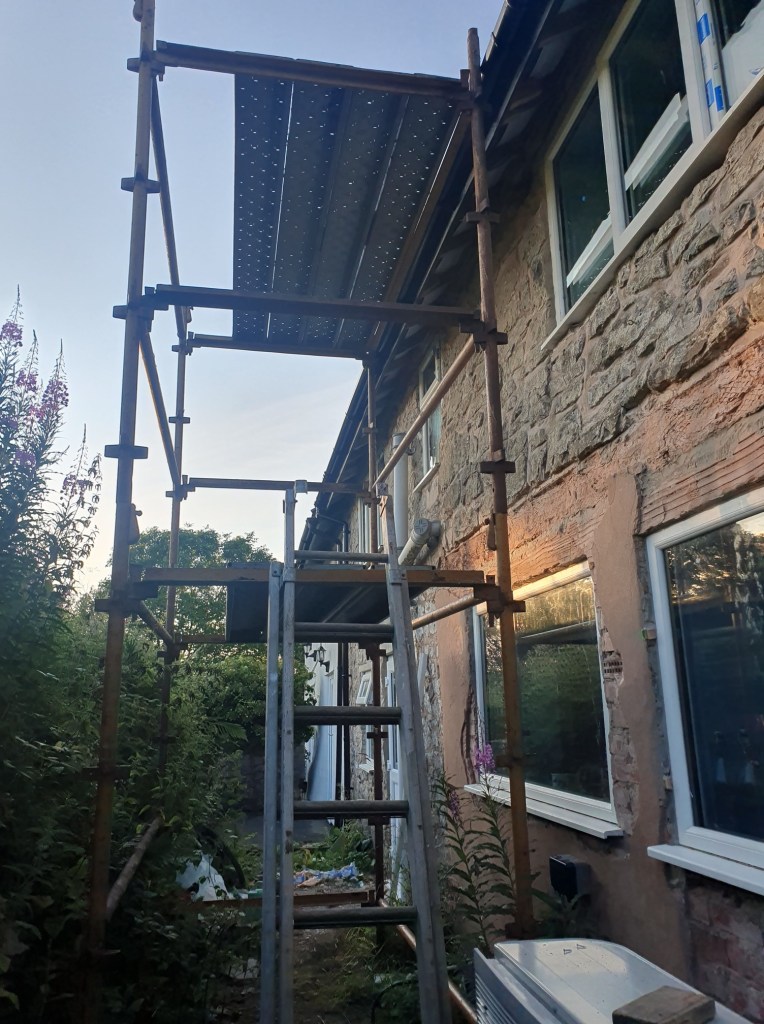
Chris and Max raised up the scaffolding up once again to install the external parts of our ventilation system.
Phew – it’s been an intense week, with everything that’s been going on, but fantastic to get round to some of those more awkward and tricky jobs. Hopefully Max has enjoyed getting stuck in to the DIY, we’ve certainly appreciated the help. Hopefully the little boost will keep us going till our trip to Norway in a few weeks. Still plenty to do in the meantime – four more cushion covers to sew for a start.

-
Subscribe
Subscribed
Already have a WordPress.com account? Log in now.
