-
Small but Essential
There are a few big jobs on our list still, but there are a lot of smaller finishing jobs. Despite being small, however, they usually require taking everything apart to get to them, adding a significant amount of hassle.
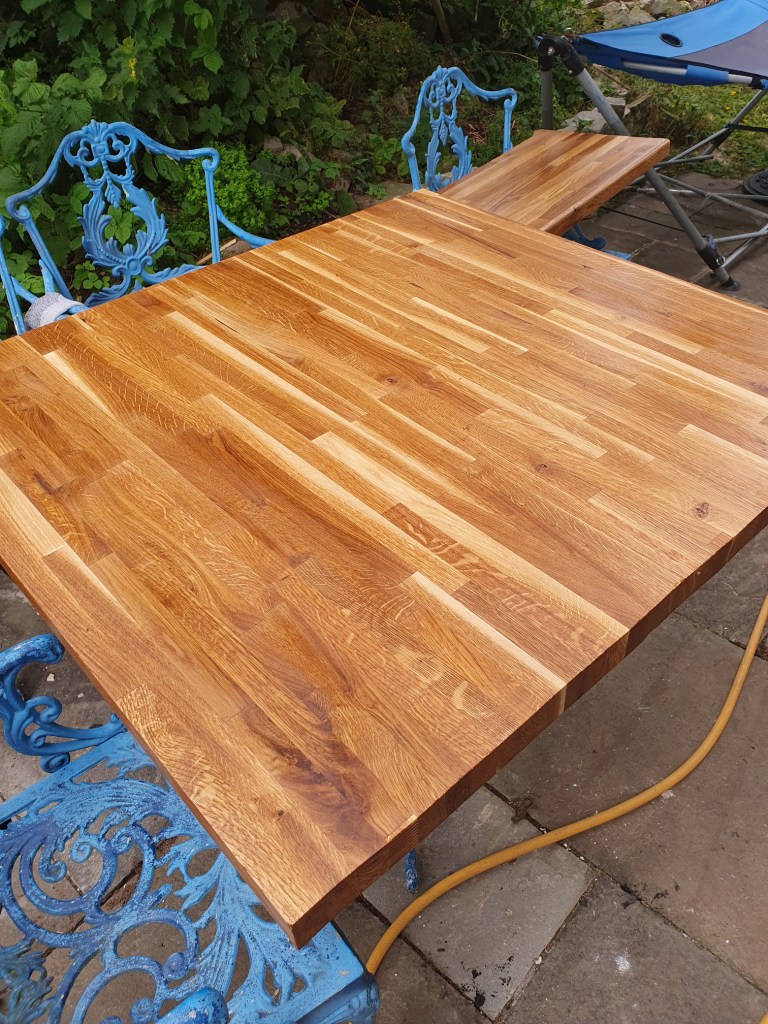
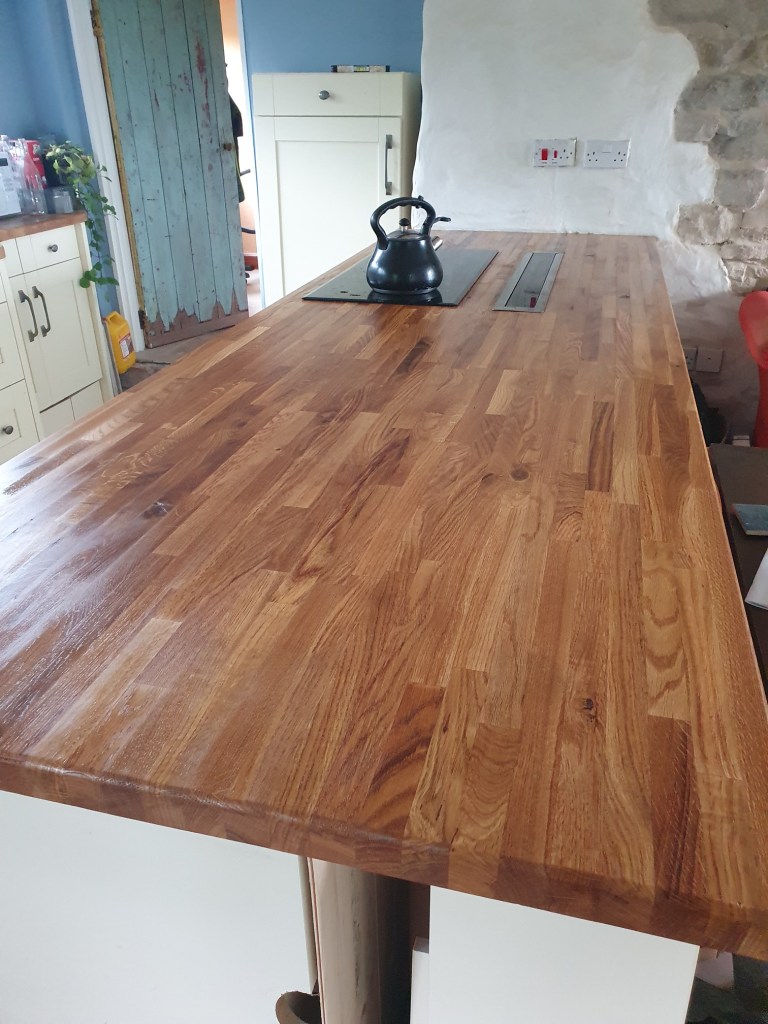
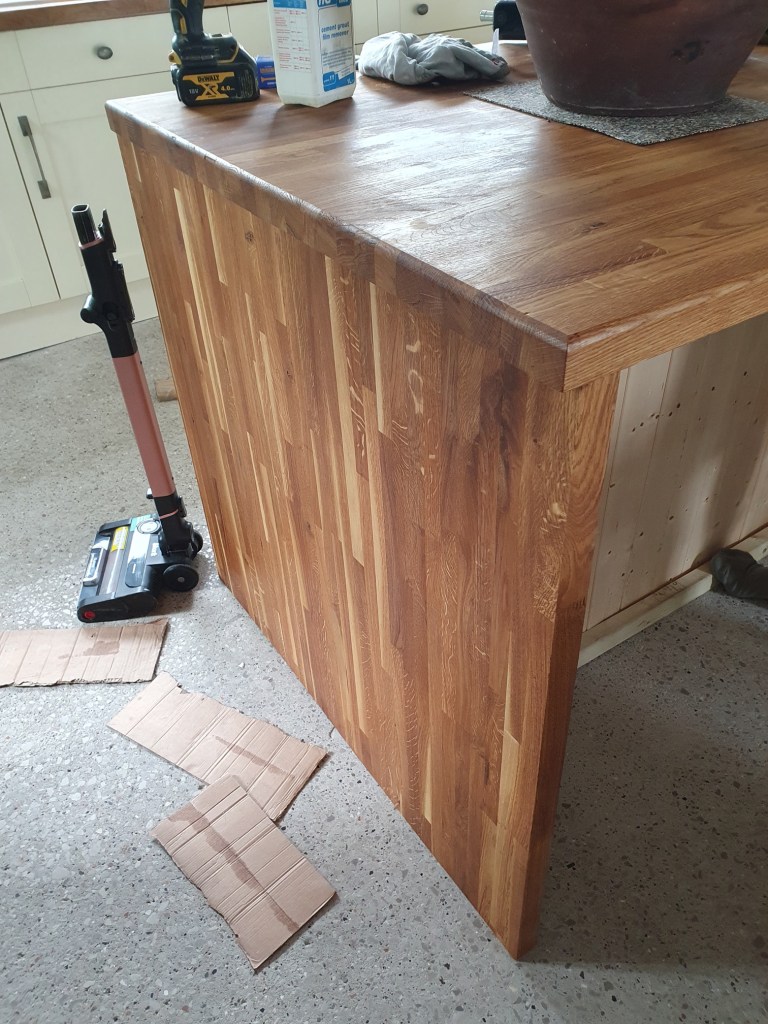
Chris has been keen to treat the kitchen island. While the actual treatment doesn’t take too long, we then can’t use the surface for around a week as it dries. Finally dry, he attached the side properly and sealed the sides.
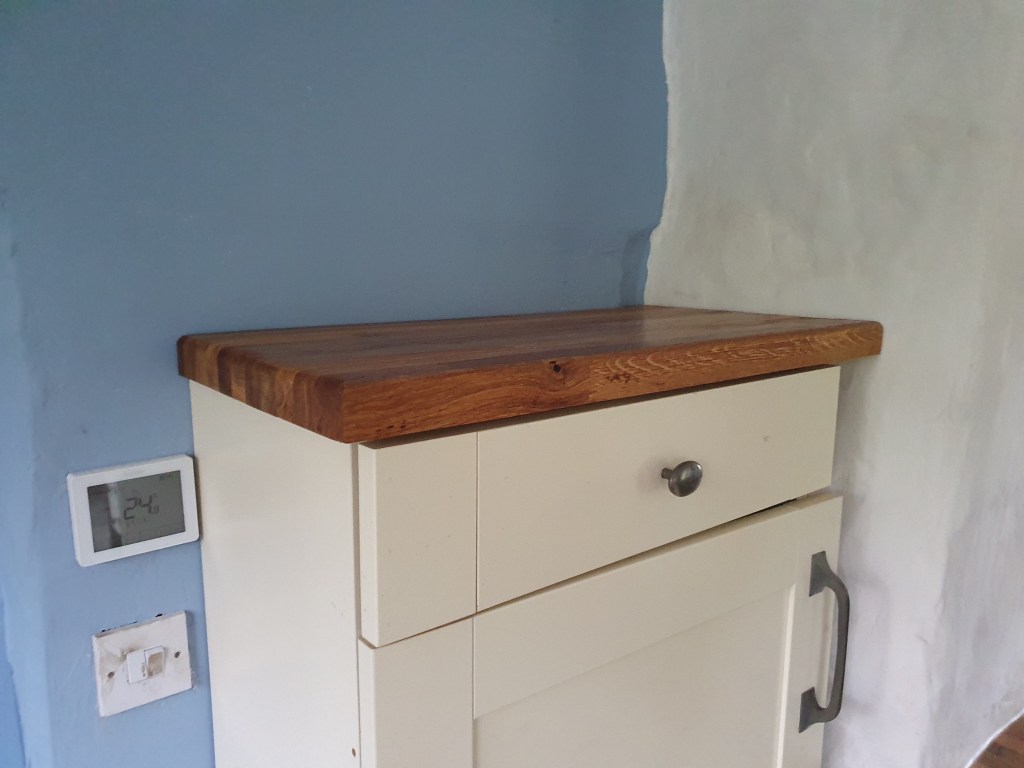
Alongside the worktops, Chris shaped and treated a top for one of our cupboards from a leftover piece of worktop.
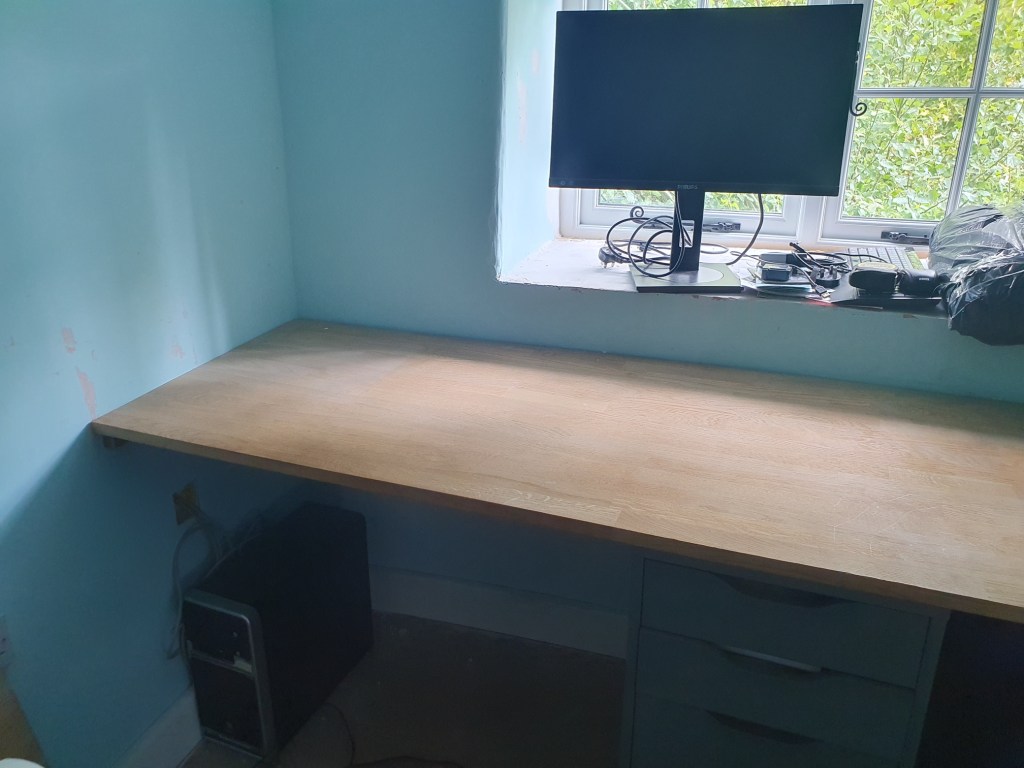
Sanding and treating the study desk was simplier, as we used a more basic varnish. Chris then sealed the edges.


Under the breakfast bar, Chris fixed the final few boards in place and added a trim along the bottom. He then gave it two coats of primer and sealed the edges. Once dry we’ll use the paint we had mixed to match the kitchen cabinets.
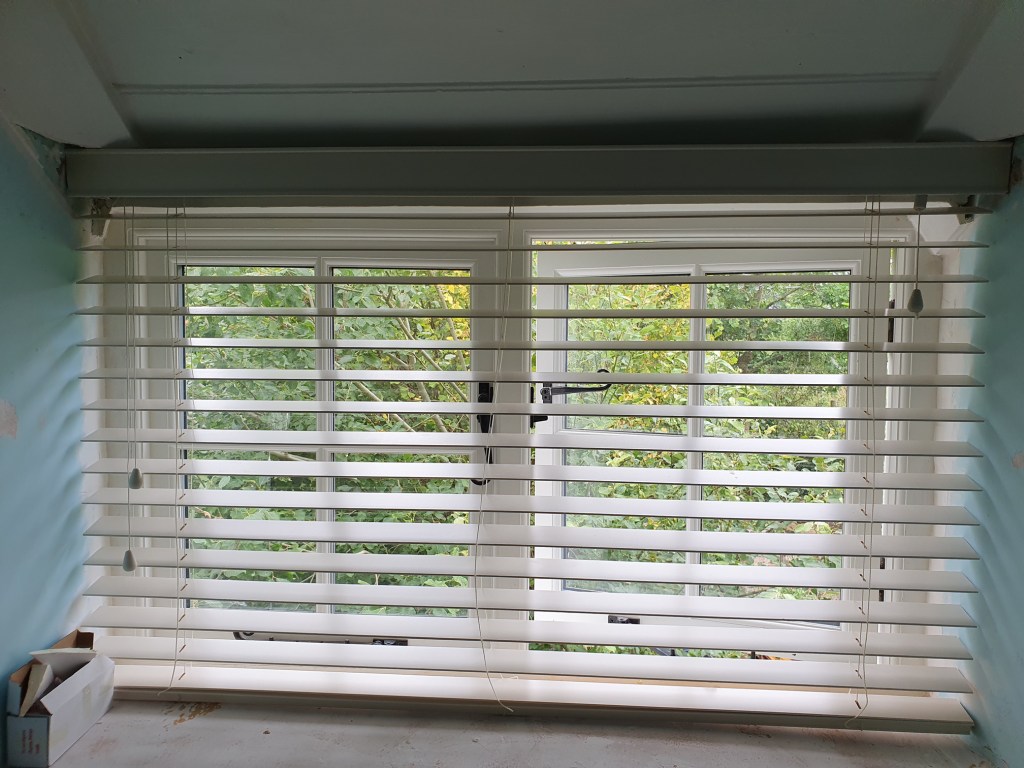
Chris ordered a blind for the study to keep the sun out of his eyes. It was a struggle to get in, with the wonky walls making it a tight fit. He then filled along the edges.
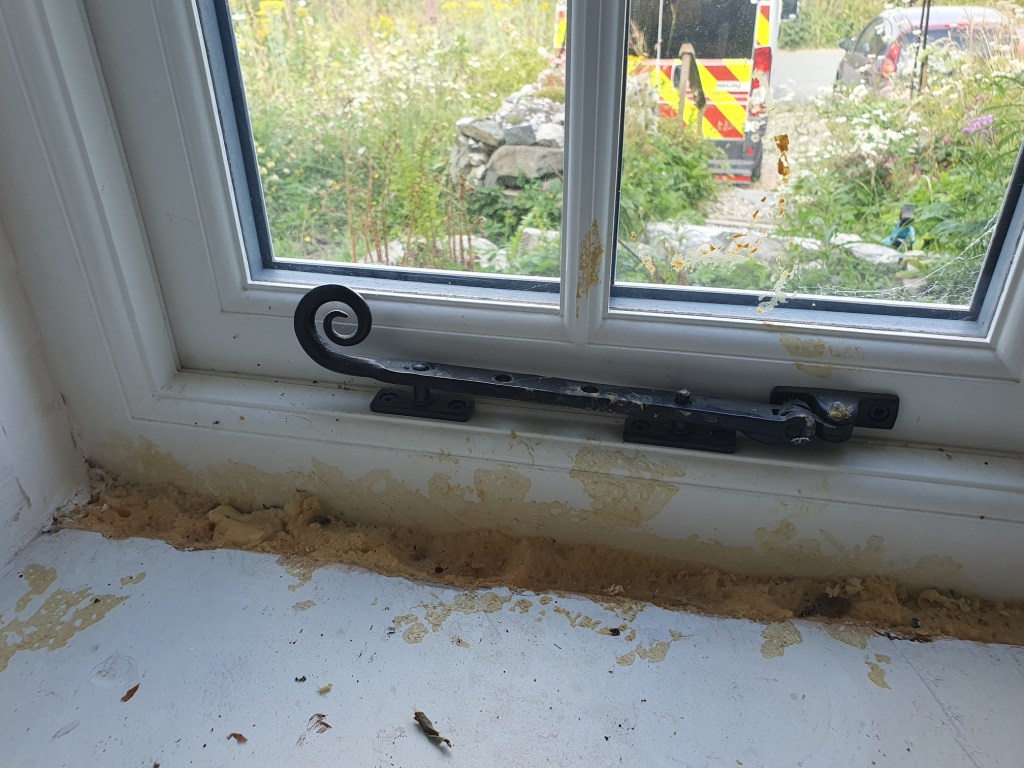

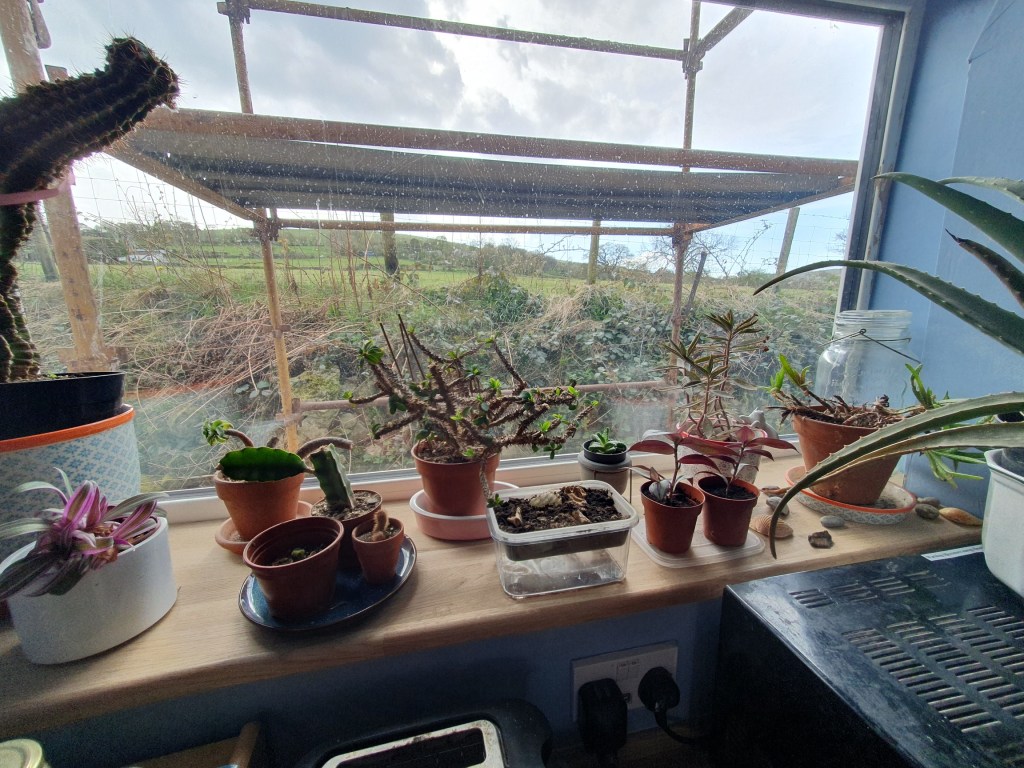
Having spent time cleaning the expandy foam marks off the PVC windows, I had to tackle the wooden windows. The foam stripper didn’t work well on the wood, just taking off the paint. Eventually, by trial and error, I worked out a light sand followed by two coats of paint did the job. It was a fiddly and slow job, buy good to get done.
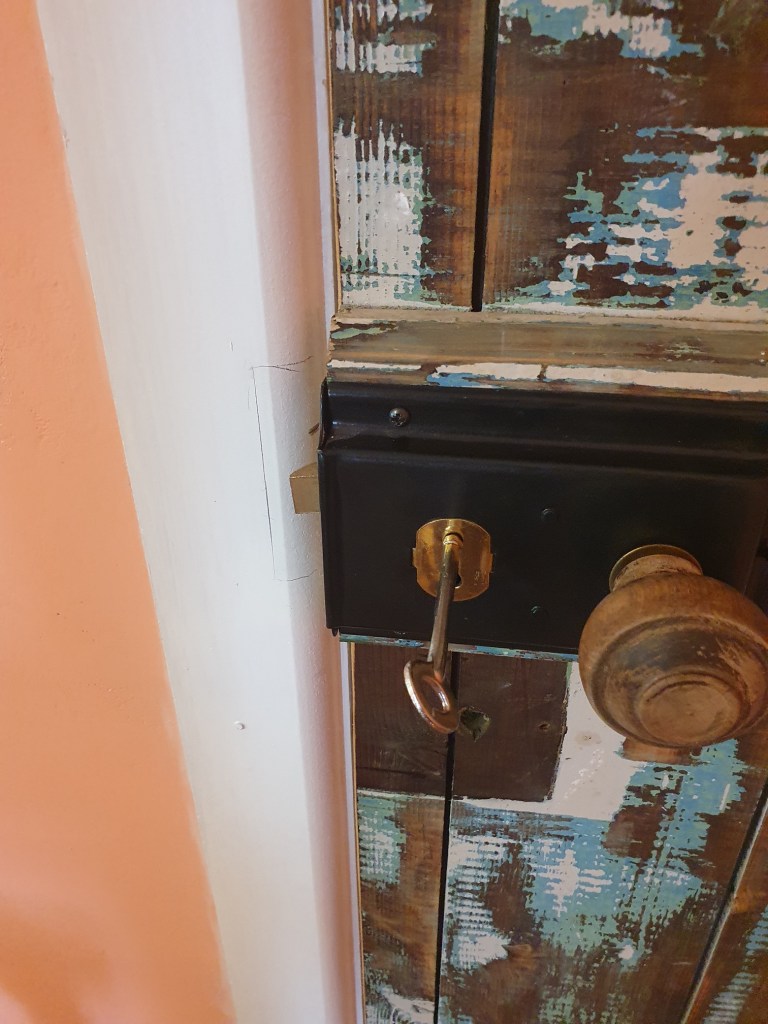
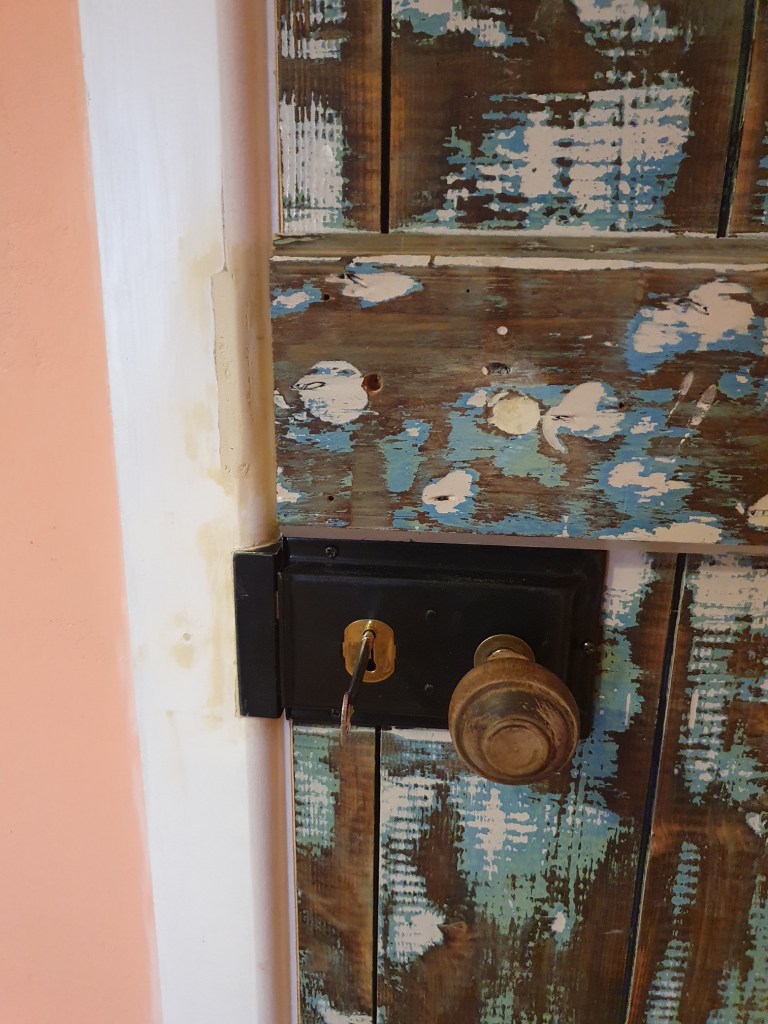
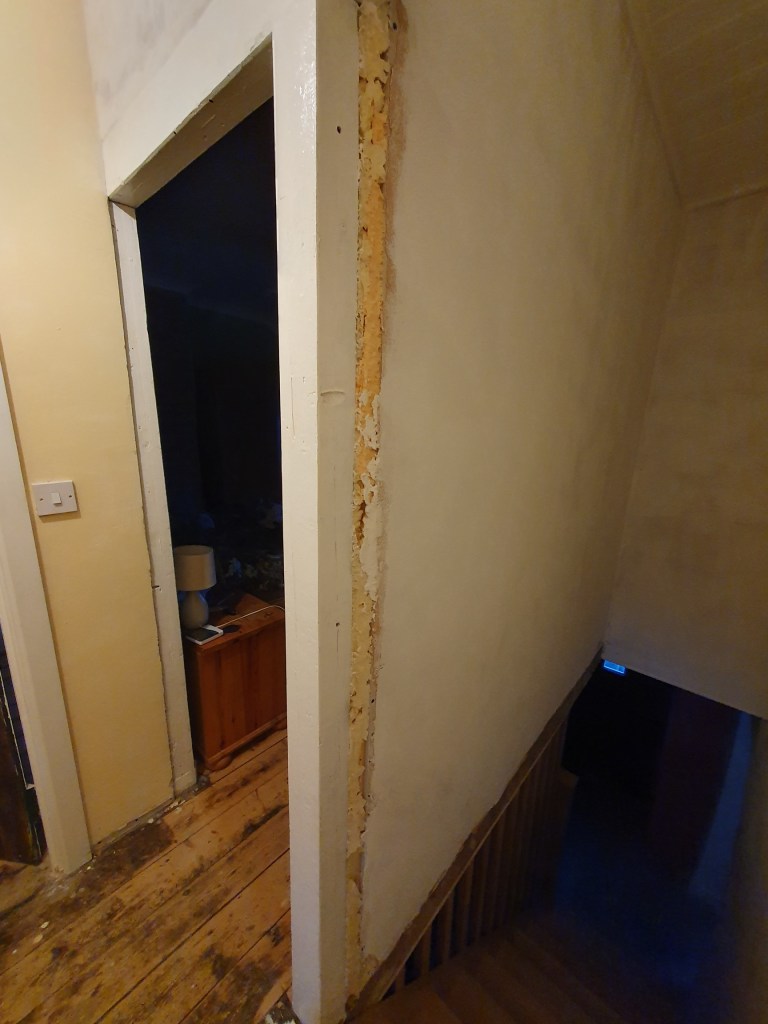
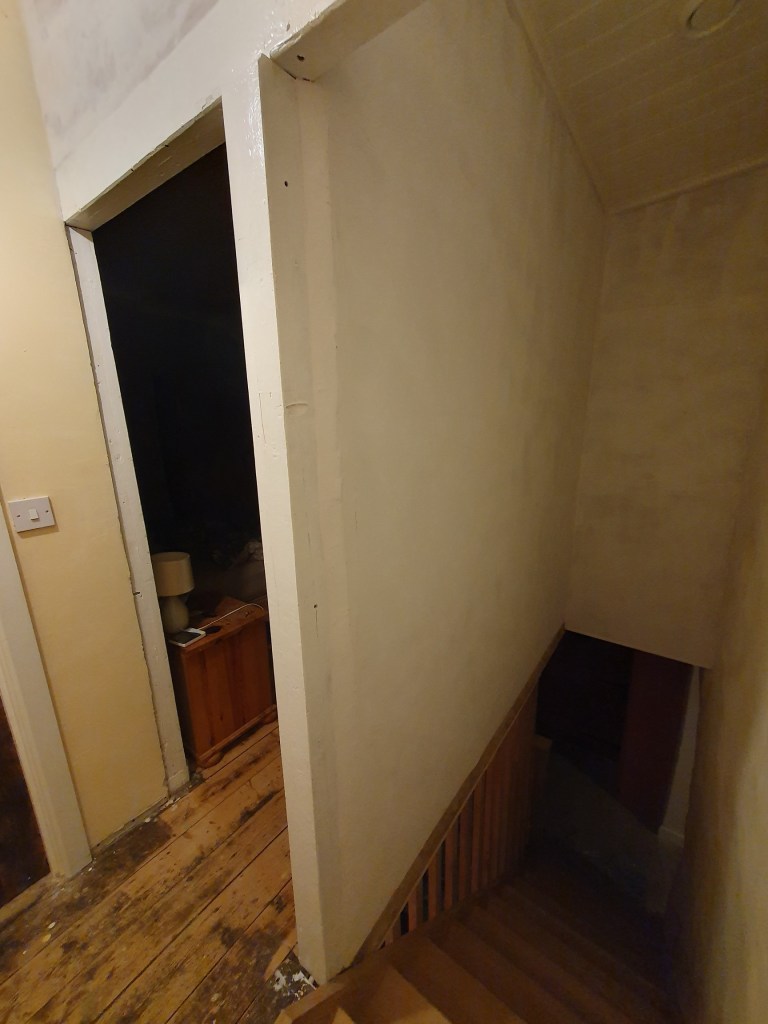
In the bedroom I drilled and chiseled out a section of the frame to put in the catch for the lock. Unfortunately, it turned out where Chris had put the lock meant the catch couldn’t be properly attached. So I moved the lock down and refilled the areas I’d previously cut out.
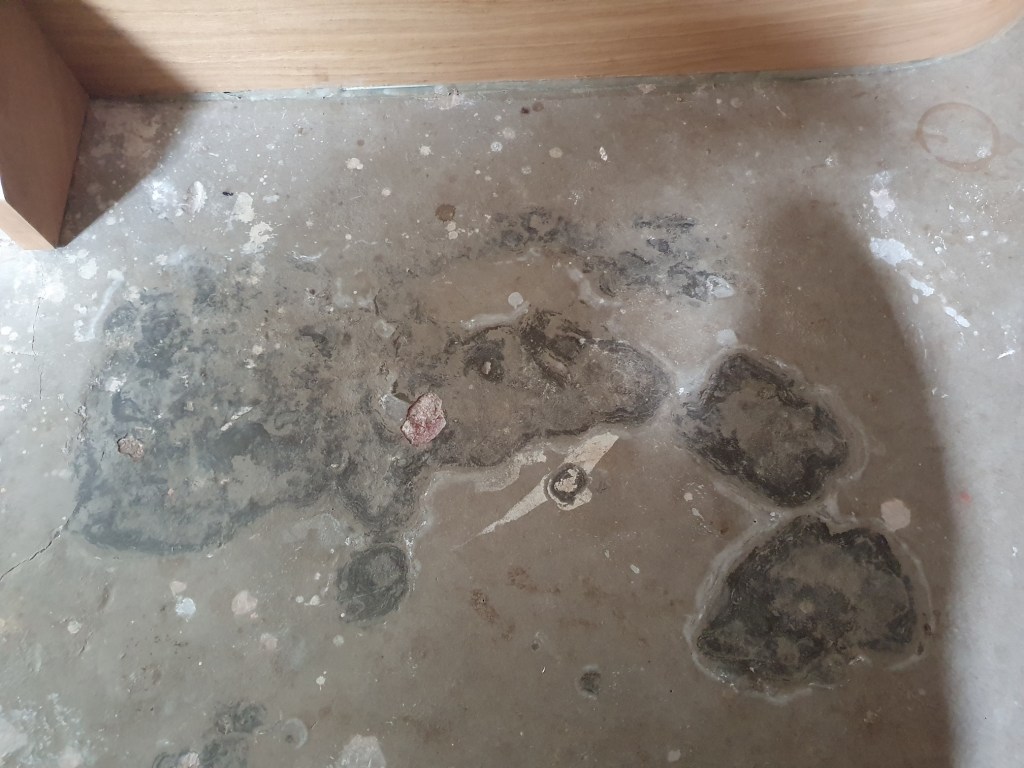
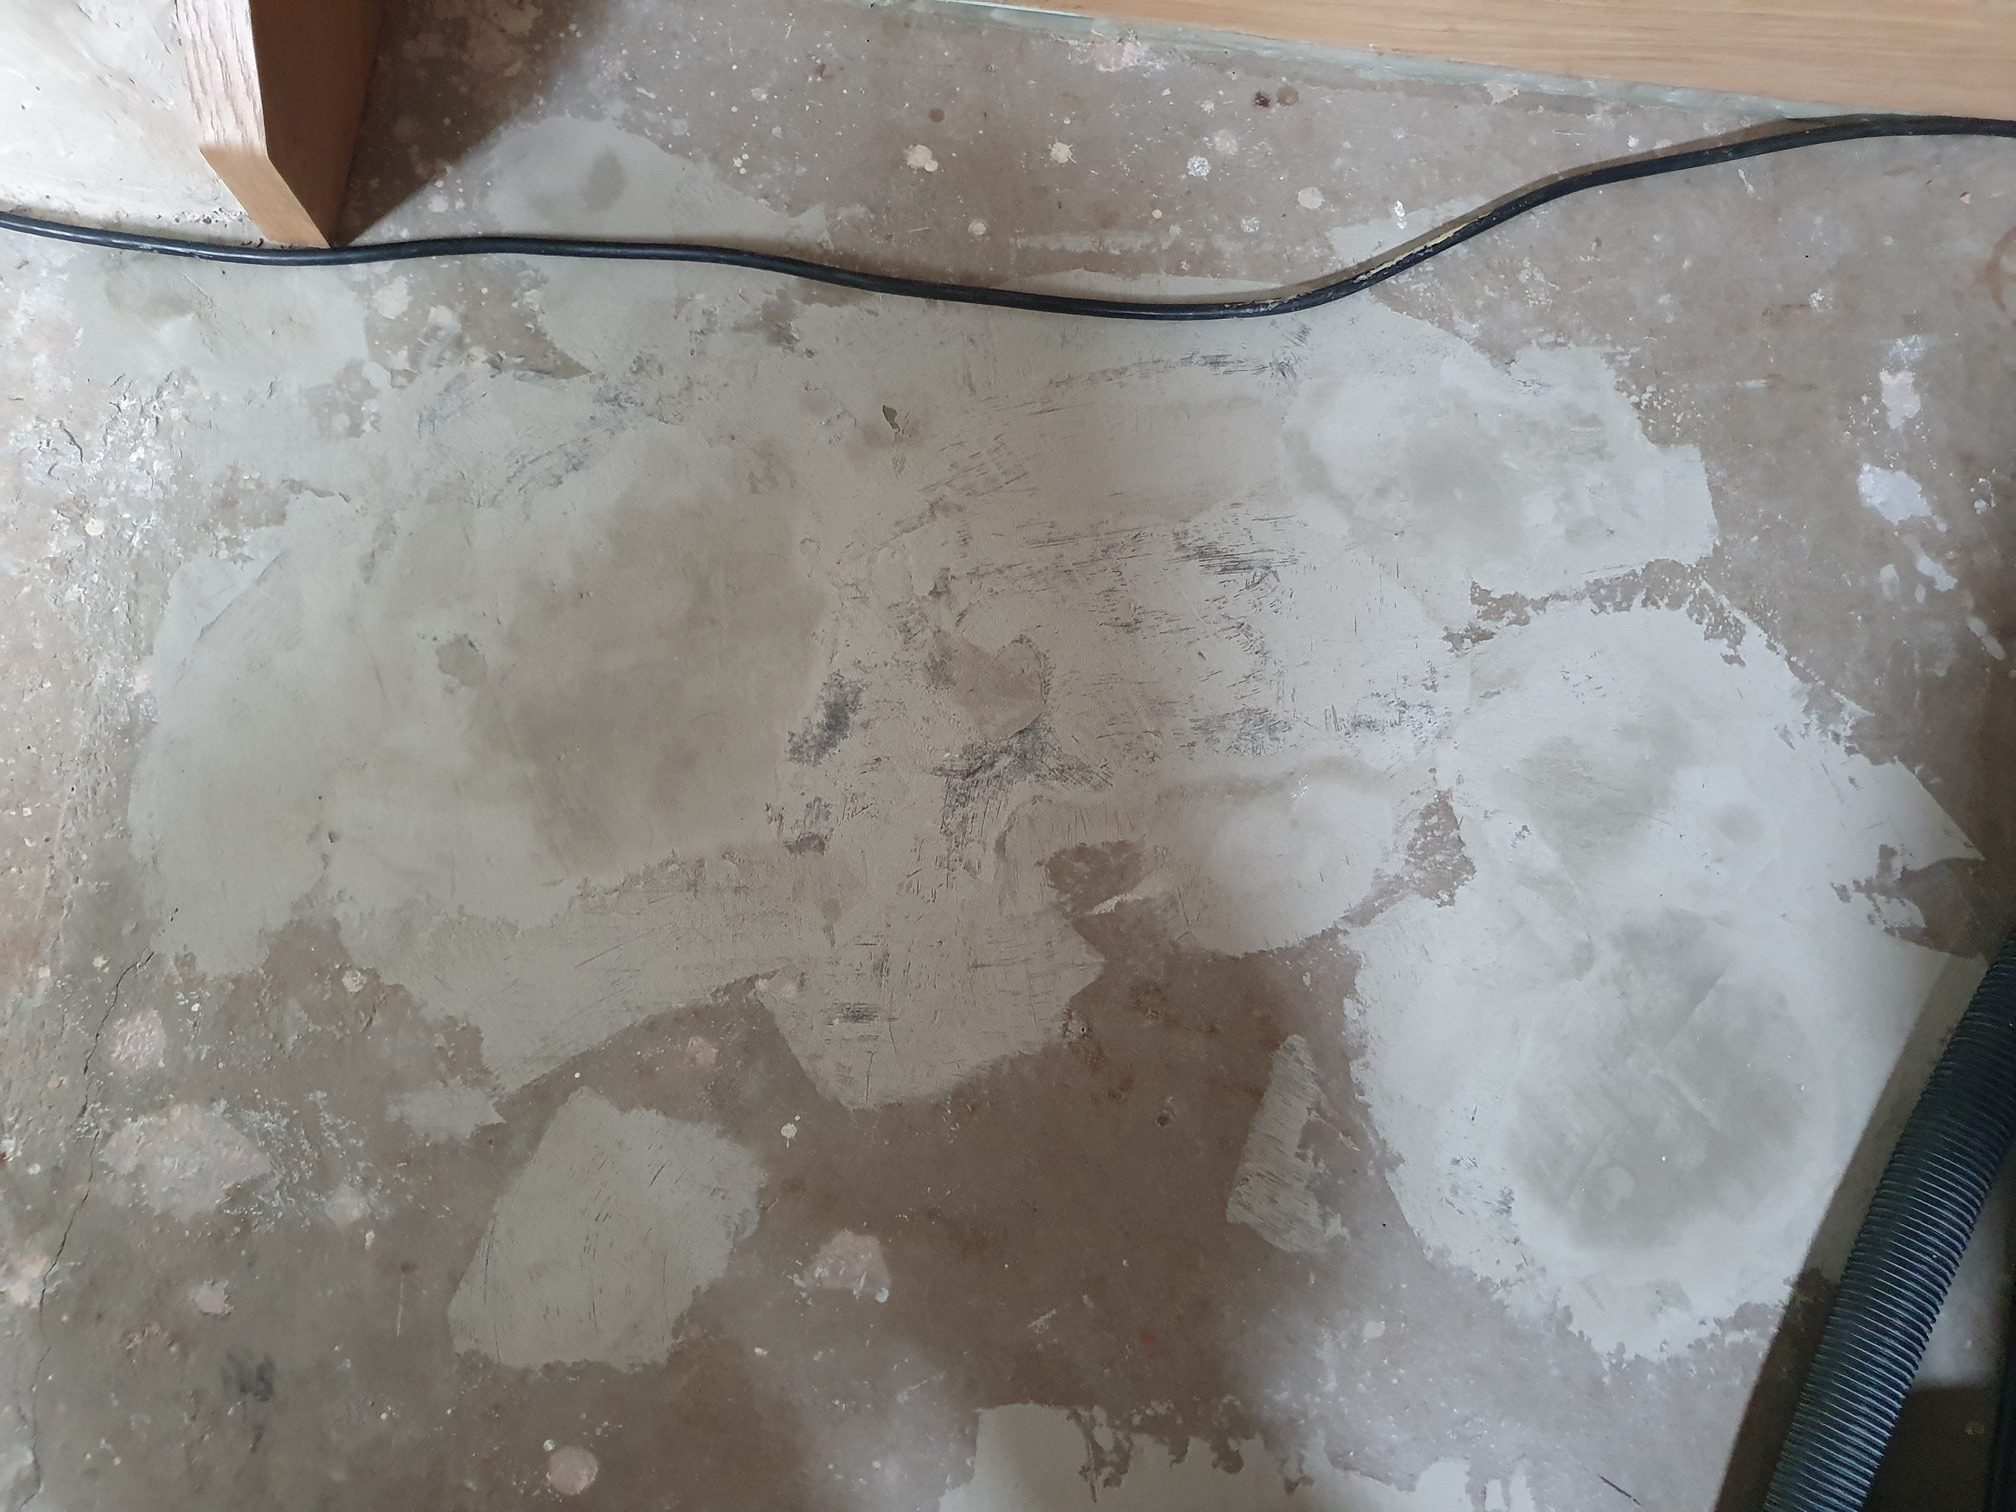
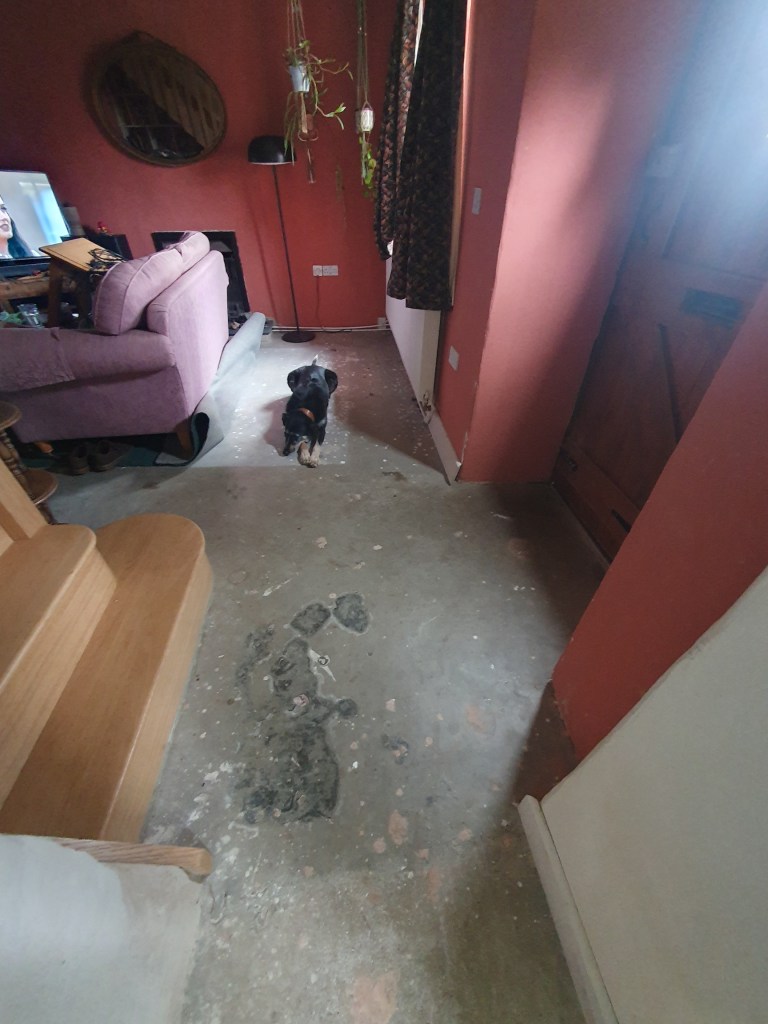
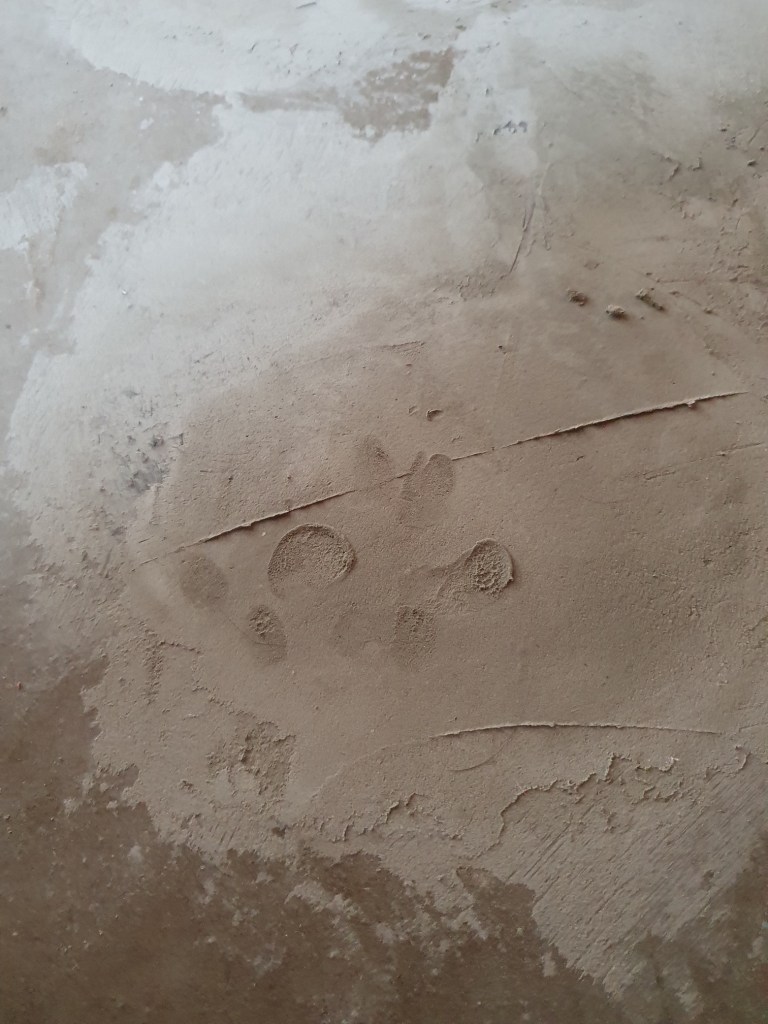
To get ready to install our cork flooring, we needed to clip off the old lumps of plaster, and fill in and holes in the floor leveller. To avoid clearing the room, I shifted furniture to one side and then the other, scrapping and filling. Luckily most of the floor was in fairly good condition, with only a few bad areas. Idris helpfully left his pawprint in some of my concrete filler, which luckily sanded out.
In the utility Chris emptied the room so he could clean the floor and treat it with stone sealant. A quick job, but one we’d been putting off.
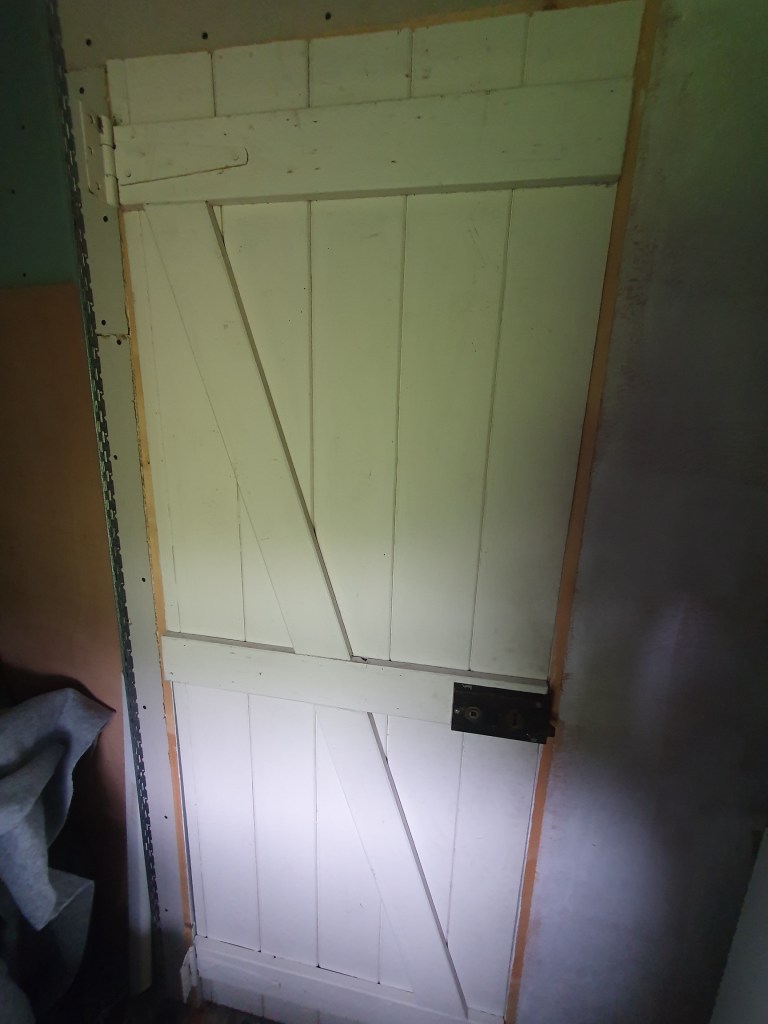
We aren’t planning to do the shower room any time soon, so it would be nice to be able to close the door on it. We have a door ready to go, so I pulled it out and cleaned it up, before offering it up to see if it fit. It only needs a few millimeter off to fit, so that will be another small job for another day.

A lovely view from the hills close to our house.
-
Slowly….slowly
It’s been a busy time, these last few months, with lots of travel, lots of visits, and very little DIY. Sitting down to work out what we have left to do inside the house, the list looks tantalisingly short, yet since writing it we’ve not ticked much off.

A few week ago we took our van for its first proper trip. In order to make it a little more comfortable we had to knuckle down to get a few jobs done.
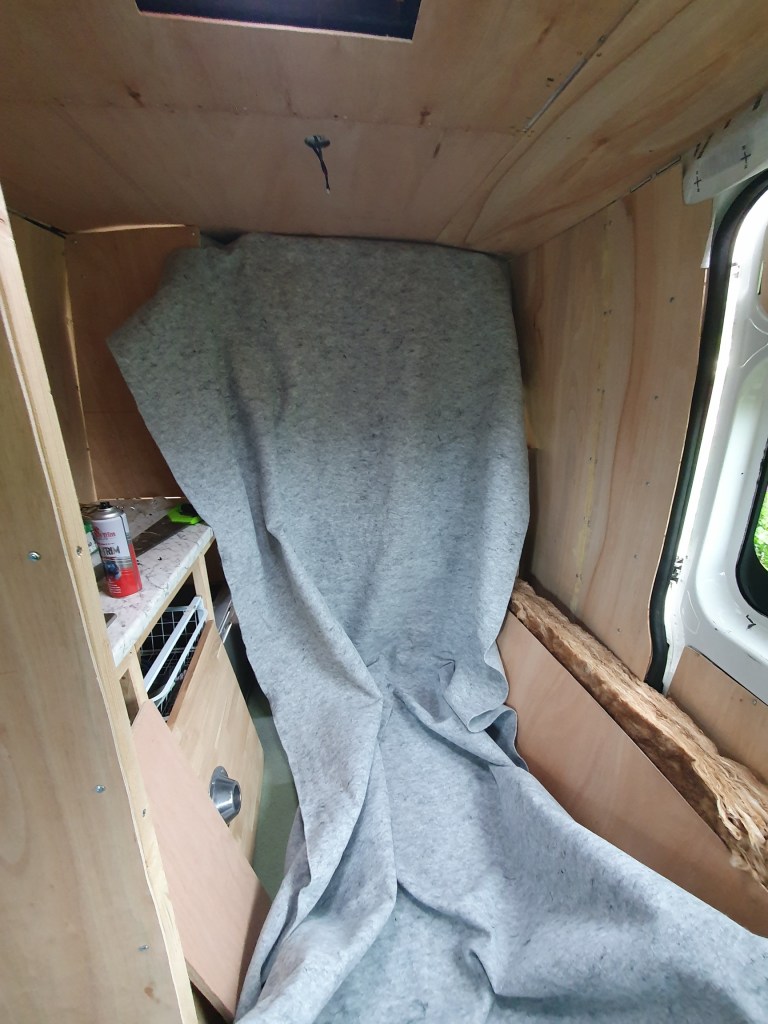
First we installed a carpet…on the ceiling. This ‘van carpet’, is often used to line vans, and is a kind of felted material that you attach with a sprayable glue. Having decided the ceiling was a little messy, with all the gaps and joins, this seemed like an easy solution. It was wonderfully easy to install, so I’m not surprised it’s an option many people go for.
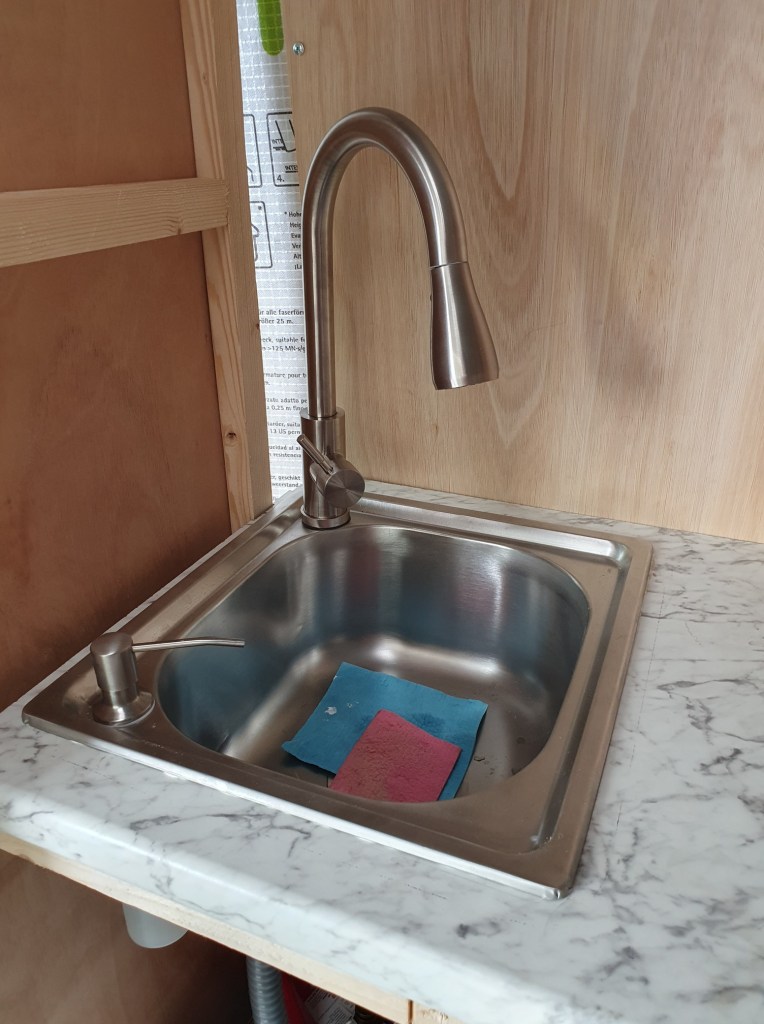

As well as the ceiling, there were some other bits to finish, like joining up the batteries to the car motor so they could recharge, and connecting the pump, tap and tank. Chris handled these electrical and pumbing bits of pieces, while I sanded filling and screwed a few remaining boards in place.
In the end we left with a van with running water, electrics, a bed and a camping stove. All functional, though a little rough around the edges.
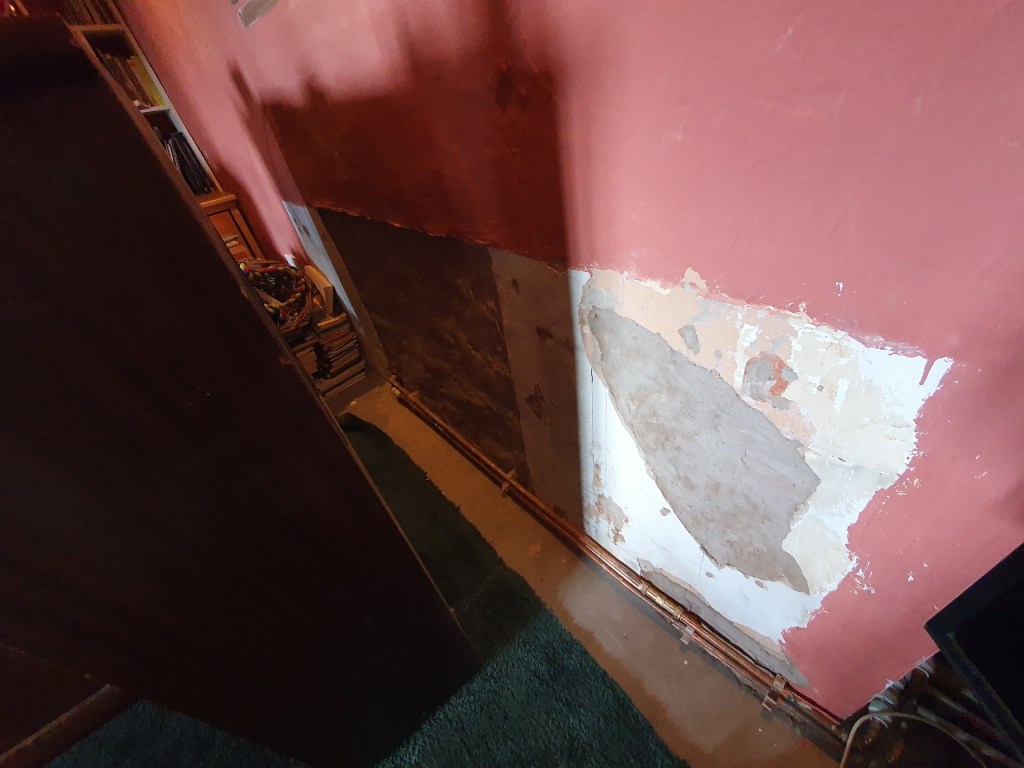
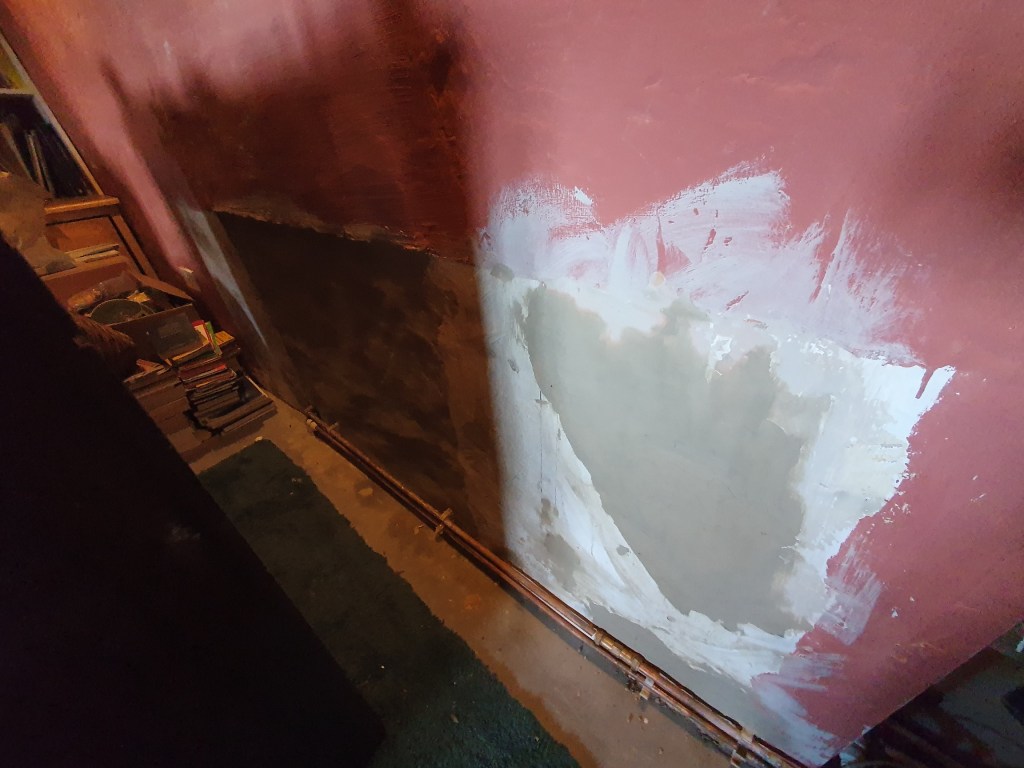
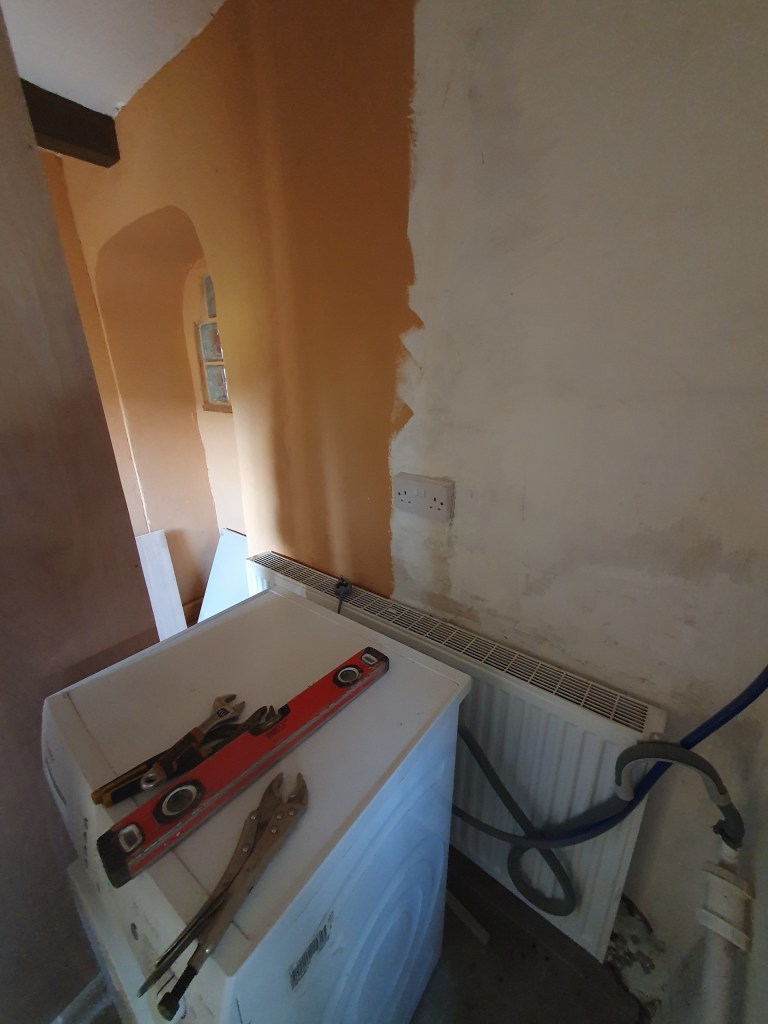
Inside the house, there was some little bits of plastering to do, including behind the piano where we’d moved the radiator, and at the base of the landing wall. Nothing exciting but making things ready to paint.
For a while mice have been letting themselves in and hanging out under our kitchen cupboards. Luckily they can’t get in to eat the food, but they leave their droppings for us to clean up. We’ve been puzzled as to how they were getting in, till Chris discovered all the insulation around our heat pump pipes had been nibbled away, giving them perfect access into our house. I plugged the gap with some mortar, so we’ll have to see if they find another sneaky route into our house.
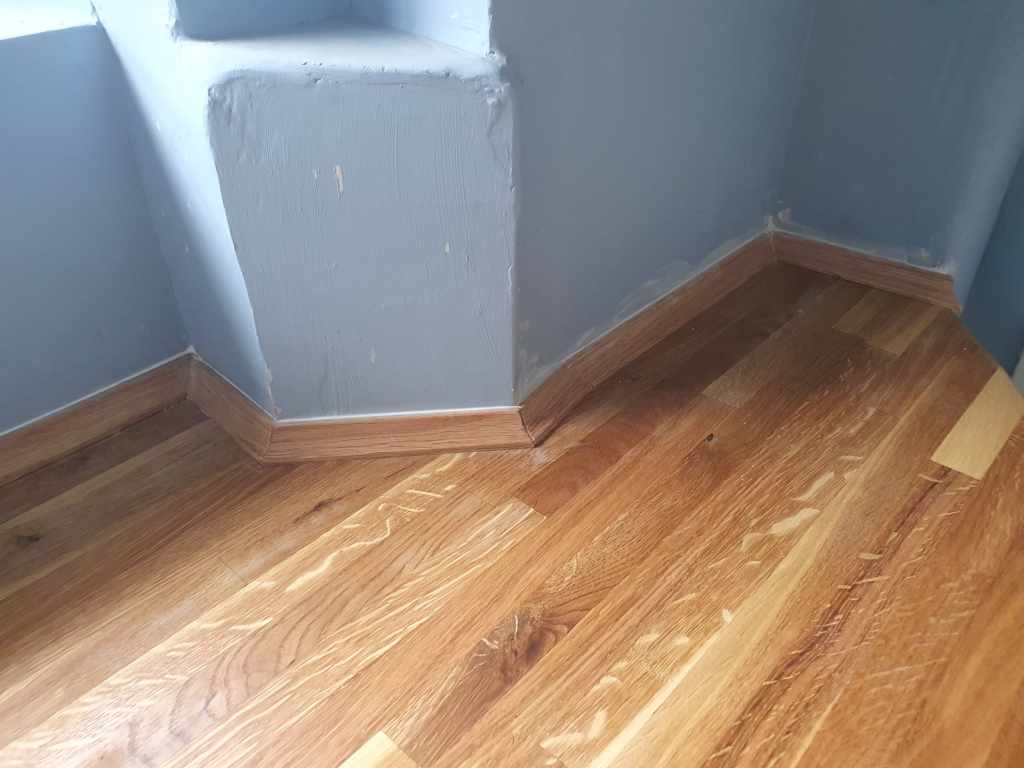
Having cut out the kitchen windowsills, I didn’t get round to treating them, and with a few accidental spillages while watering, they started to get marked. To save them I sanded them back down and applied some varnish. It was a relief to see they cleaned up OK. Chris then installed them.
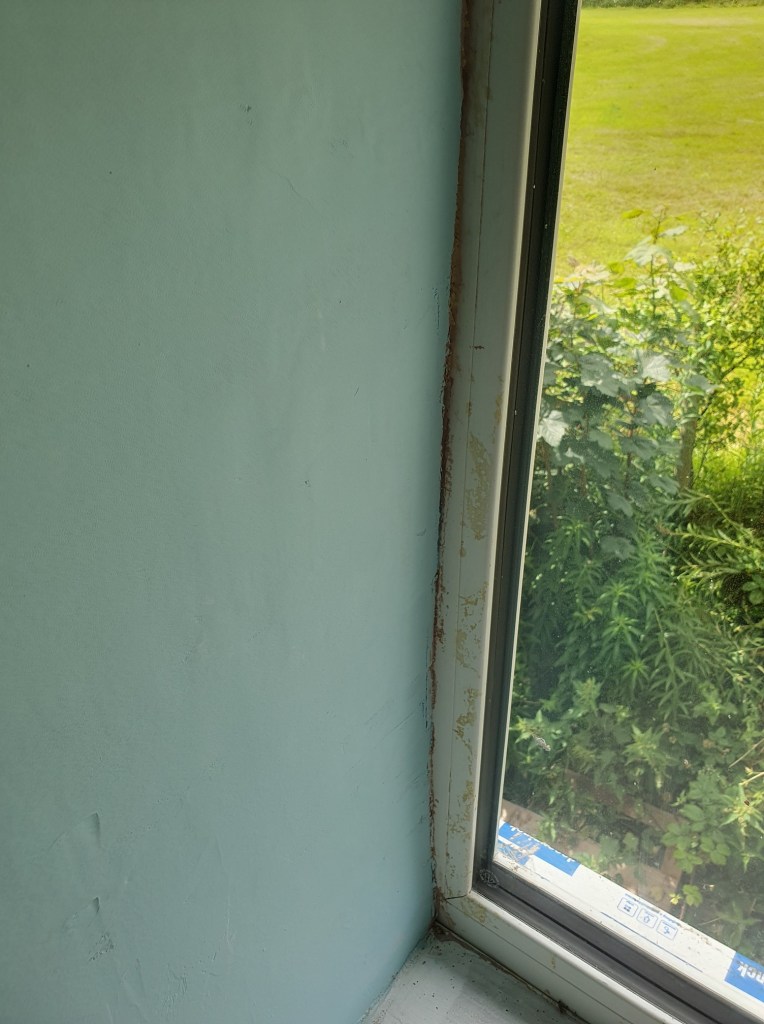
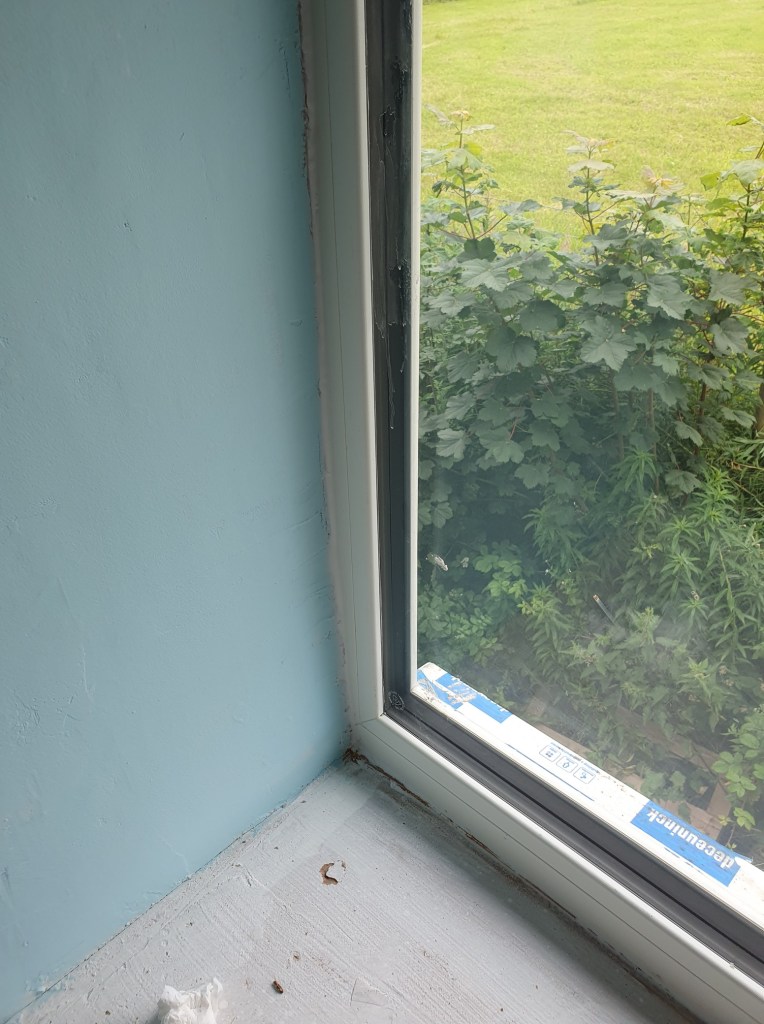
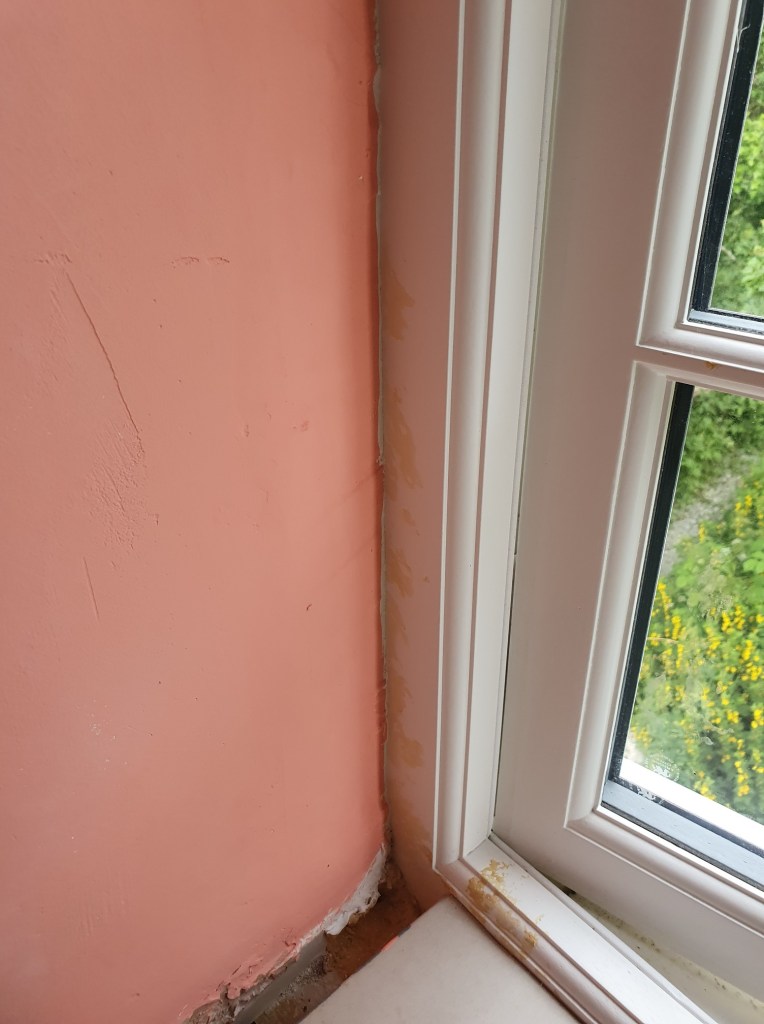
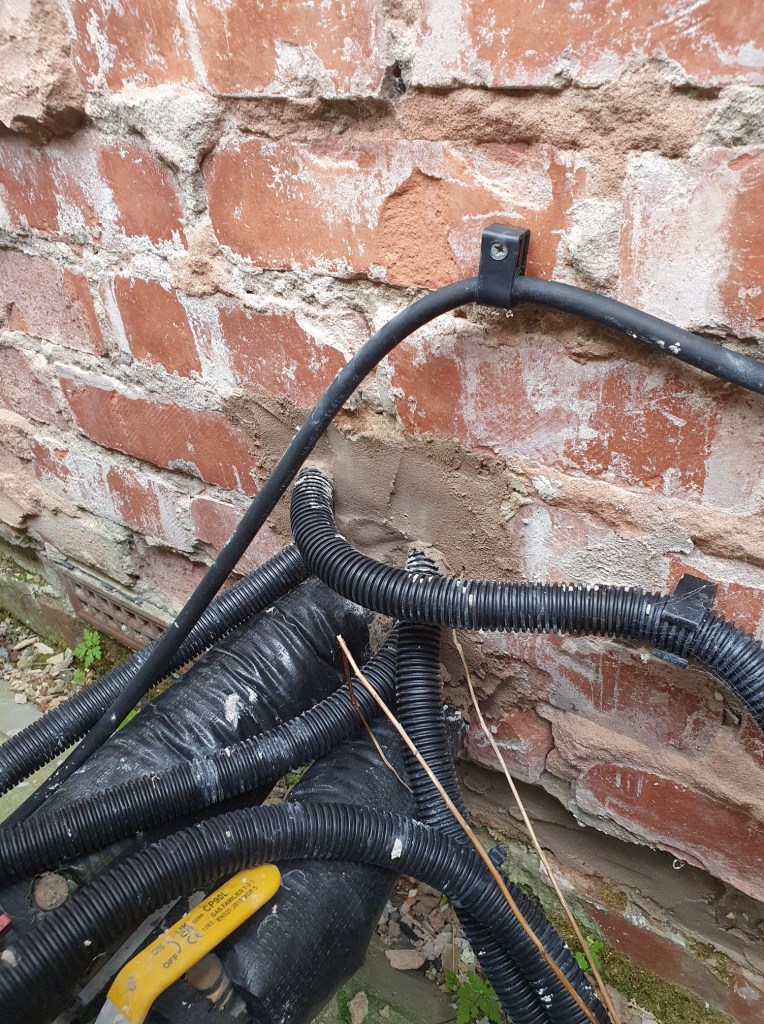
A job we’ve been putting off for ages is cleaning and sealing the windows. This is because I’ve tried a few different hacks to clean off the expandy foam marks and nothing worked. However, after some research online, Chris found some expandy foam cleaner. It worked a treat on the PVC windows, and we quickly got those cleaned and sealed. However, as we suspected, it peeled off the paint from the wooden windows. Annoyingly this means we’ll need to sand and repaint the wooden windows, a rookie mistake not to fully mask them before filling with expandy foam.
In the front garden, I spent some time weeding the main bed, while Chris tidied up the bed directly in front of the house. Its going to take a fair amount of compost to fill this bed, but it looks a little tidier at least.
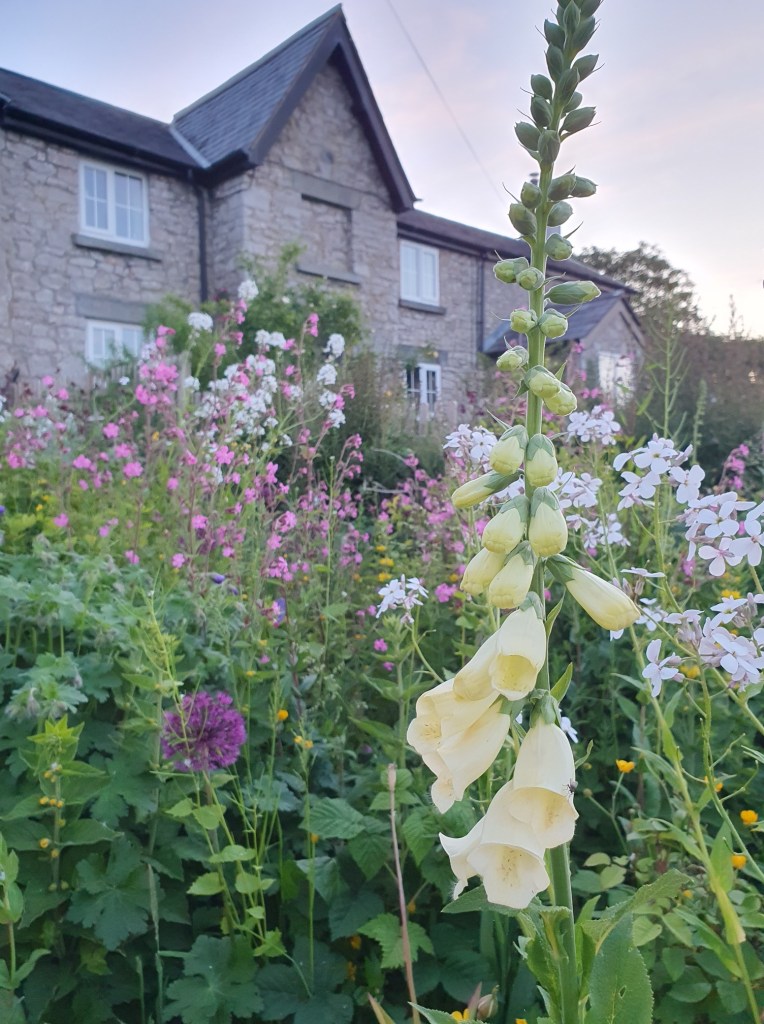
The main bed is a little wild, full of self-seeded red campion, foxgloves and buttercup, as well as our more intentional planting. It’s lovely to see so much flowering though, and little by little we’ll build a little order into it. But not too much order of course.
-
Change of plans
We were very lucky to get an Eco grant for our heating system when we first got the house. However, because the grant came so early in the renovation we didn’t always know how we were going to set up the rooms. Now, using the rooms, we’ve found two of the radiators are in the wrong place. Moving them is a pain, meaning draining the system and cutting and moving pipes, but we decided to go ahead as it will make the rooms more useable.
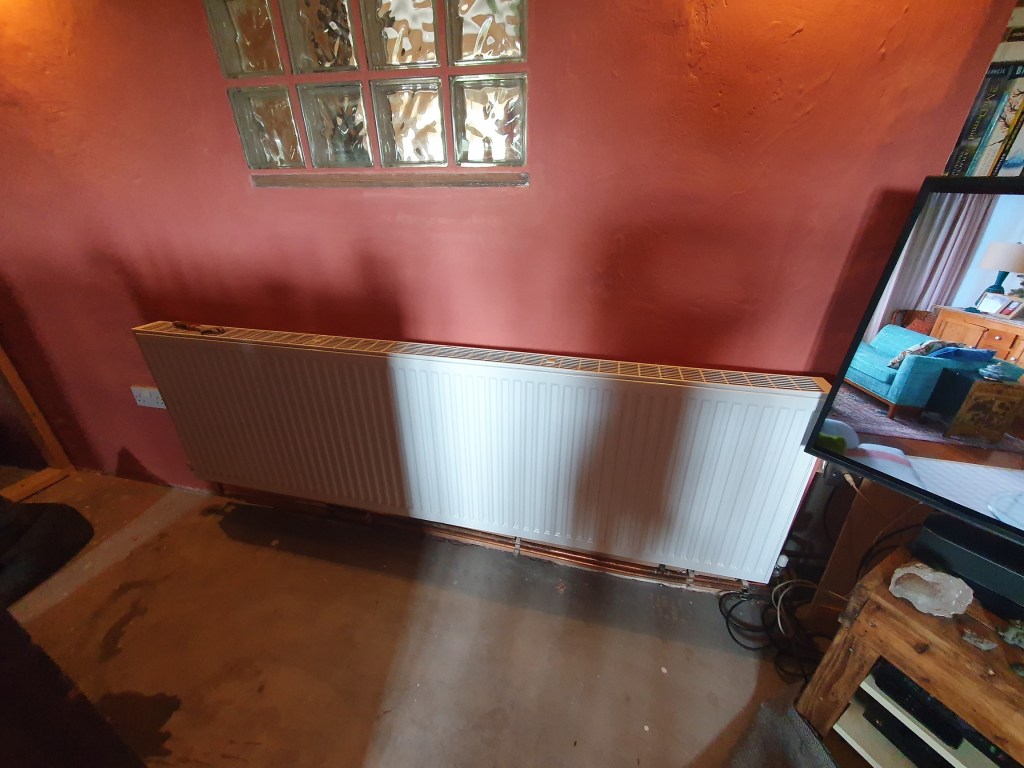
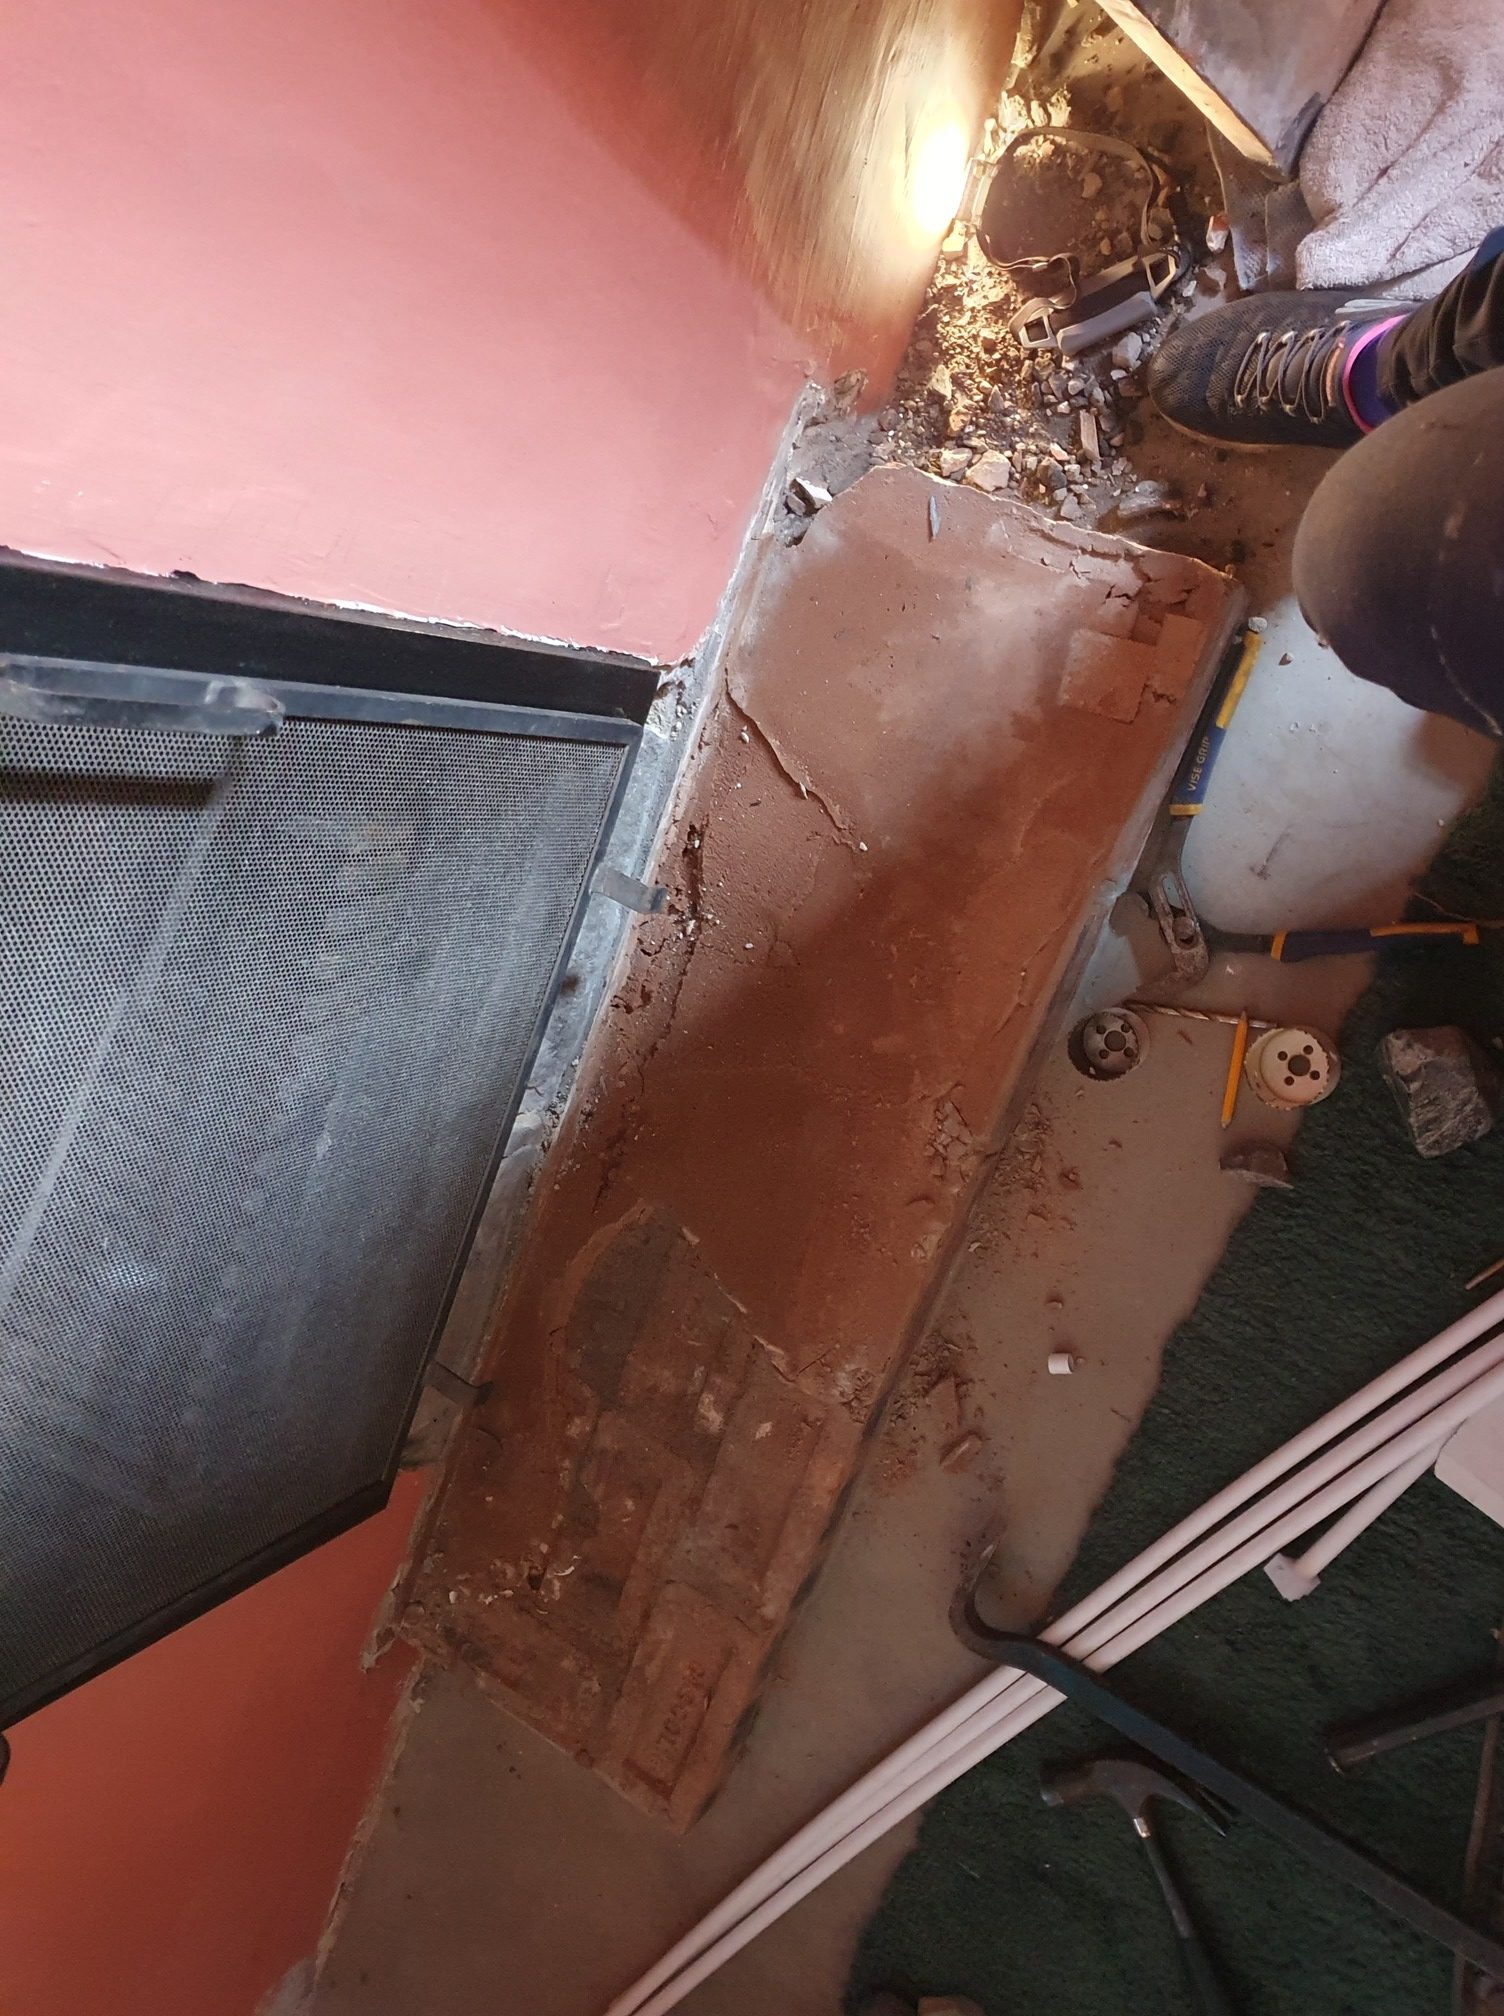
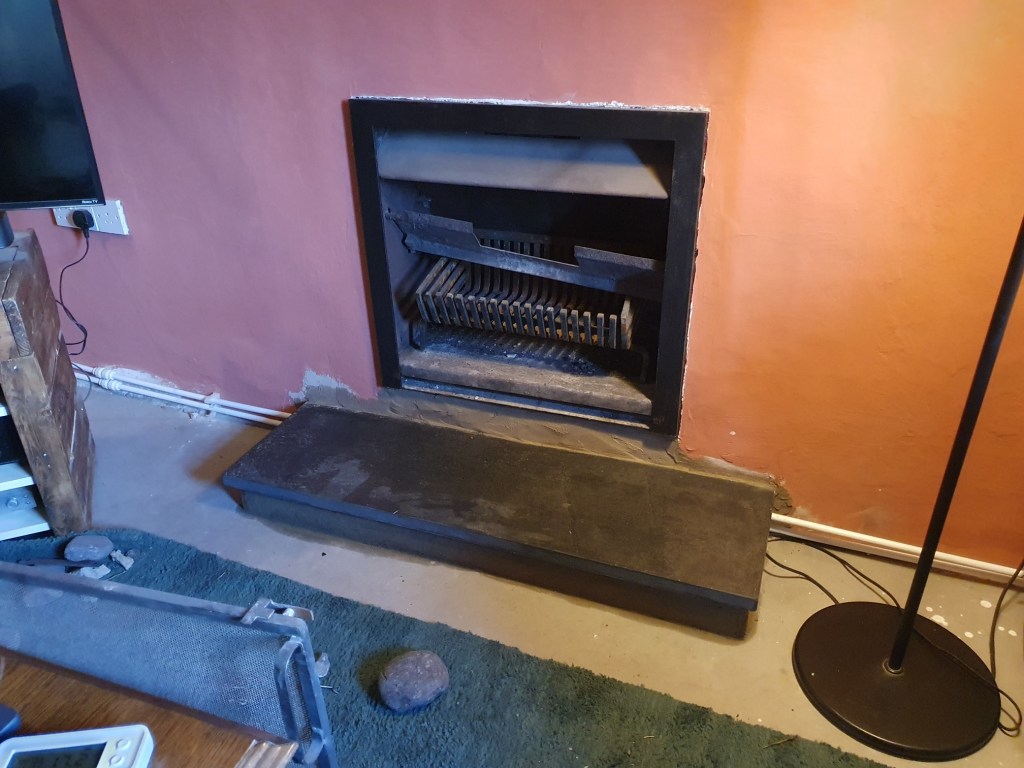
The radiator for the lounge was put along the wall which used to have a doorway into the old kitchen. With the stairs, fireplace and doorways on the other walls, it seemed the most sensible place. However, we soon realised it dominates the room and stops us being able to put the piano in the right place.
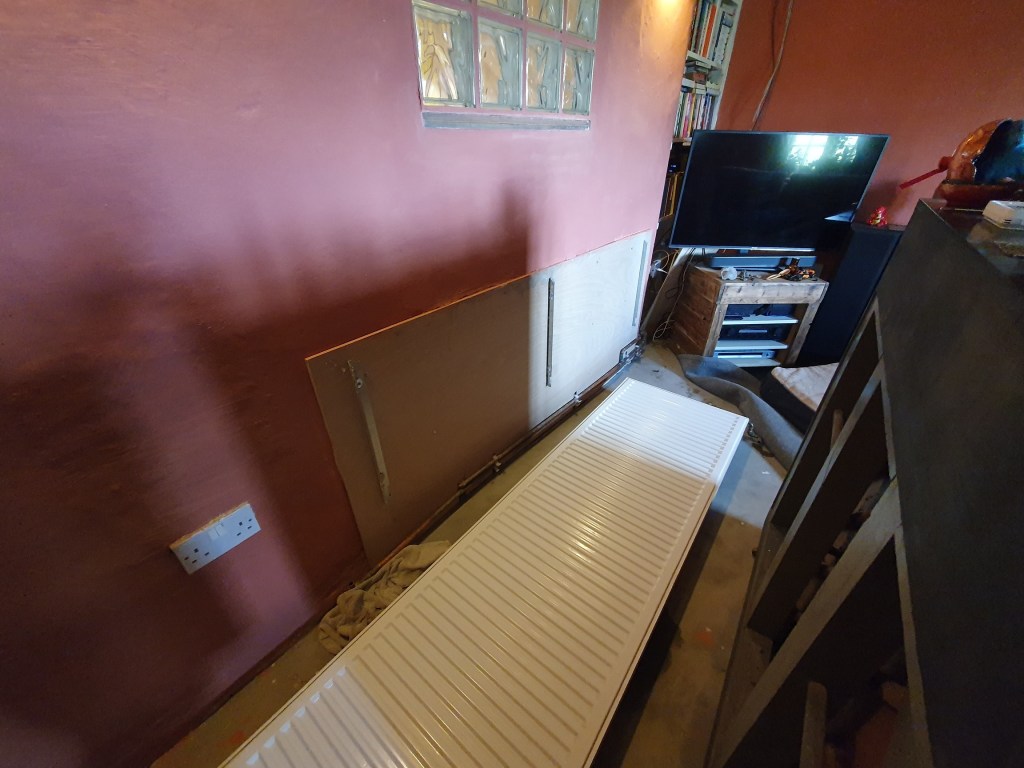

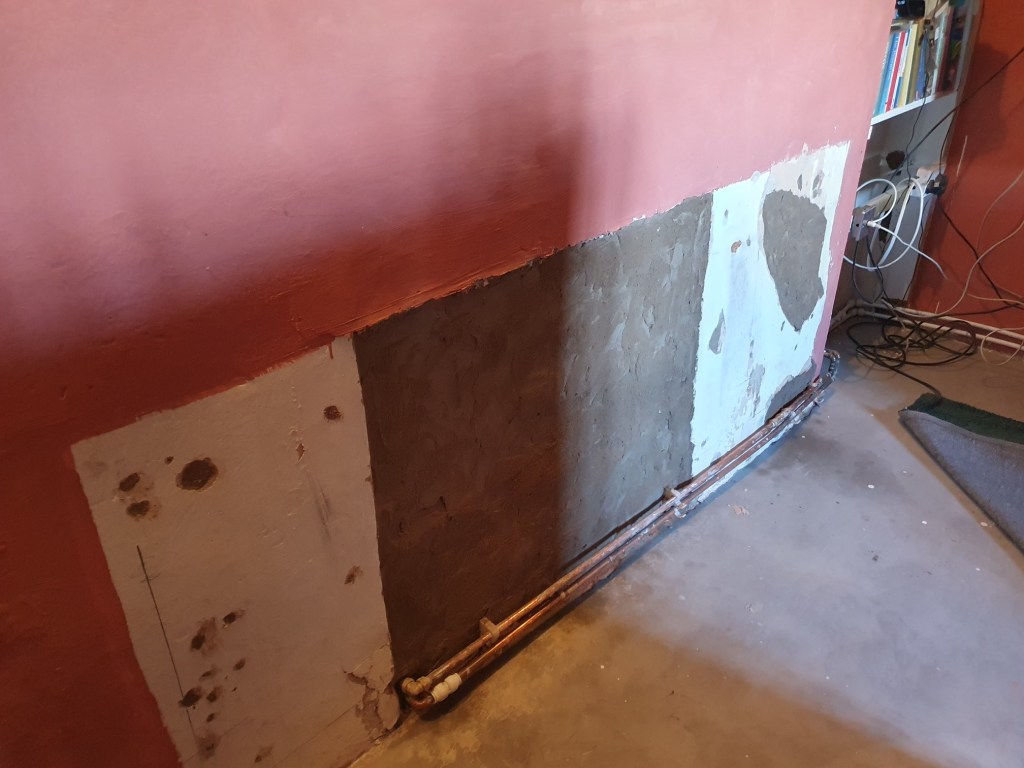
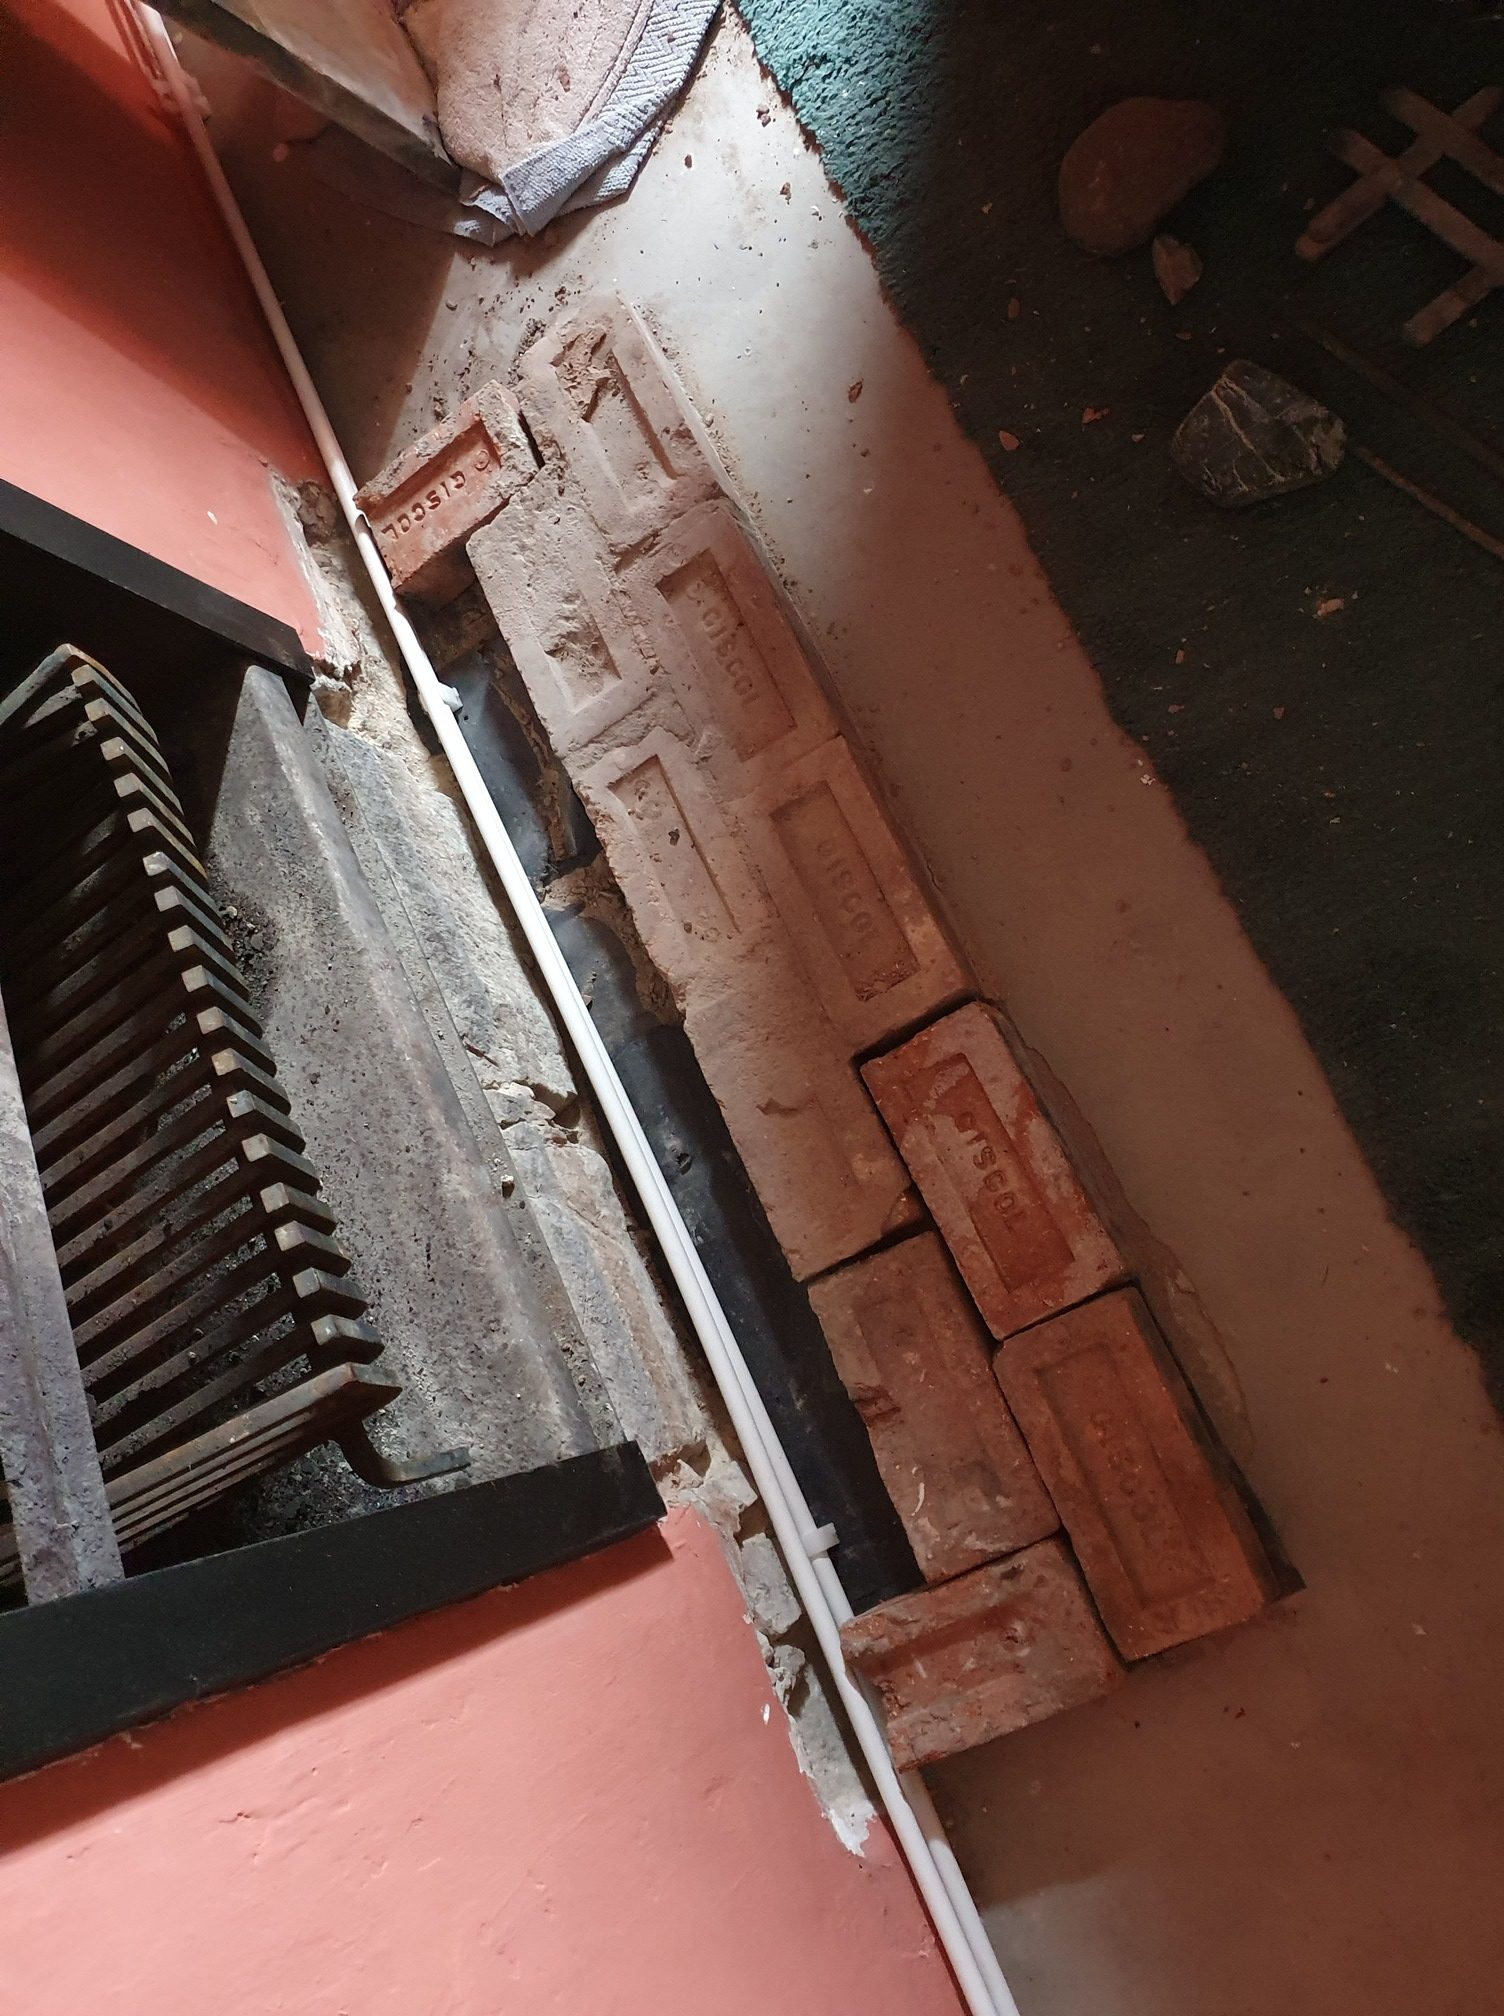
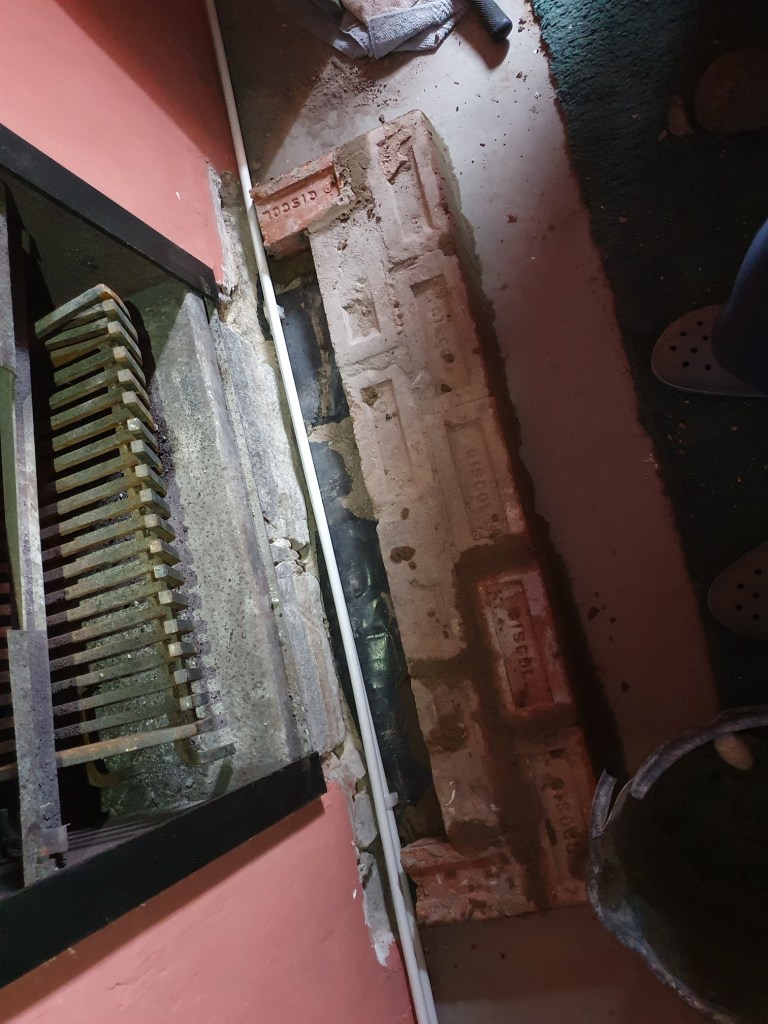
I’d previously laid the pipe to the new location under the window, the other side of the room, so we just had to cut the pipe and take the radiator off the wall. The plumber had attached it to a back board because he struggled to screw into the wall. Behind it we still had the exposed brick, where we’d filled in the old doorway. I plastered this with a lime plaster. It will just need a final coat and a touch of paint and it will blend in with the rest of the wall.
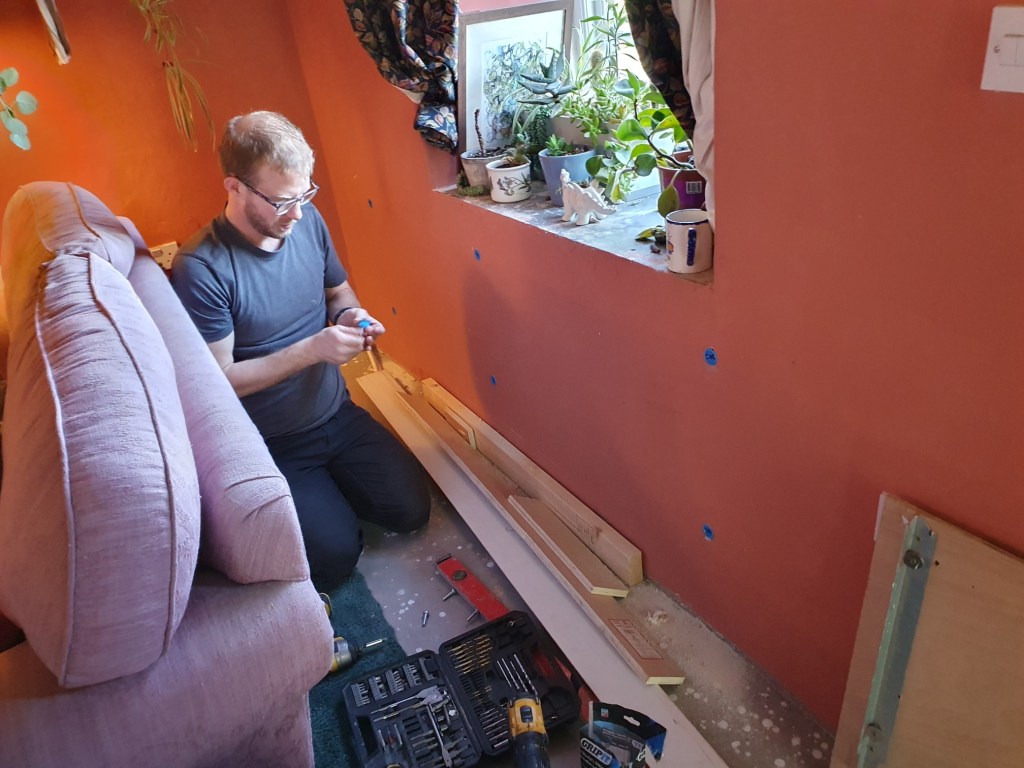
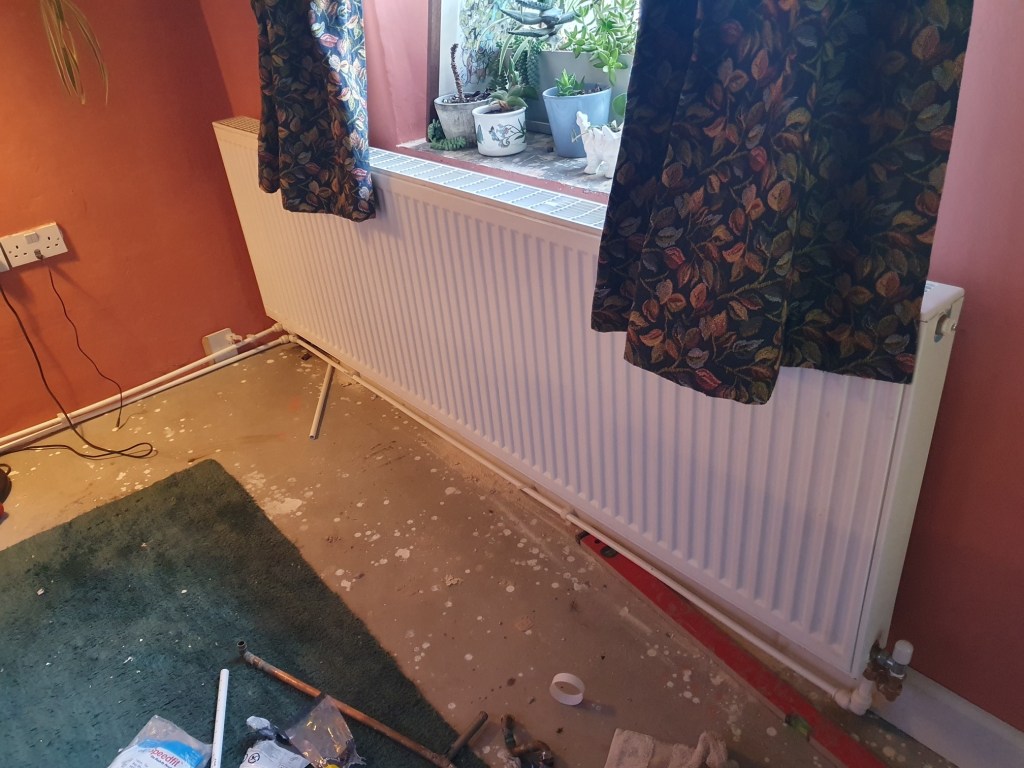
Chris trimmed down the back board and we reused it on the other wall, using plasterboard fixings to safely attach it. We then clipped on the radiator and Chris joined it to the piping I’d previously install, finally connecting up the other end with the old pipes.
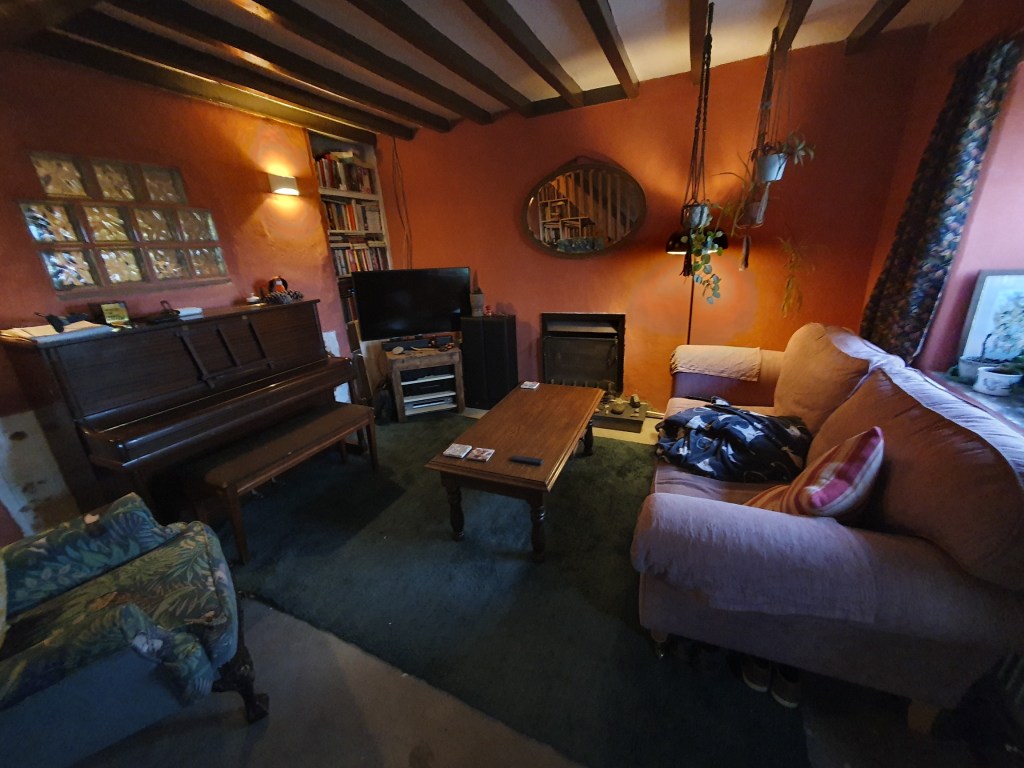
It makes a big difference to the room. The piano now takes up the space where the radiator was. We can now also order flooring, without worrying we might flood the room when cutting pipes.
In the utility the only wall long enough for the radiator was the same wall all our cupboards had to go along. The room is always very warm so Chris decided we could get away with shrinking the radiator and moving it to the recess of the old doorway. This would stop heat getting trapped behind the cupboards and let us put the new coat rack against the wall. Chris was lucky enough to find exactly the right sized radiator secondhand on marketplace.
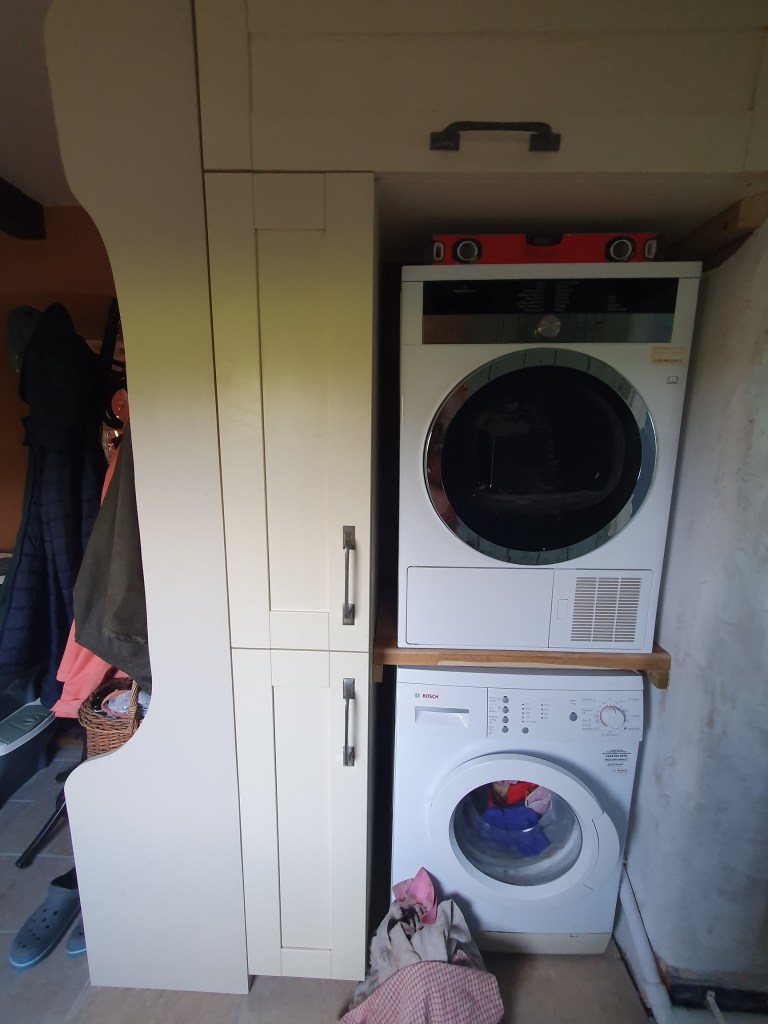
It was a long job, largely because we had to empty all the cupboards, move them out of the way and take out the washer and drier. It did however also allow Chris to replace the old worktop the dryer sits on. When Chris previously installed it he realised he cut it too short meaning the top cupboard overhung the rest. He managed to use some offcuts of the kitchen worktop to make a matching surface.
There’s one more radiator I wonder whether we should change, exchanging a long horizontal radiator for an upright radiator, to allow more furniture to go along the wall. But I don’t care enough to start this faff all over again. Maybe one day…

-
Rearranging
I usually write my blogs on a Sunday night, as a nice way to finish off a weekend of DIY. Sometimes if we haven’t done much I’ll wait till the following week. As I didn’t feel what we’ve done is that impressive I wondered about rolling over this week, but then again it was a lot of work so I thought it’s still worth celebrating.
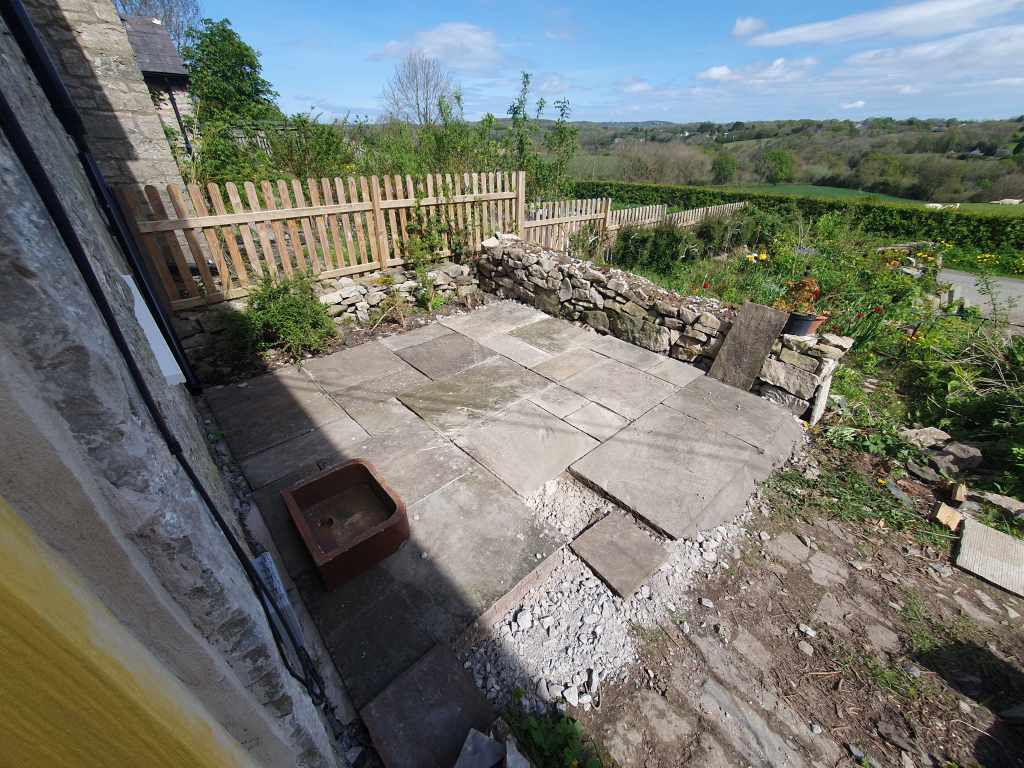
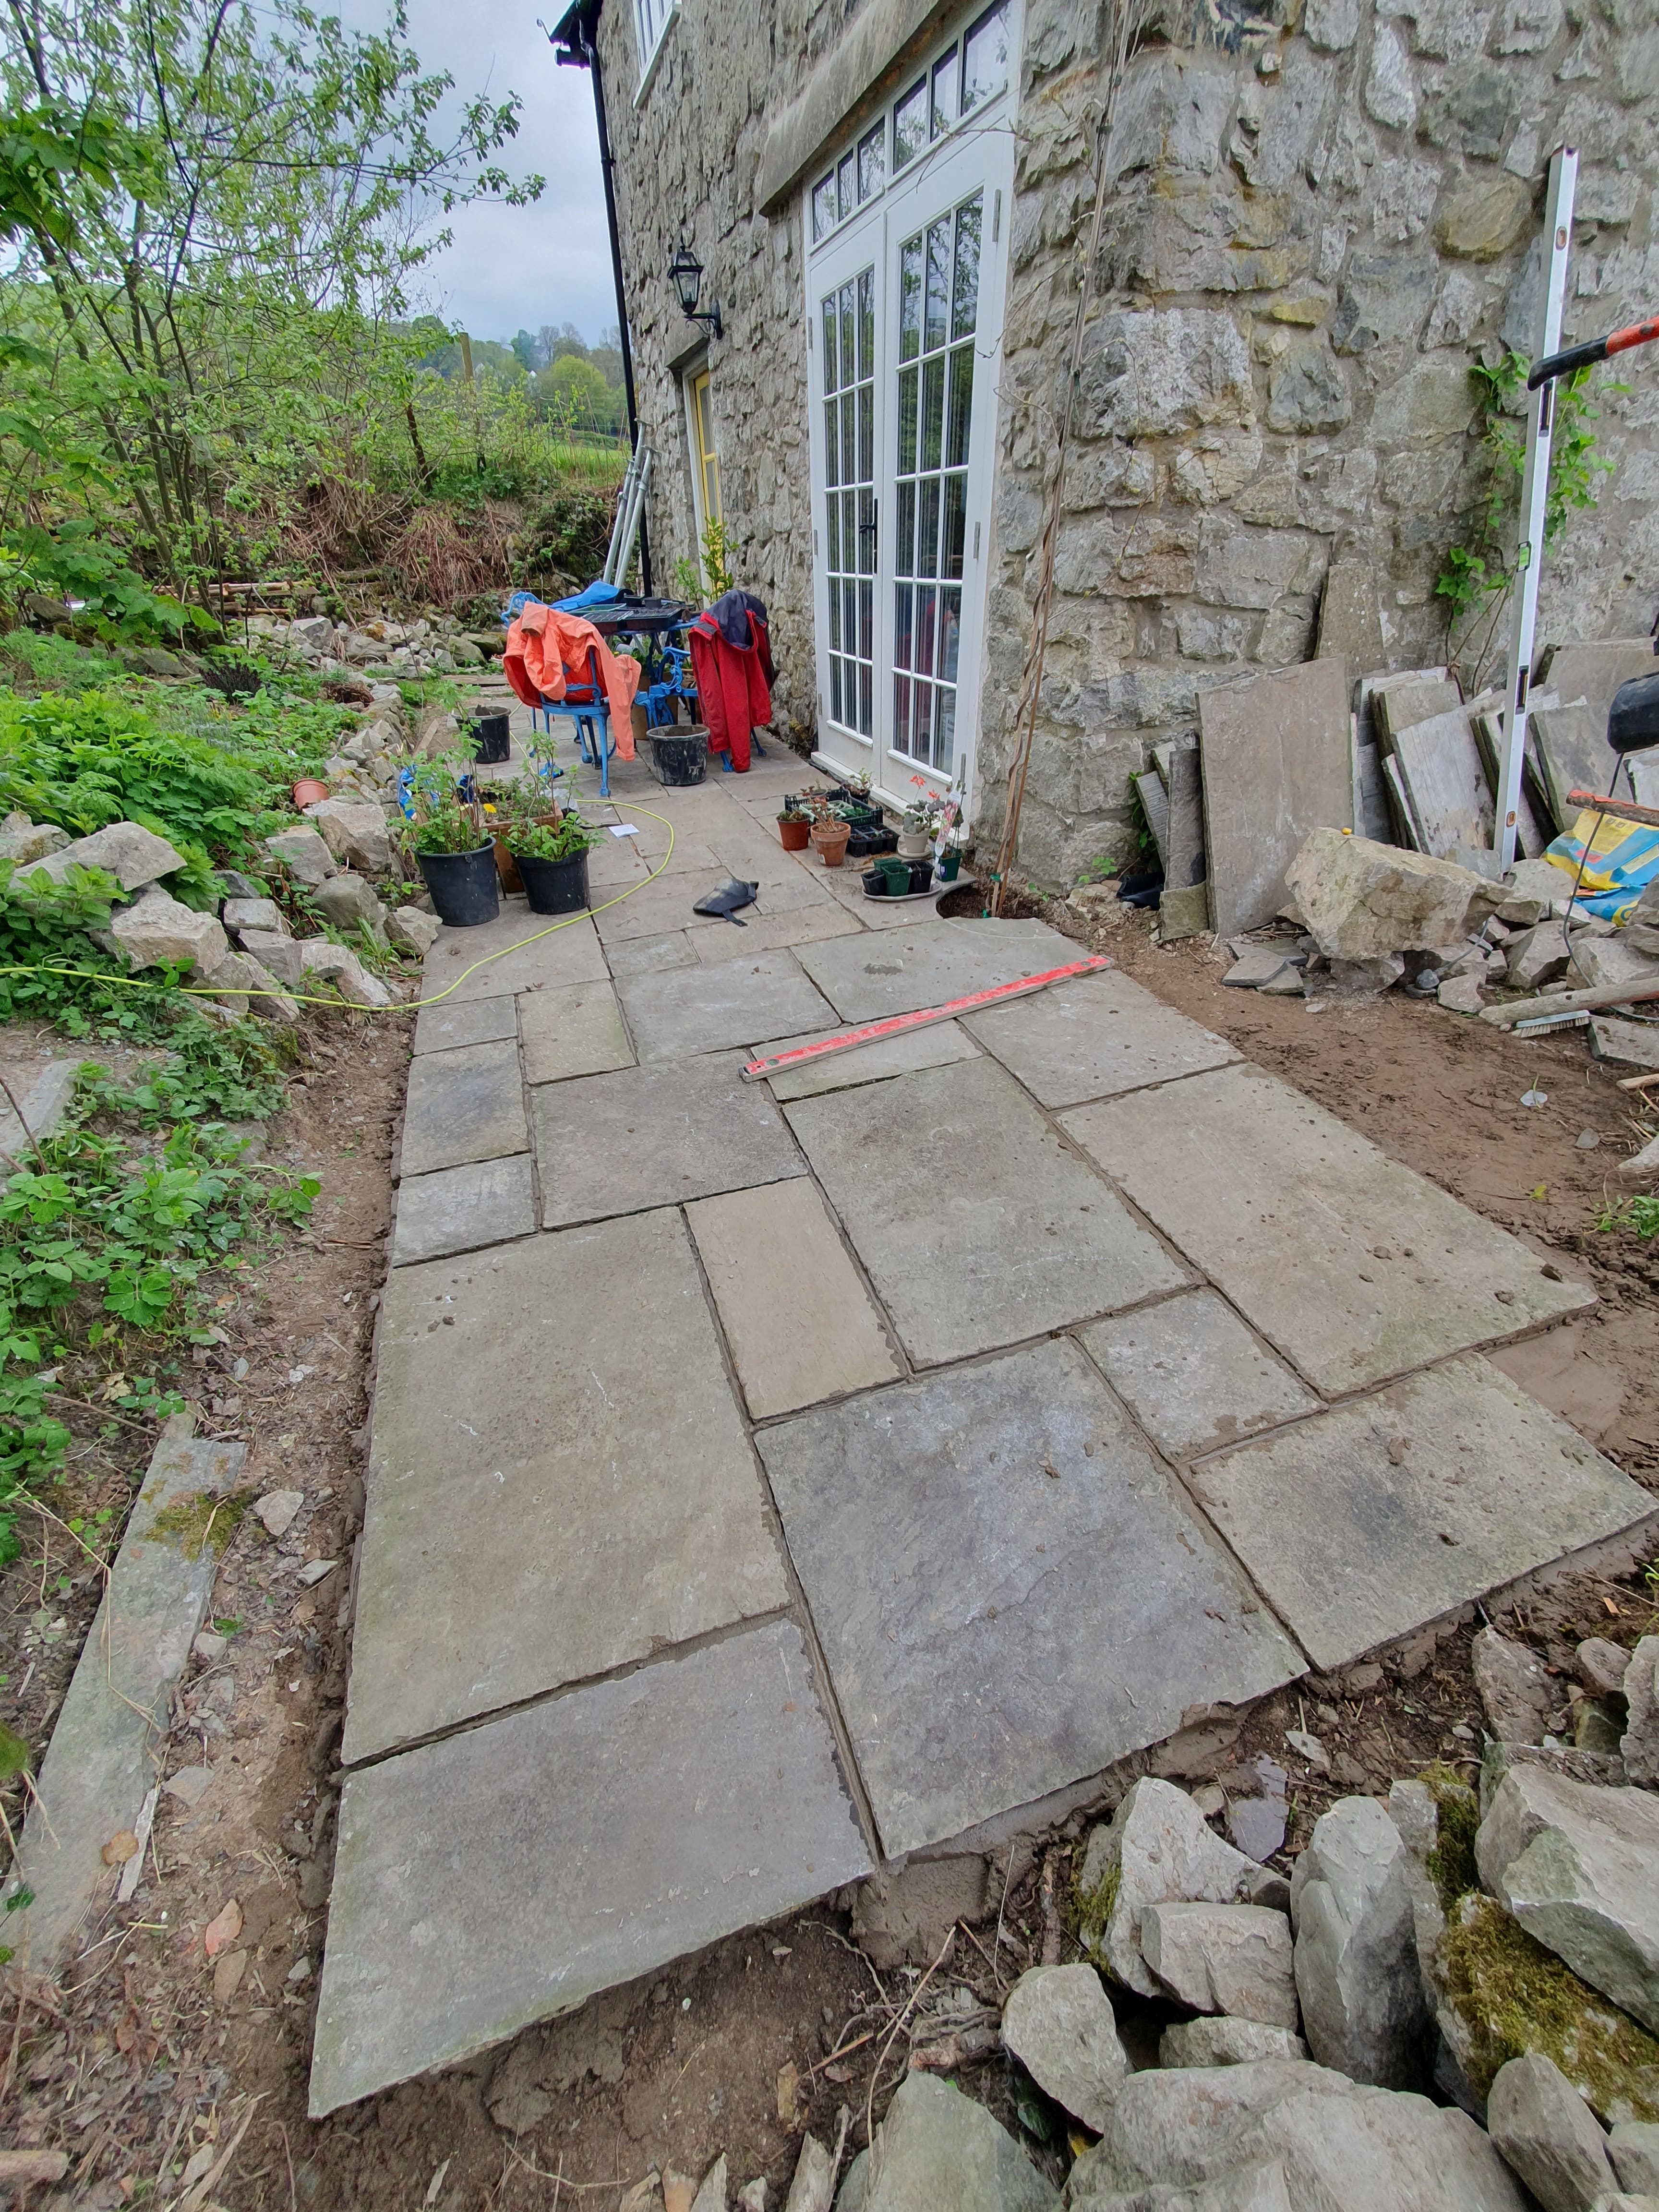
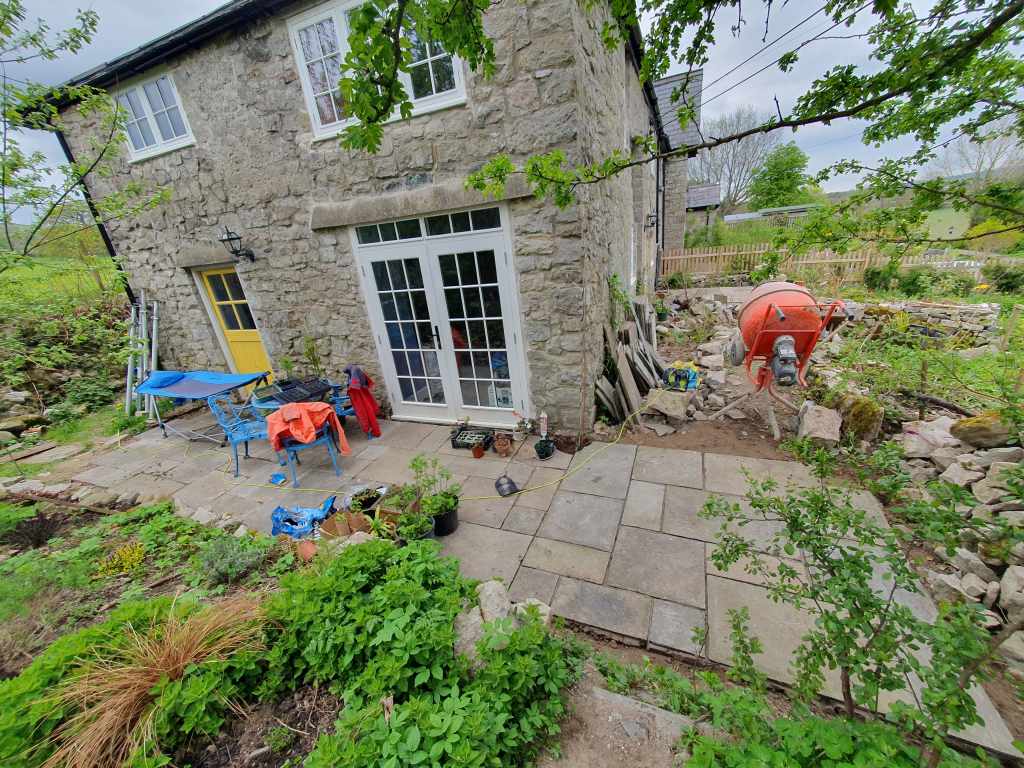
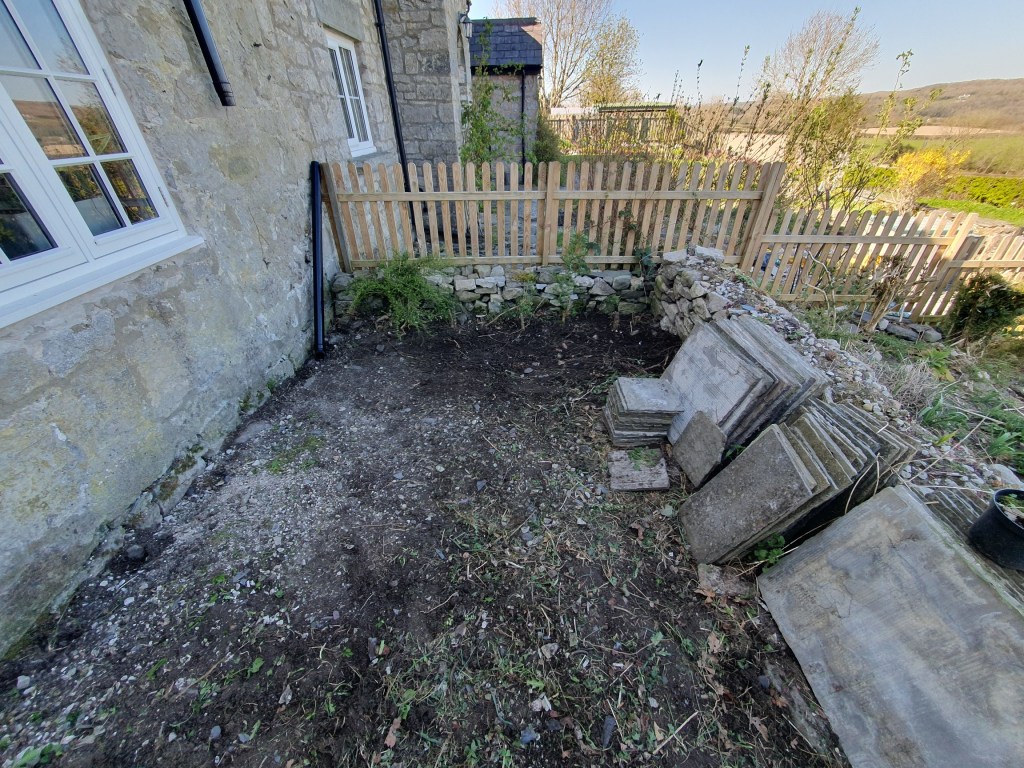
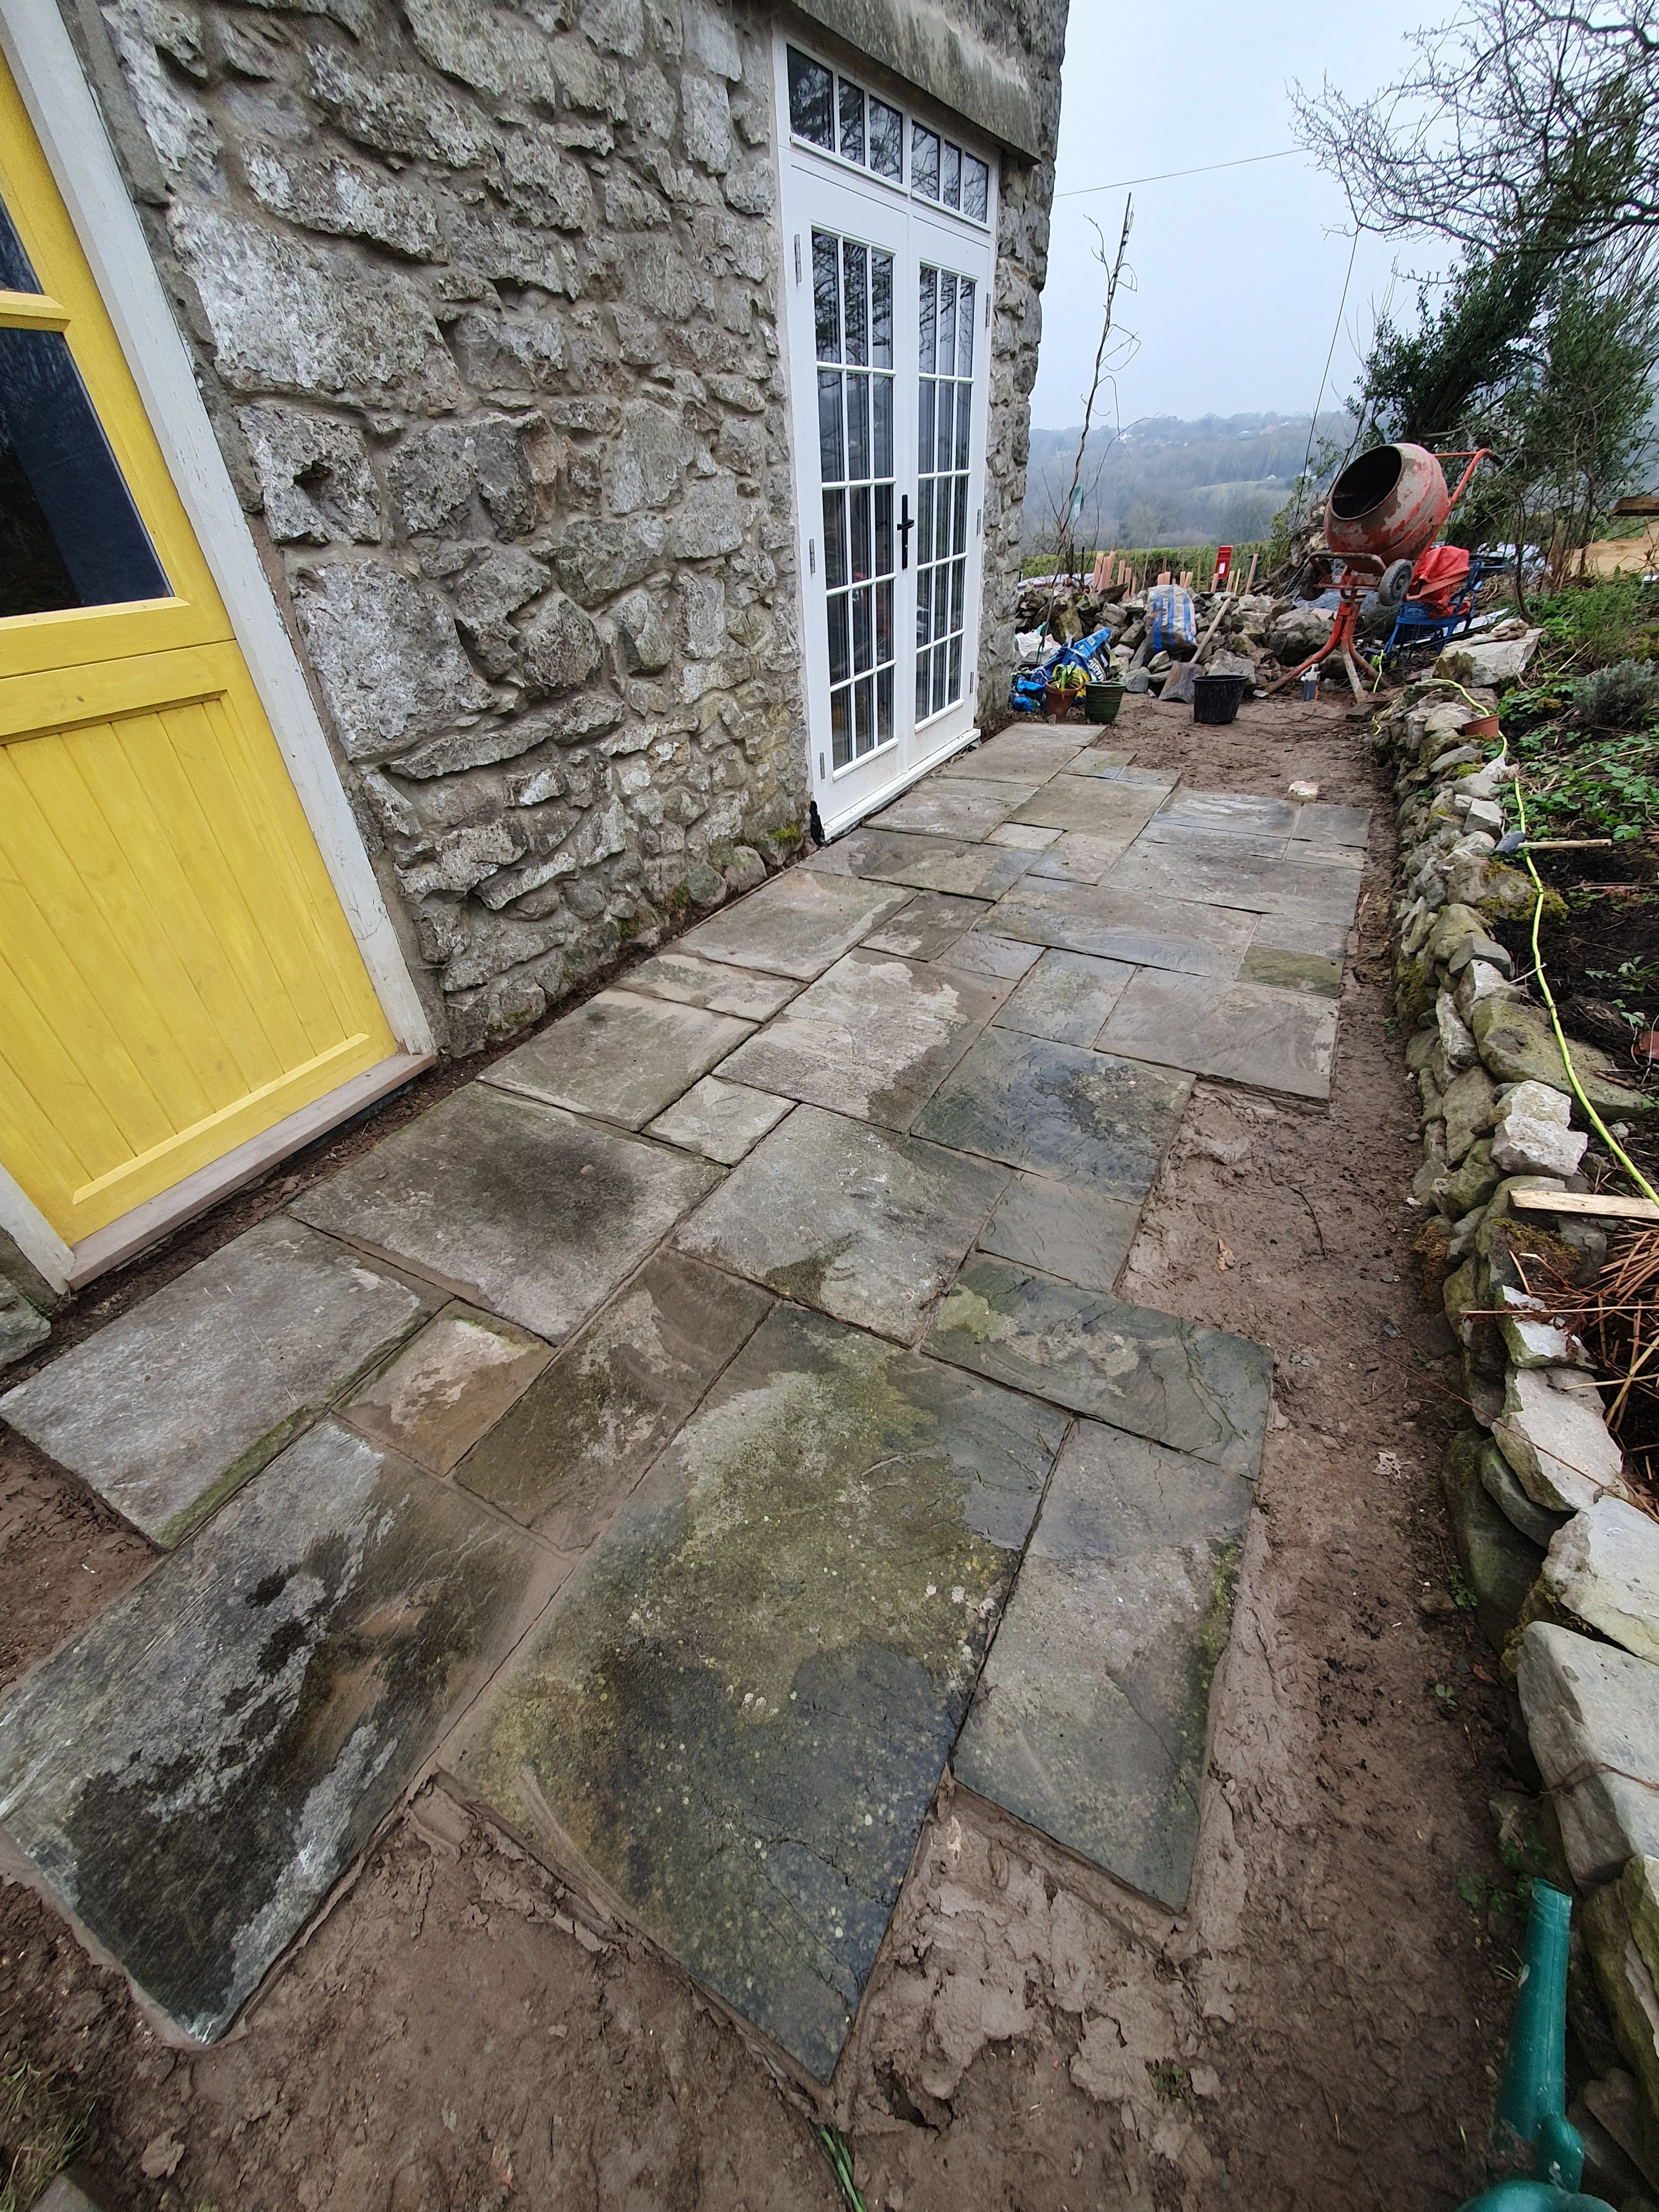
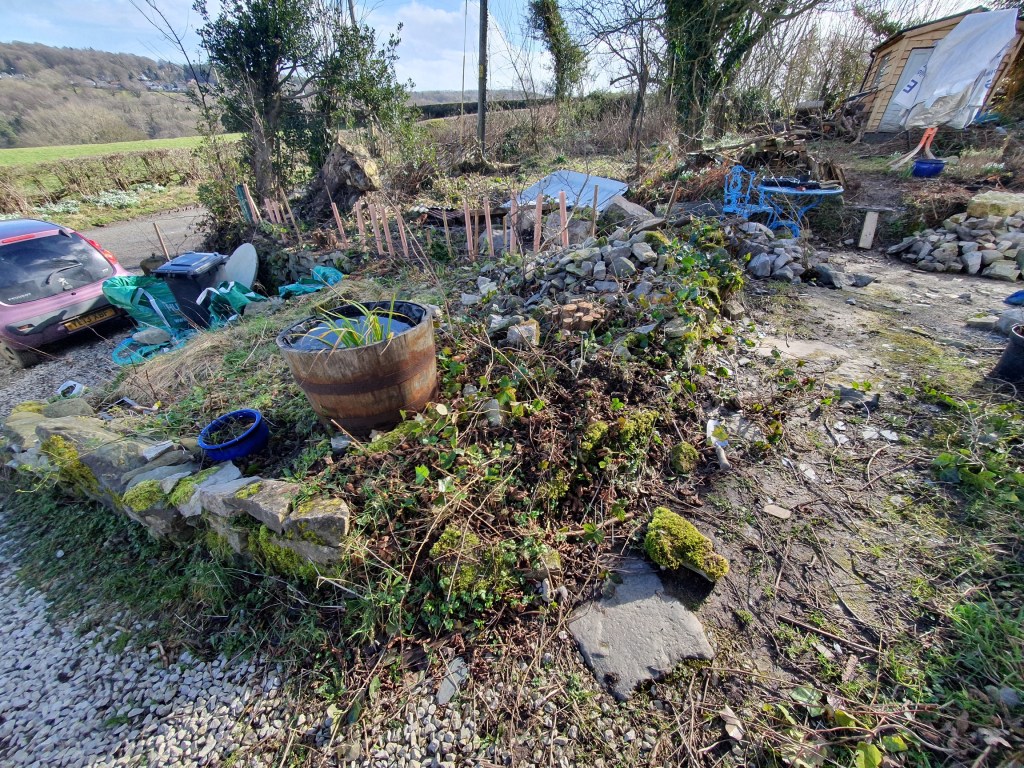
Our big exhausting job was finishing off the two patios. To do this we first had to shift a pile of rocks (again after already having moved them twice). There is a little bit left to do at the back of the house but as we need to rebuild the bank wall, we decided we’d wait till this was done. We also need to lay a connecting path between the two patios, which we originally thought we’d do in the same slabs, but it’s far too winding for big slabs to be practical so we’ll think of something else.
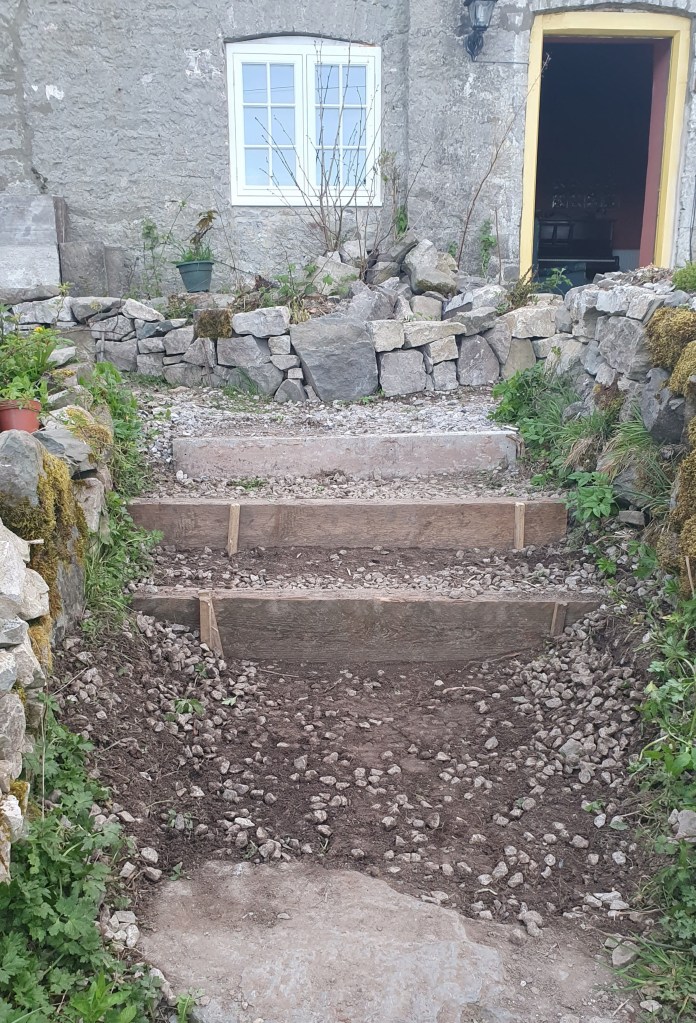
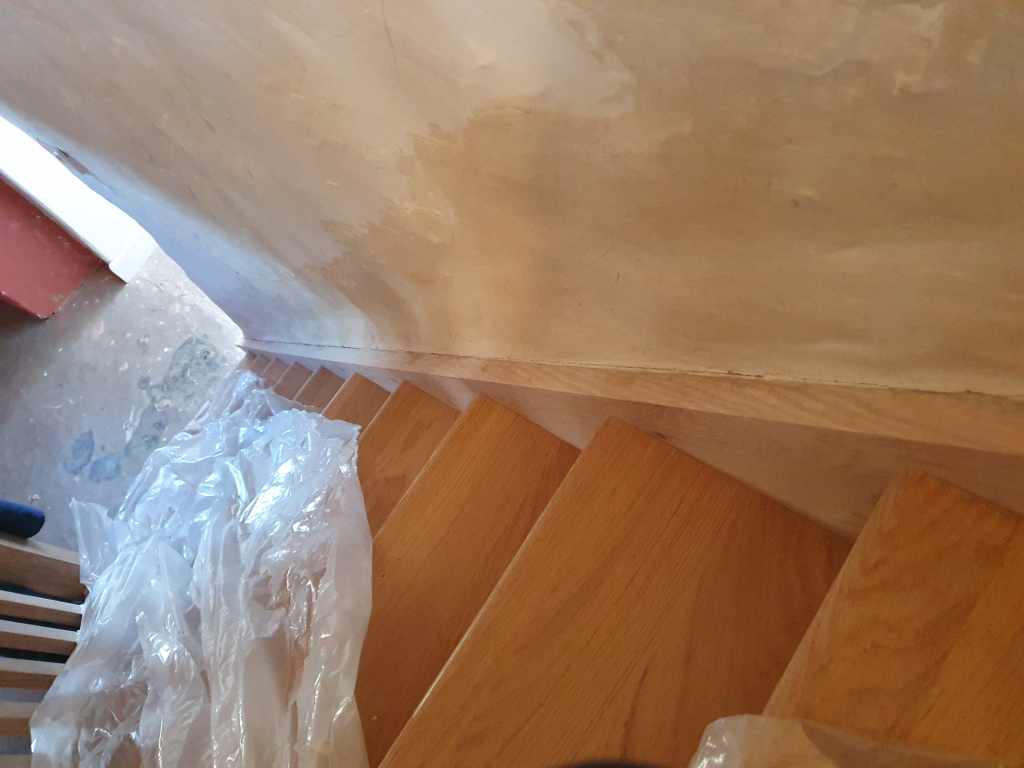
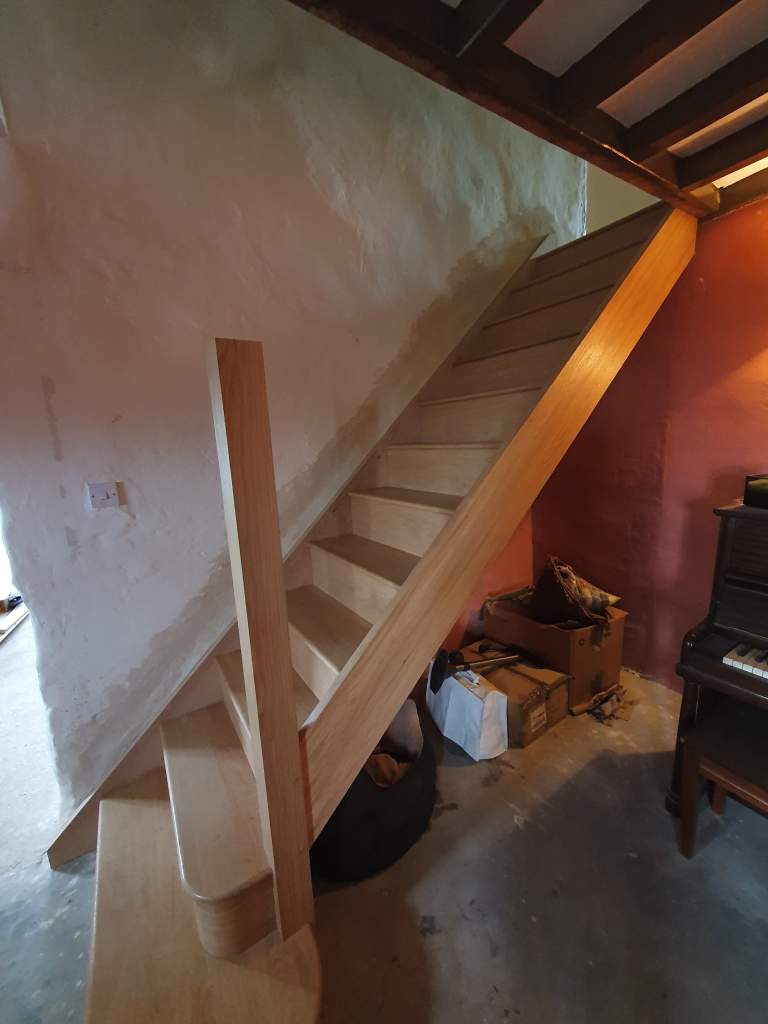
Chris continued with his stairs, reusing some old wooden beams to build two more.
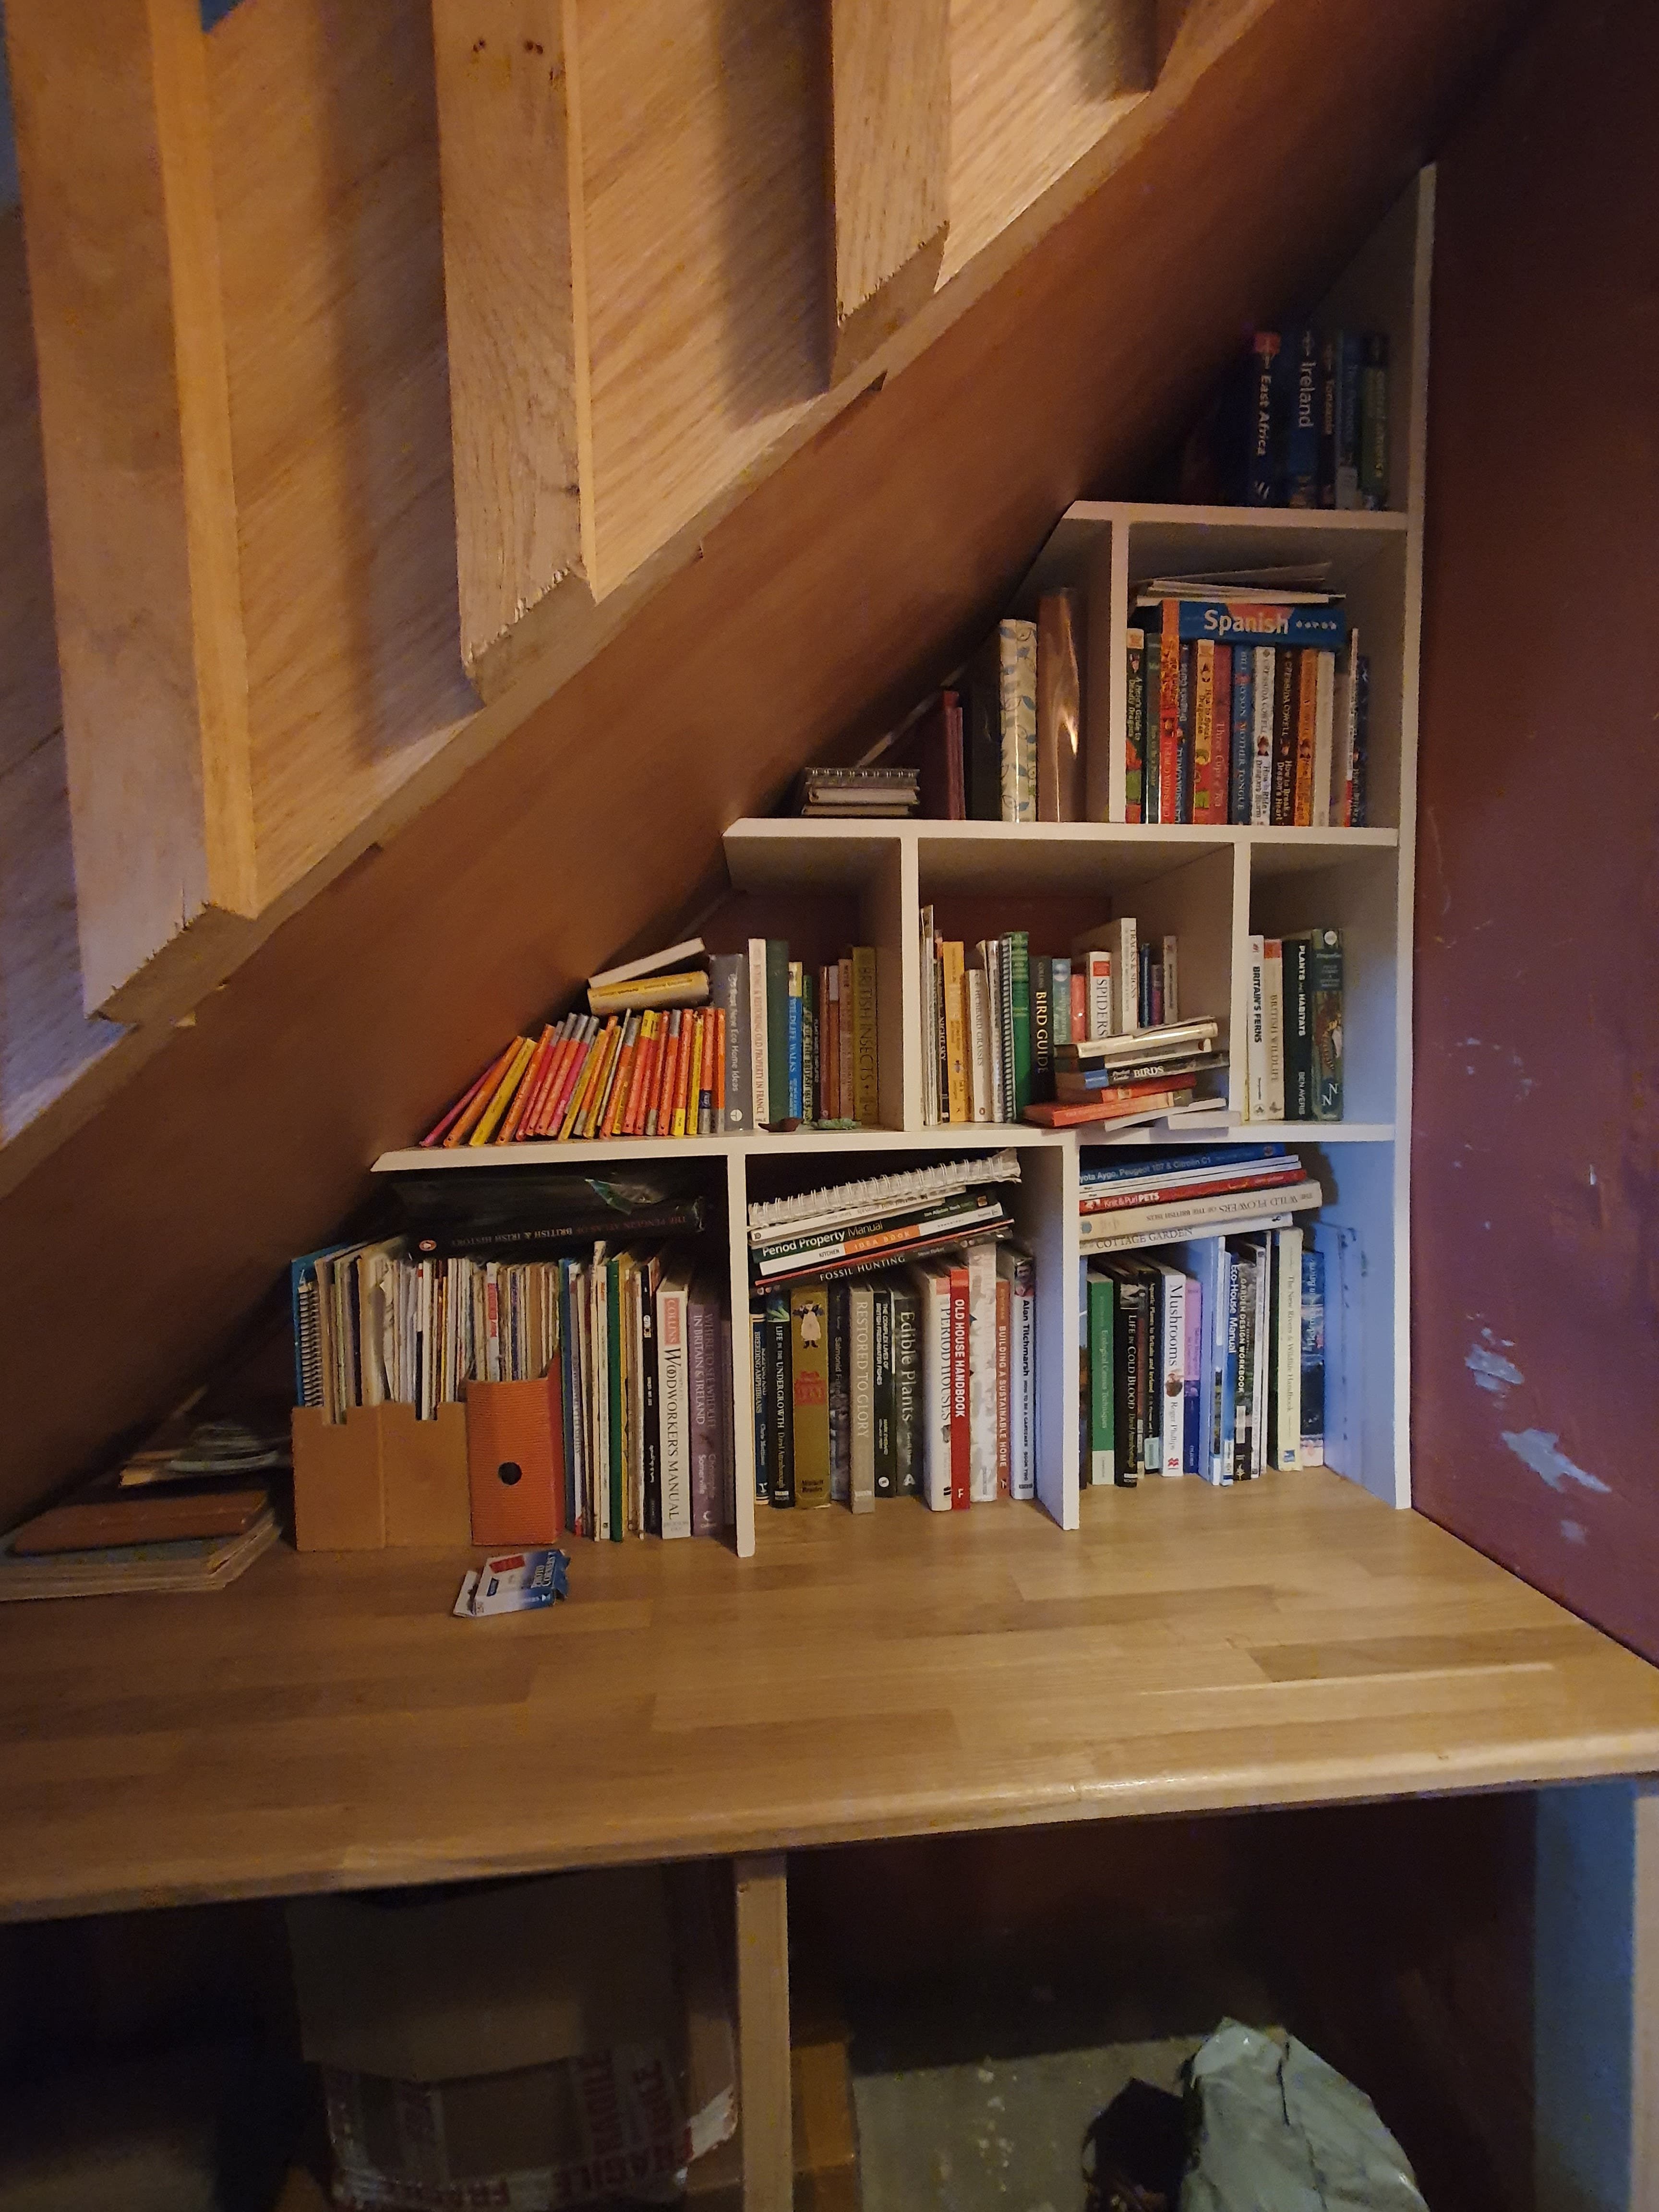
Inside, my big achievement was finishing off the bookshelves. It still needs a bit of filling, but I’ll wait till the room’s had its final coat first. I then emptied the four boxes of books cluttering up our lounge and piled them in, to see if they all fit. They do, just about, but Chris agreed we’d go through and get rid of some so both bookcases can look a little less overstuffed.


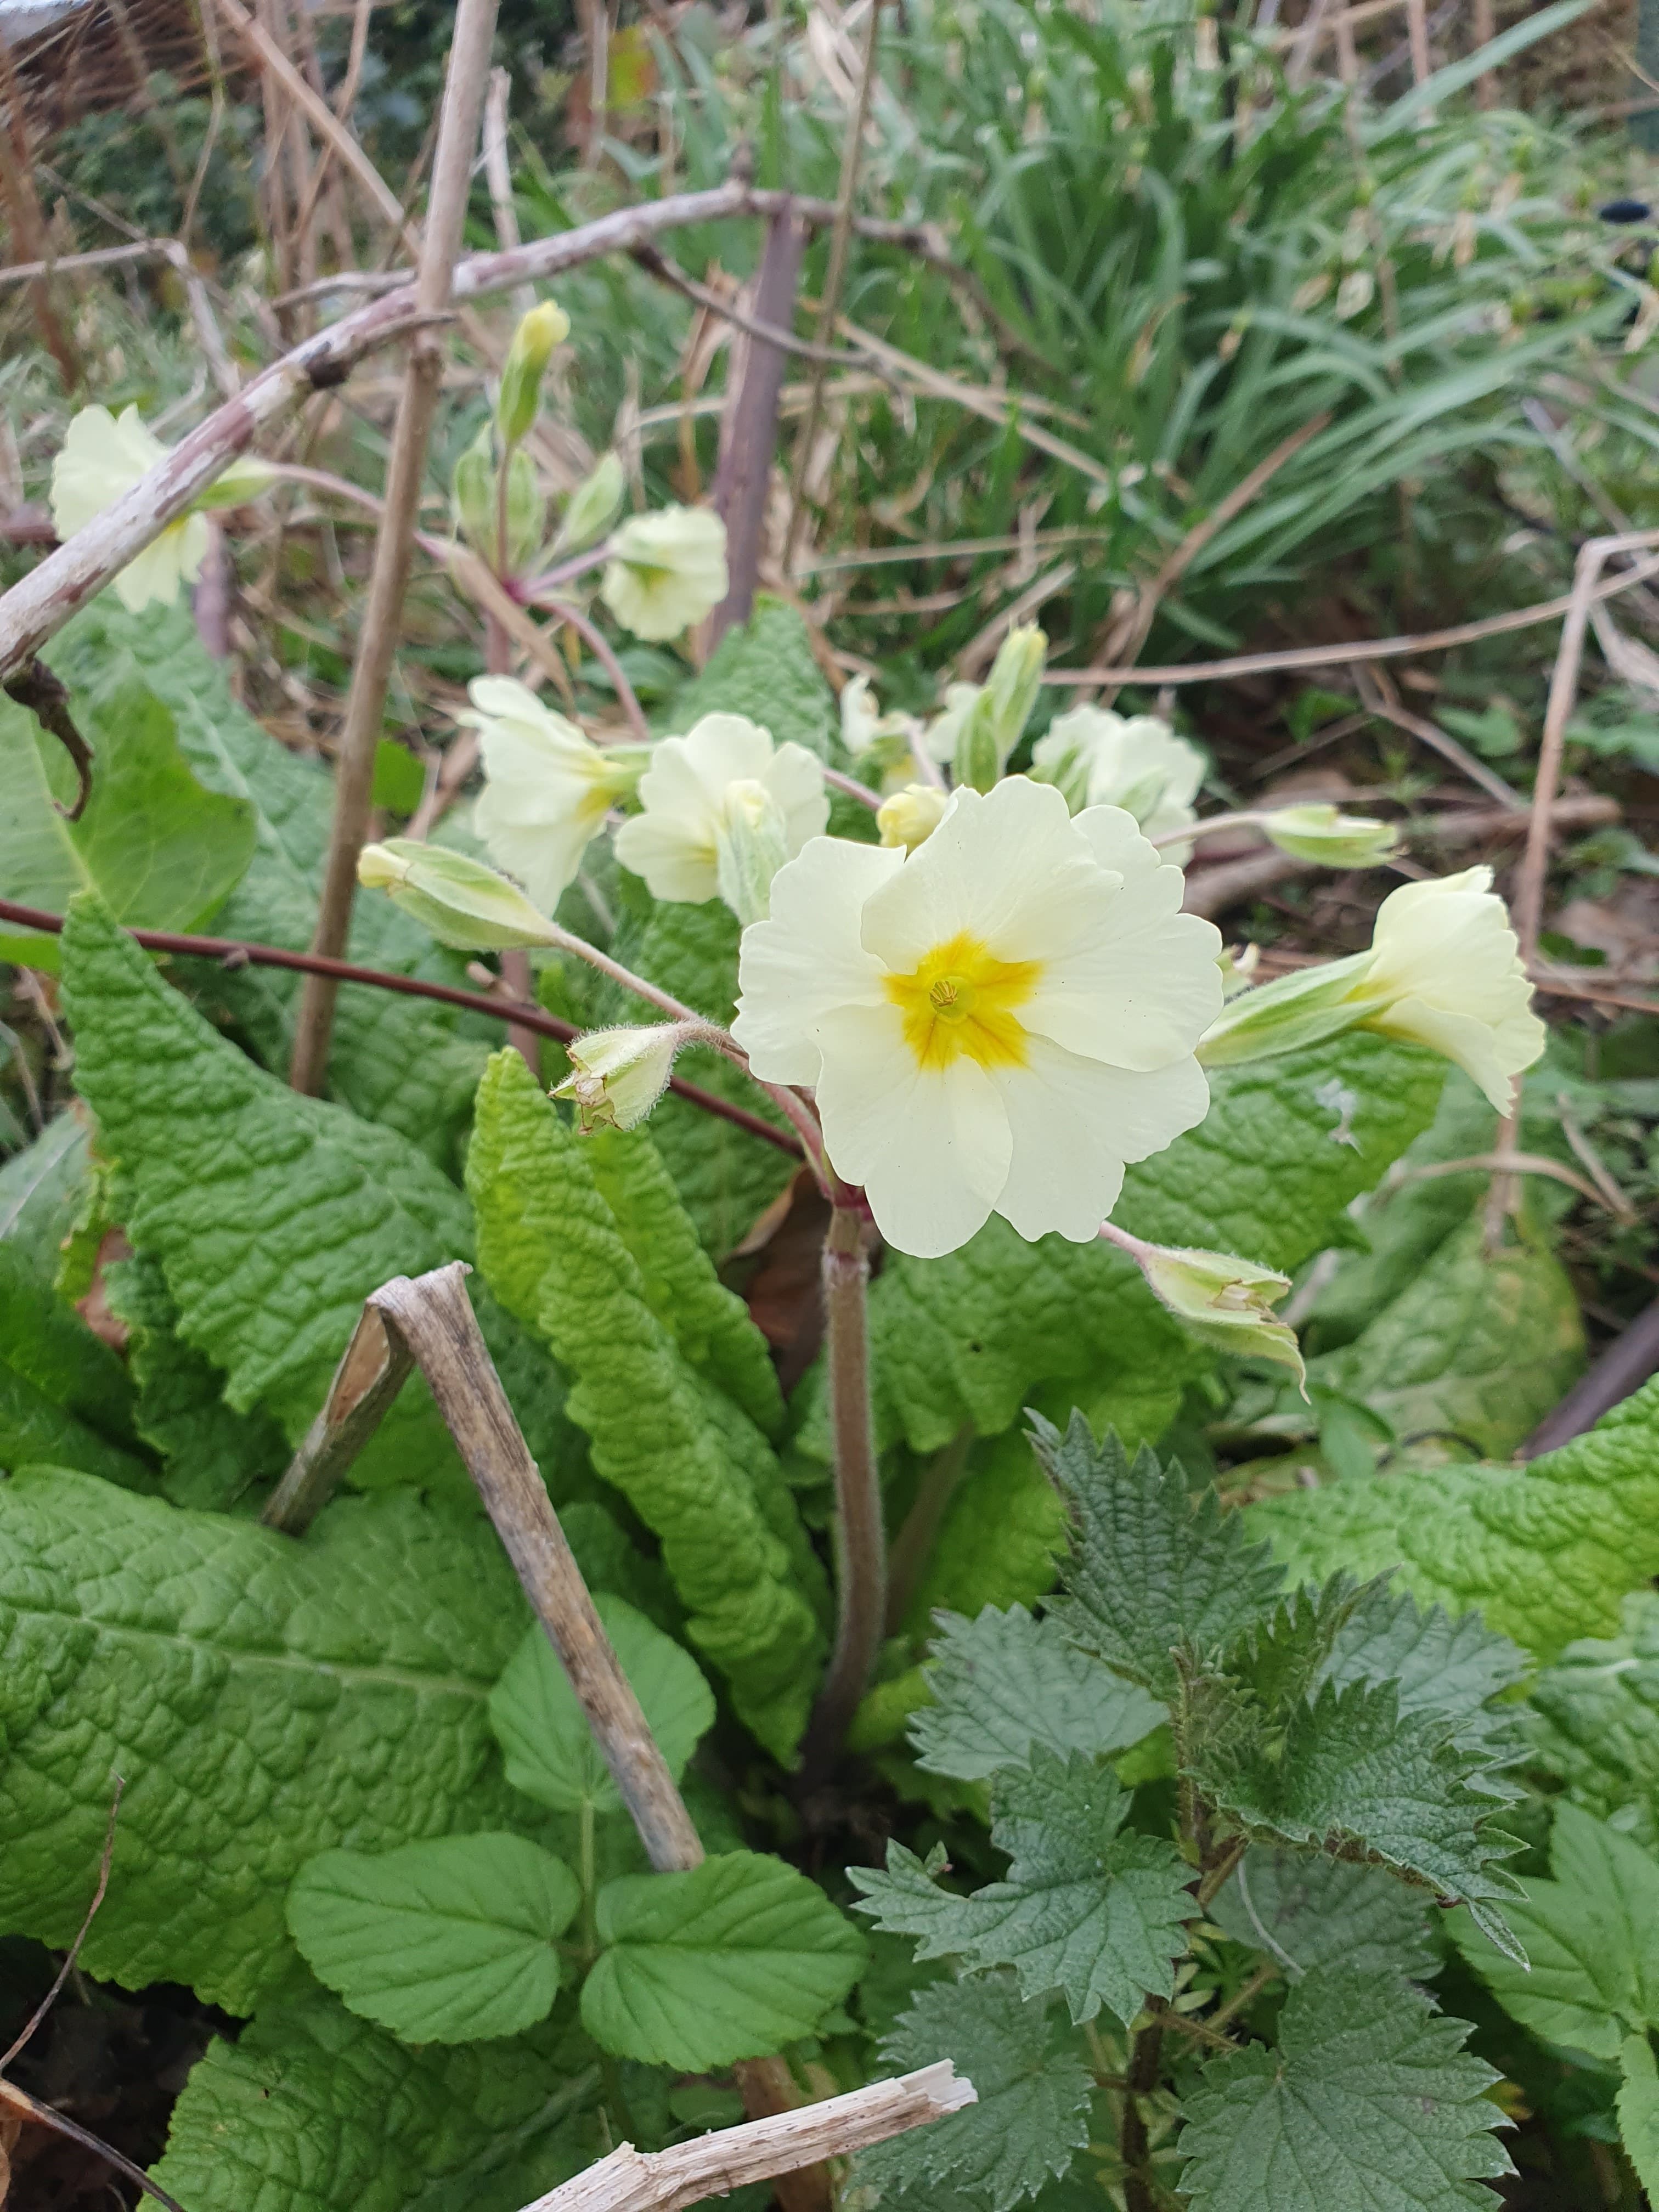
The garden is really growing now, with plenty of tulips coming up, along with lots of selfseeded primroses, cowslips and red campion. We even seem to have a selfseeded black current bush. It’s all looking a bit wild and Chris is desperate to get on top of it, but I want to finish the inside before we worry too much more about the garden. Idris likes it as it is anyway.

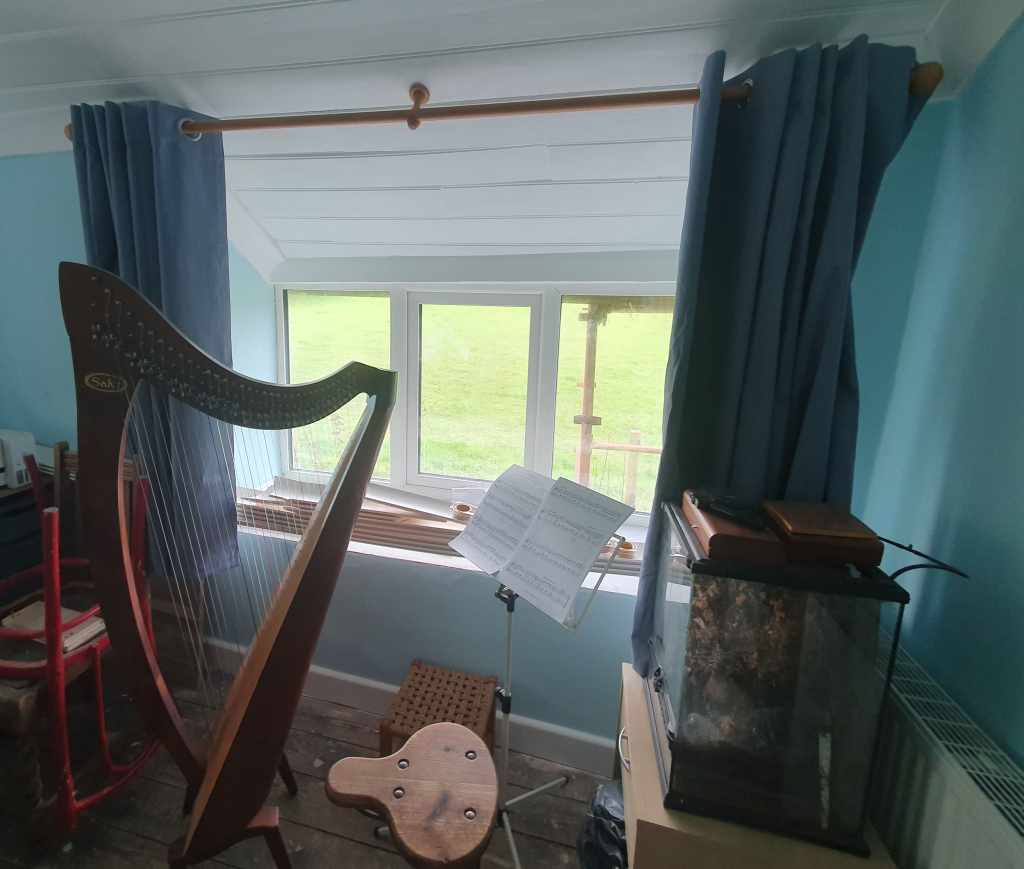
Over the bank holiday we stopped in at a salvage yard and picked up an old sink to plant up as a bog garden, as well as an old stool which seems the right height for my harp.
One small job we finally ticked off was hanging up the second hand curtains I bought months ago in the study. The study doesn’t particularly need them at the moment, but I mostly hung them up to get them out of the way. Still it does make the room look a little more lived in.
-
Levelling up
It’s felt like a physical weekend, with lots of lifting and bending, but we’ve seen a good amount of progress to make it worthwhile.
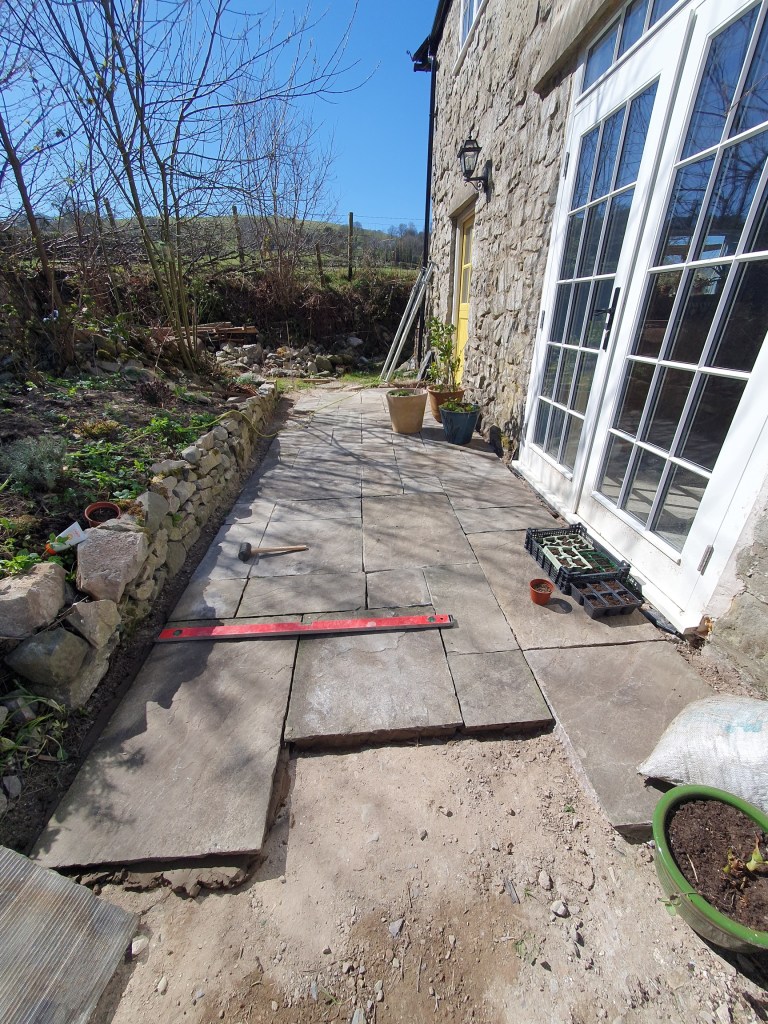

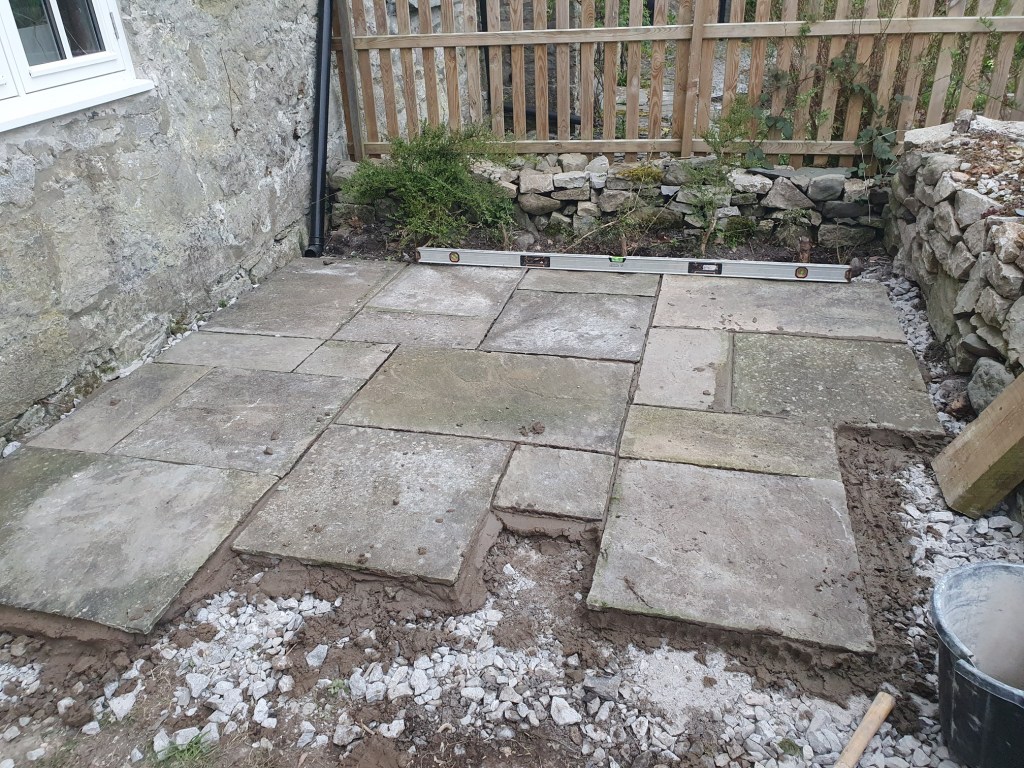
I finished off the last few slabs on the side patio, before we reach the section covered in piles of stone that need to be moved first. Chris then cut a gap for our wisteria plant and dug it into the ground with some compost.

We then moved to the front patio. Originally we thought we could do the same as the side and put the slabs straight down, but the ground was too soft. Chris spent a morning wheelbarrowing up gravel and tamping it down.
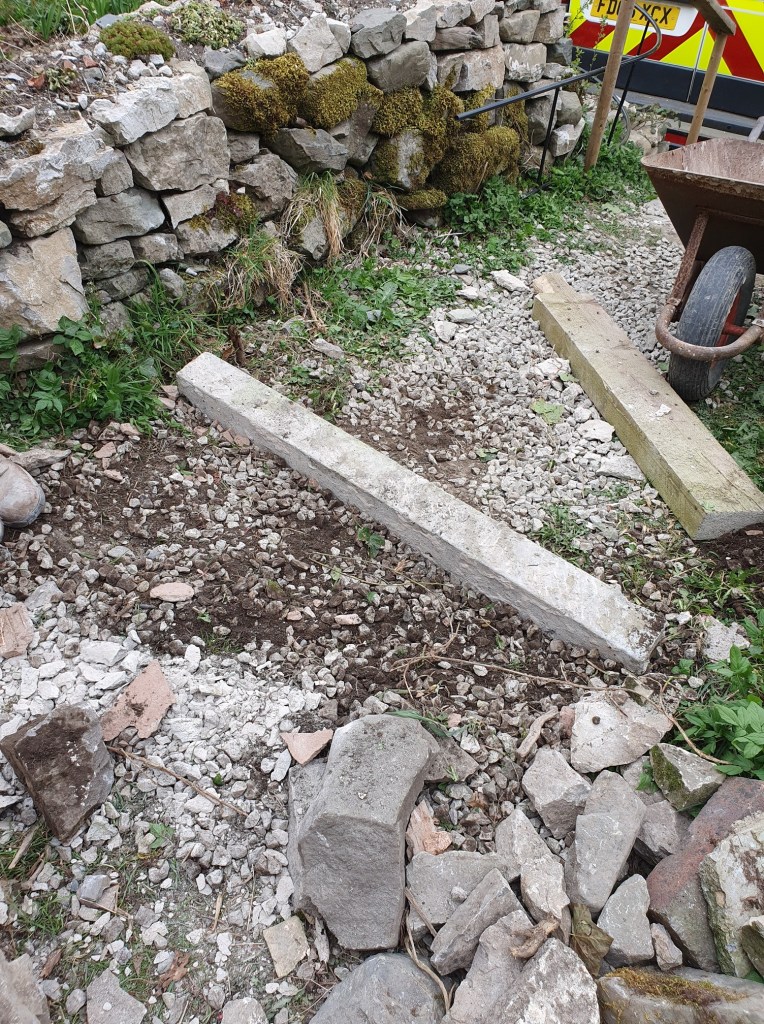
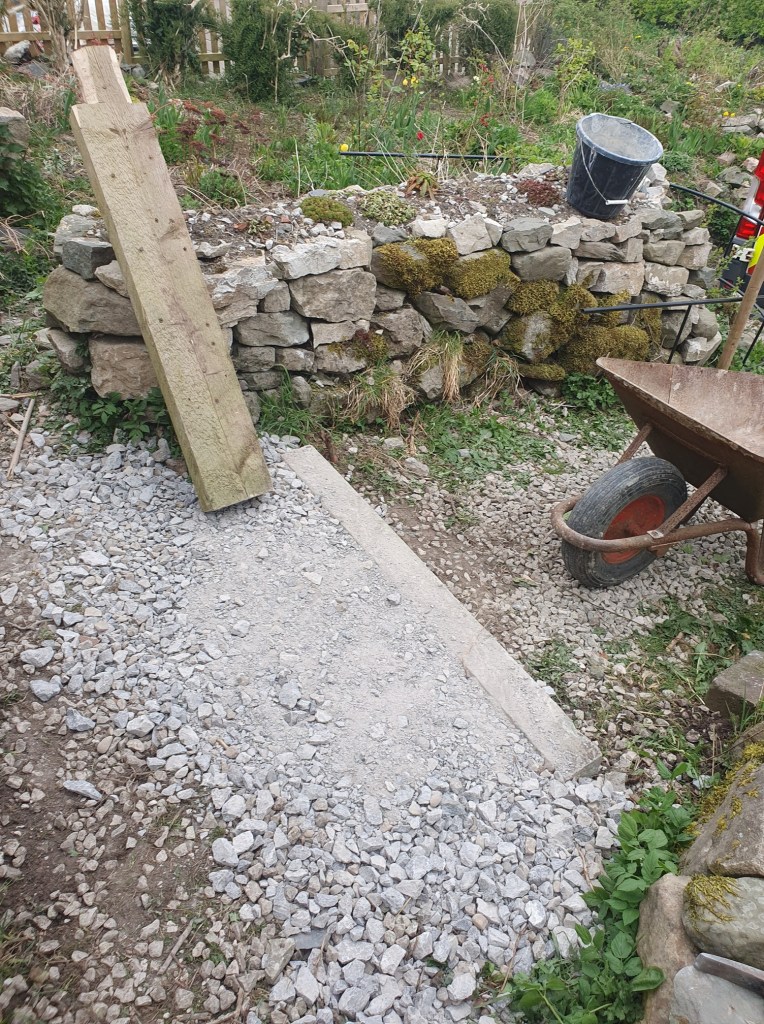
We’ve had an old concrete lintle hanging around our garden for ages, Chris keeping it to use as a step. He finally put it in to try and even out the slope.


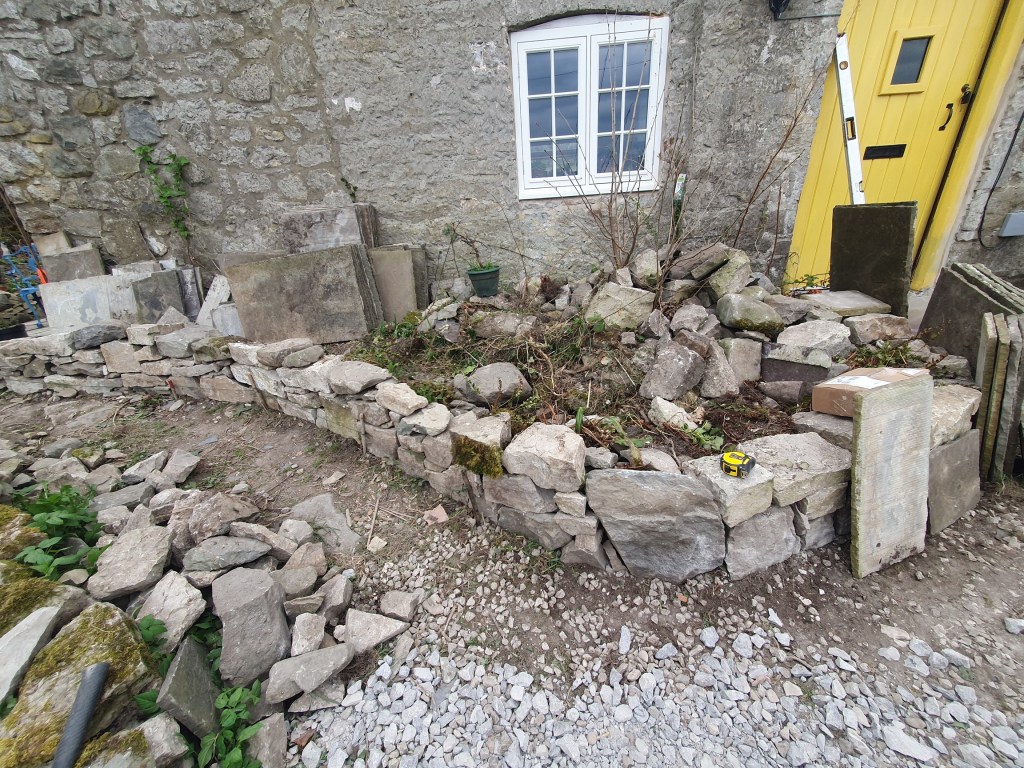

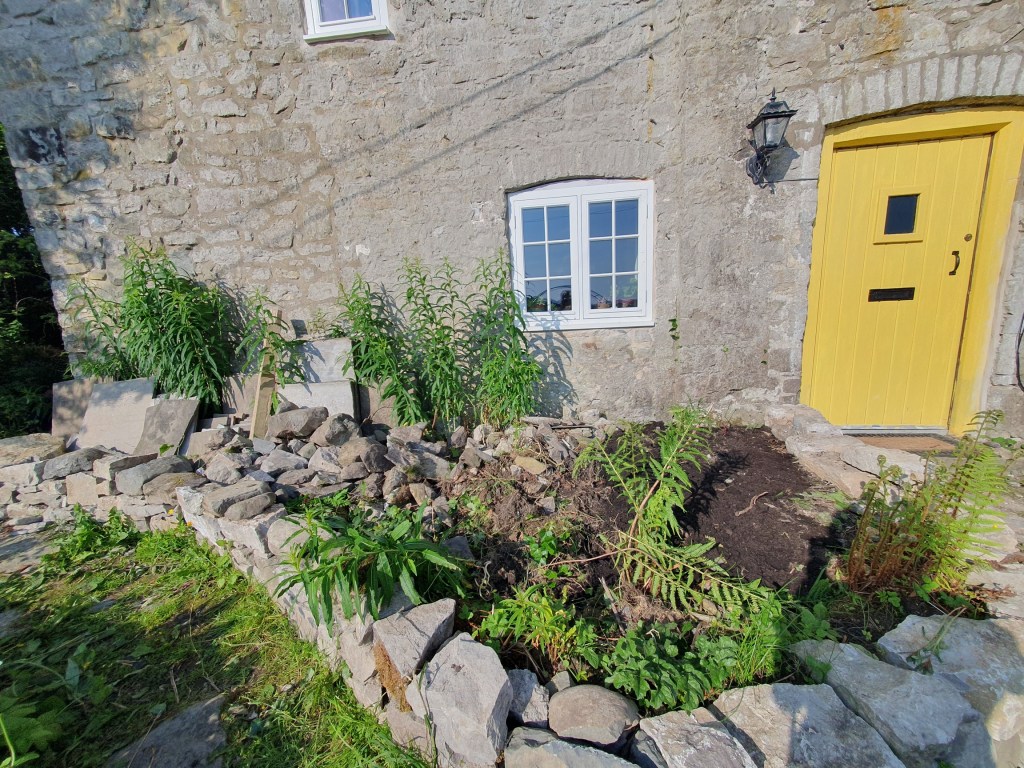
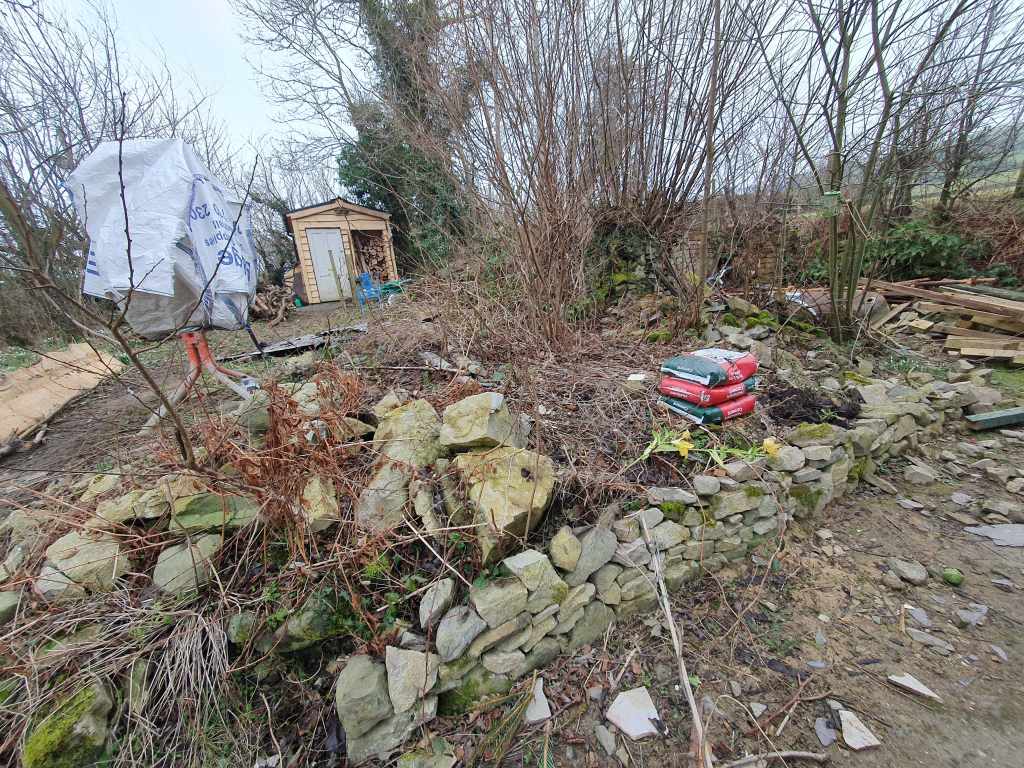
Connecting the two patios we want to lay a path. Currently we have piles of stone blocking it, so we thought we’d build a raised bed along the front of the house. Chris was very keen to do this drystone wall, as I’ve done all the others. I admit it’s neater than mine.
I headed to B&Q with a sample of our cupboard colour, and got a paint match to paint the coat rack. I then added hooks and Chris cut and routered a worktop piece for the bench. Chris also managed to pick up a second-hand radiator that’s the right size, so we’re good to go on moving the radiator so the coat rack can shift across.
Chris showed me how to use the router so I was able to shape the edge of the windowsills and the worktop for the understairs cupboard.
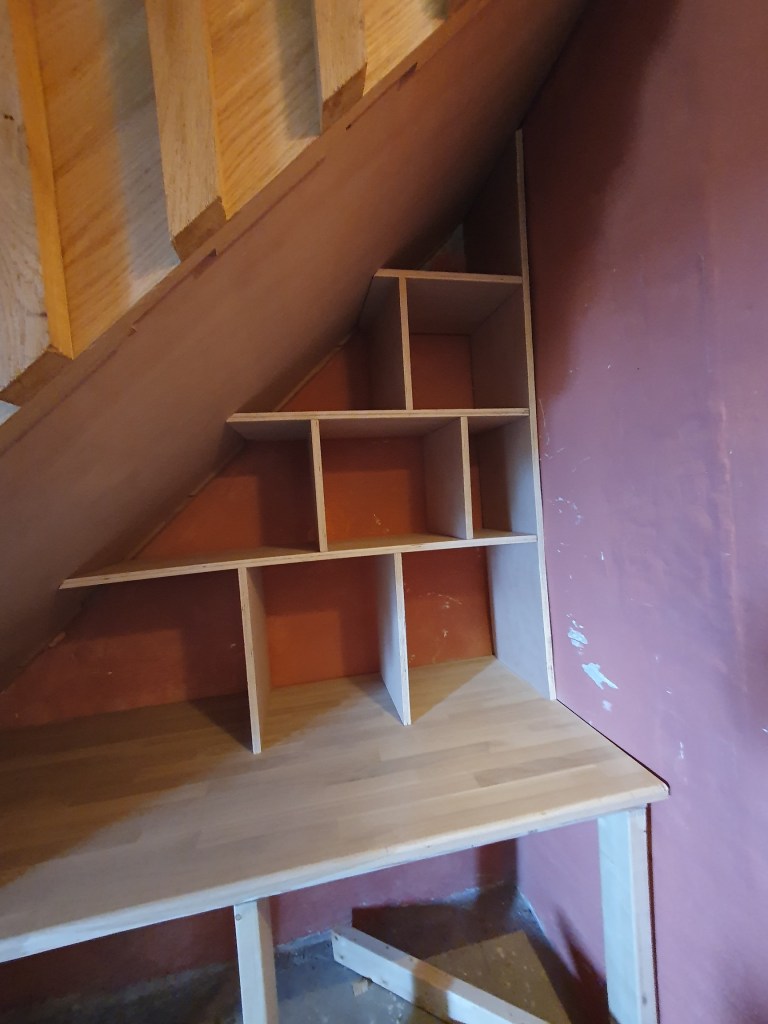
I then spent a long day cutting and fiddling with the cupboard shelves so they fit. With wonky walls and wonky stairs it was a real pain to get it all to match up. But it’s finally all in and just needs painting so we can stack the books that have sat in boxes for two years.


In the garden the tulips are appearing, and a large number of self-seeded primroses. We’ll split and move the primroses once done flowering, and they should multiply and spread.
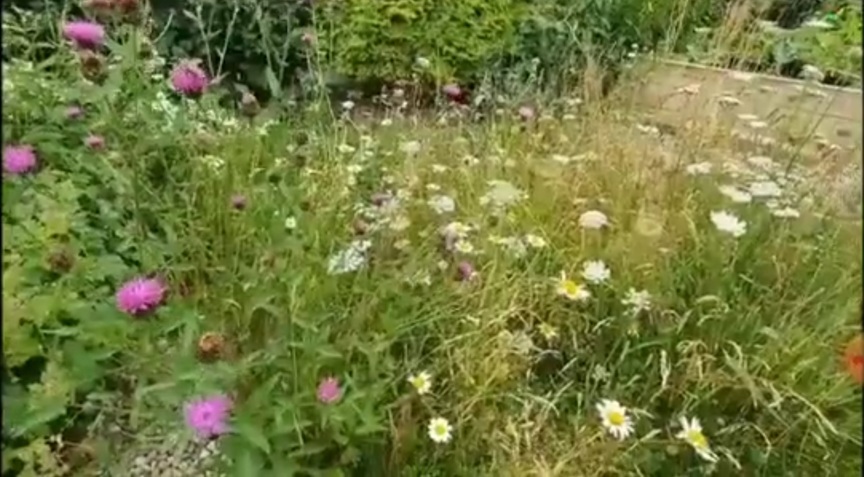

One thing that did make me sad was visiting my old house to collect some post, and seeing the meadow we made paved over for parking (despite the fact there’s space for two cars on the drive). The meadow had so many wildflowers including oxeye daisies, black knapweed, meadow vetchling and Dartford pink. It supported so much wildlife and was gone in an instant – for a car. It makes me more determined to create meadows wherever I can, including my new garden
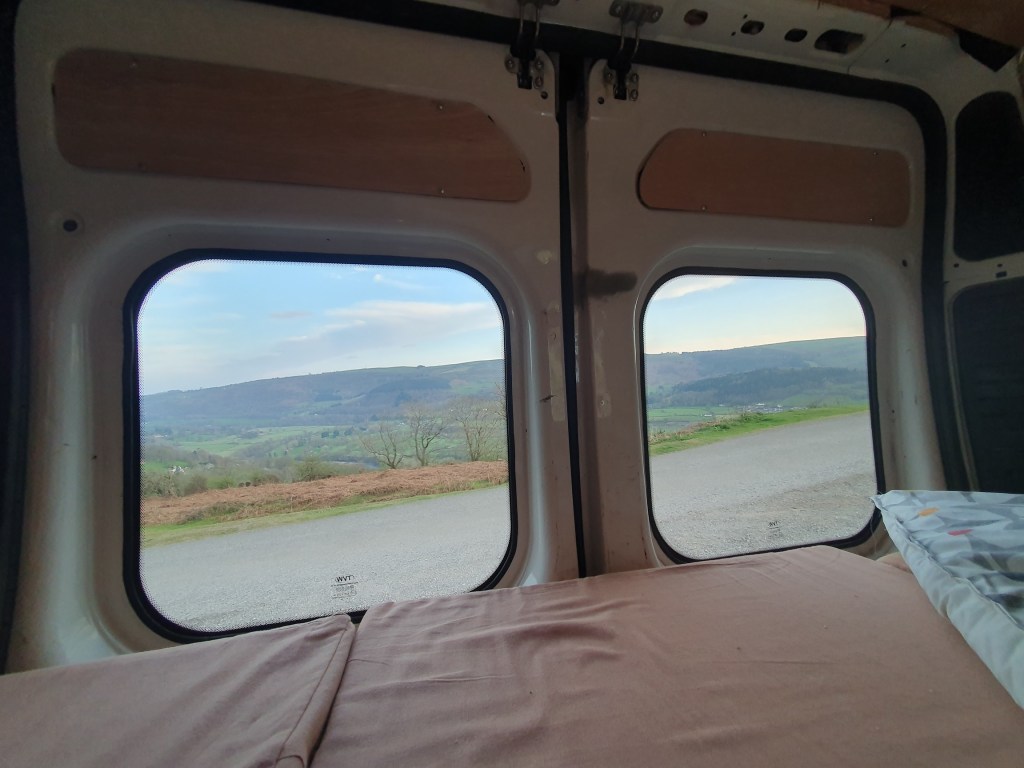

On a brighter note we took the campervan out for its first test run. The bed was nice and comfortable and I was pleased with my magnetic curtains. It gave us a good idea what remains to be done.
-
Van 6: Transformer
Having not had much to do with the van over winter, other than Chris sorting some mechanical bits, the countdown to the next MOT moved it back up the To Do list. Added to that, with nice spring weather, and the house more in order, it’s about time we actually used it.
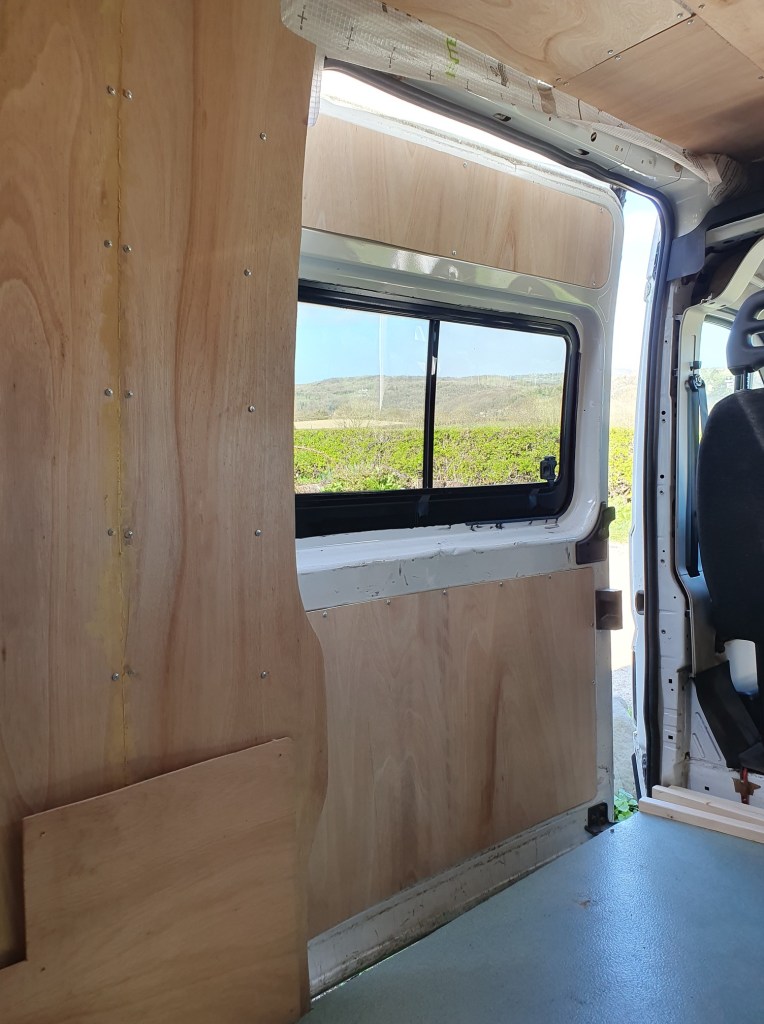
Chris spent the day replacing the breaks and trying to fix a faulty engine warning light, while I got on with jobs inside the van. It was in better shape than I remembered, which is always a pleasant surprise. Even just sitting on our drive it was very nice to be inside it looking out at the sunny view.
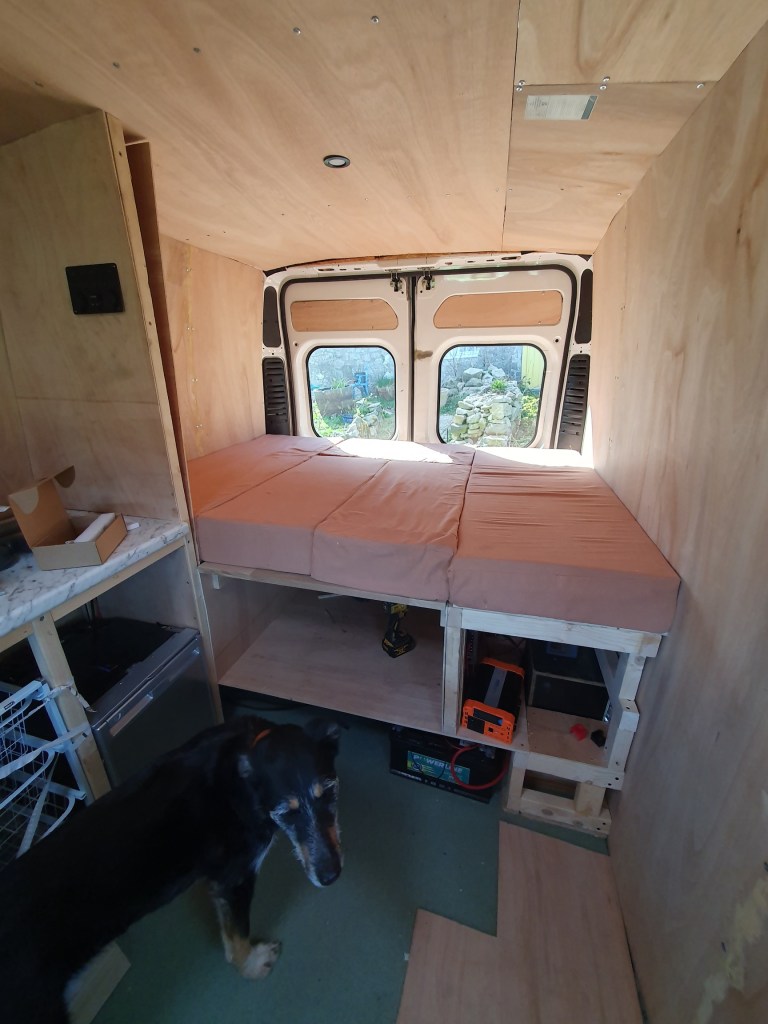
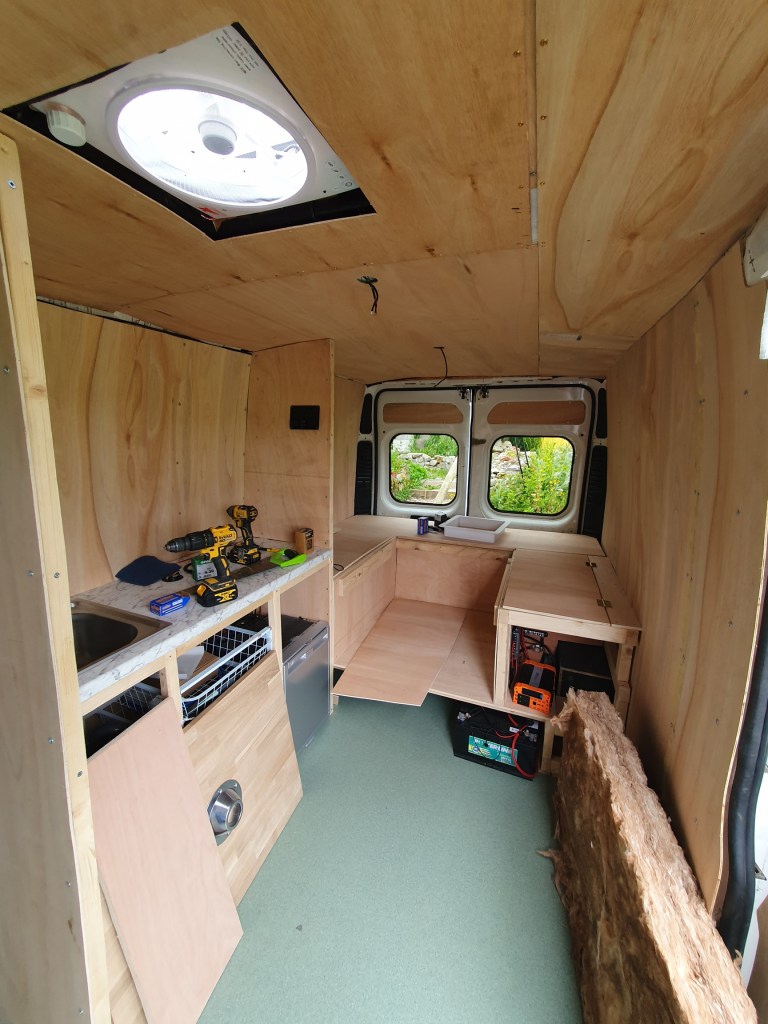
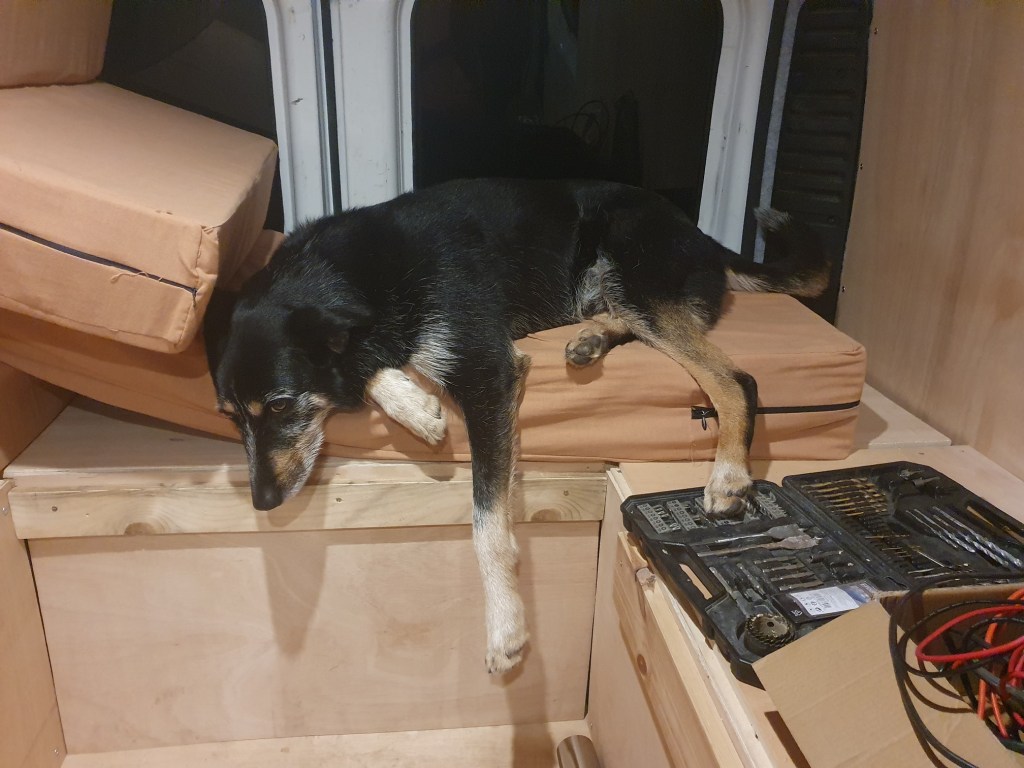
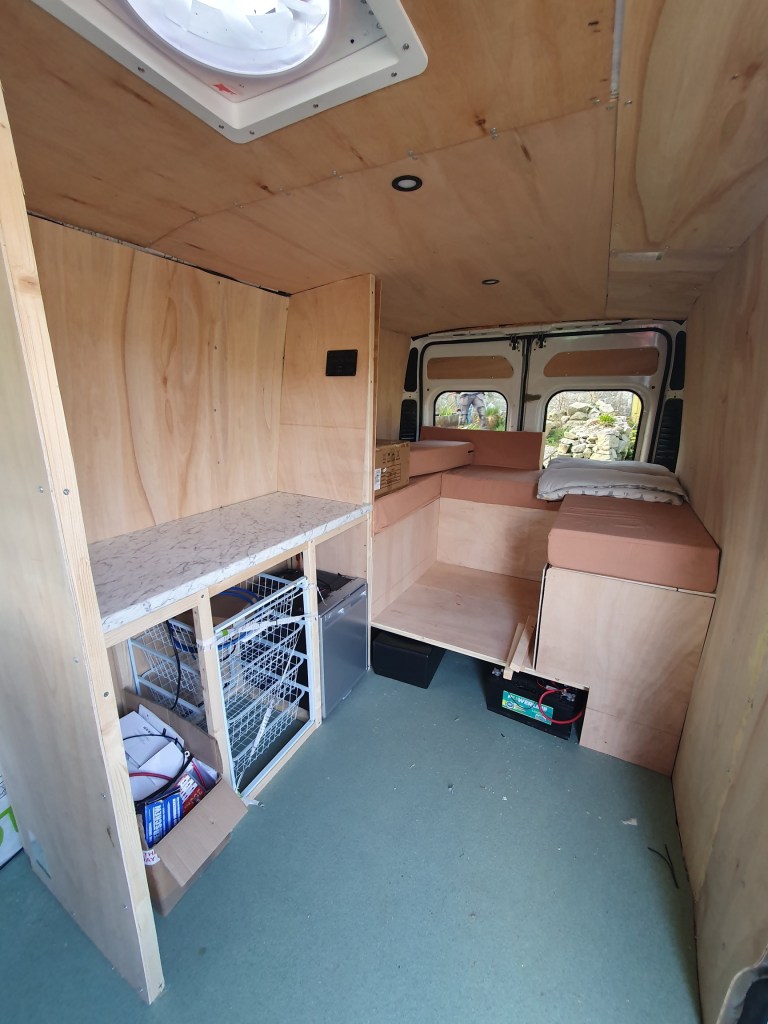
While we had built the U shaped bench, which forms most of the bed, I now needed to build the table/central bed support. I measured up a piece of worktop and cut it to size. The piece we had wasn’t quite long enough so I also cut a piece of plyboard to fill the gap.
To support the boards I attached some wooden planks to the front of the benches.
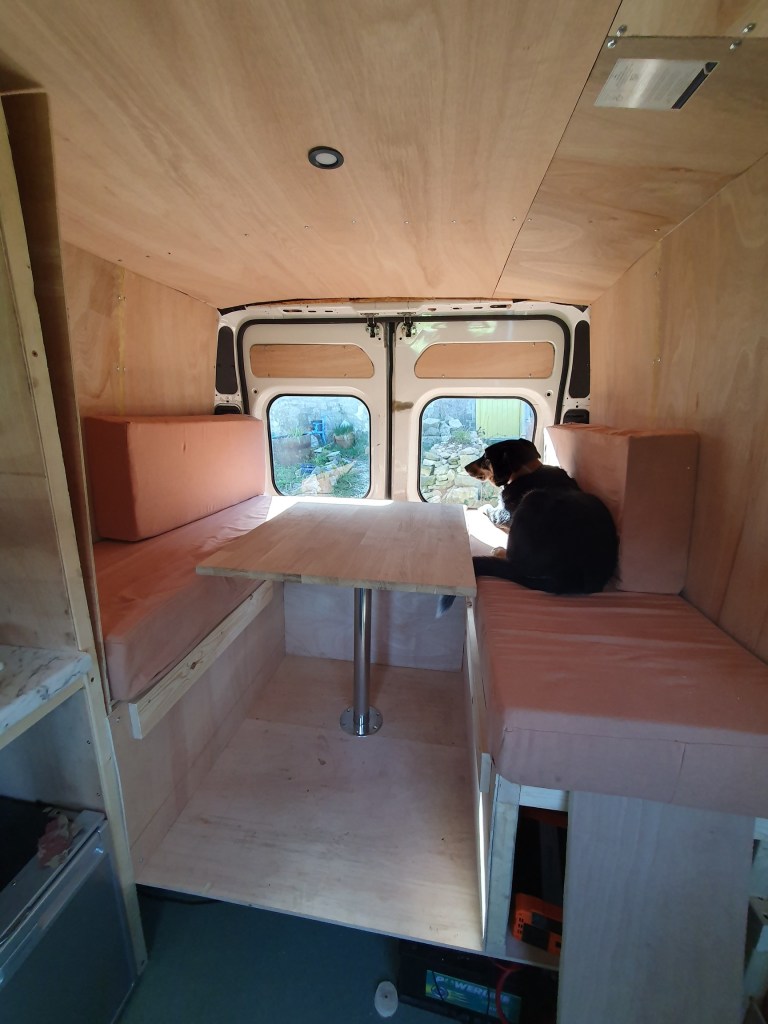
To transform it into a table I used a kit Chris had bought, attaching one pieces to the bottom of the table, and cutting a hole out of the floor to attach the base. A removable pole the slots in to each to complete the transformation.
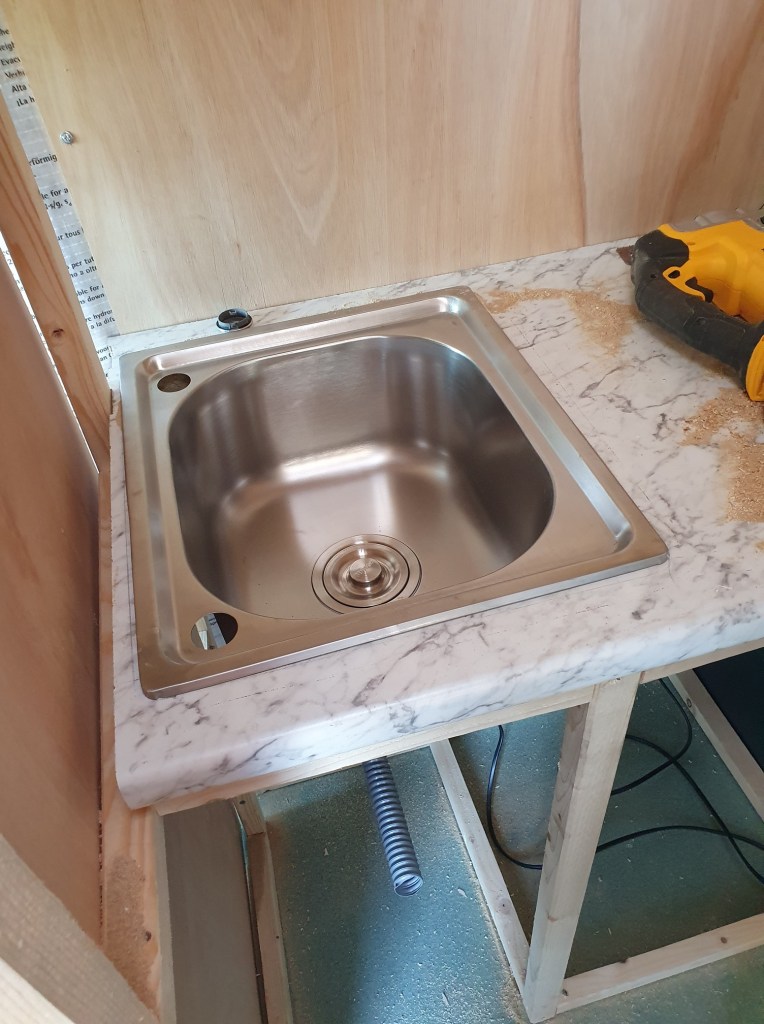
In the kitchen I used the jigsaw to cut out a hole for the sink.
Now Chris has finished his mechanical jobs, hopefully next weekend we can both work on the inside. Apart from the shower, I think most jobs won’t take us that long. The hope is to try out the first overnight trip this month, to test our work and see how cozy it is.
Apparently doing up a campervan is the millennial version of a mid-life crisis sports car… I think it’s the better option personally.
-
Flattened
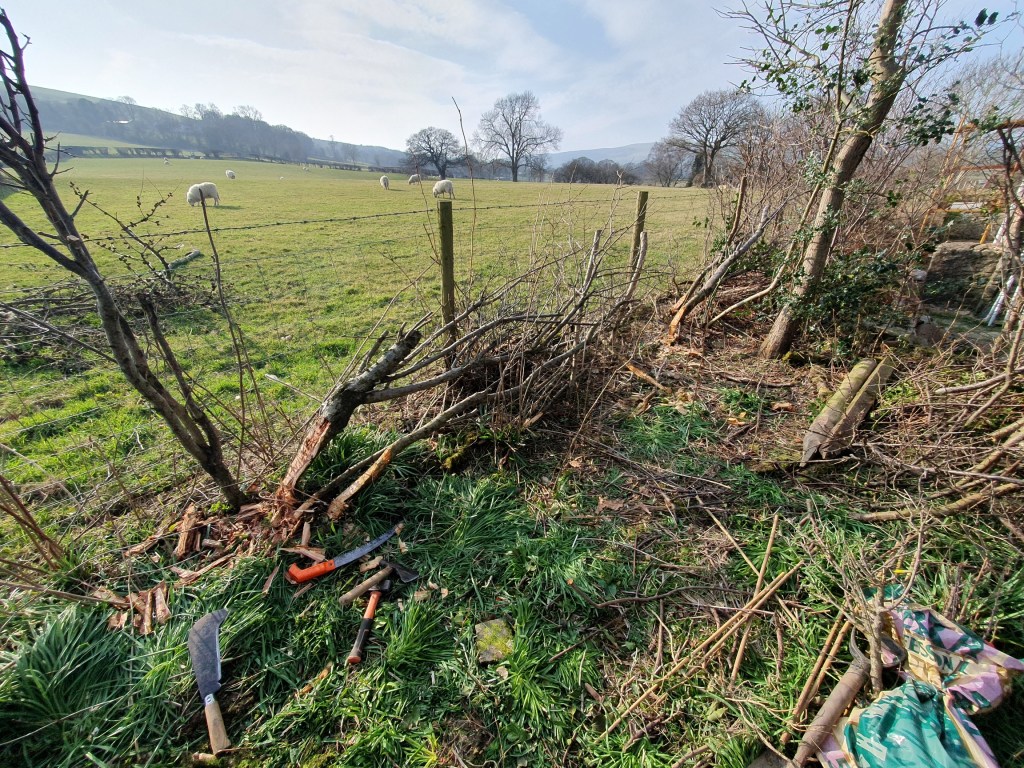
Having said I would leave the final piece of hedge laying along the back of the house till next year, we had some sunny evenings and I had some energy, so I decided to get on with it.
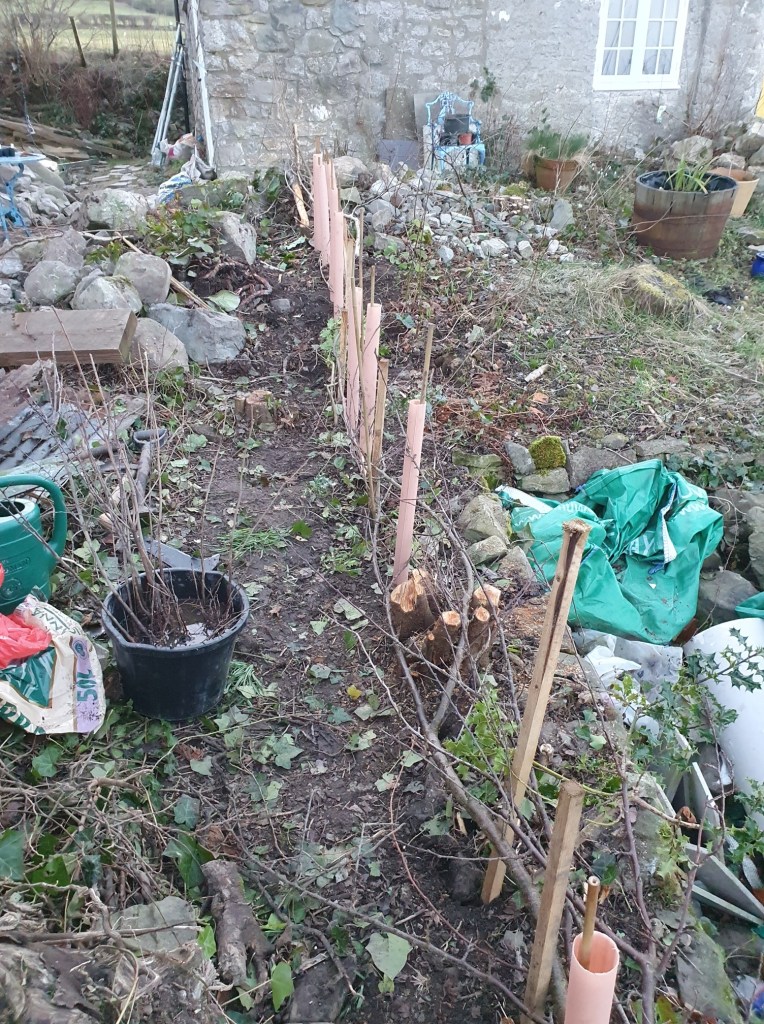
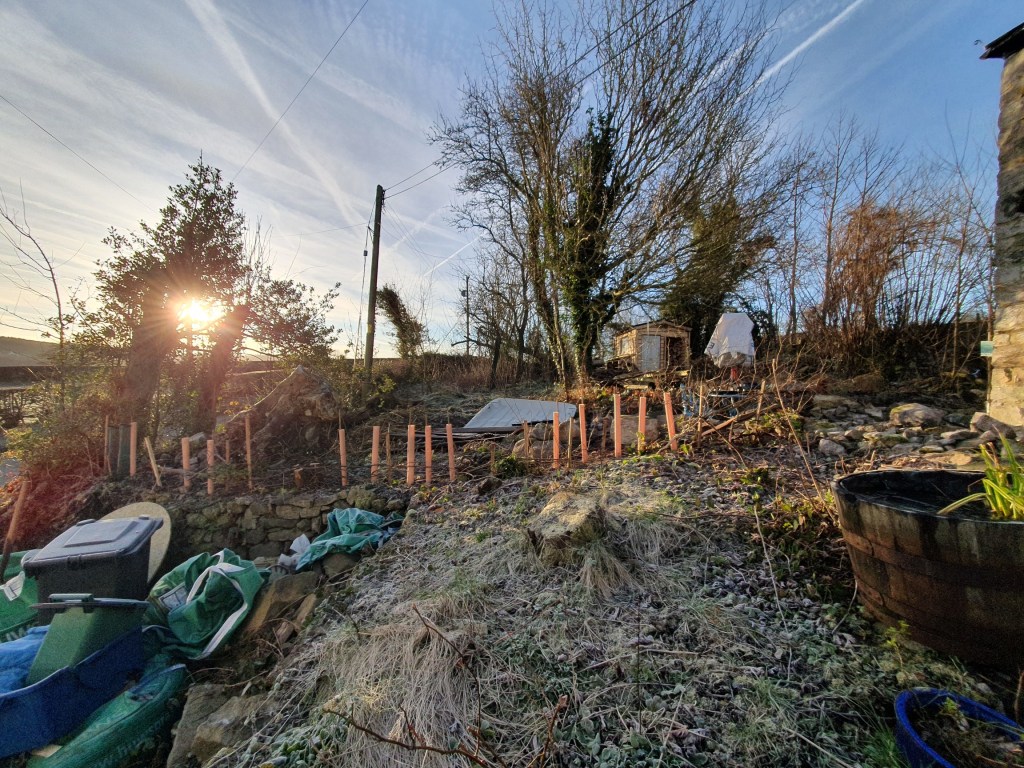
It was a fiddly bit of ground to work on, being high and narrow. I managed to cut out the old fencing before starting to lay the trees. There were fewer than the other stretch, and they were much thinner, making it a quicker job. One of the coppiced hazels we decided not to lay, as it sit lower down and will need to come out when we repair the wall.
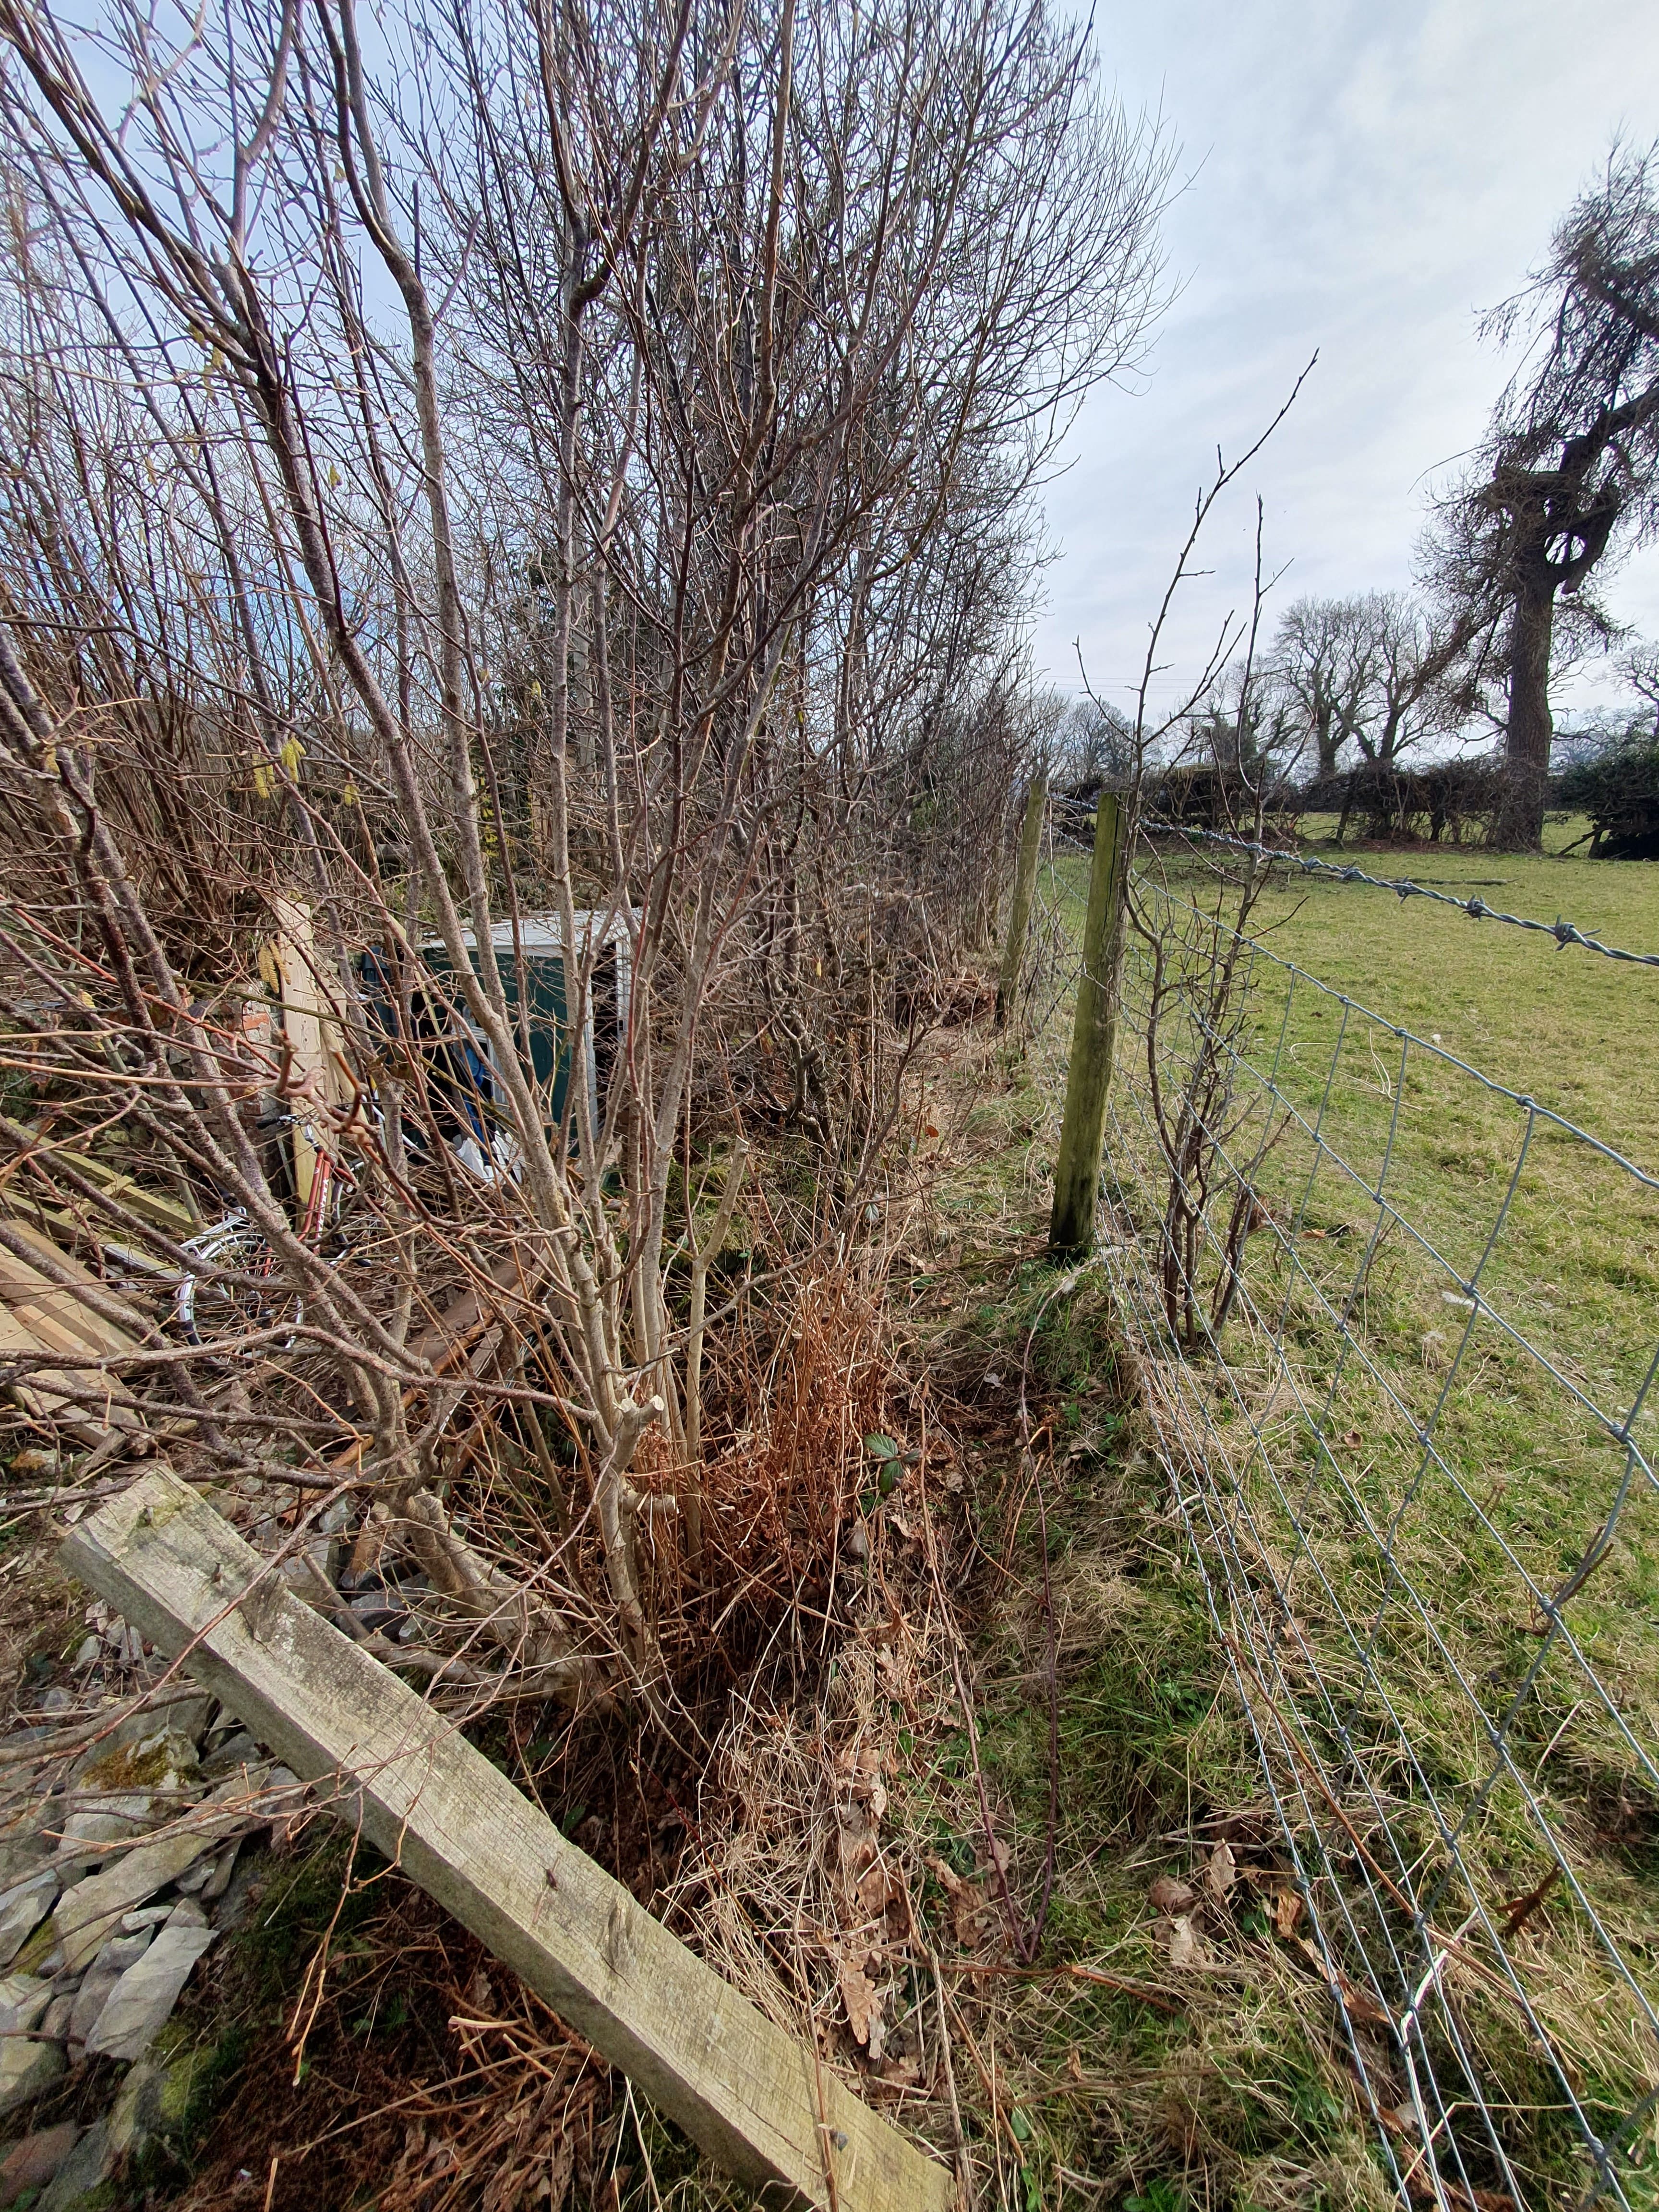
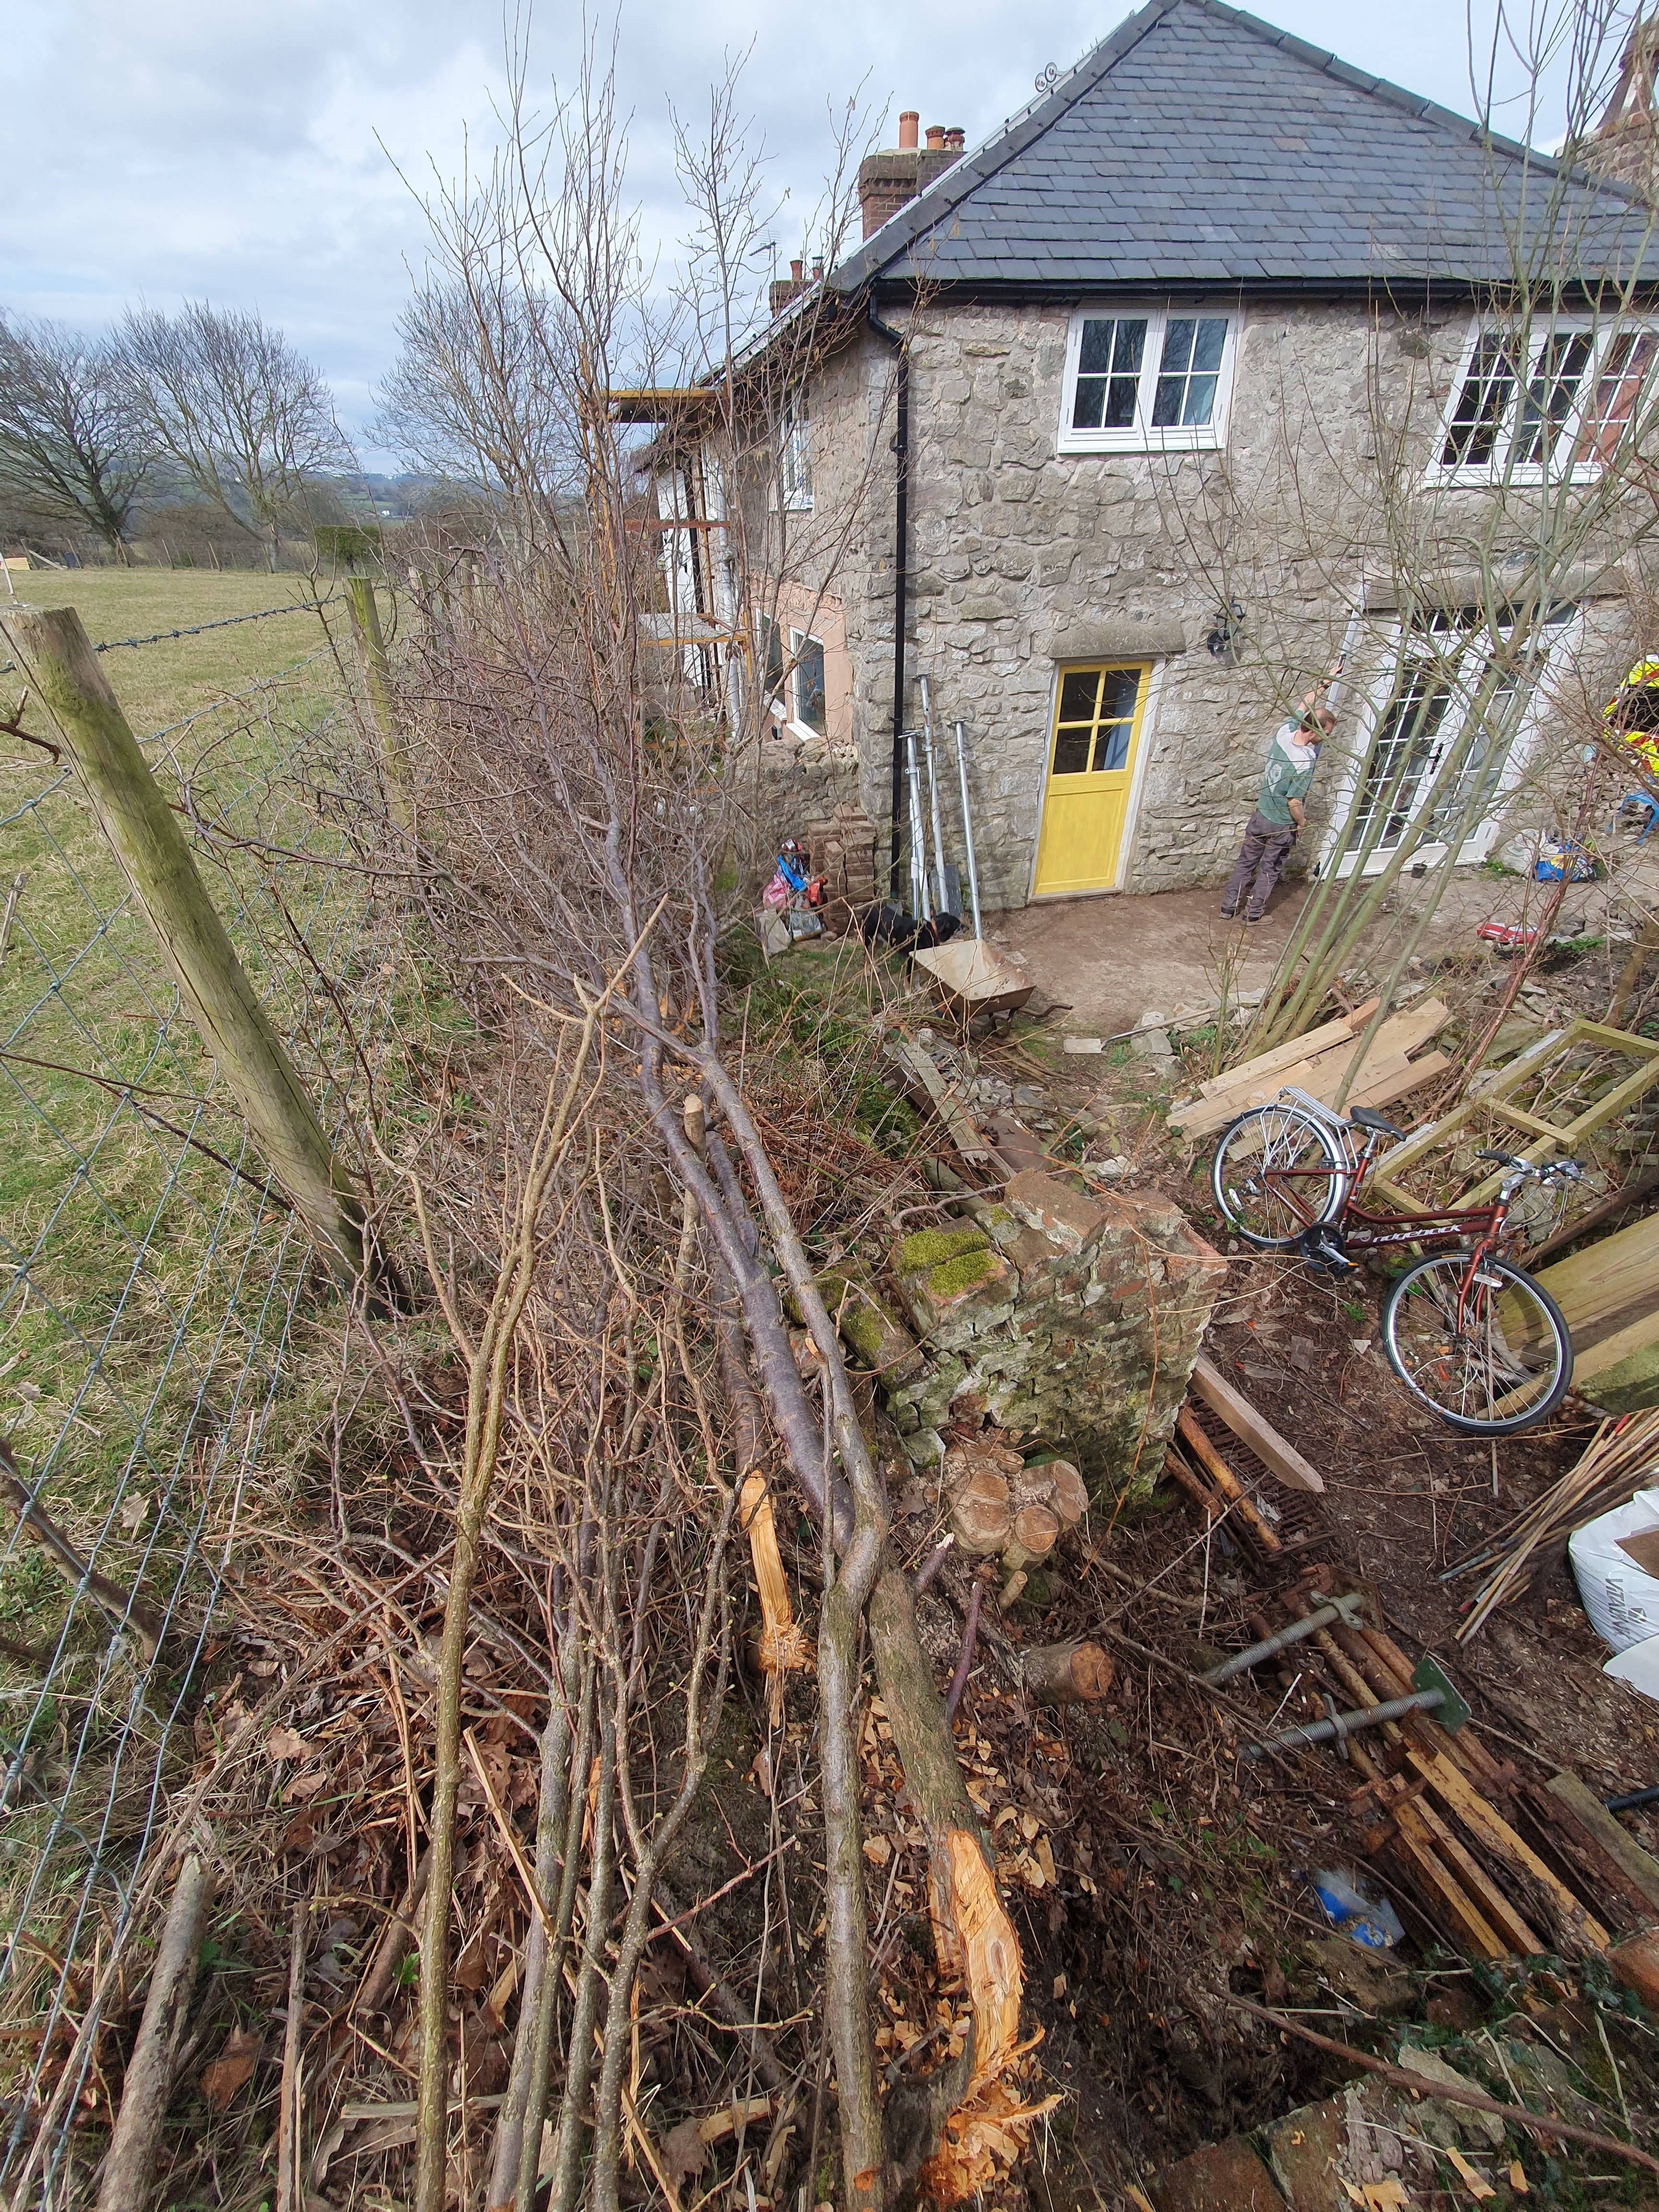
With this section complete we now have a long run from the section myself and Monika laid last week, leaving only the hedge at the side of the garden to lay at some point in the future.

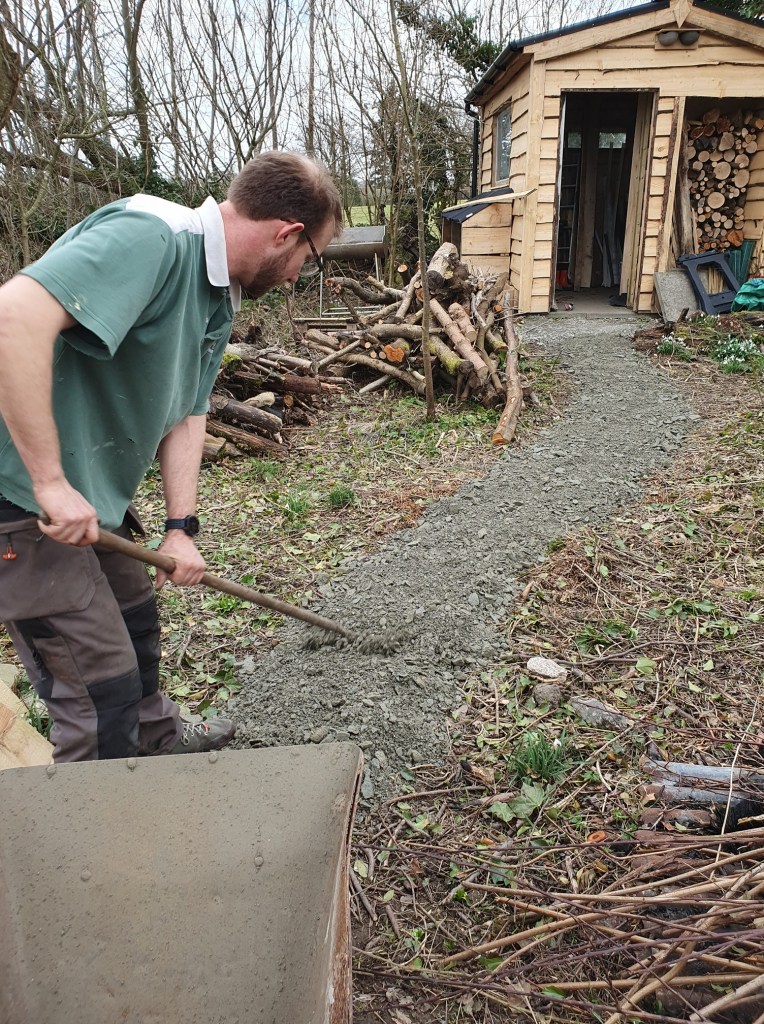
With the good weather it seems destined that we get on with jobs outside. Chris’s brother had kindly lent us his cement mixer to do the shed base, and we’d kept hold of it in the hope of getting the patios done before he needed it back. However, the time has come when it needs to return to its owner, so we decided we’d better get on with laying our slabs.
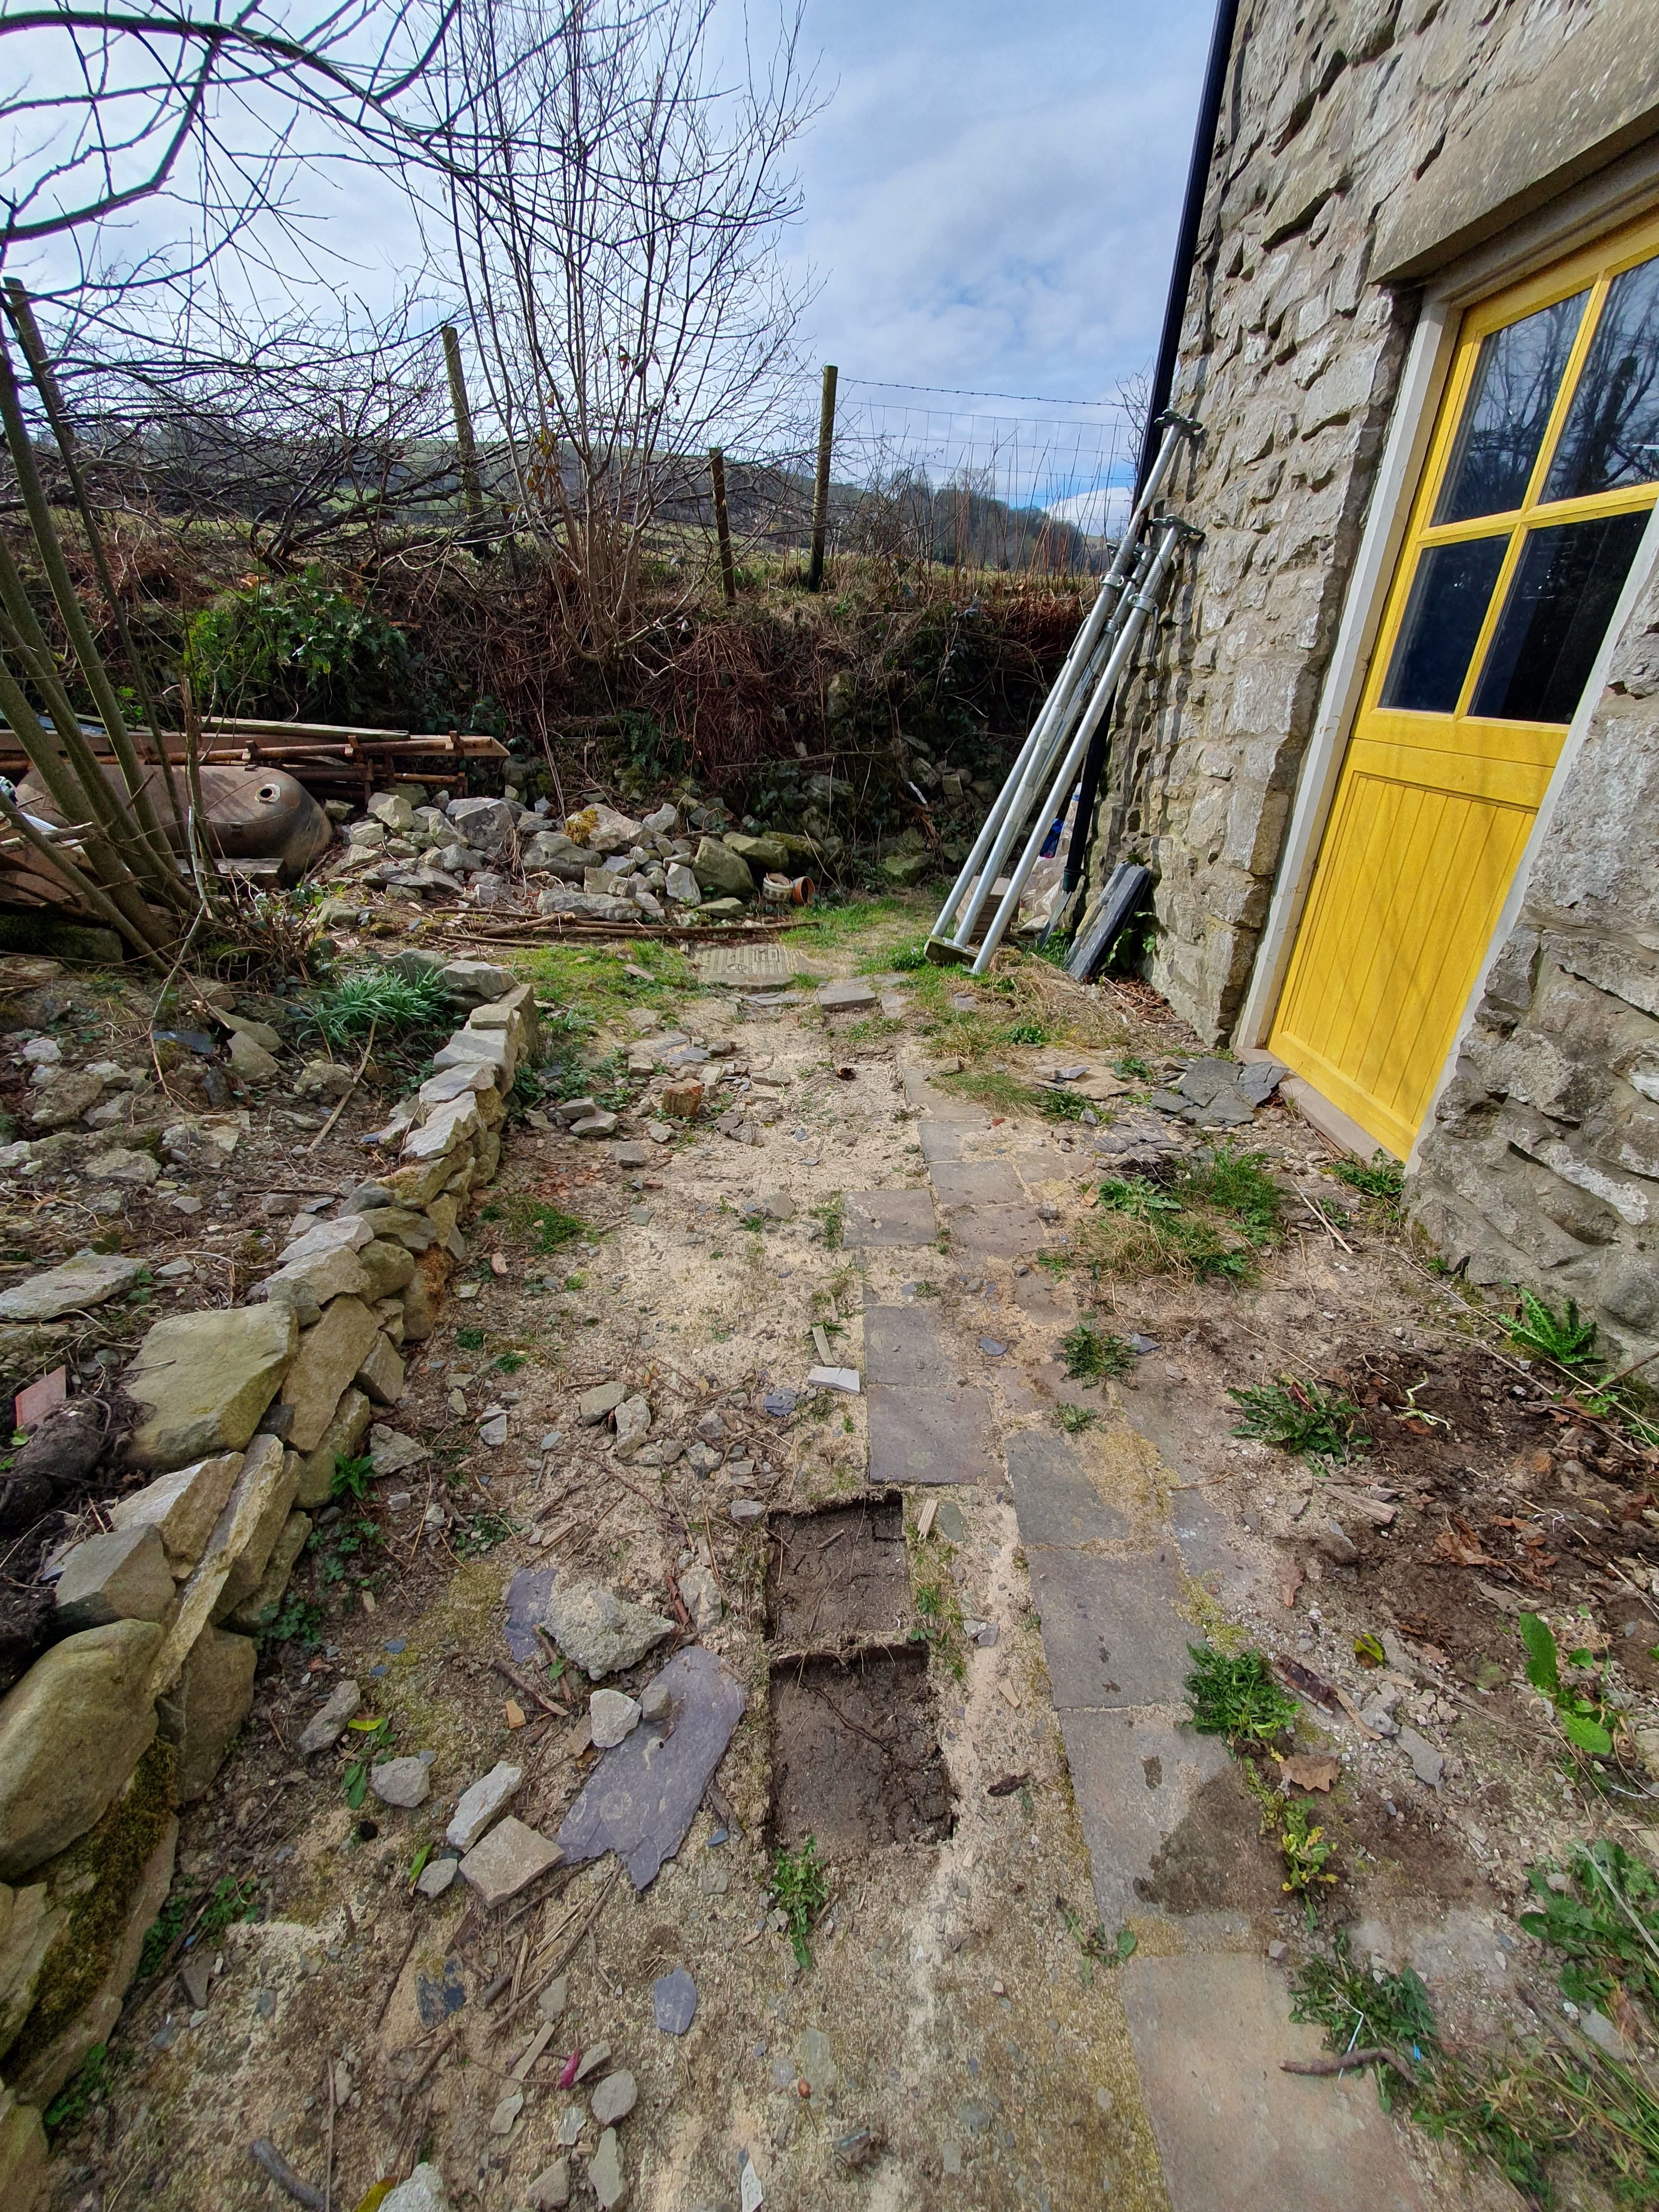

Originally we’d thought we would need to dig down to lay a bed of gravel and sand for the patio. However, the ground is so hard and compacted from when the drainage was done, that we decided we could get away with a quick bit of clearing, and go straight to cement.
We dug out some small tiles which covered part of the area and put them to one side for future use or sale.
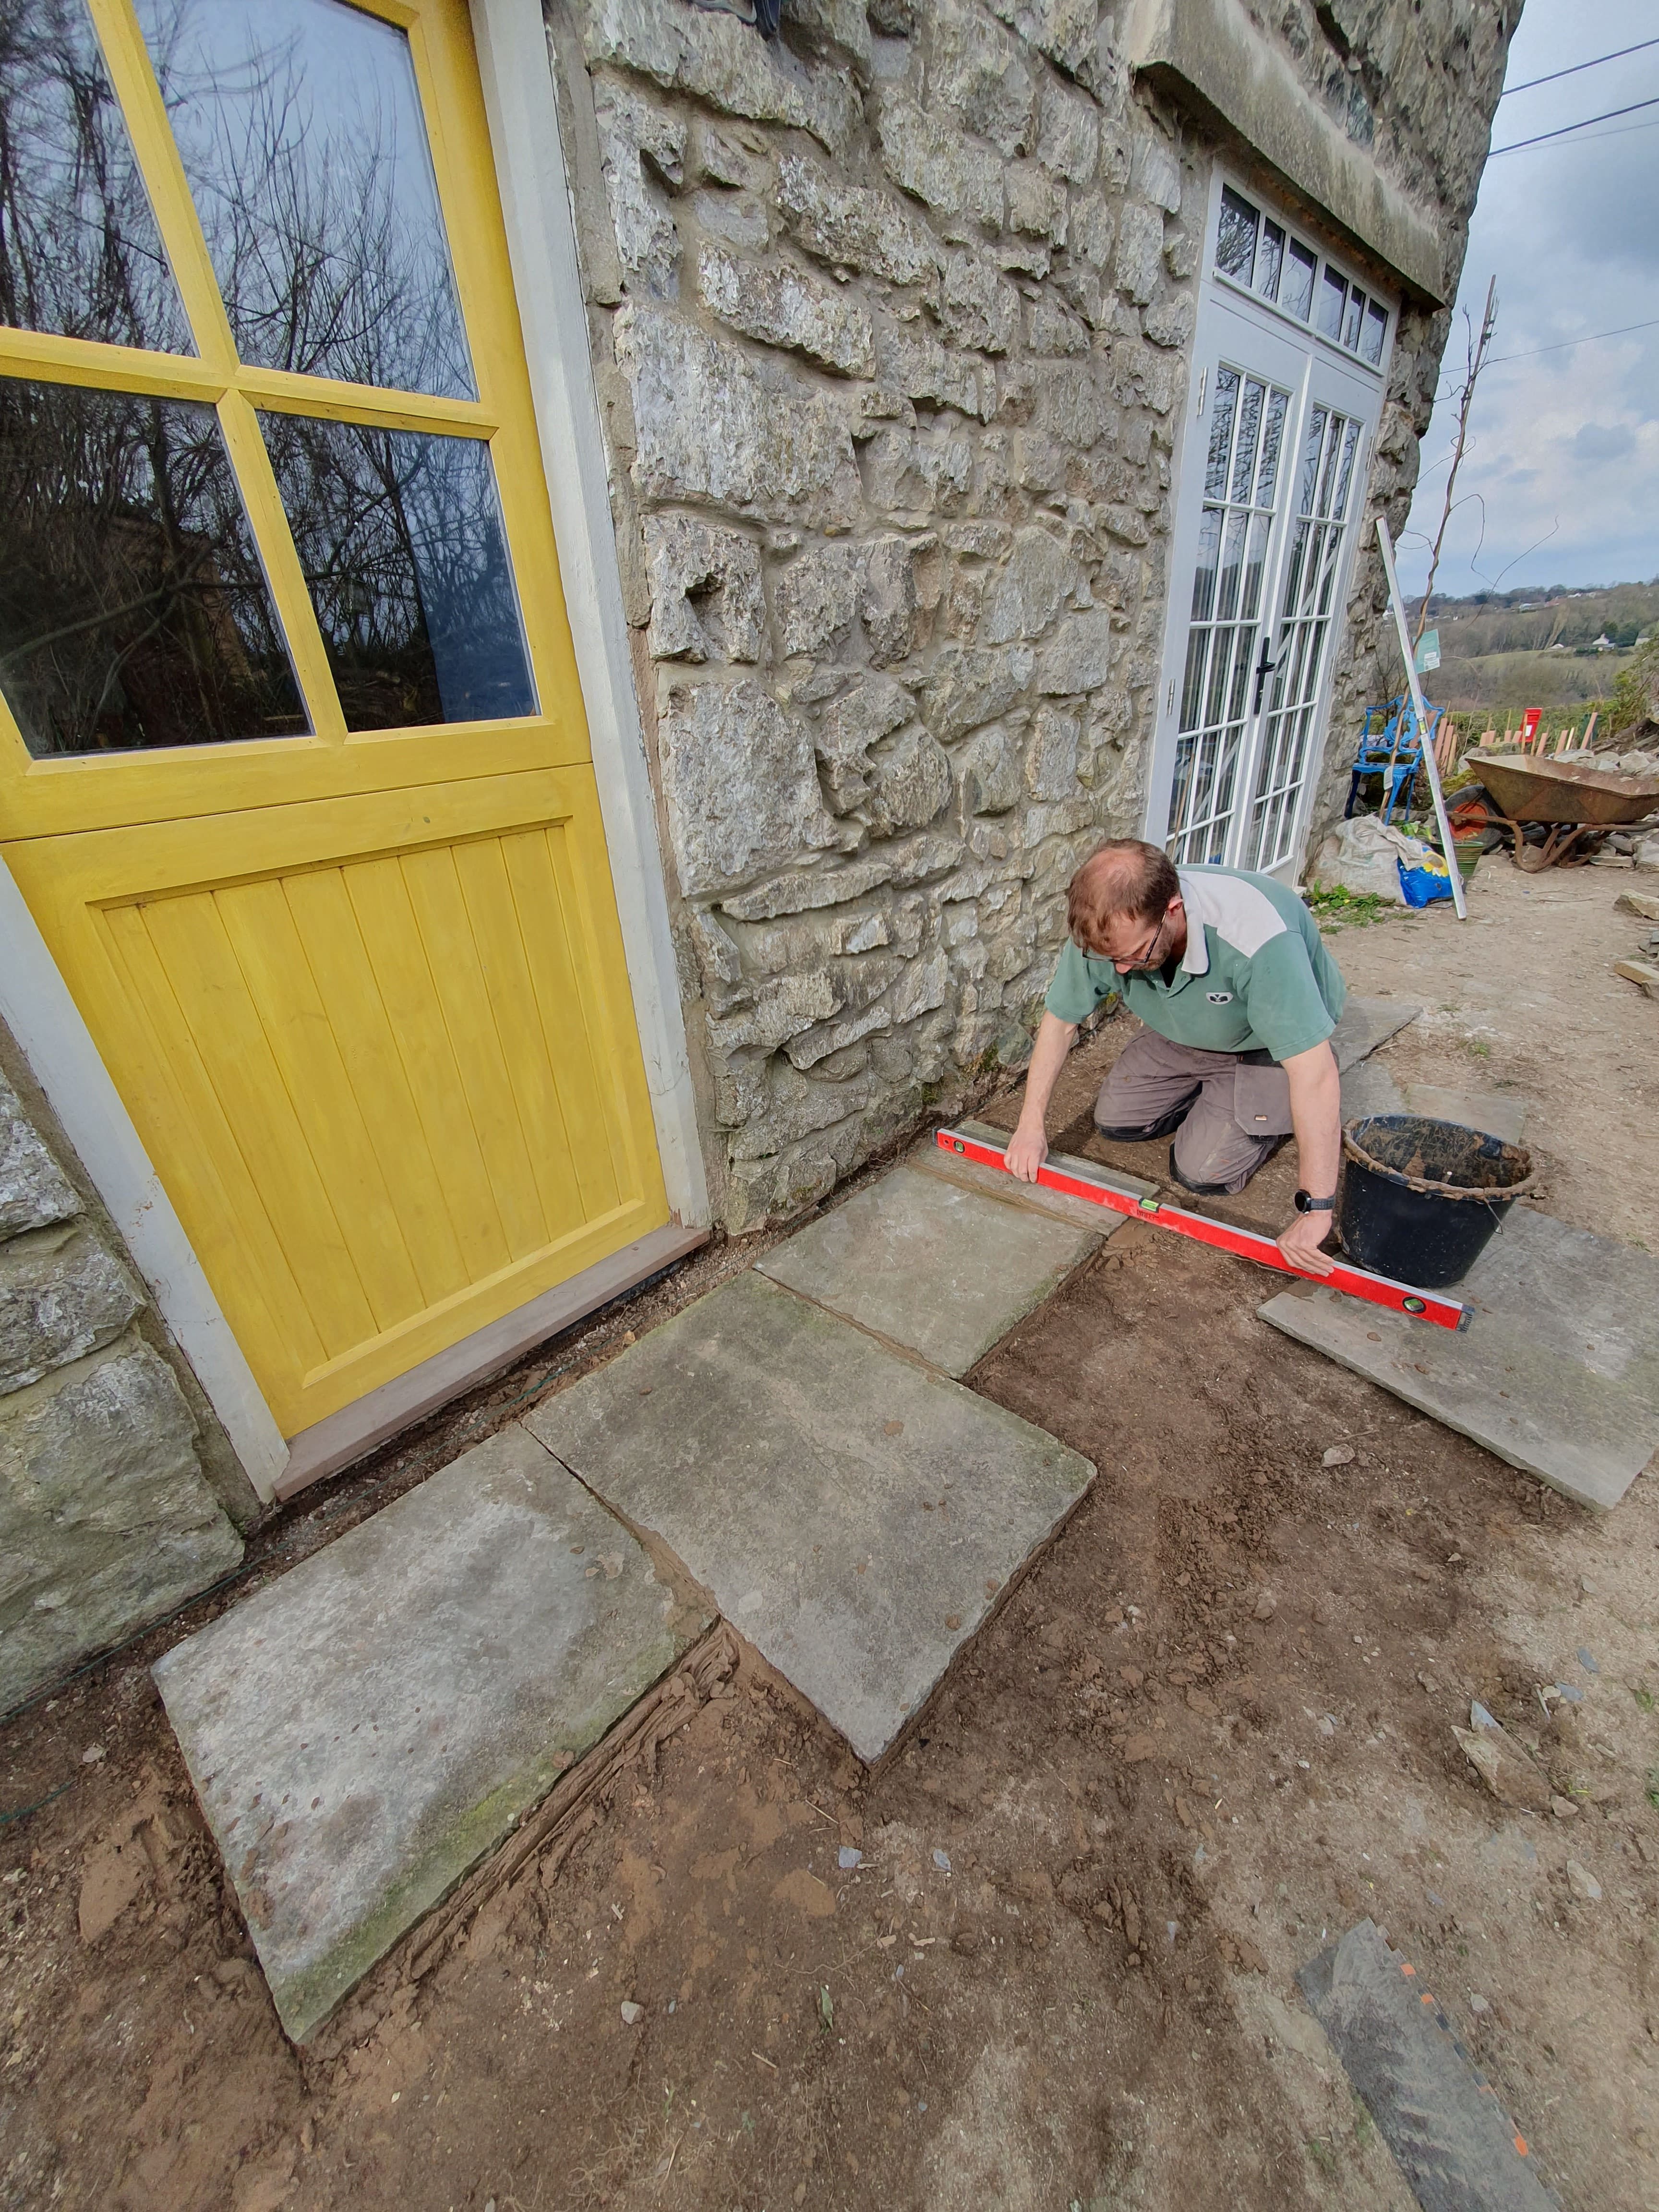
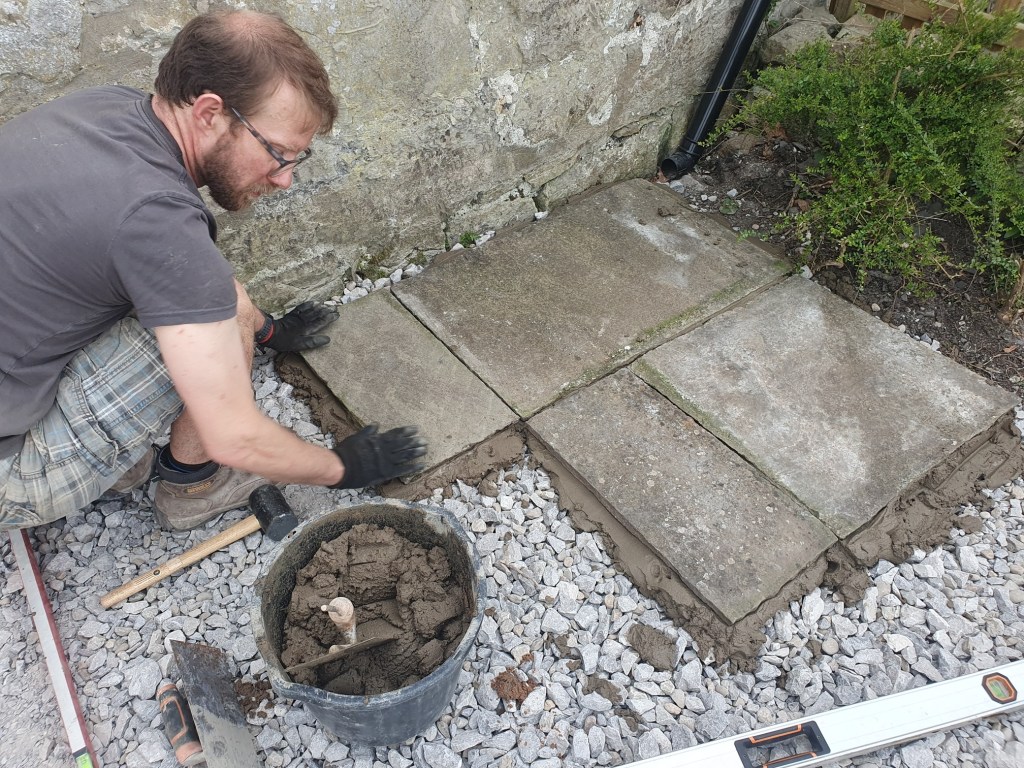
As always, the first few slabs took the longest, with Chris carefully getting them to slope away from the house, while I was on cement mixer duty.
However, once we had a good line, things sped up as we could both be on slab laying. Once we’d run out of cement we’d completed most of the side area of the house. Next week we’ll hopefully get onto the front patio, as well as finishing off those little gaps at the side.

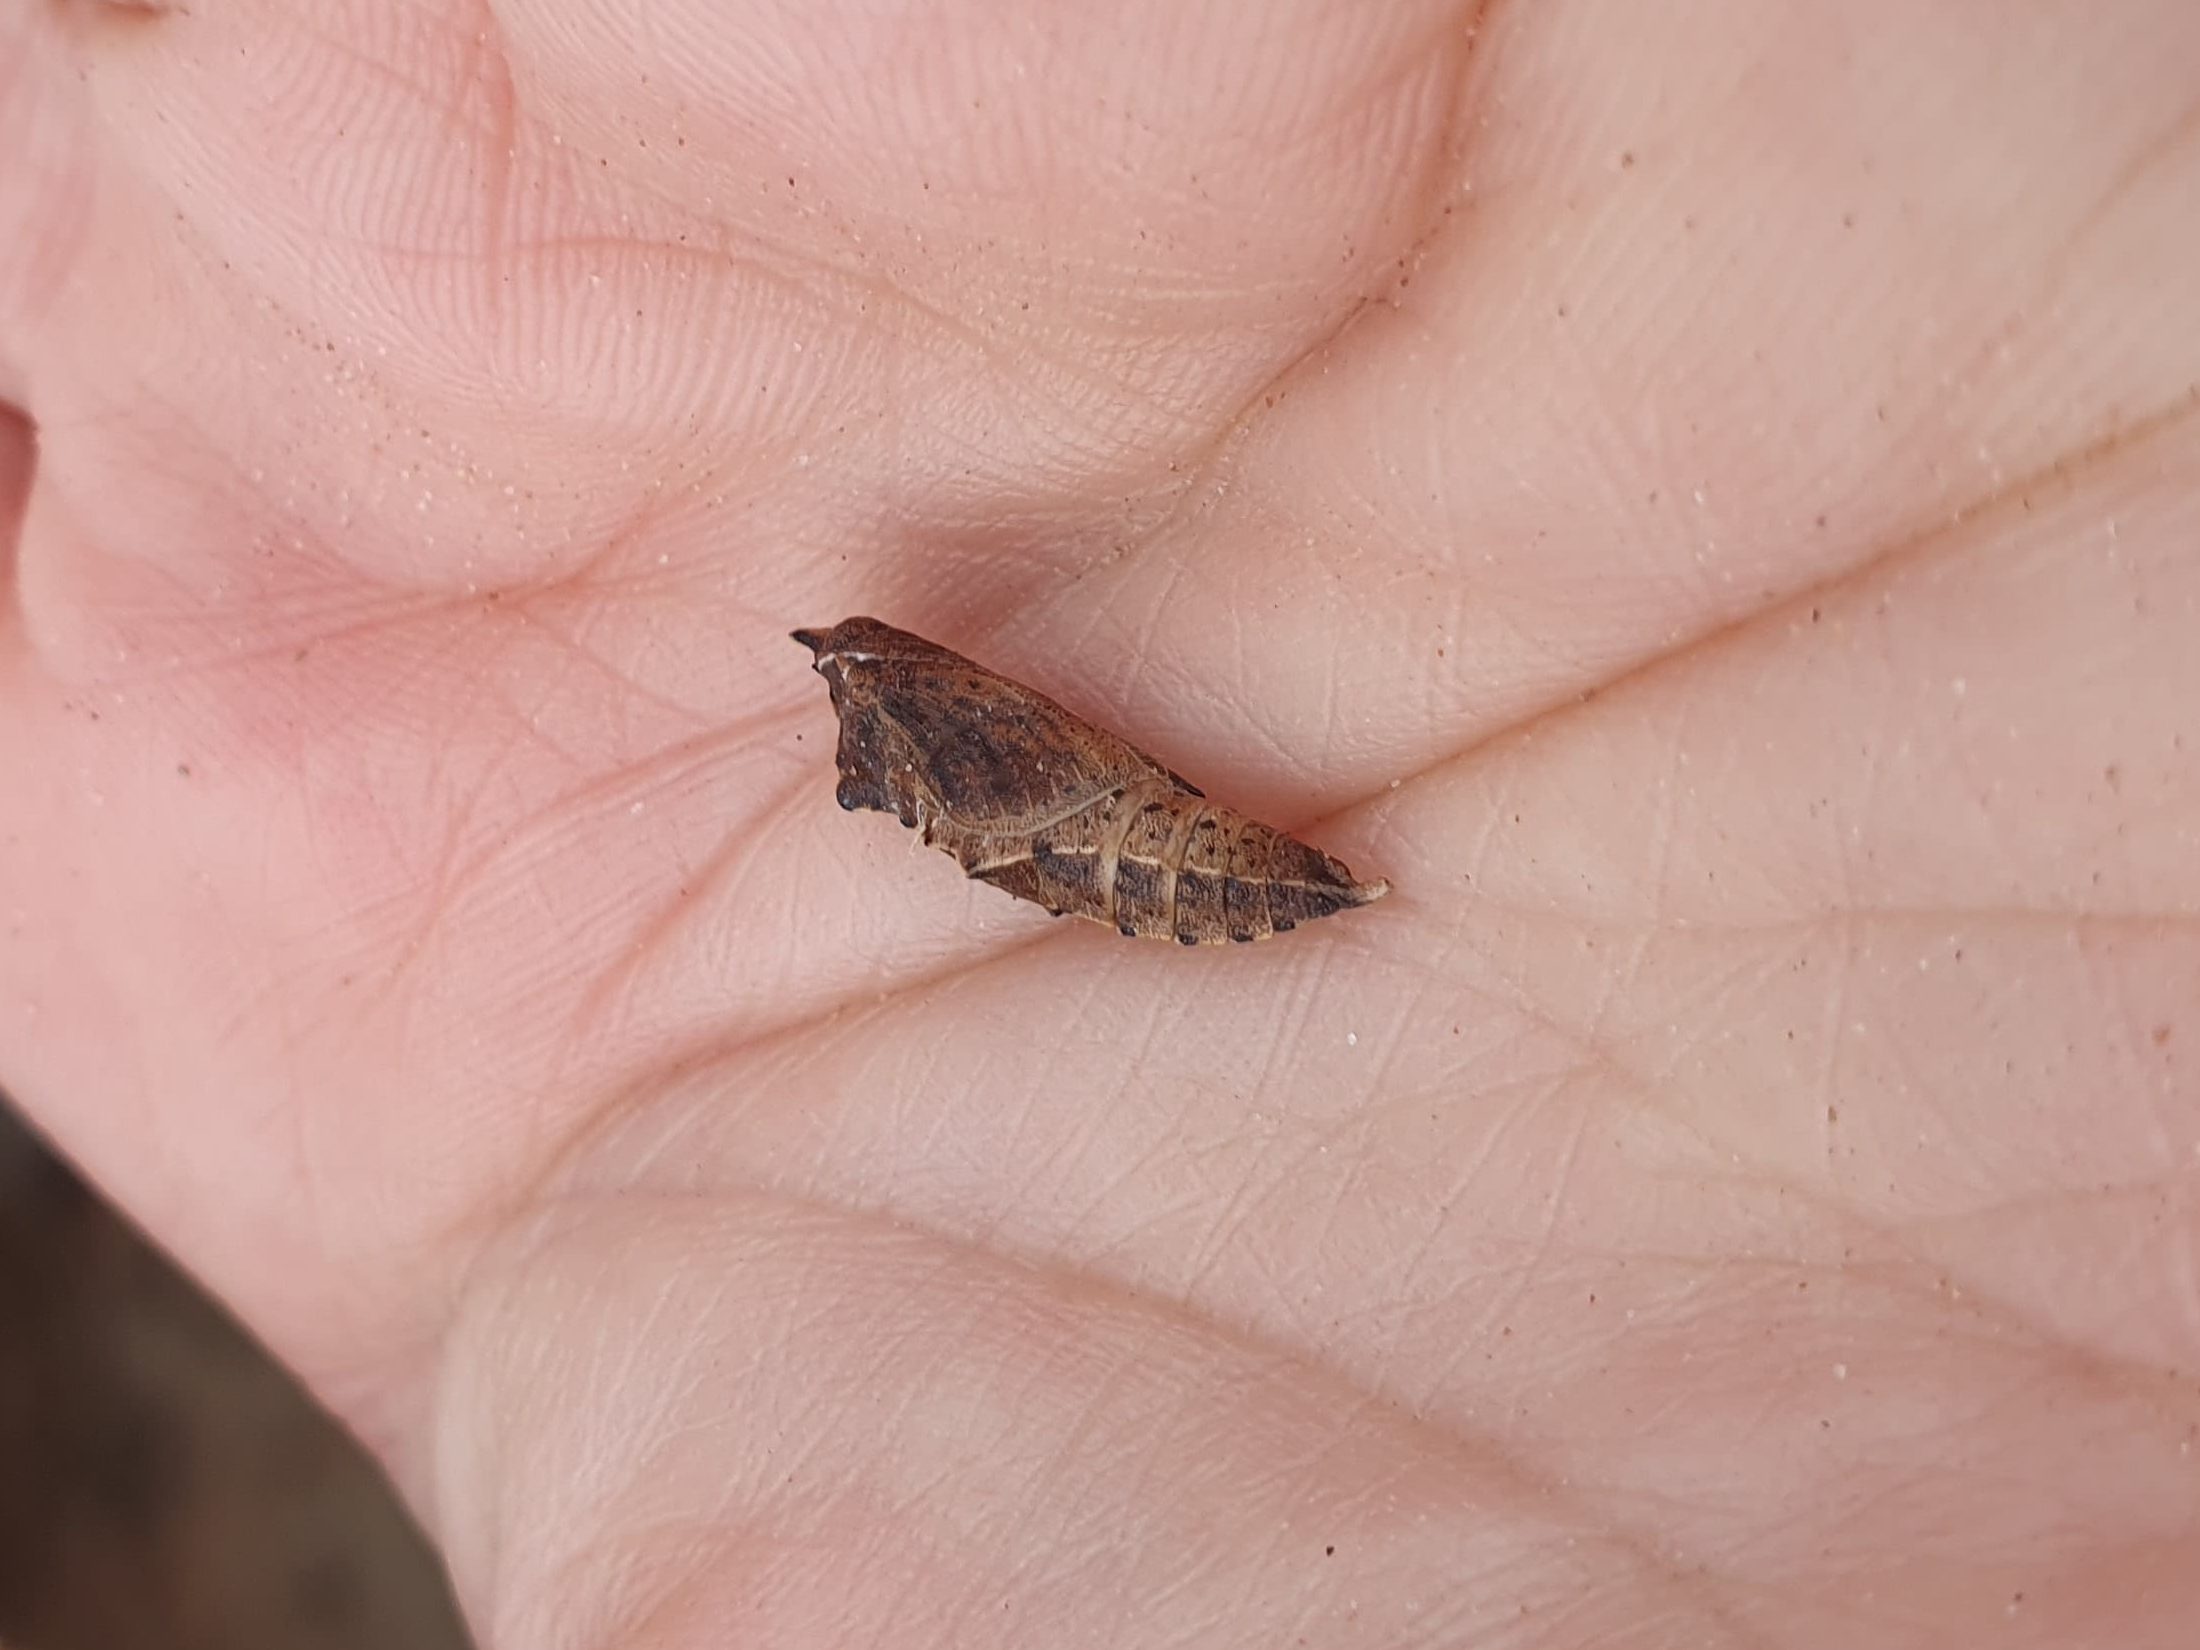
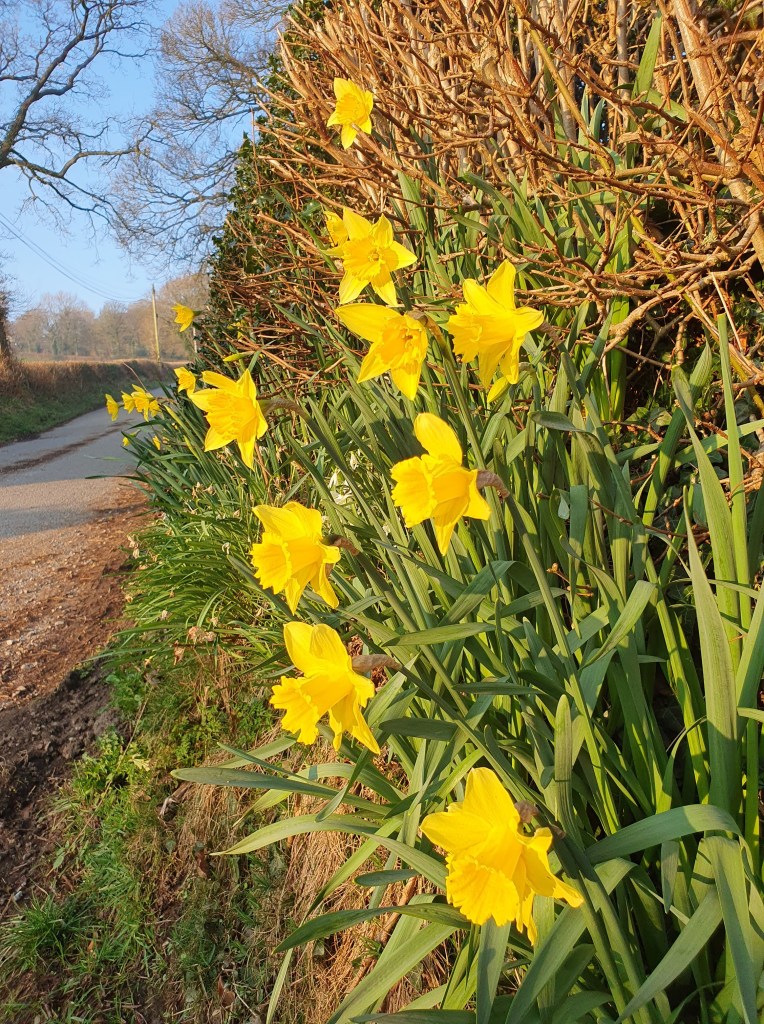
As well as the big jobs, I’ve been getting on with a bit of weeding in the front garden. I was pleased to find some self-seeded flowers, including primrose/cowslip hybrids, coltsfoot (one of my favourite spring wildflowers) and lady’s mantle. Another nice find has been a number of chrysalis’, which will hopefully still hatch out into butterflies this spring, despite being disturbed.
-
Katie’s Big Fortnight
Switching from one job to another I took a fortnight off, both to free up time for some IVF appointments and to push on with some DIY projects.
Unexcitingly, I spent good amount of time filling the edges around the wall on the stairs. Still it was nice to tidy up a rough edge.
There was a scratty bit of hedging alongside the car parking space. To rejuvenate it, we laid the remaining hedge plants and filled in the gaps with new whips.

Now the spikey blackthorns were out of the way, I tidied up the drystone wall and shifted a pile of stones off the bed to allow the wildflowers a chance to grow.


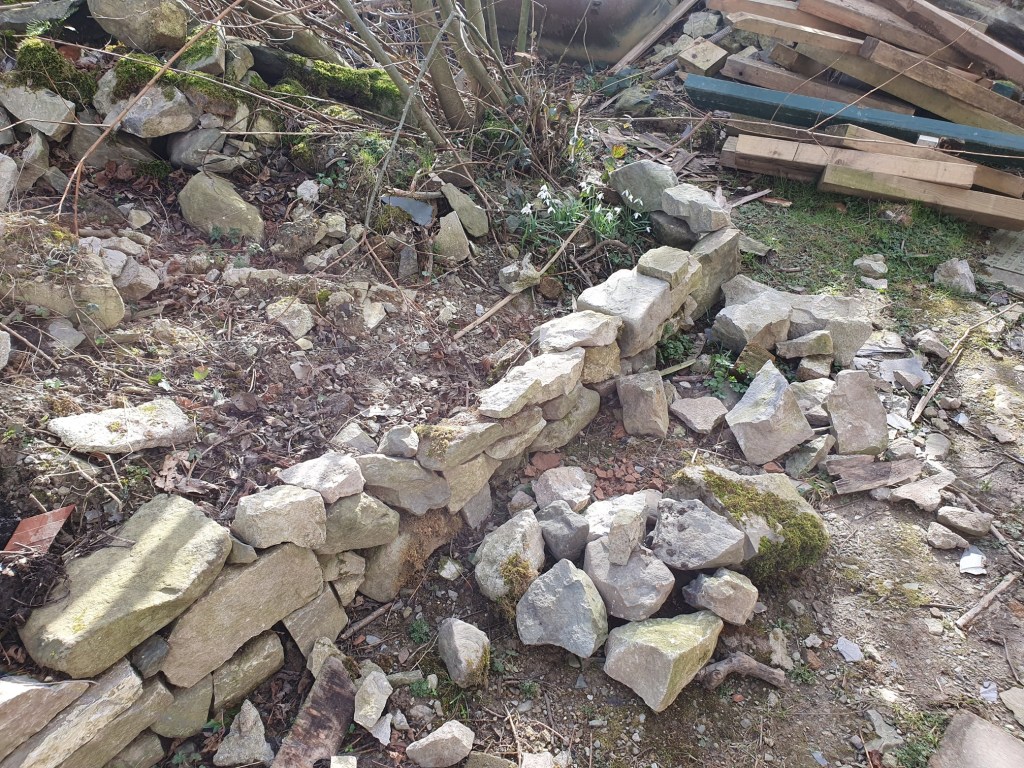
I also rebuilt a bit of the drystone wall along the back of the house.

In preparation for laying the back hedge, I removed an old fence that was in the way. Chris also wheelbarrowed gravel up to lay a path through the garden.
All our radiators were installed before we had a clear idea of how to set up the rooms. Having lived with the radiator in its current location for a while, we’ve decided to move it to the other side of the room, under the window and behind the sofa.
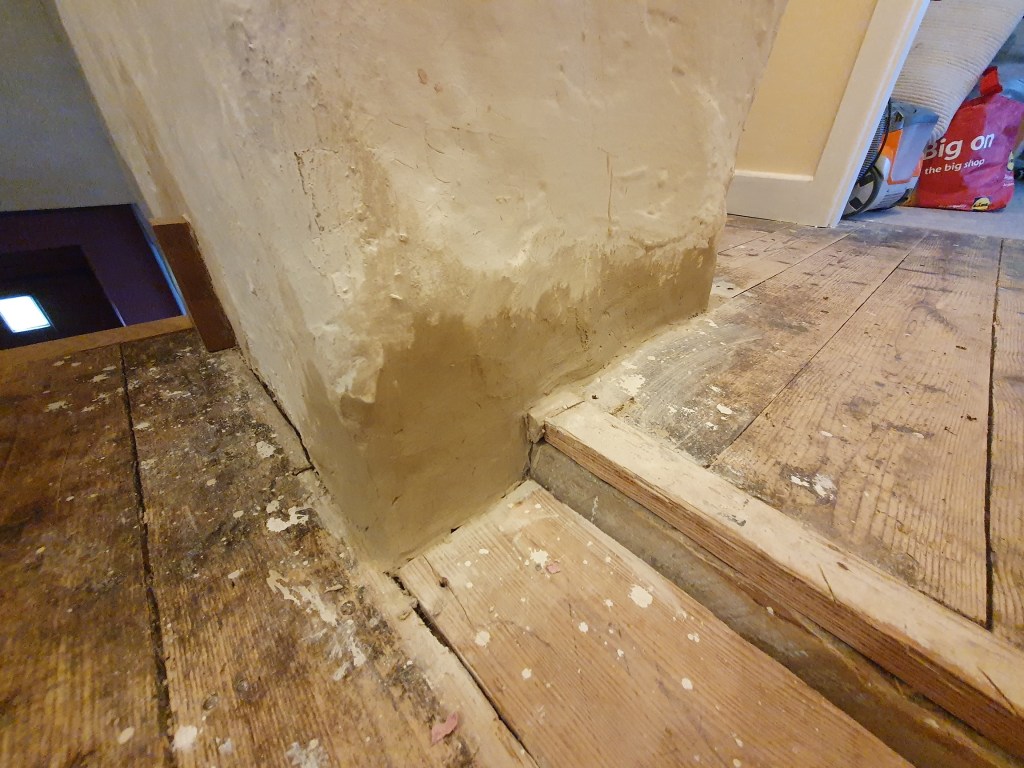
The first job to achieve this was to lay the pipe. As the fireplace is in the way this meant creating a hole through the base and fitting the pipes through it. The remaining pipe I attached to loose skirting board, as this will allow us to raise it once the flooring goes in.
The pipes in, the next job will be to move and attach the radiator, but as this means draining the system, we’re going to hold off till the weather warms up.
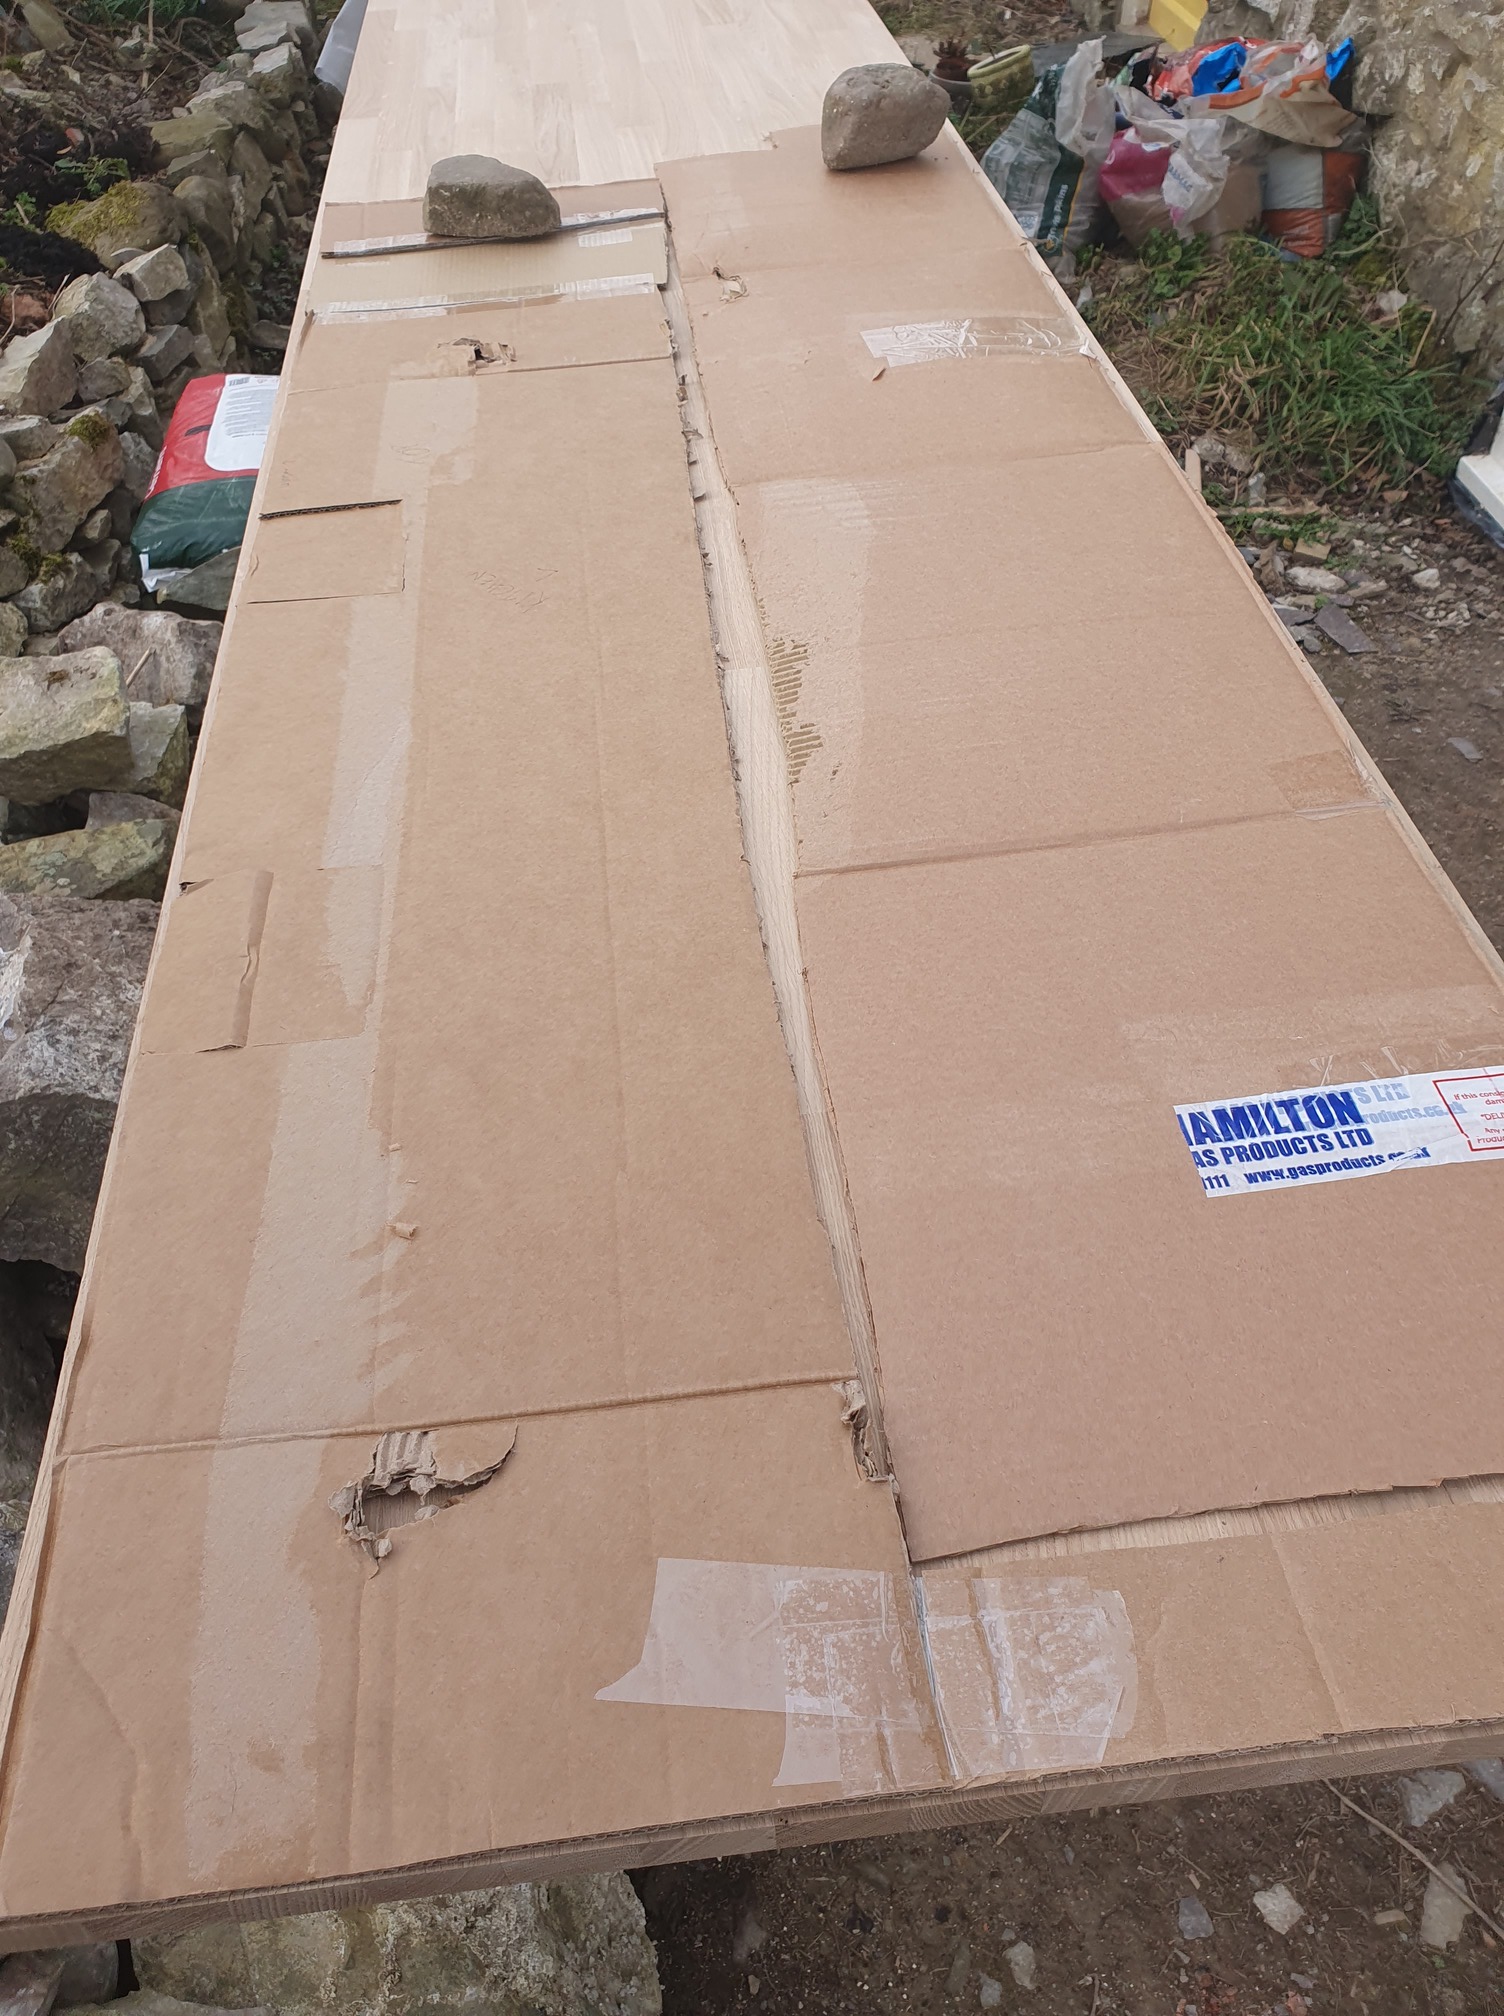
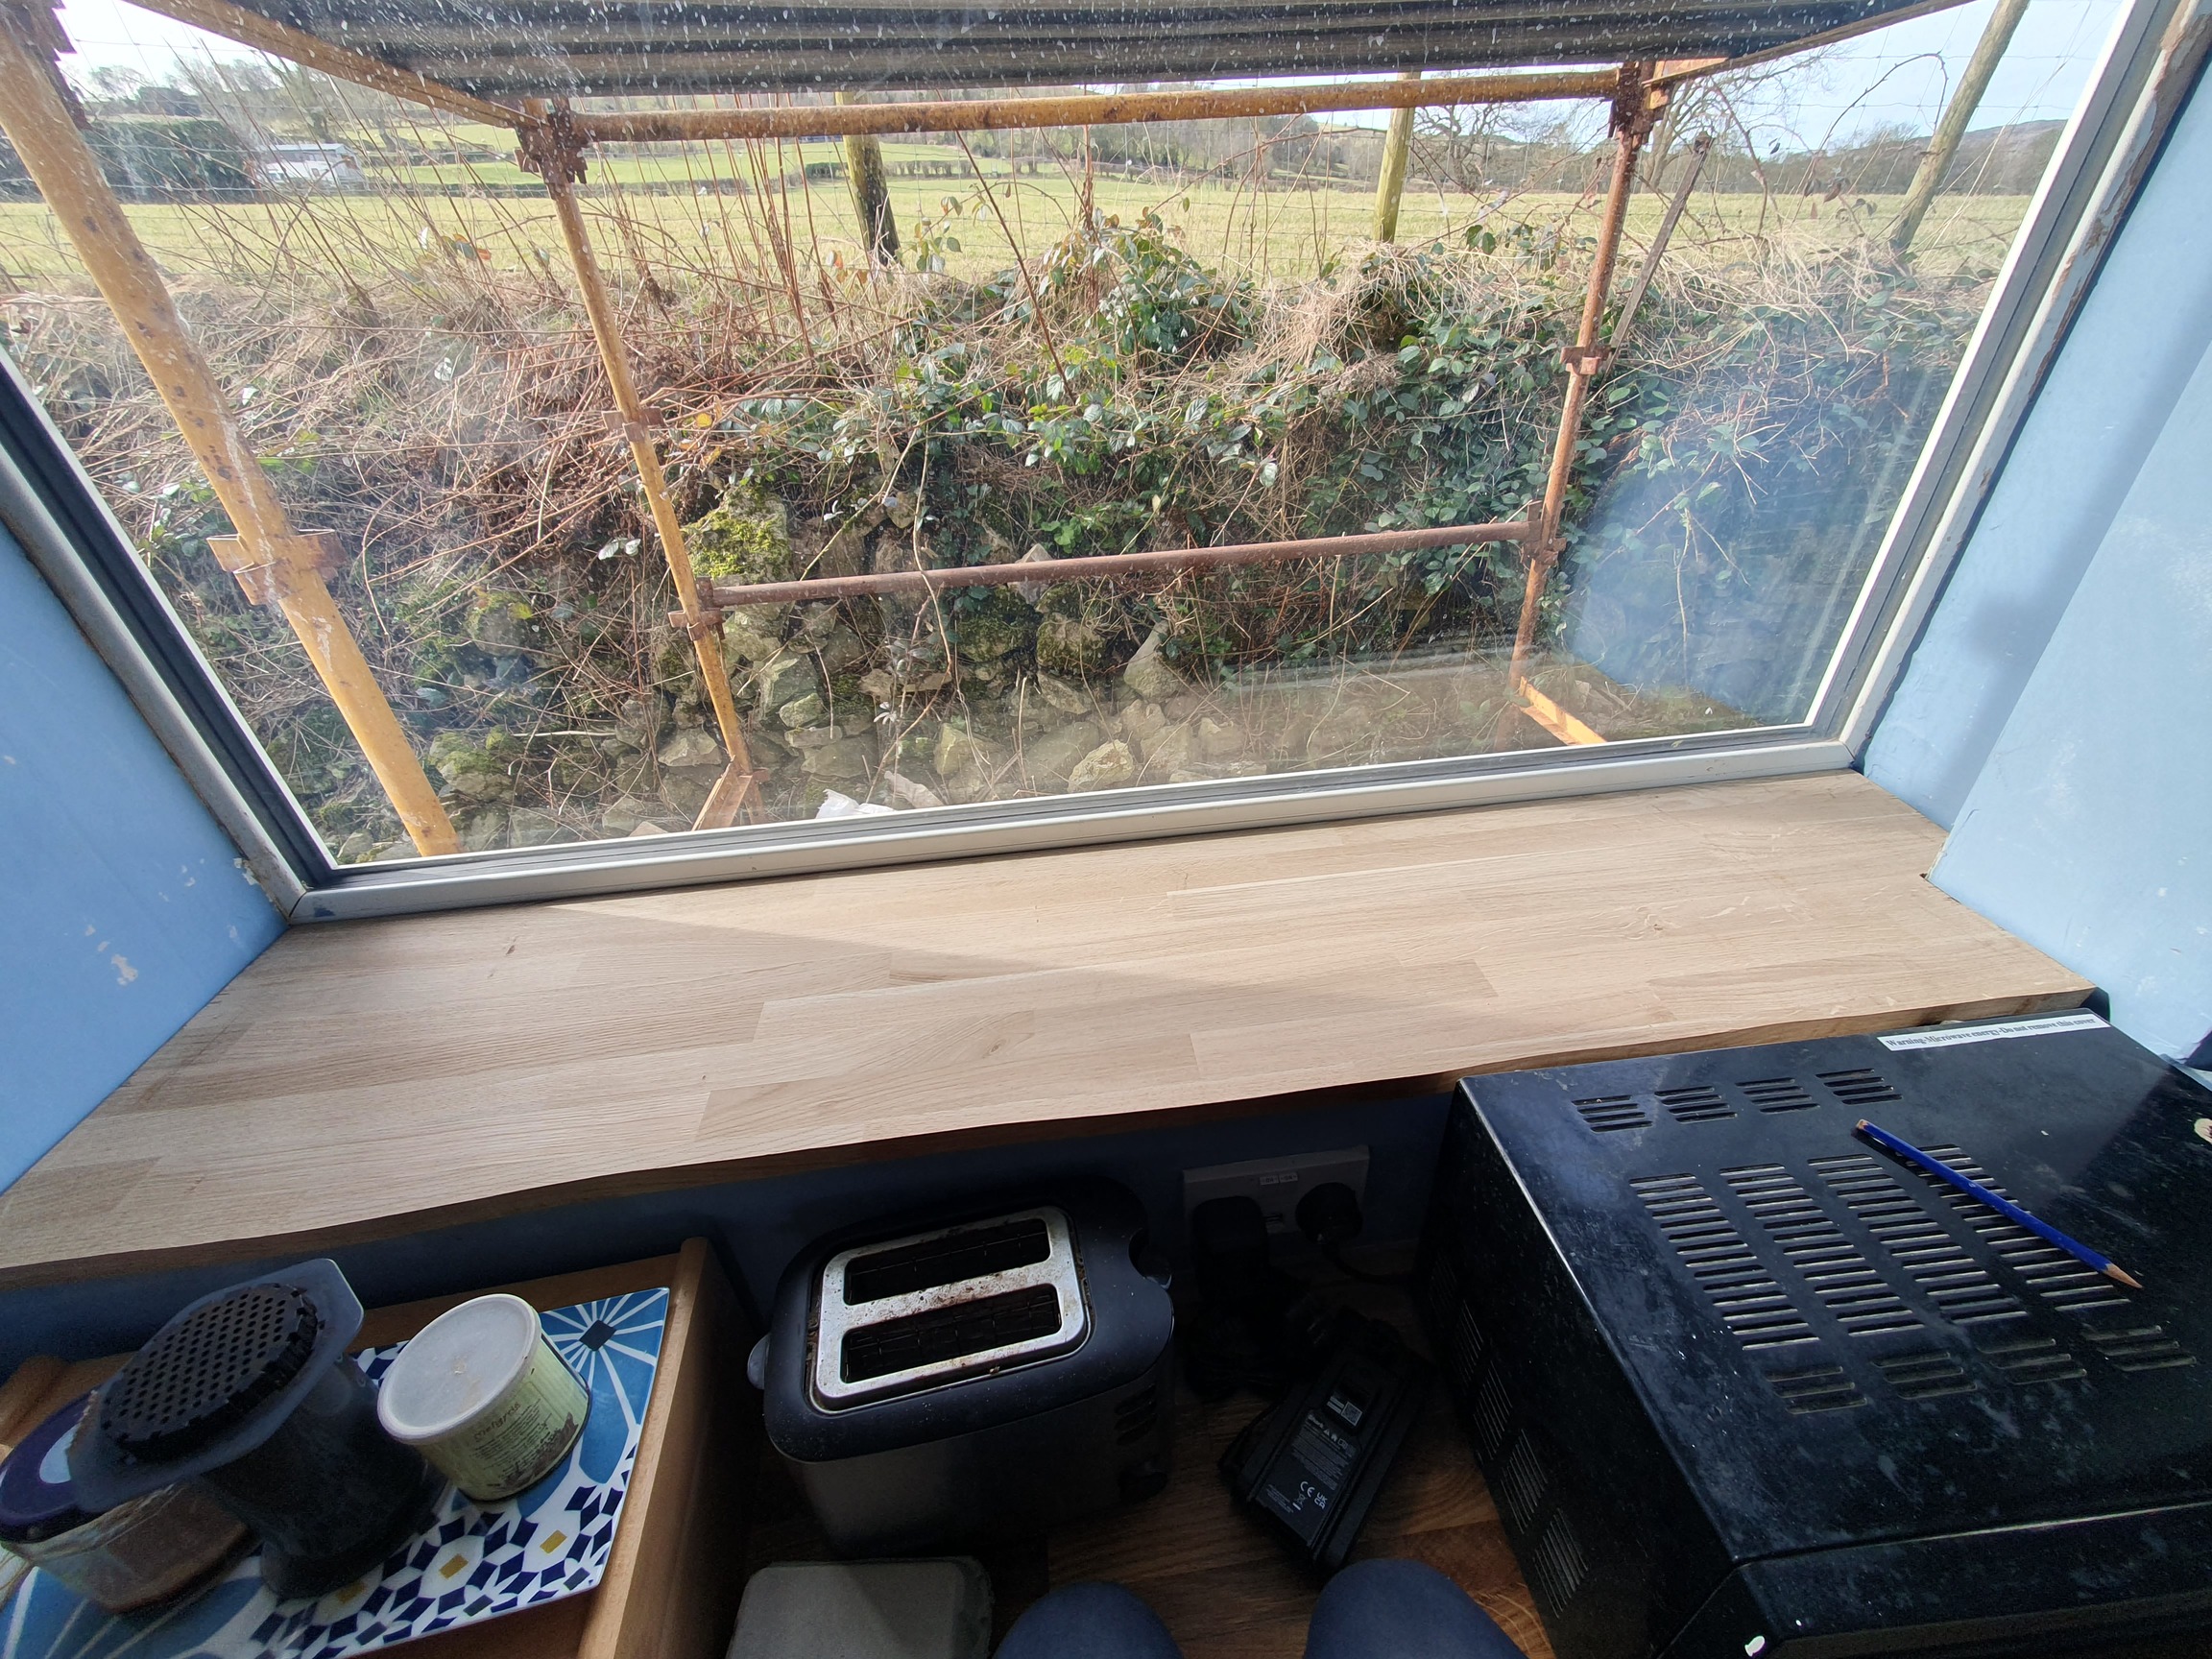
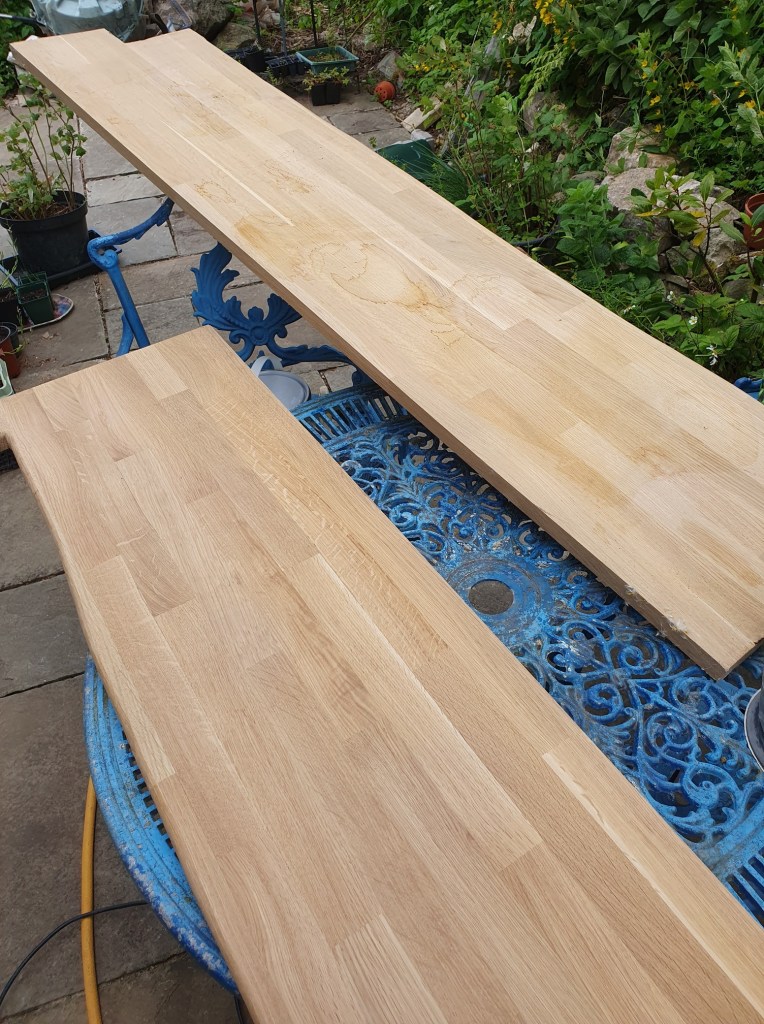
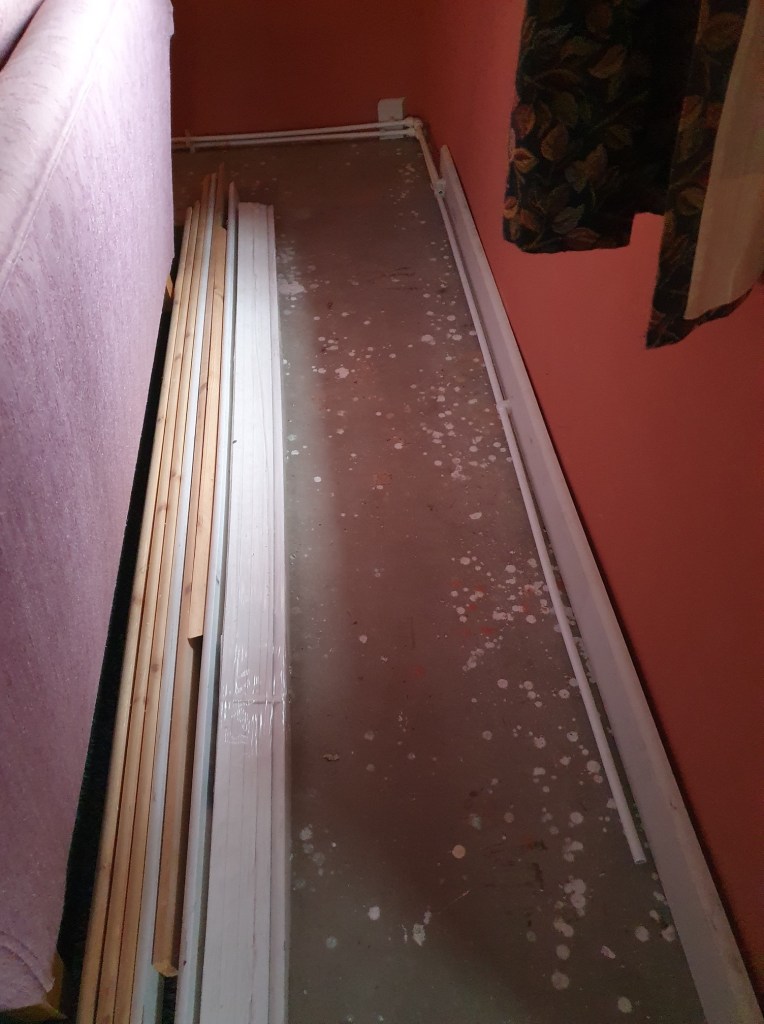
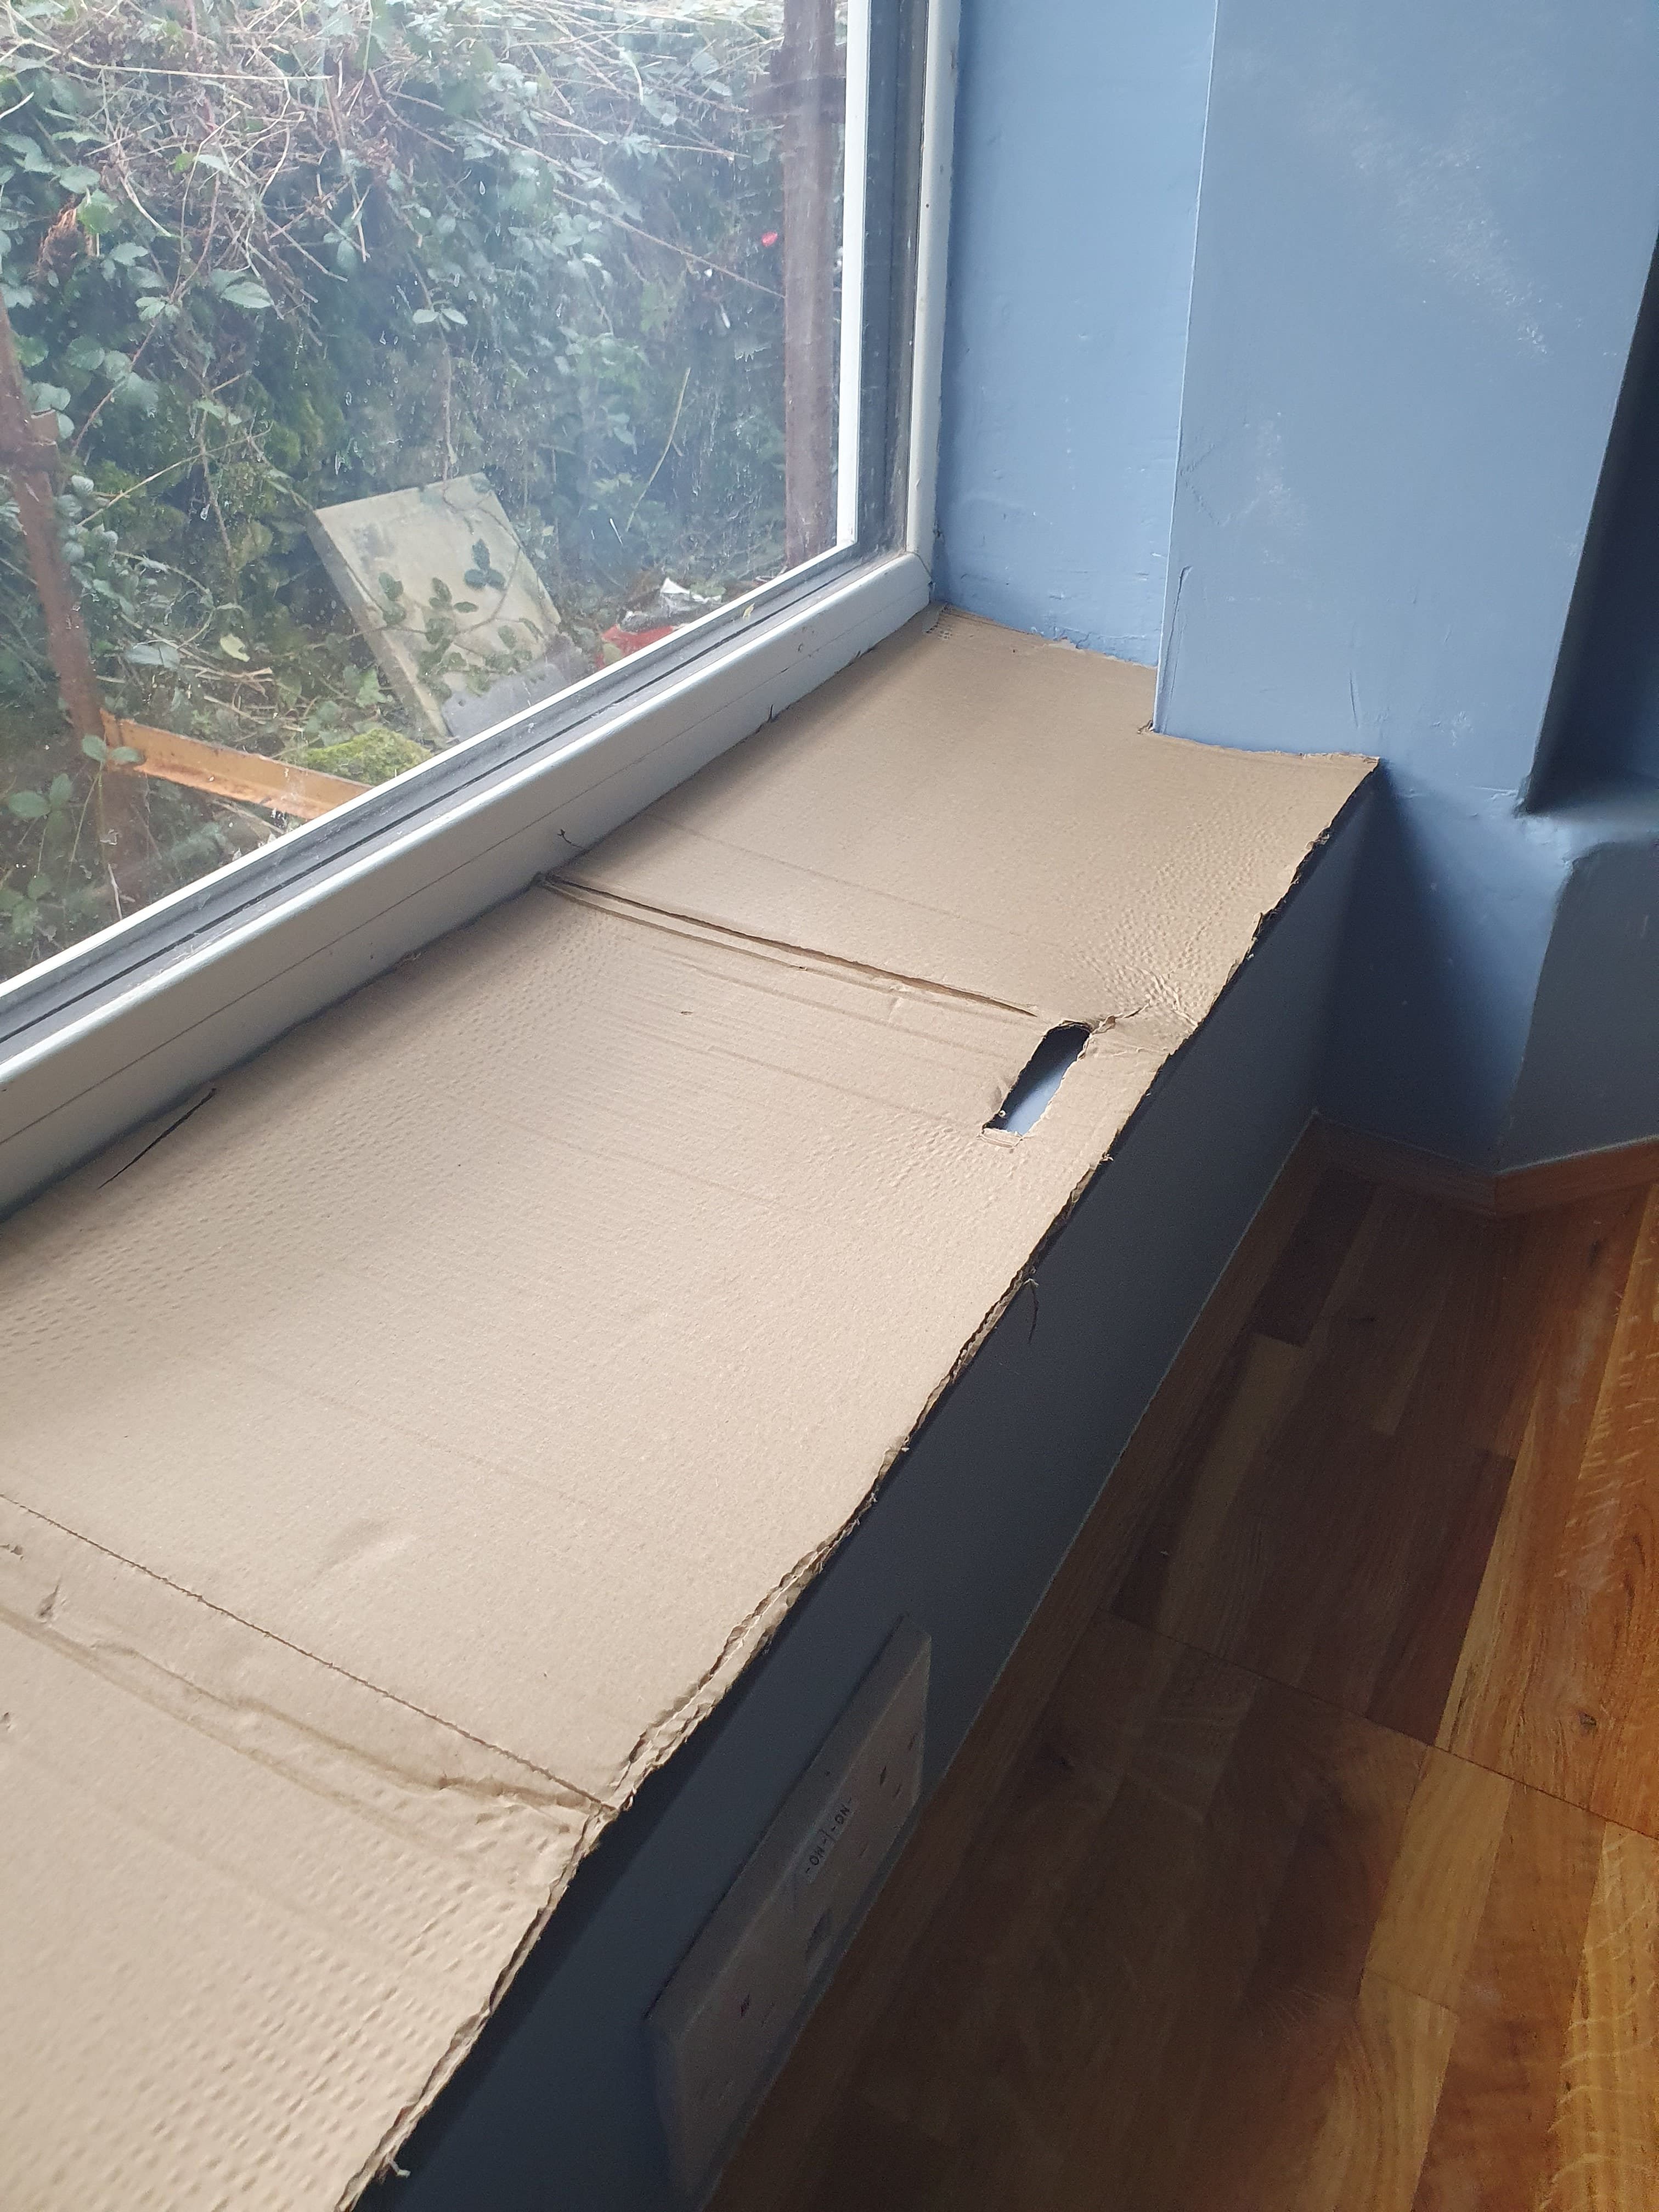
Having made templates for my windowsills, I got the chance to cut out the first two when a new piece of worktop arrived. Now they’re in place we just need to round the edges and stain. I’m itching to get onto the rest of the windowsills, but these are going to be made from elm planks and we first need to decide how to join the planks together.
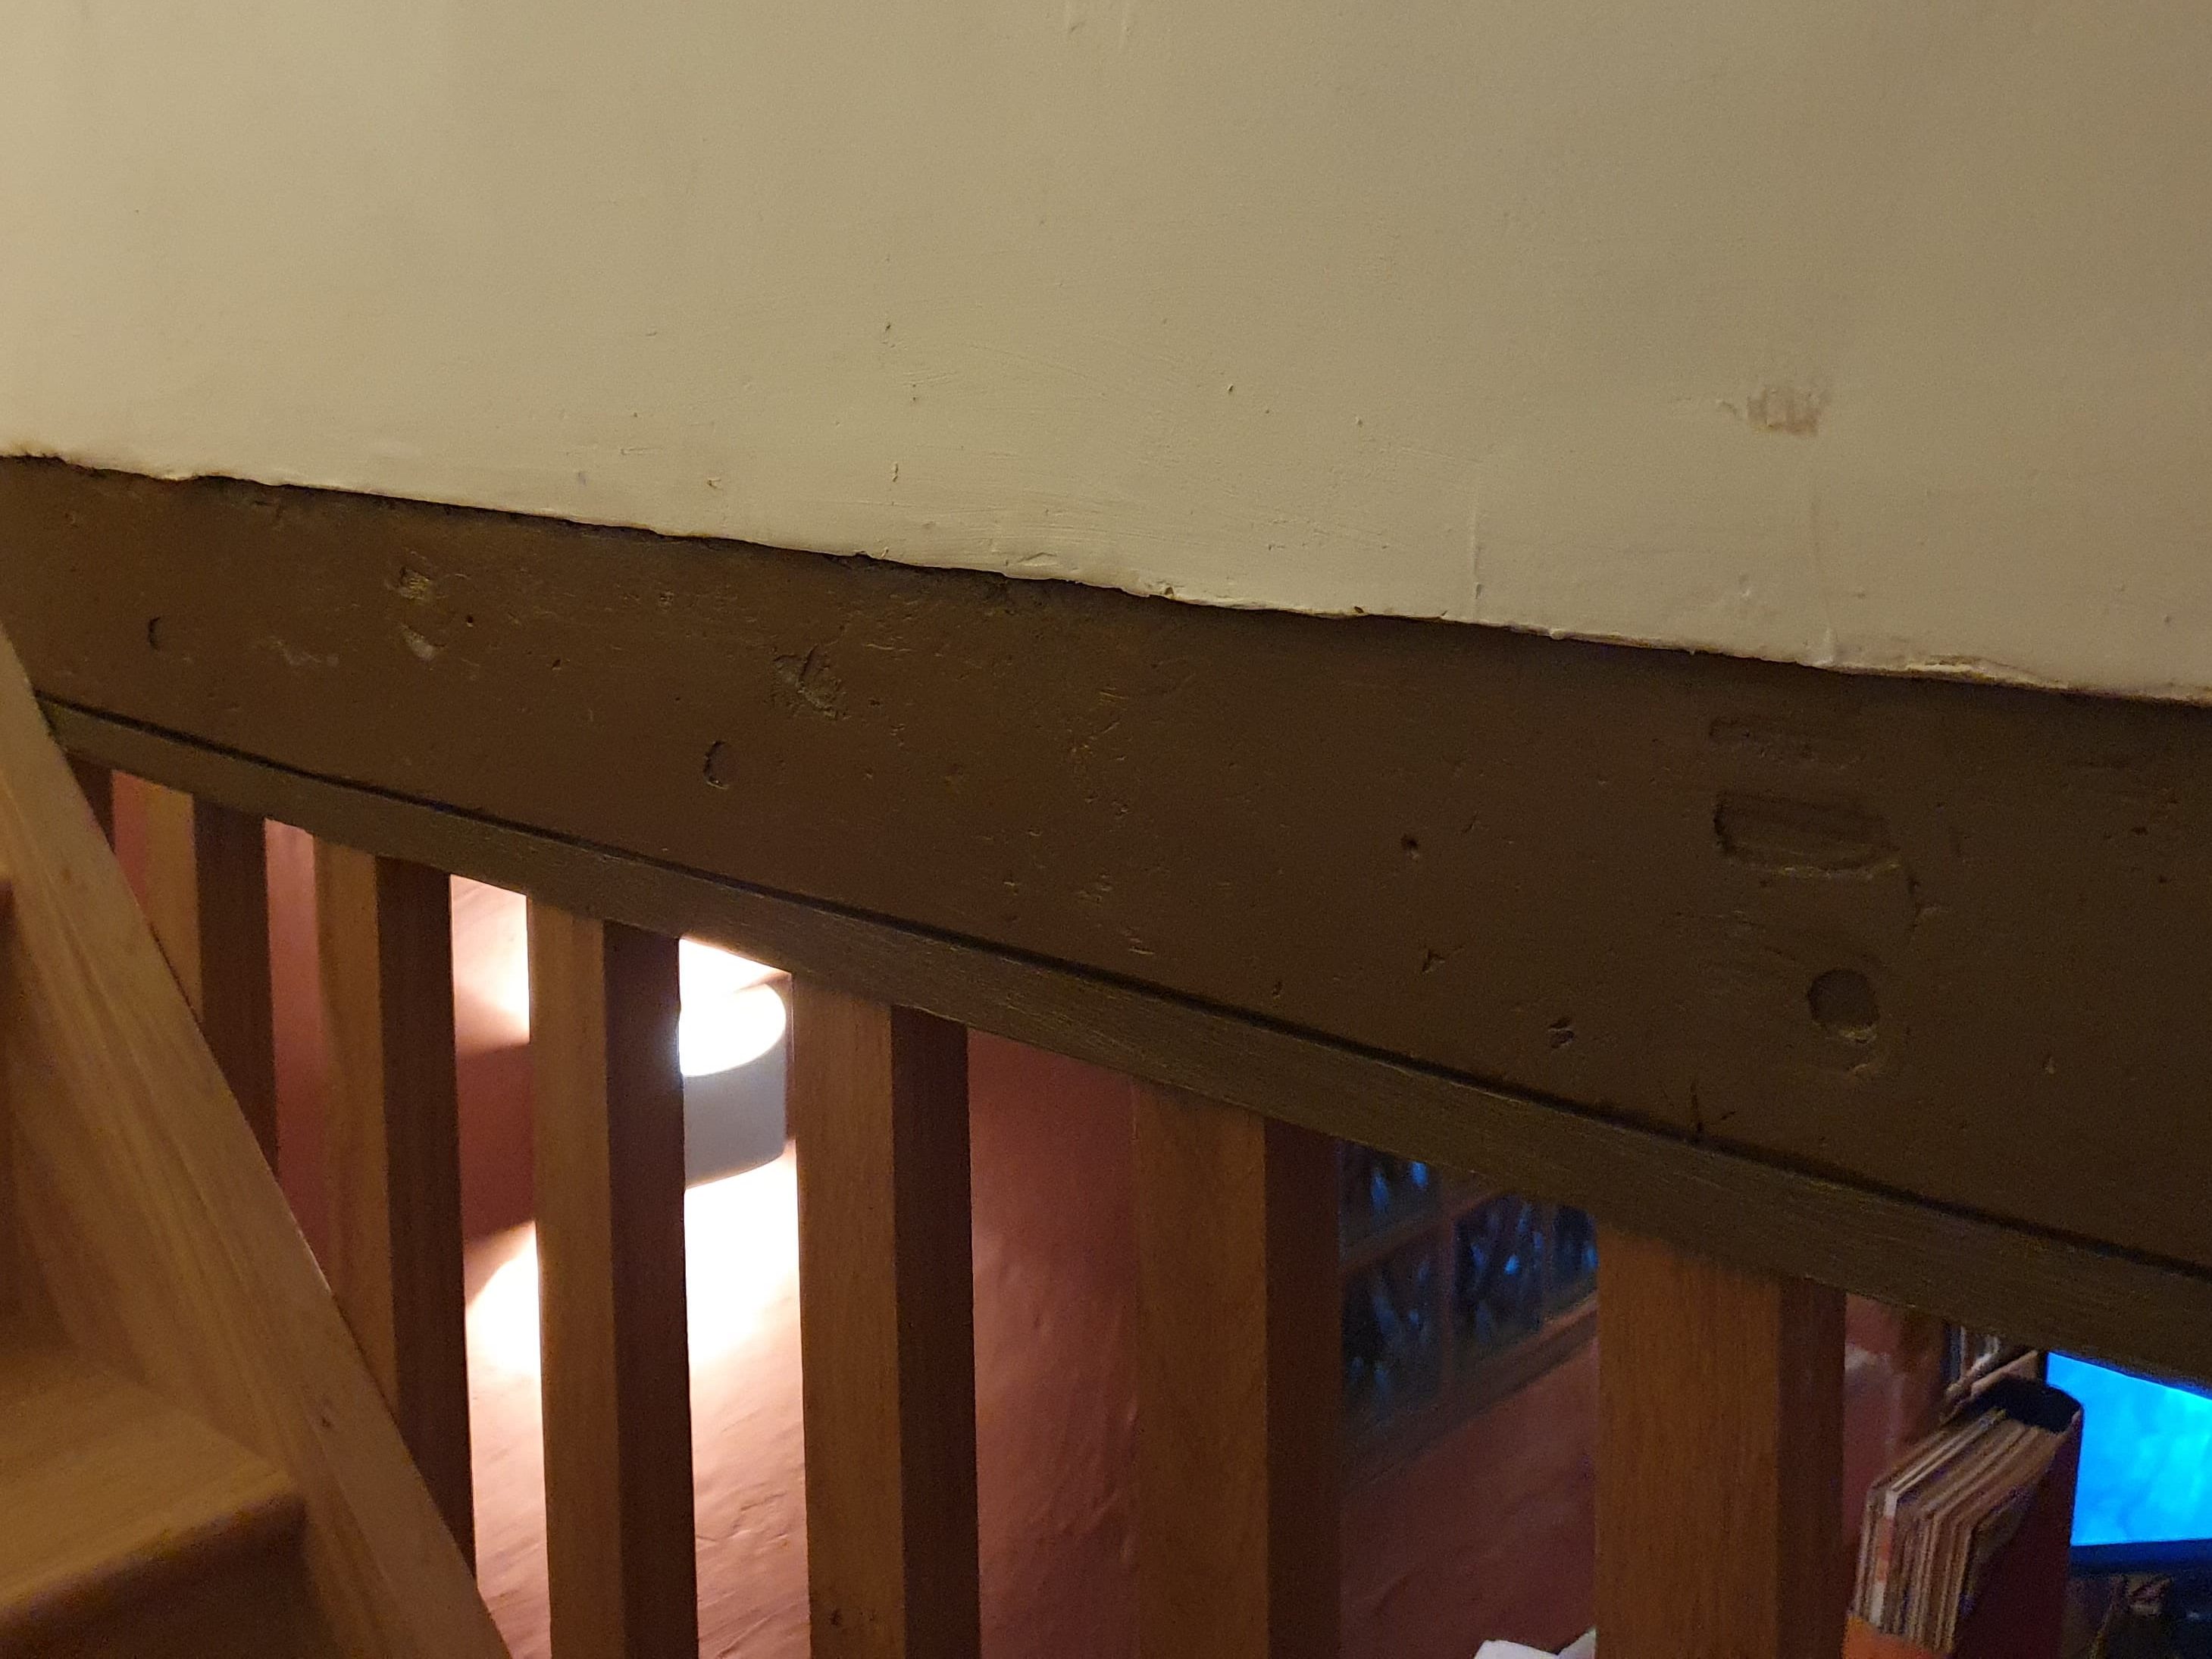
On the stairs I filled, sanded and painted the wood above the spindles. I was sad to cover over the original wood colour, but in order to fit in with the lounge it all had to be brown.

And on the stairs themselves, I stained and sanded the spindles and the edge closest to the wall. We’d been debating whether to paint this edge the same colour as the wall, given there’s some staining from the lime plaster, but in the end we decided it wasn’t very visible.
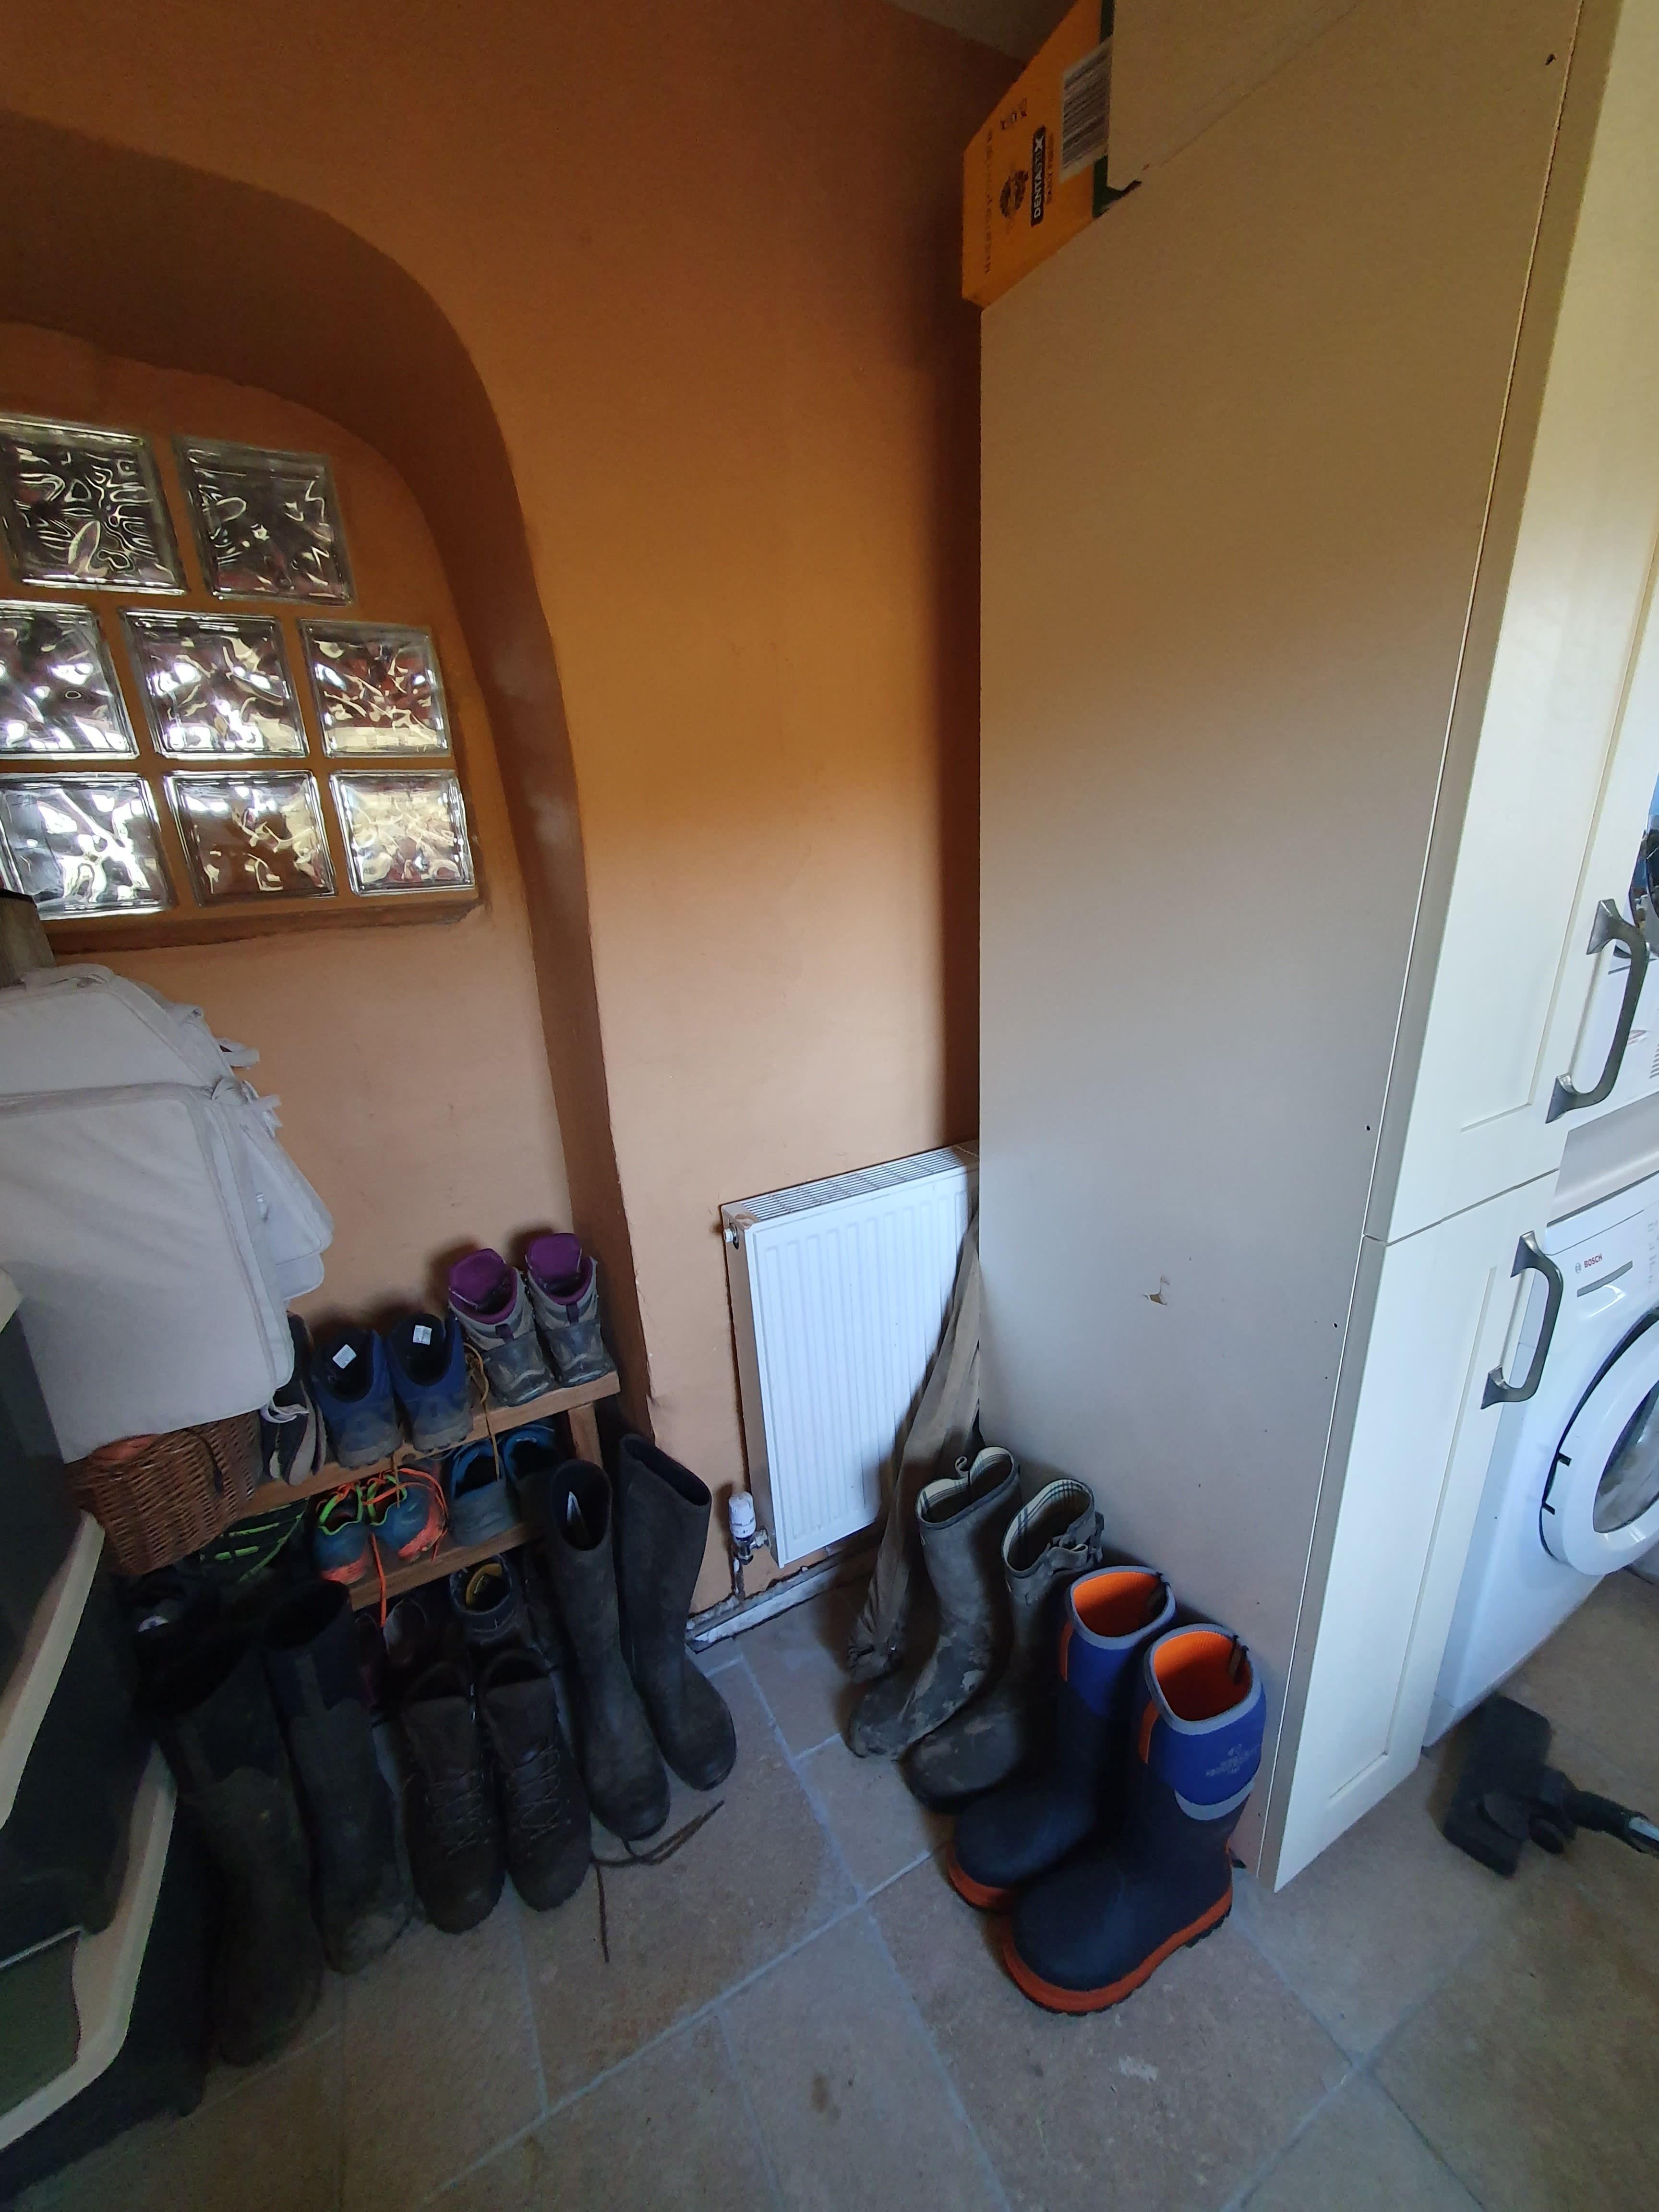
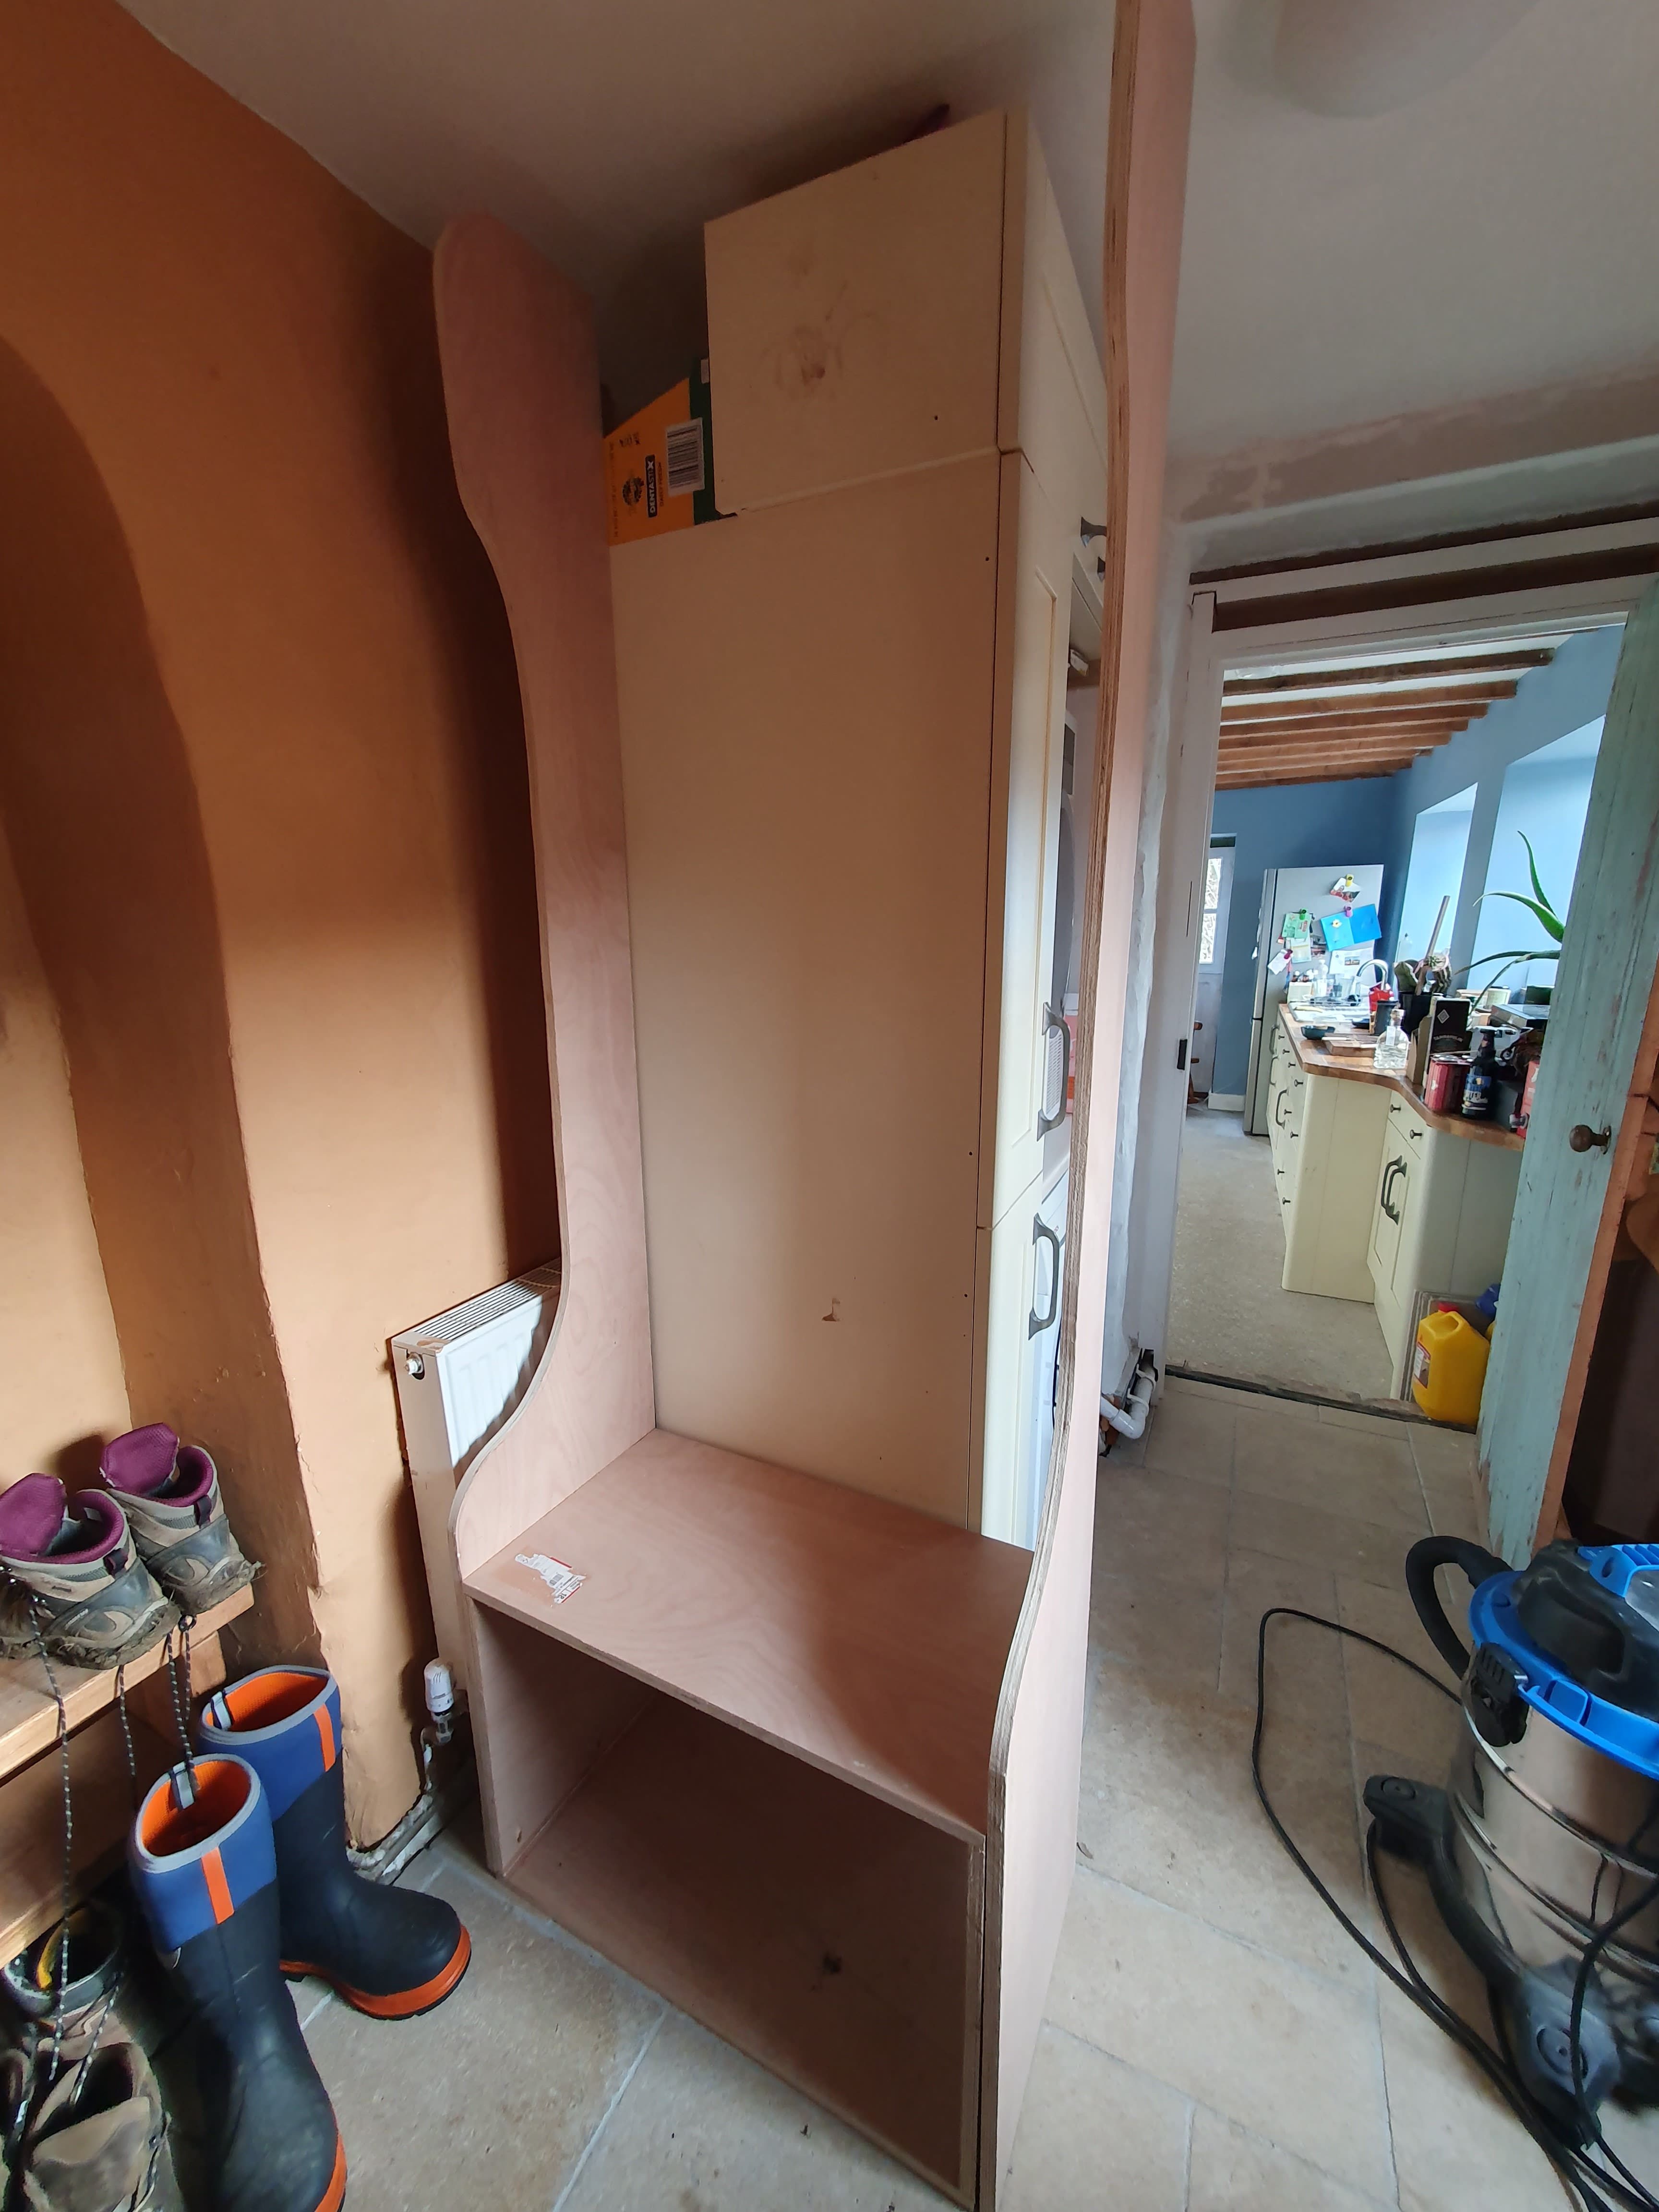
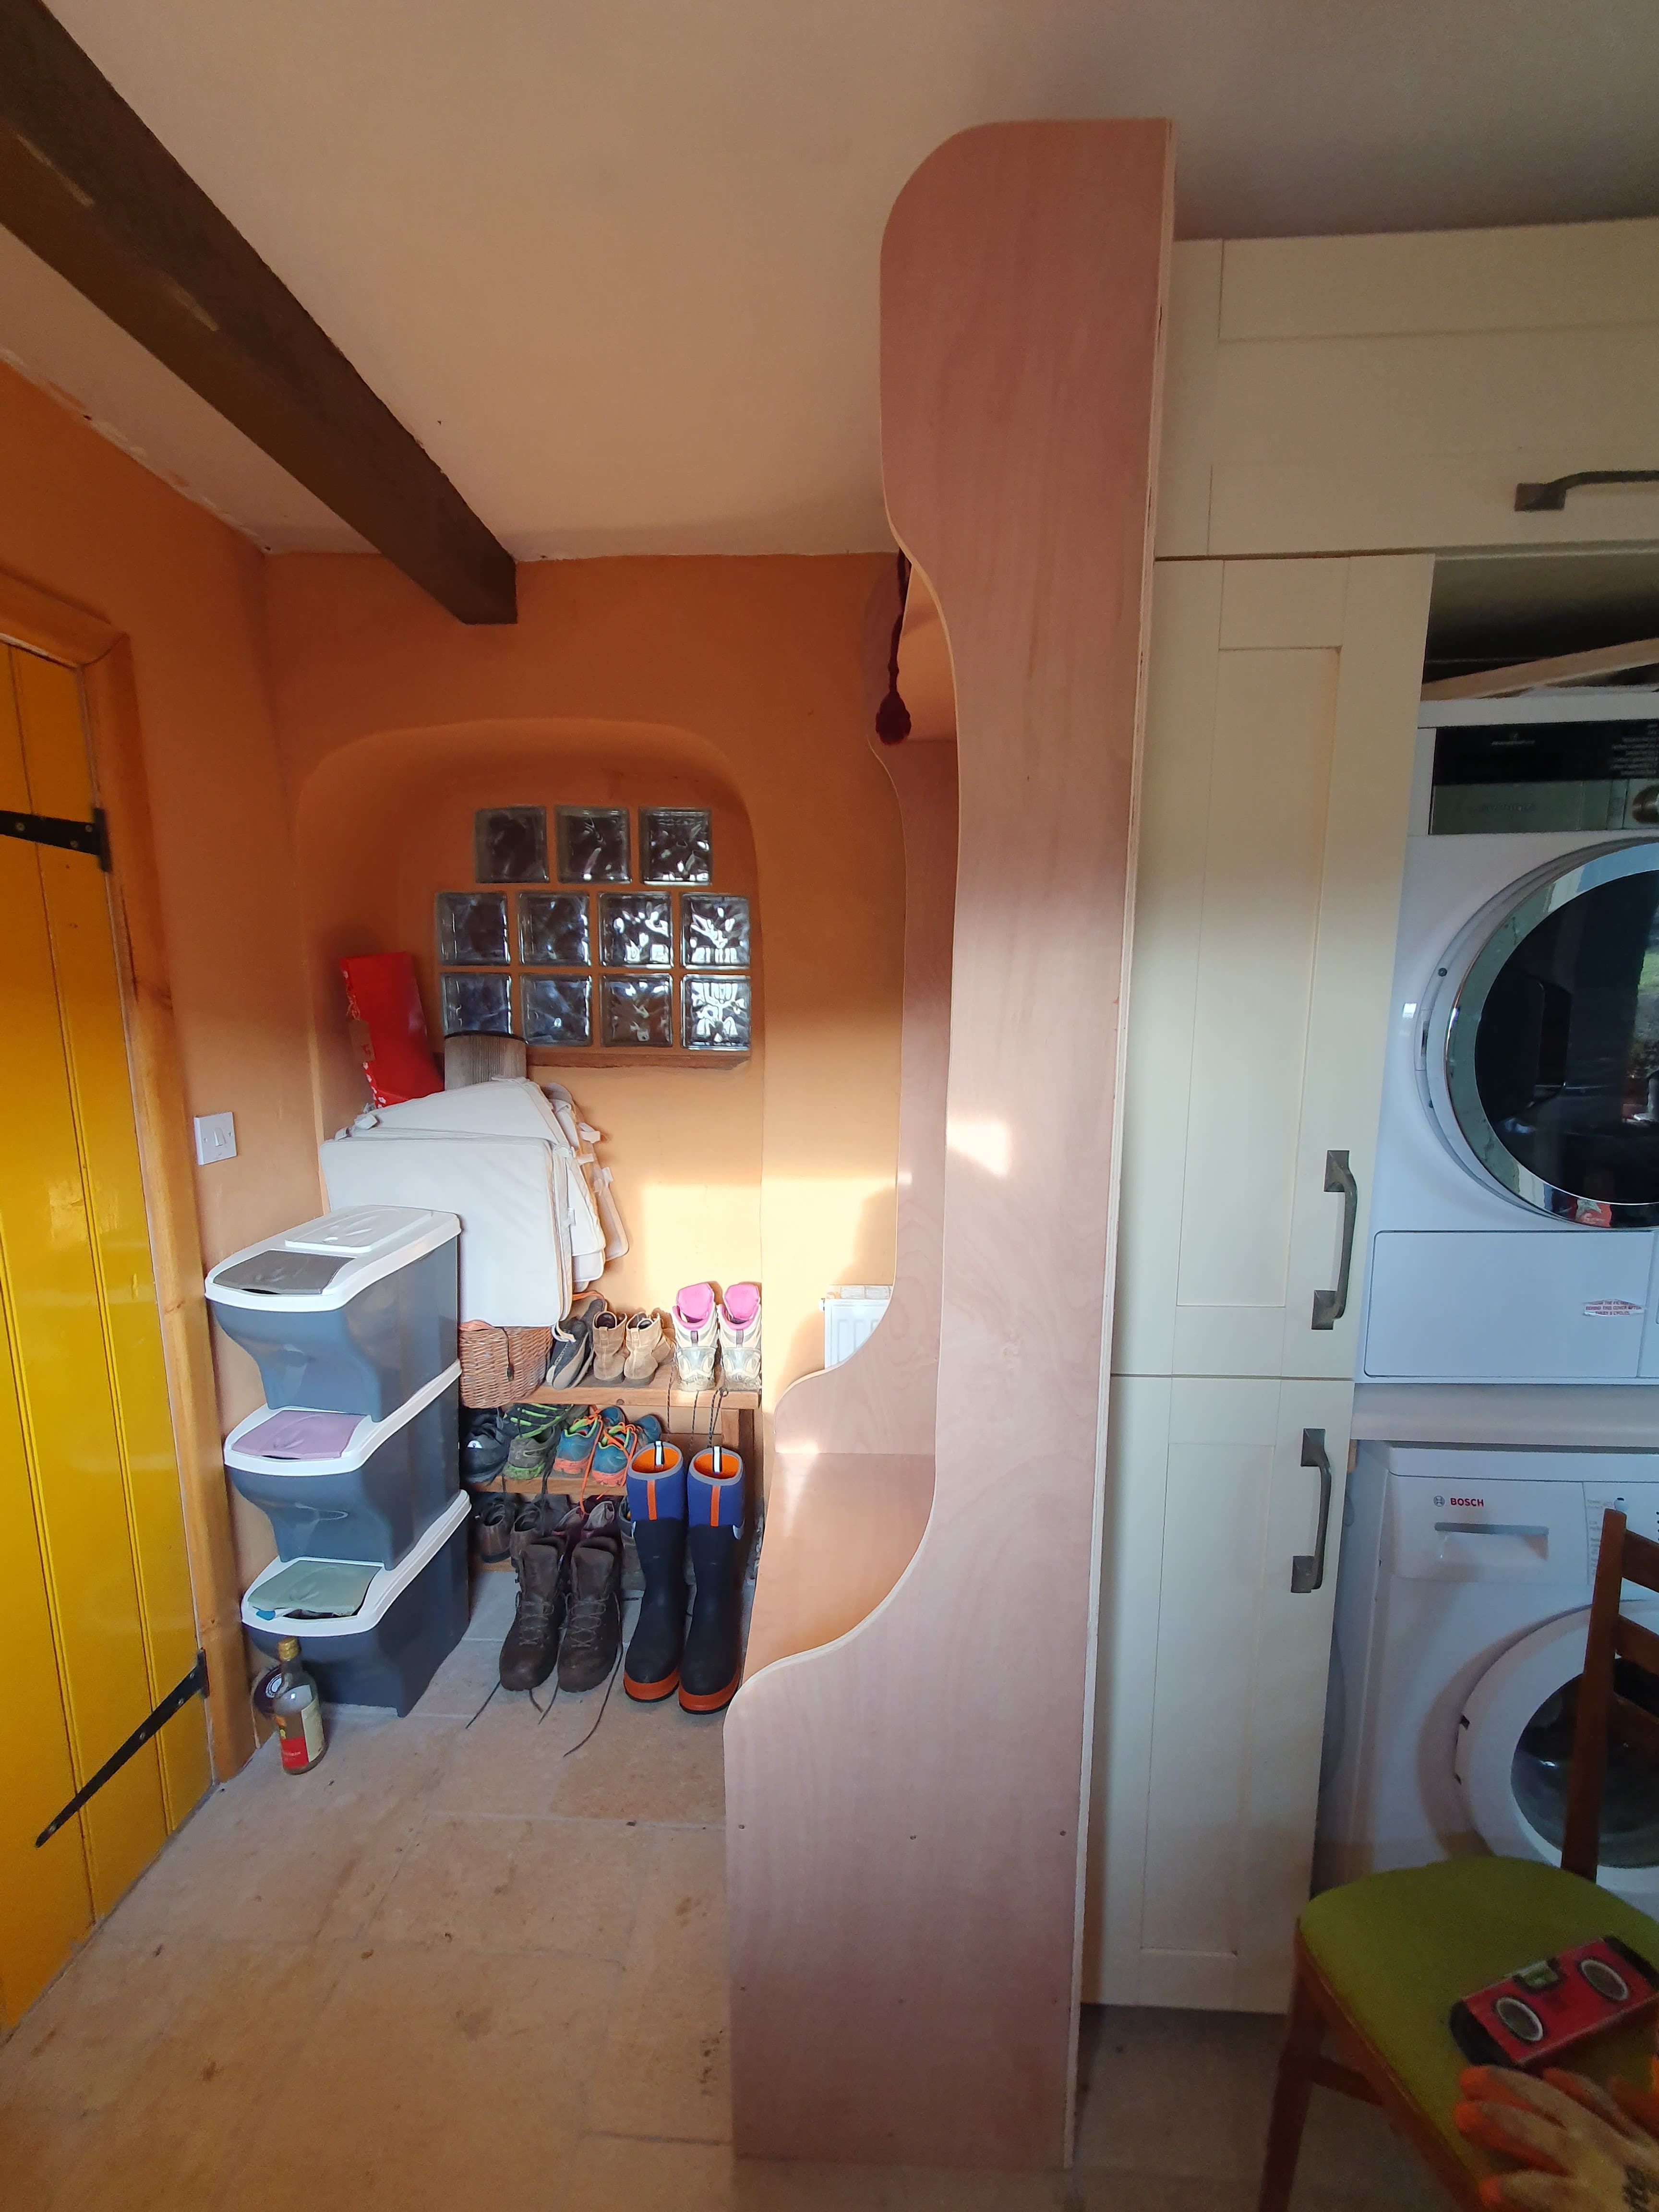
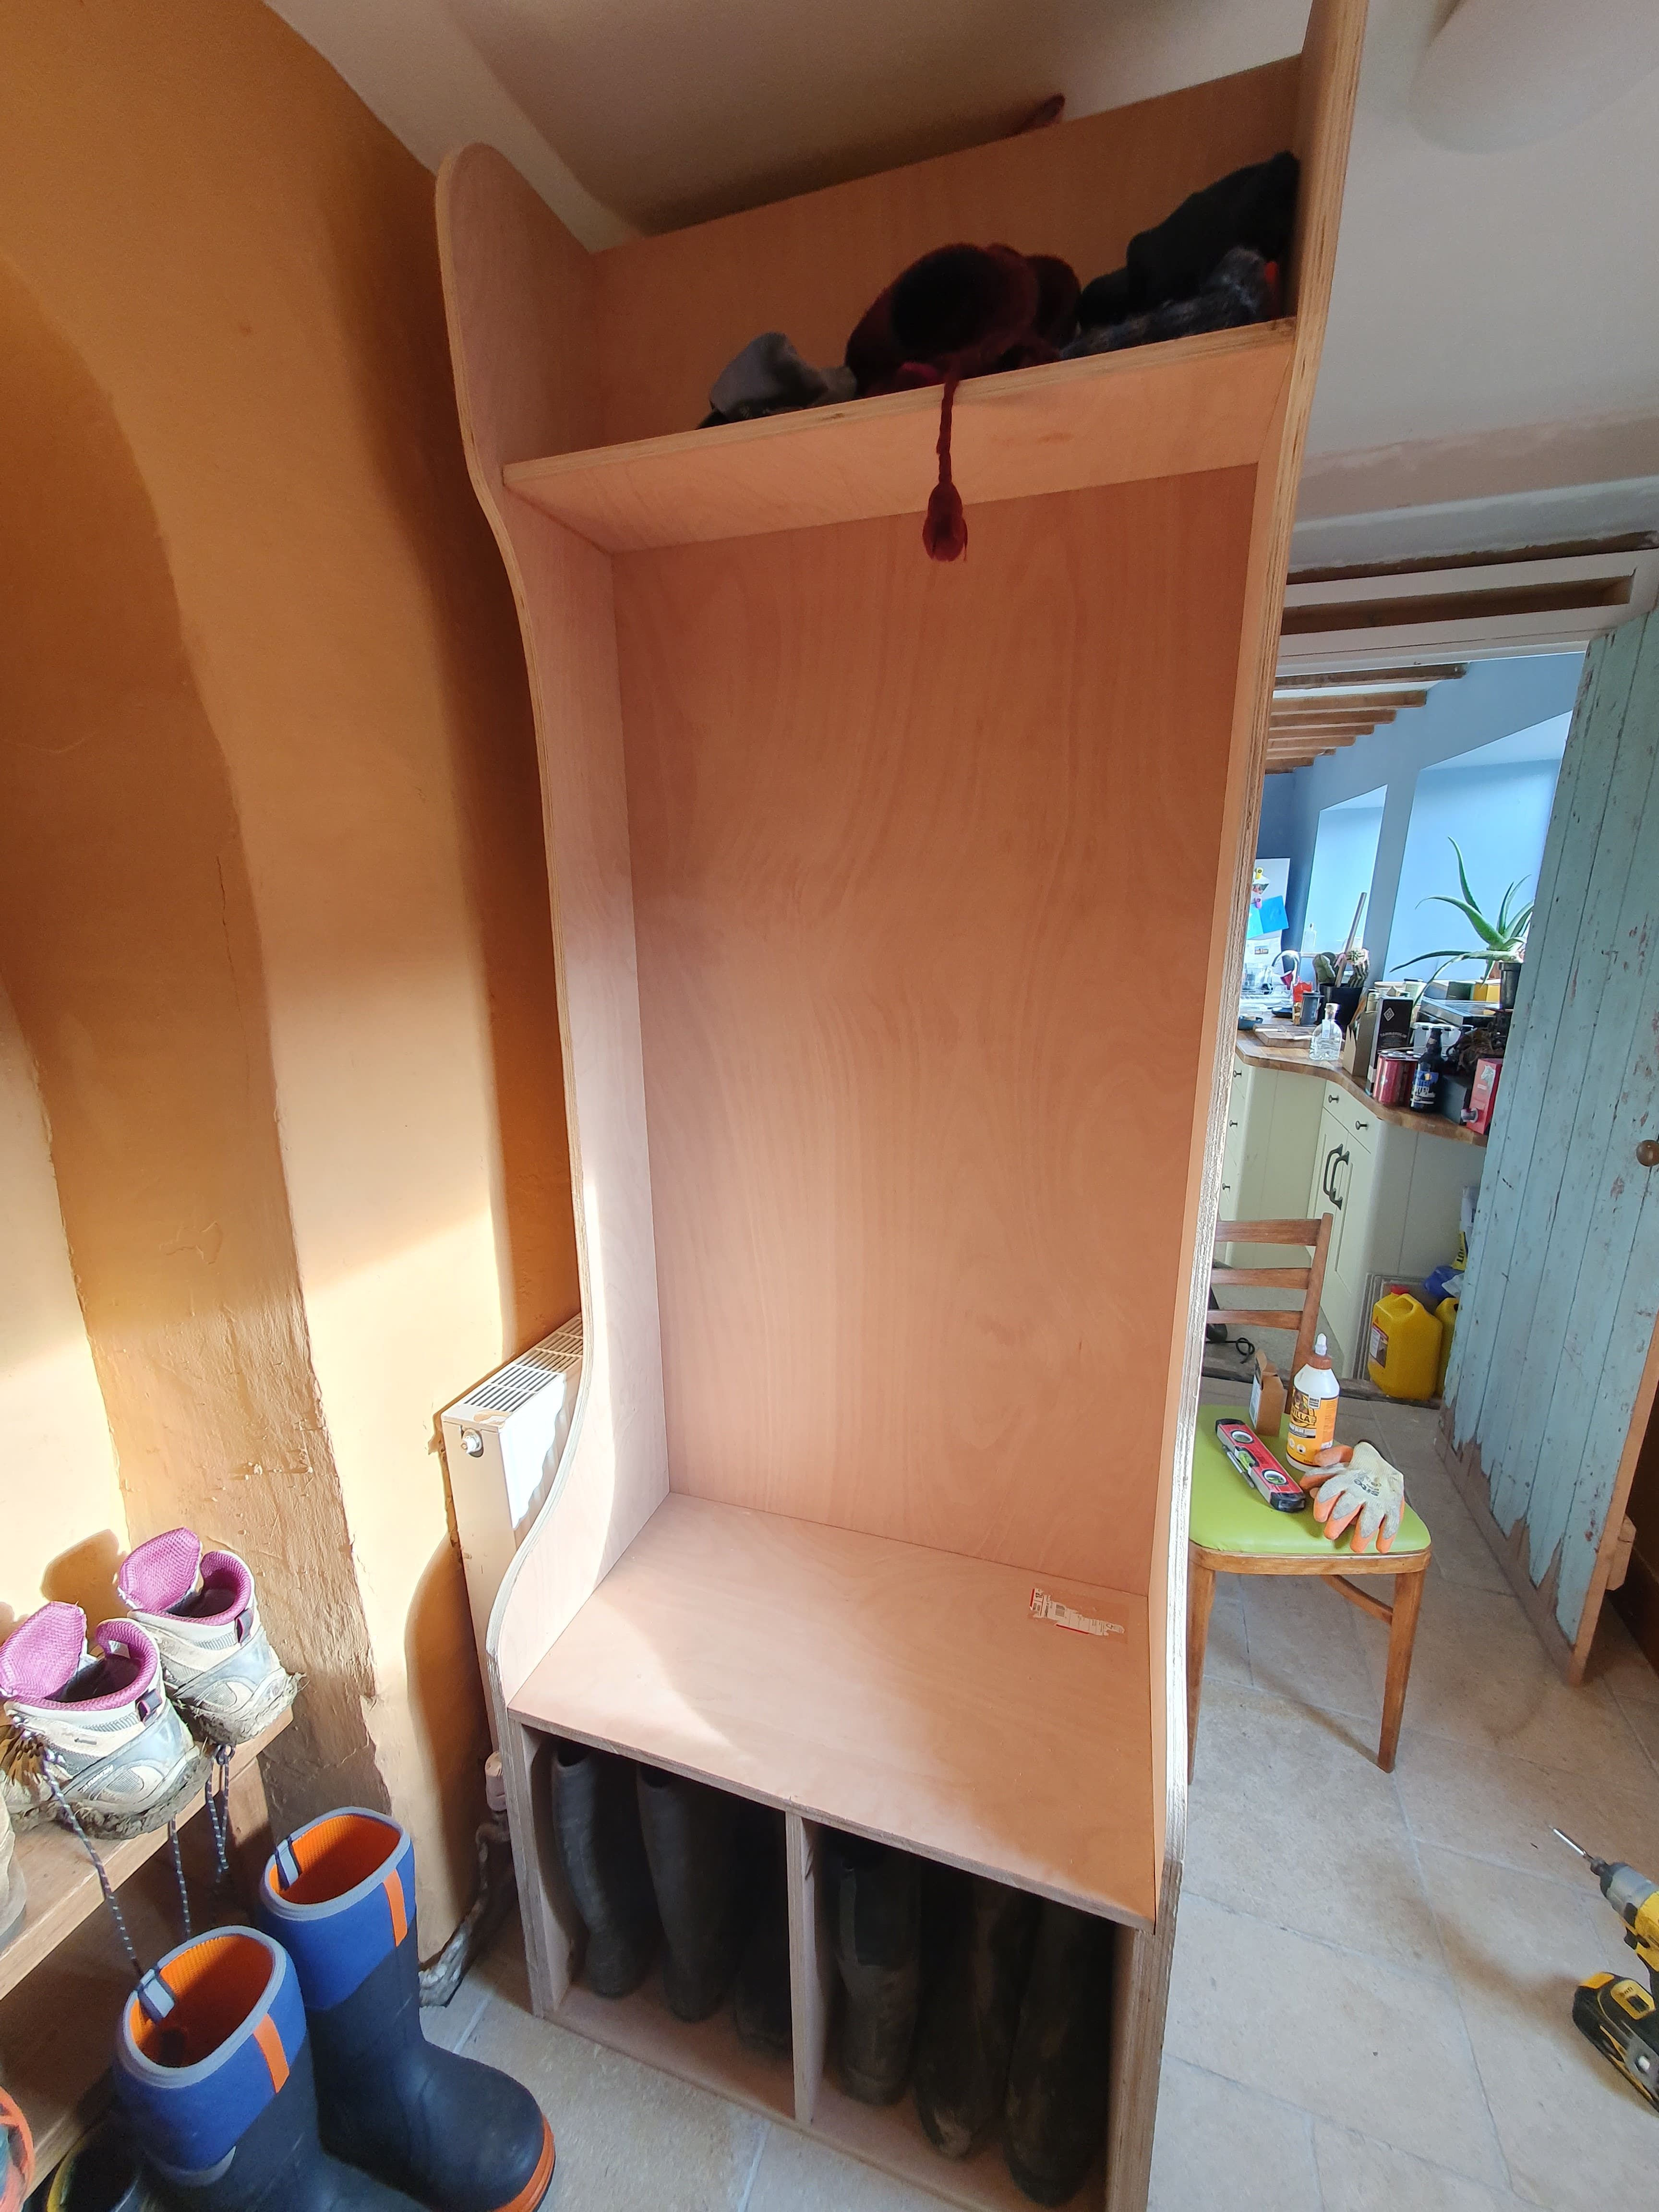
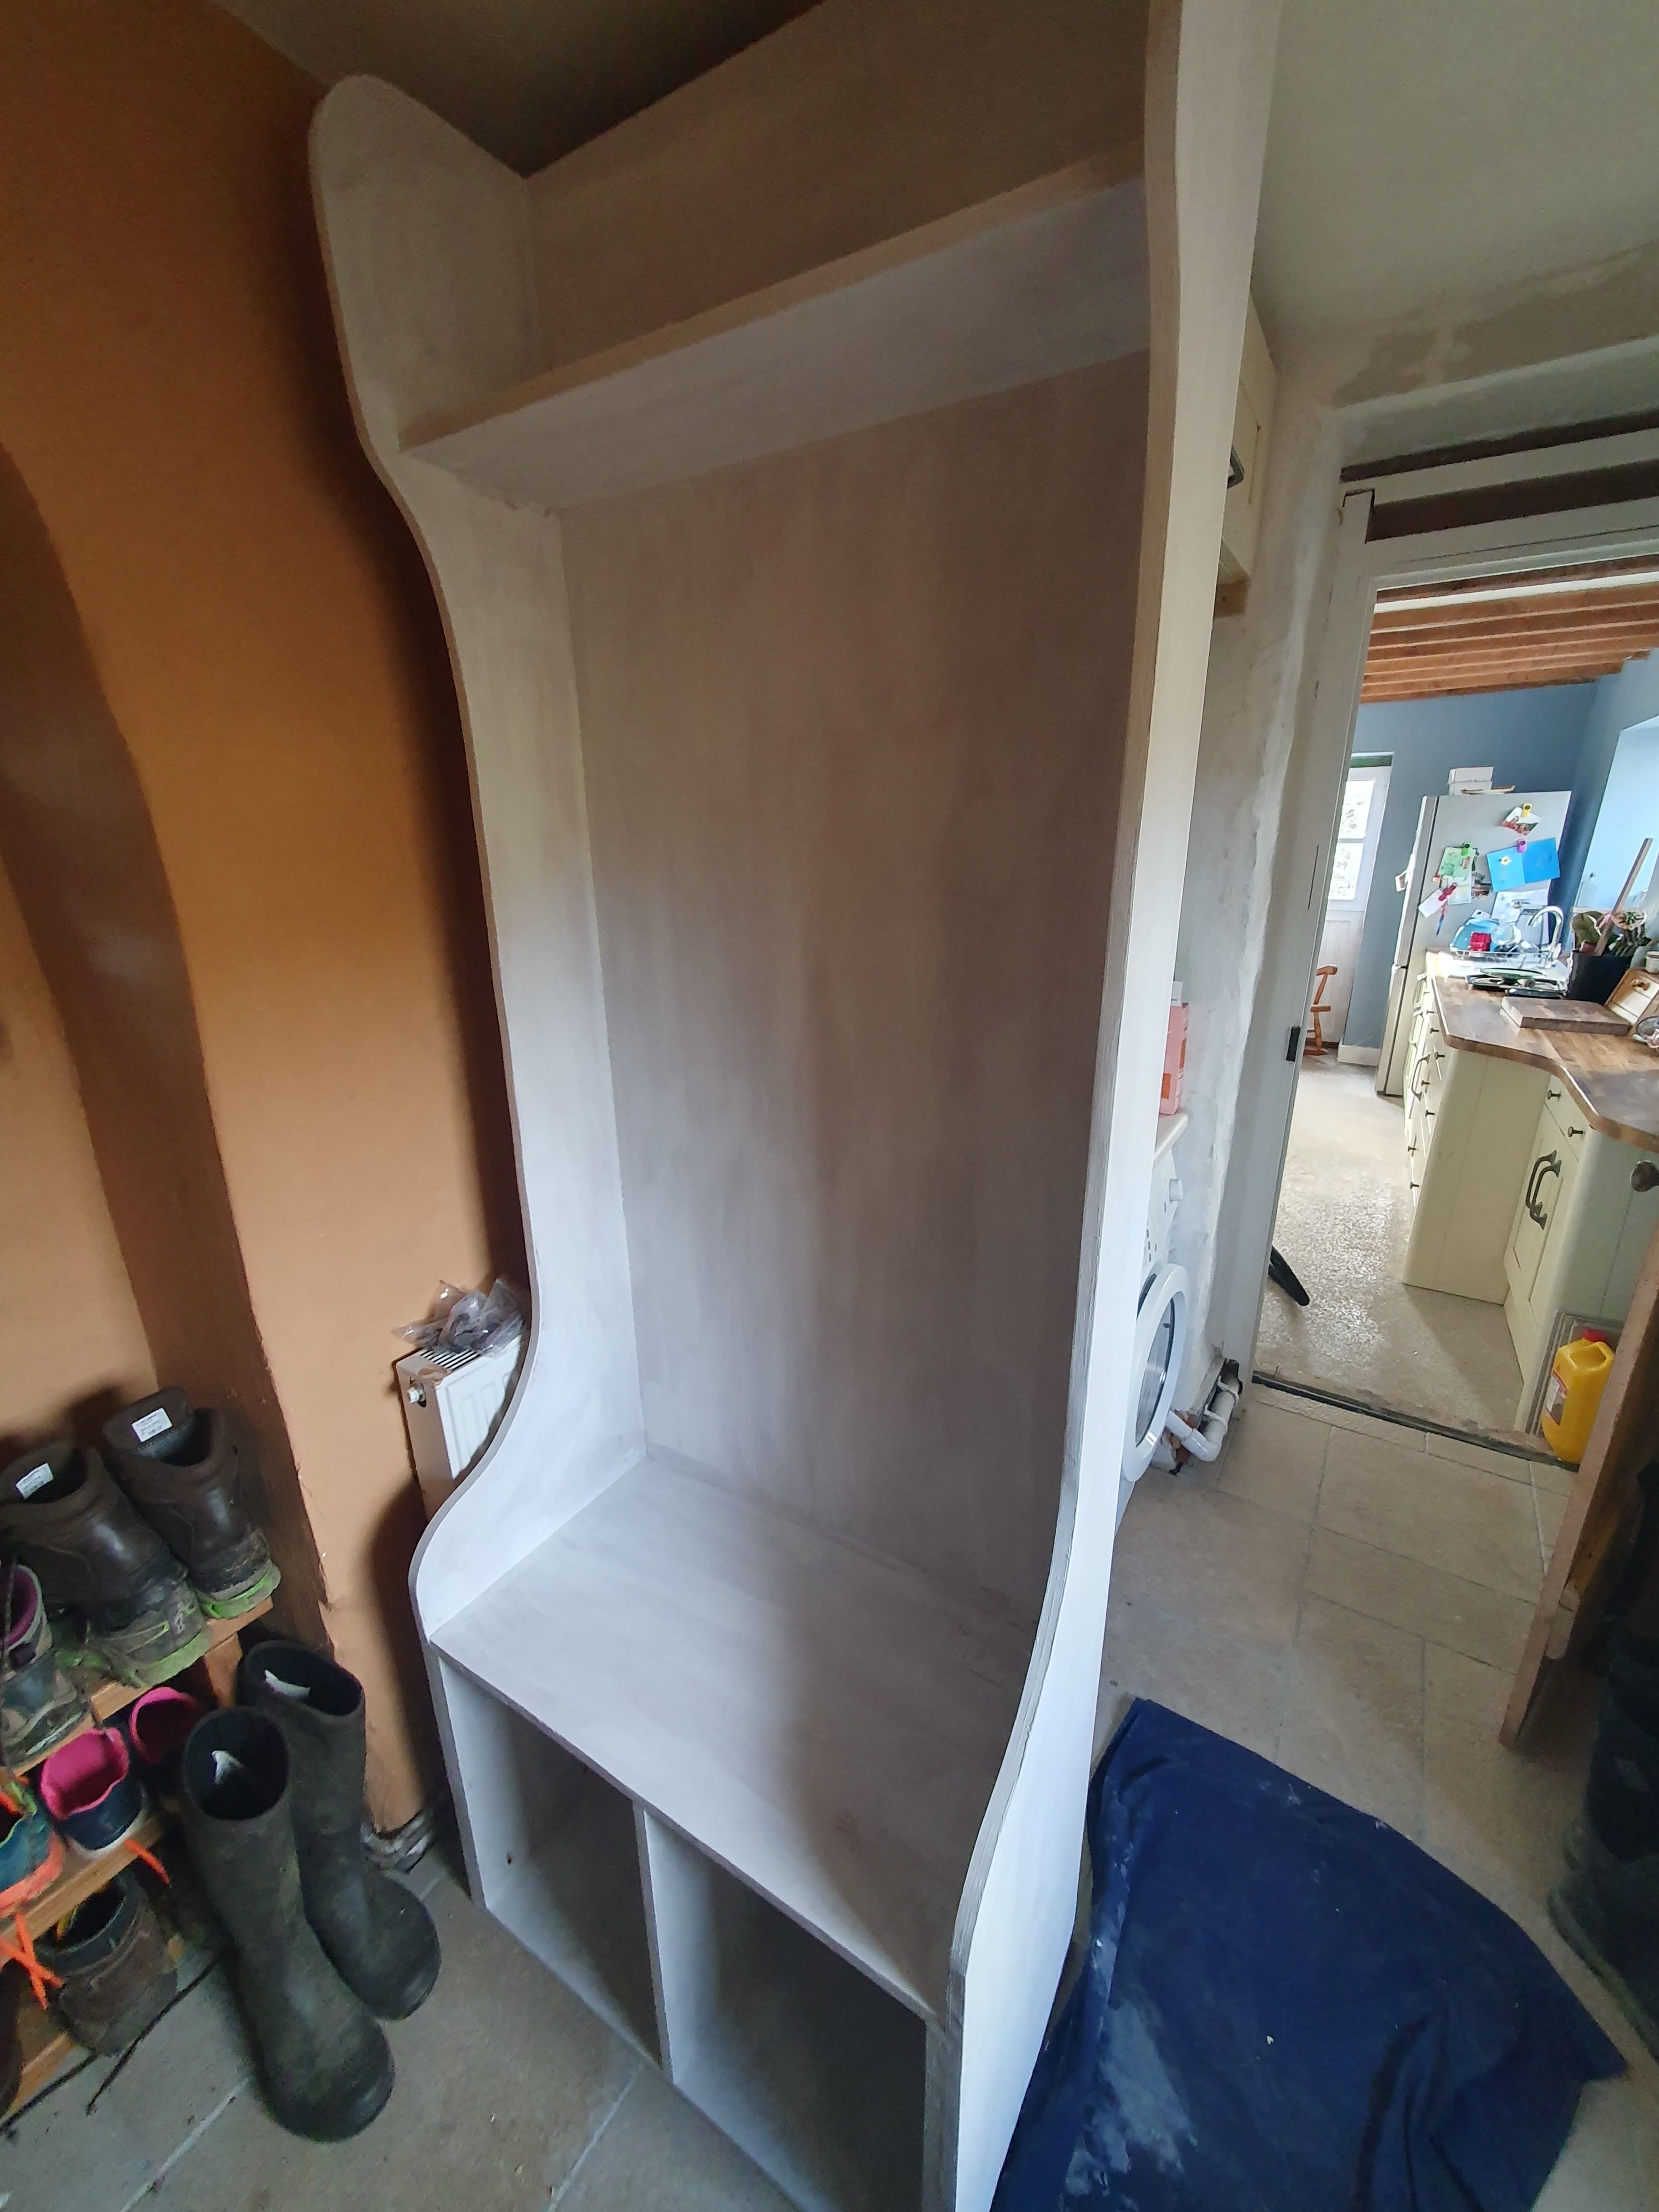
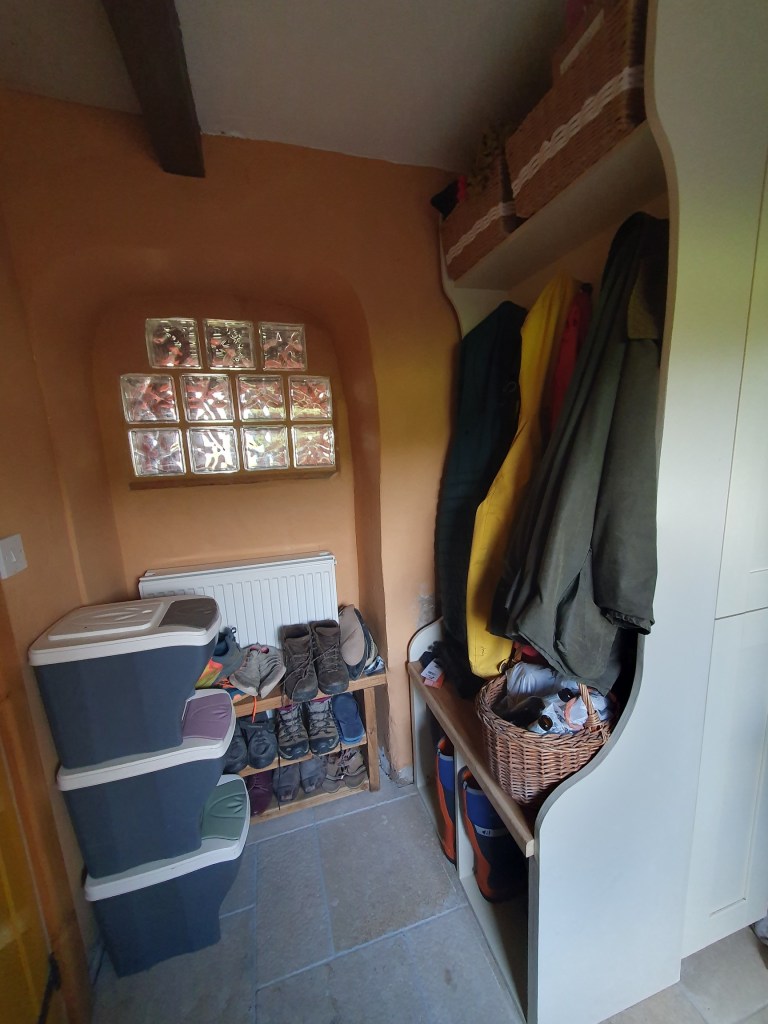
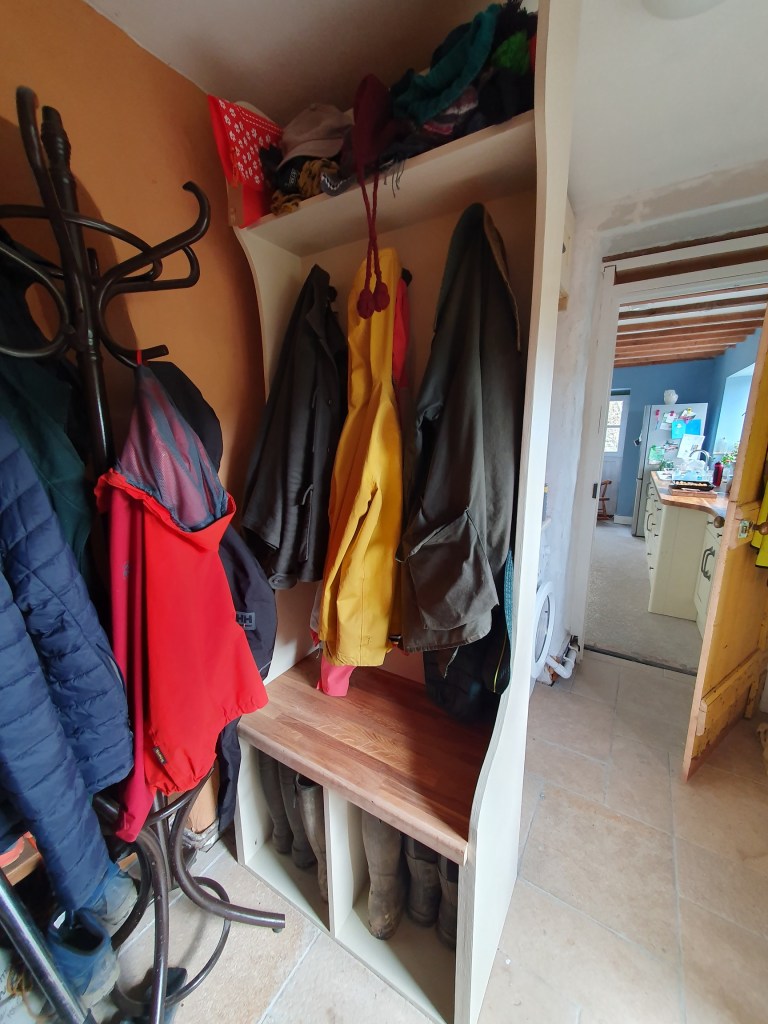
We’d discussed for a while creating some kind of coat rack/ shoe storage unit on the side of the units in the utility, both to hide the gaps, but also to give us more practical storage.
Mostly we wanted somewhere to store our wellies, however building a unit from the radiator to the edge of the units only created storage for two sets of wellies. Pondering on it, Chris decided we might as well move the radiator, as it wasn’t in a great place anyway, being stuck behind the cupboards. With that moved we could build storage wide enough for three pairs of wellies.
Using inspiration from other coat racks online, we cut out the pieces and joined them together with pocket holes – a fancy way to drilling at an angle so as to hide the holes internally.
The pieces went together pretty quickly with the two of us, and I then filled, sanded and painted the structure with a primer. The final coat will have to wait till we’ve managed to paint match our existing units. Then there’s another radiator to move before everything can fit in snuggly.


Before we got too far into spring I wanted to lay a line of hedging at the back of the house. To give me a hand my friend Monika joined me to learn the ropes. This section makes up roughly half of the hedging at the back of the house, but the other half sits on top of a 0.5m wide bank on top of the crumbling walls of the old toilet block. While I would like to do it at some point it’s going to be a fiddly balancing act, and I didn’t fancy it this time round.


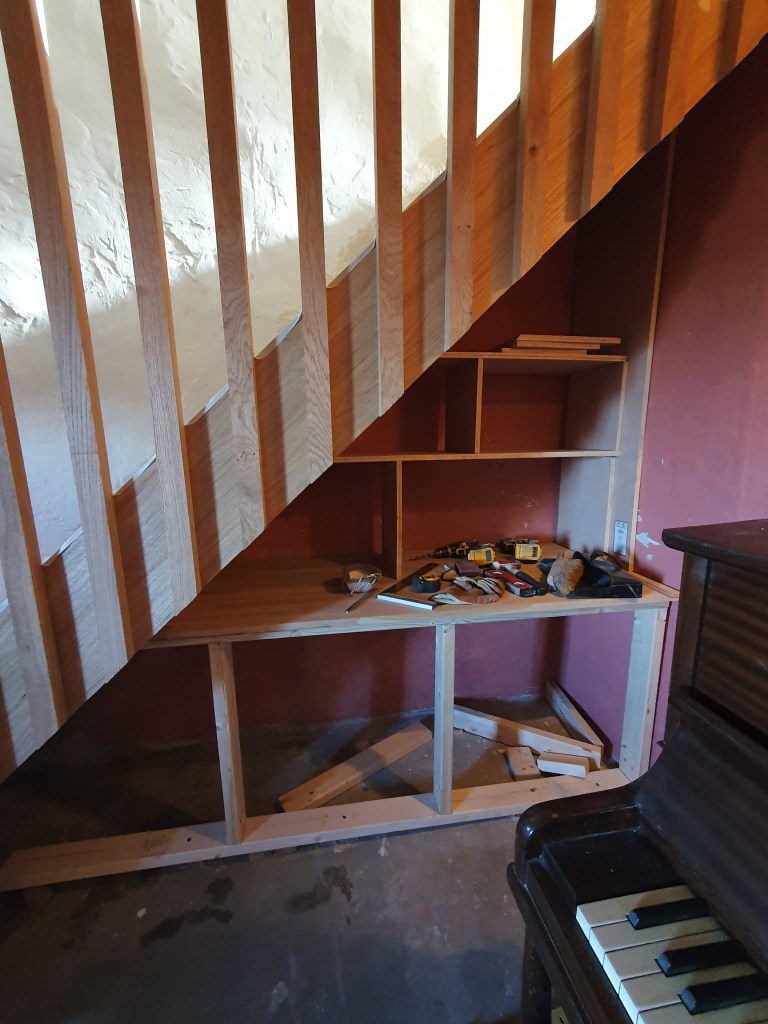
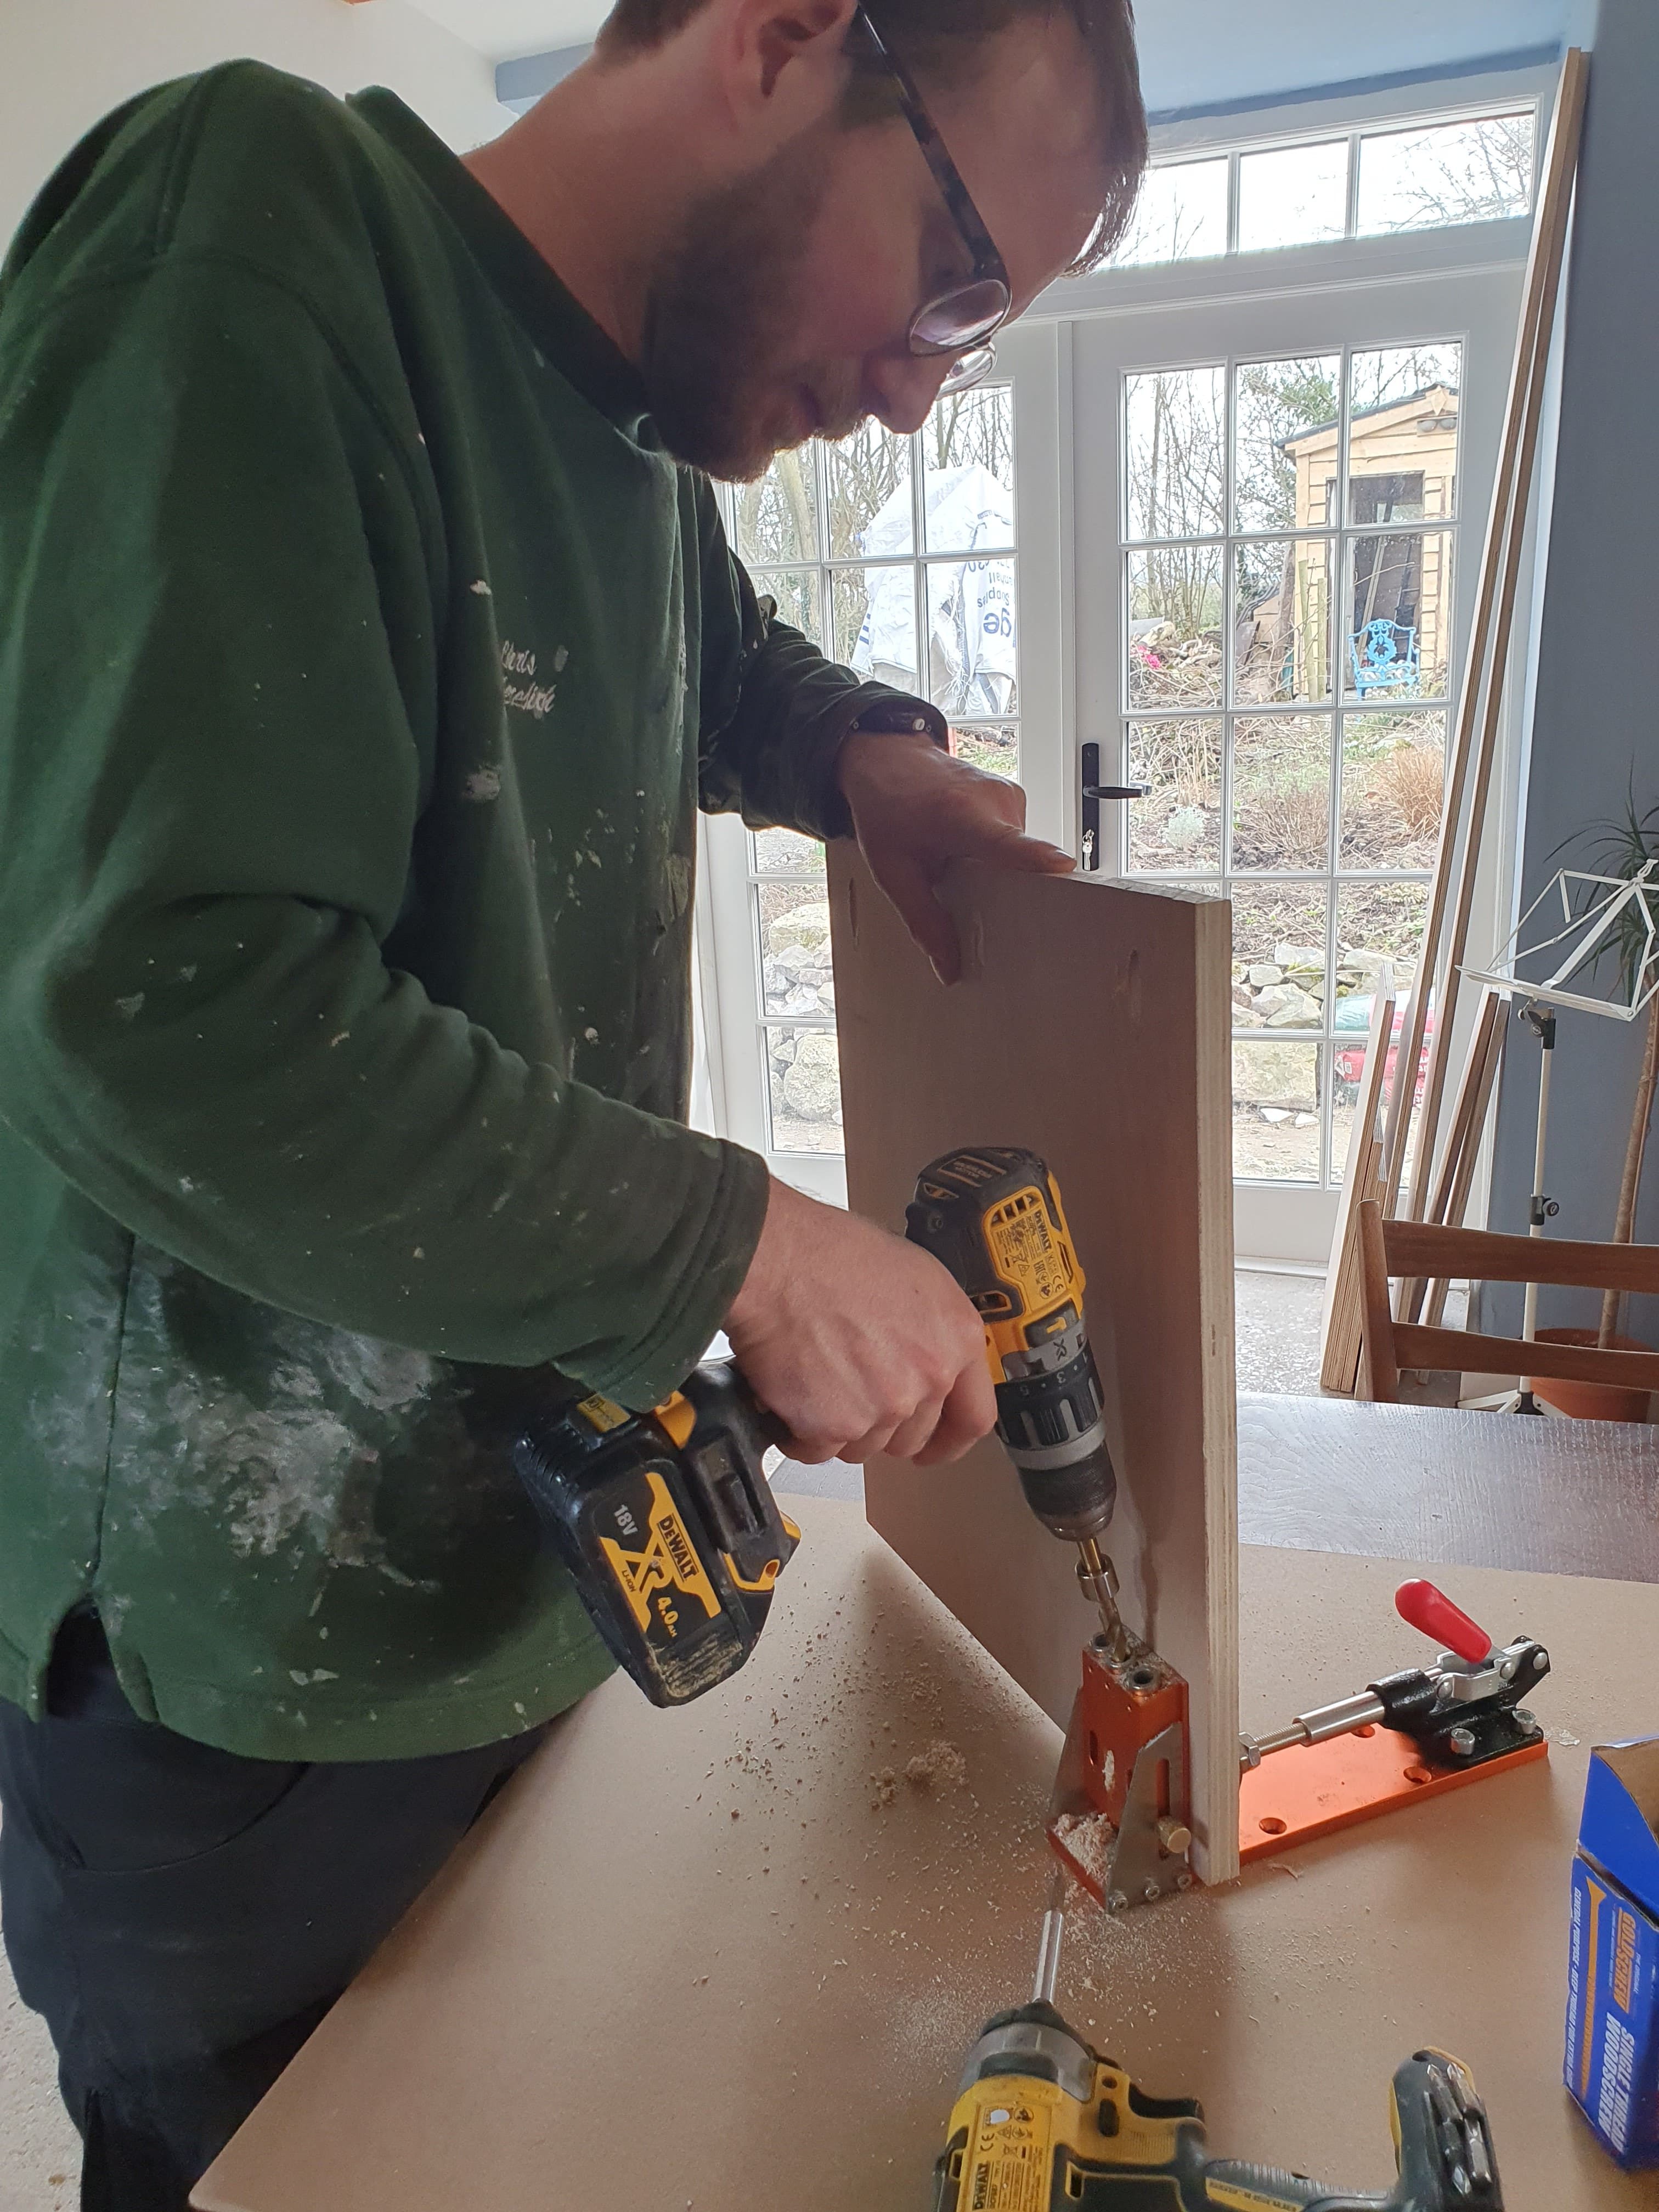
The next bit of construction was to start on the storage under the stairs, a set of pull out draws with a bookshelf on top. Chris and I worked together on the base, before he headed to work and I messed around getting the worktop and the bookshelves in.
As straightforward as it first appeared, as always the wonkiness of everything in the house just makes things more fiddly and complicated. I need to make some final adjustments before I can join the bookcase all together, then it’ll be onto the drawers.
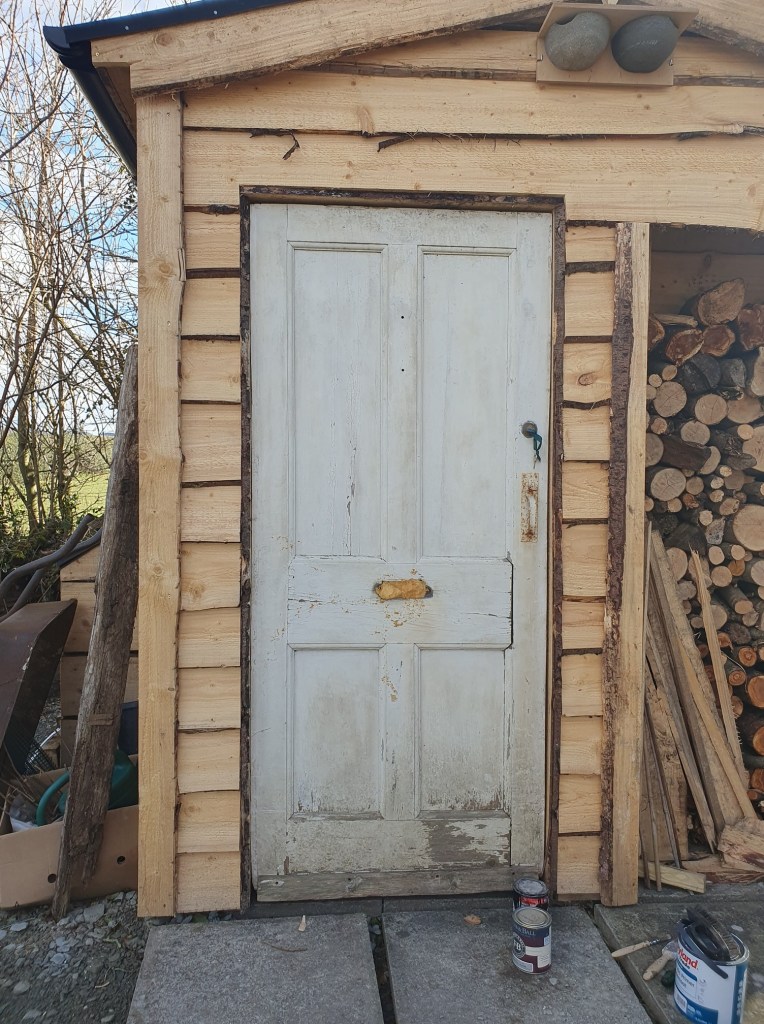
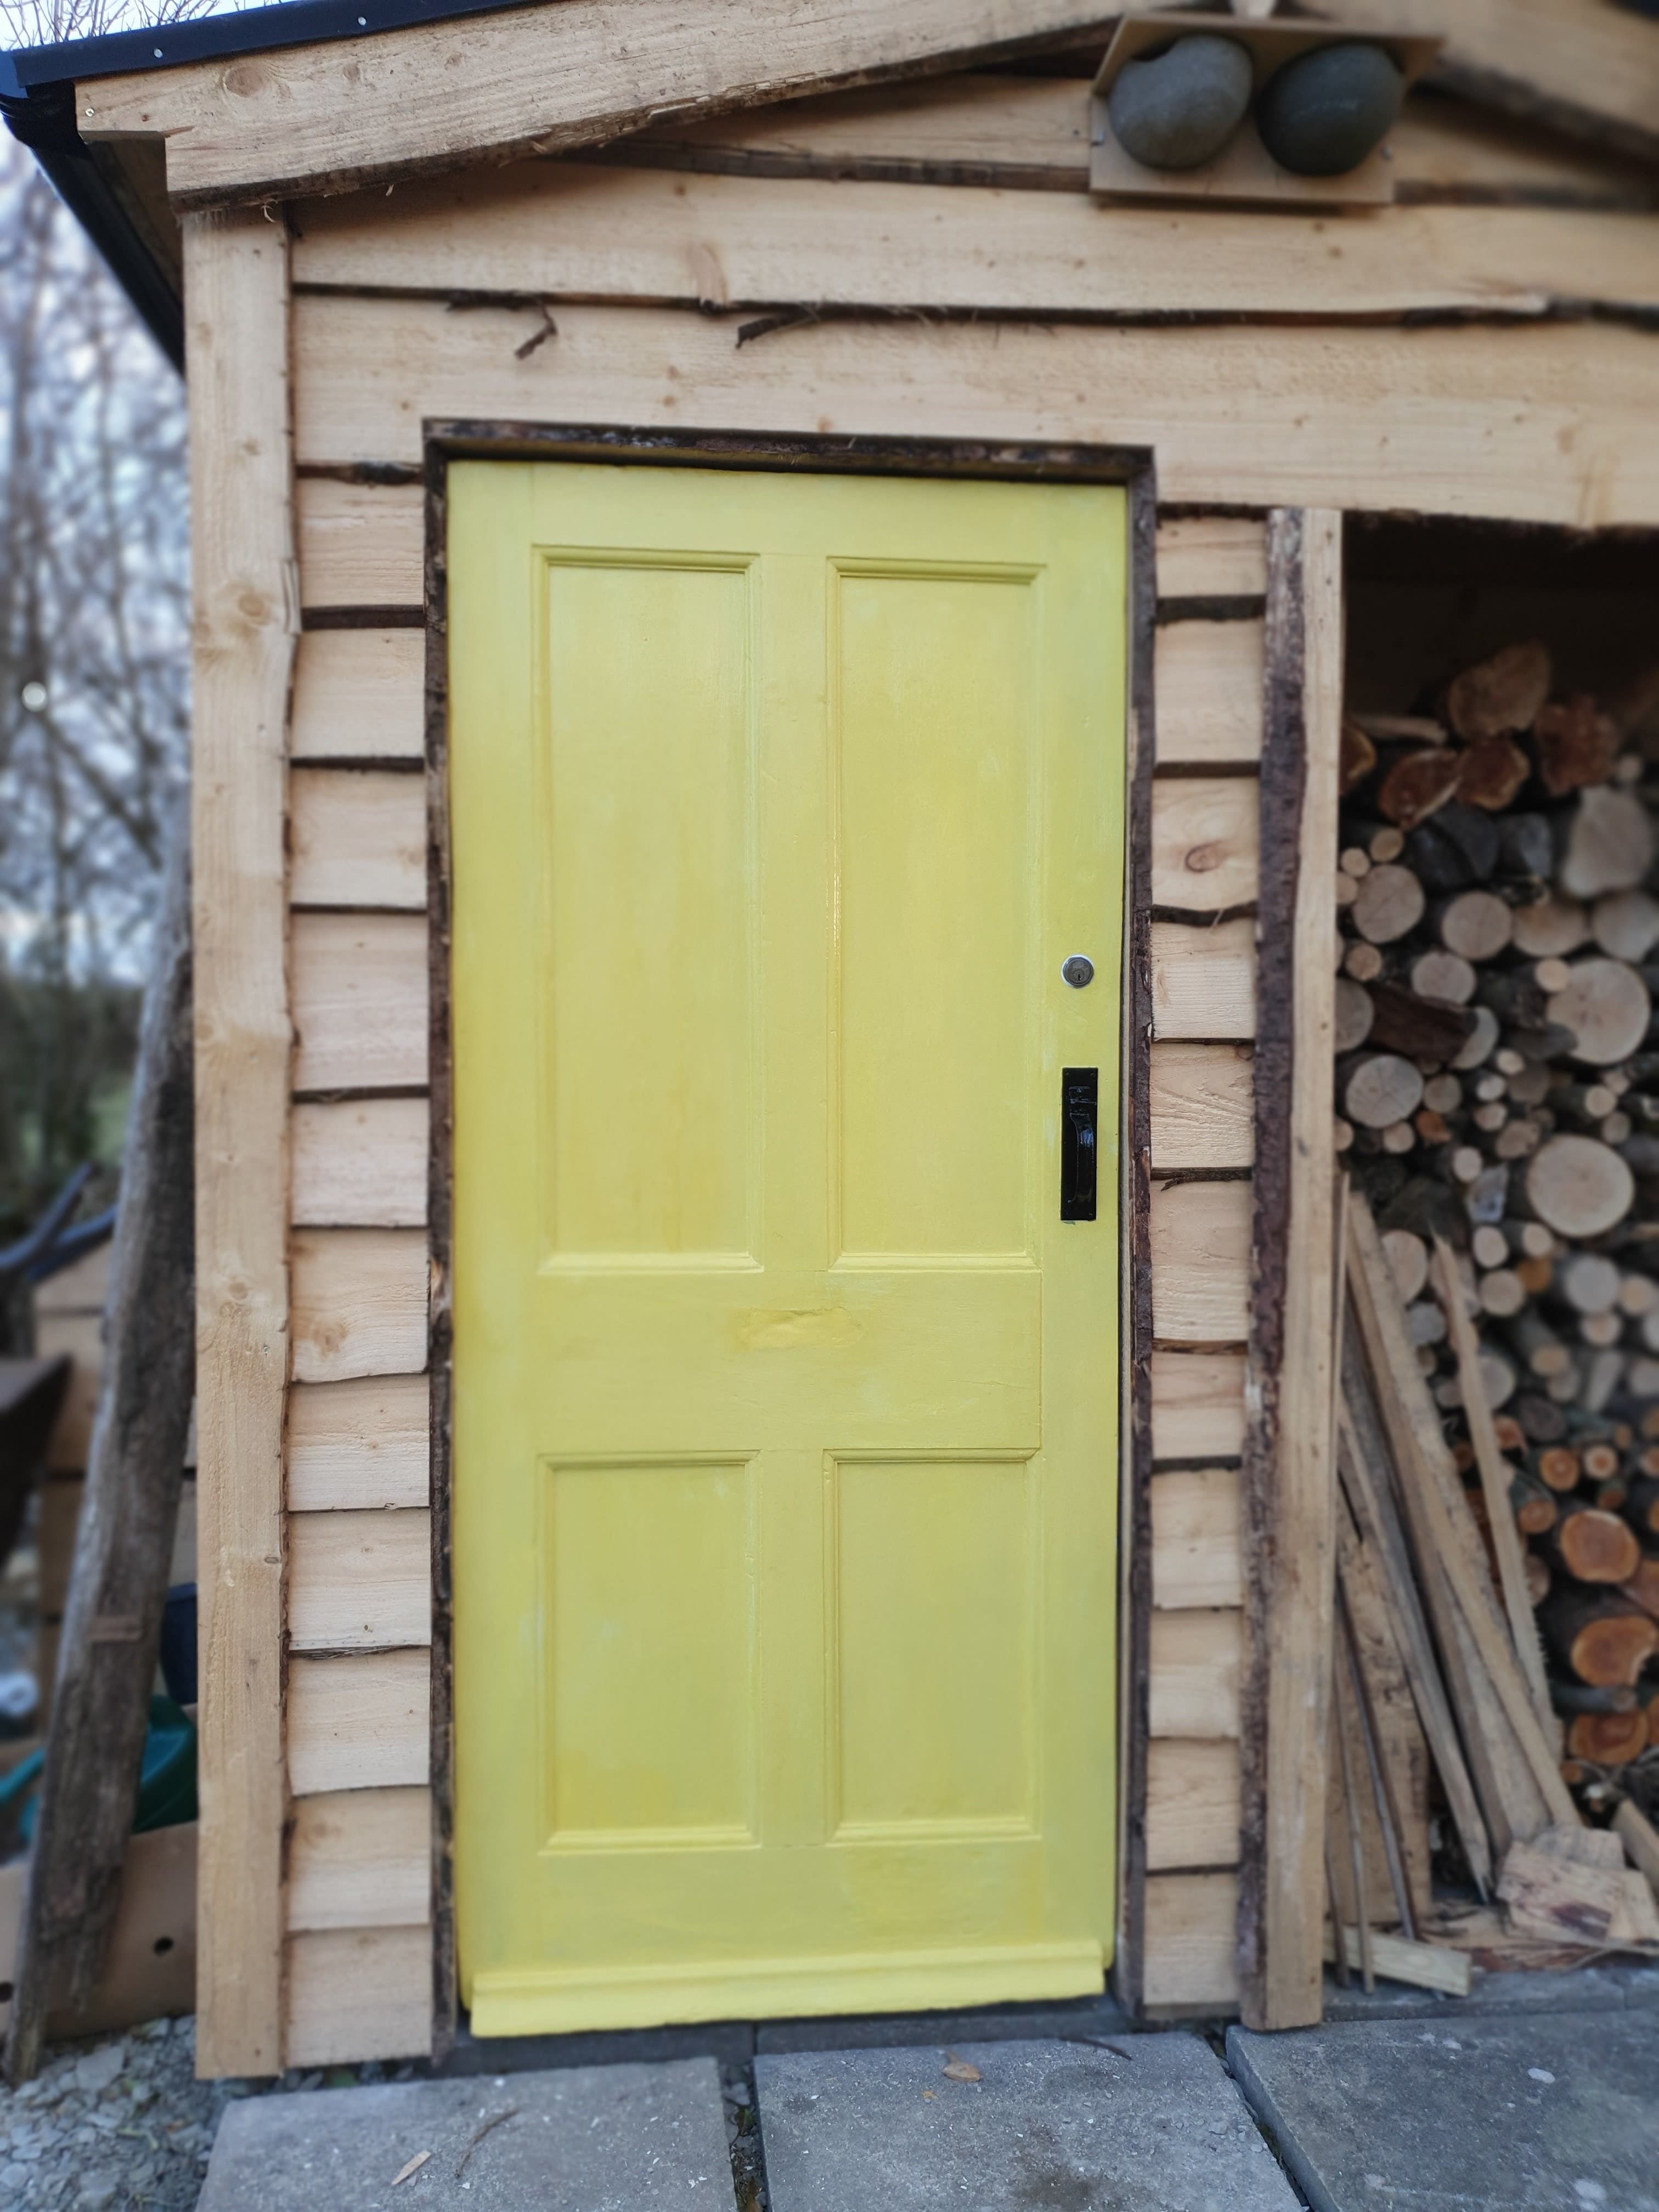
In the garden, Chris requested I paint the frames of the old windows, and fill and paint the old door. It’s need another coat to make the yellow a little richer.
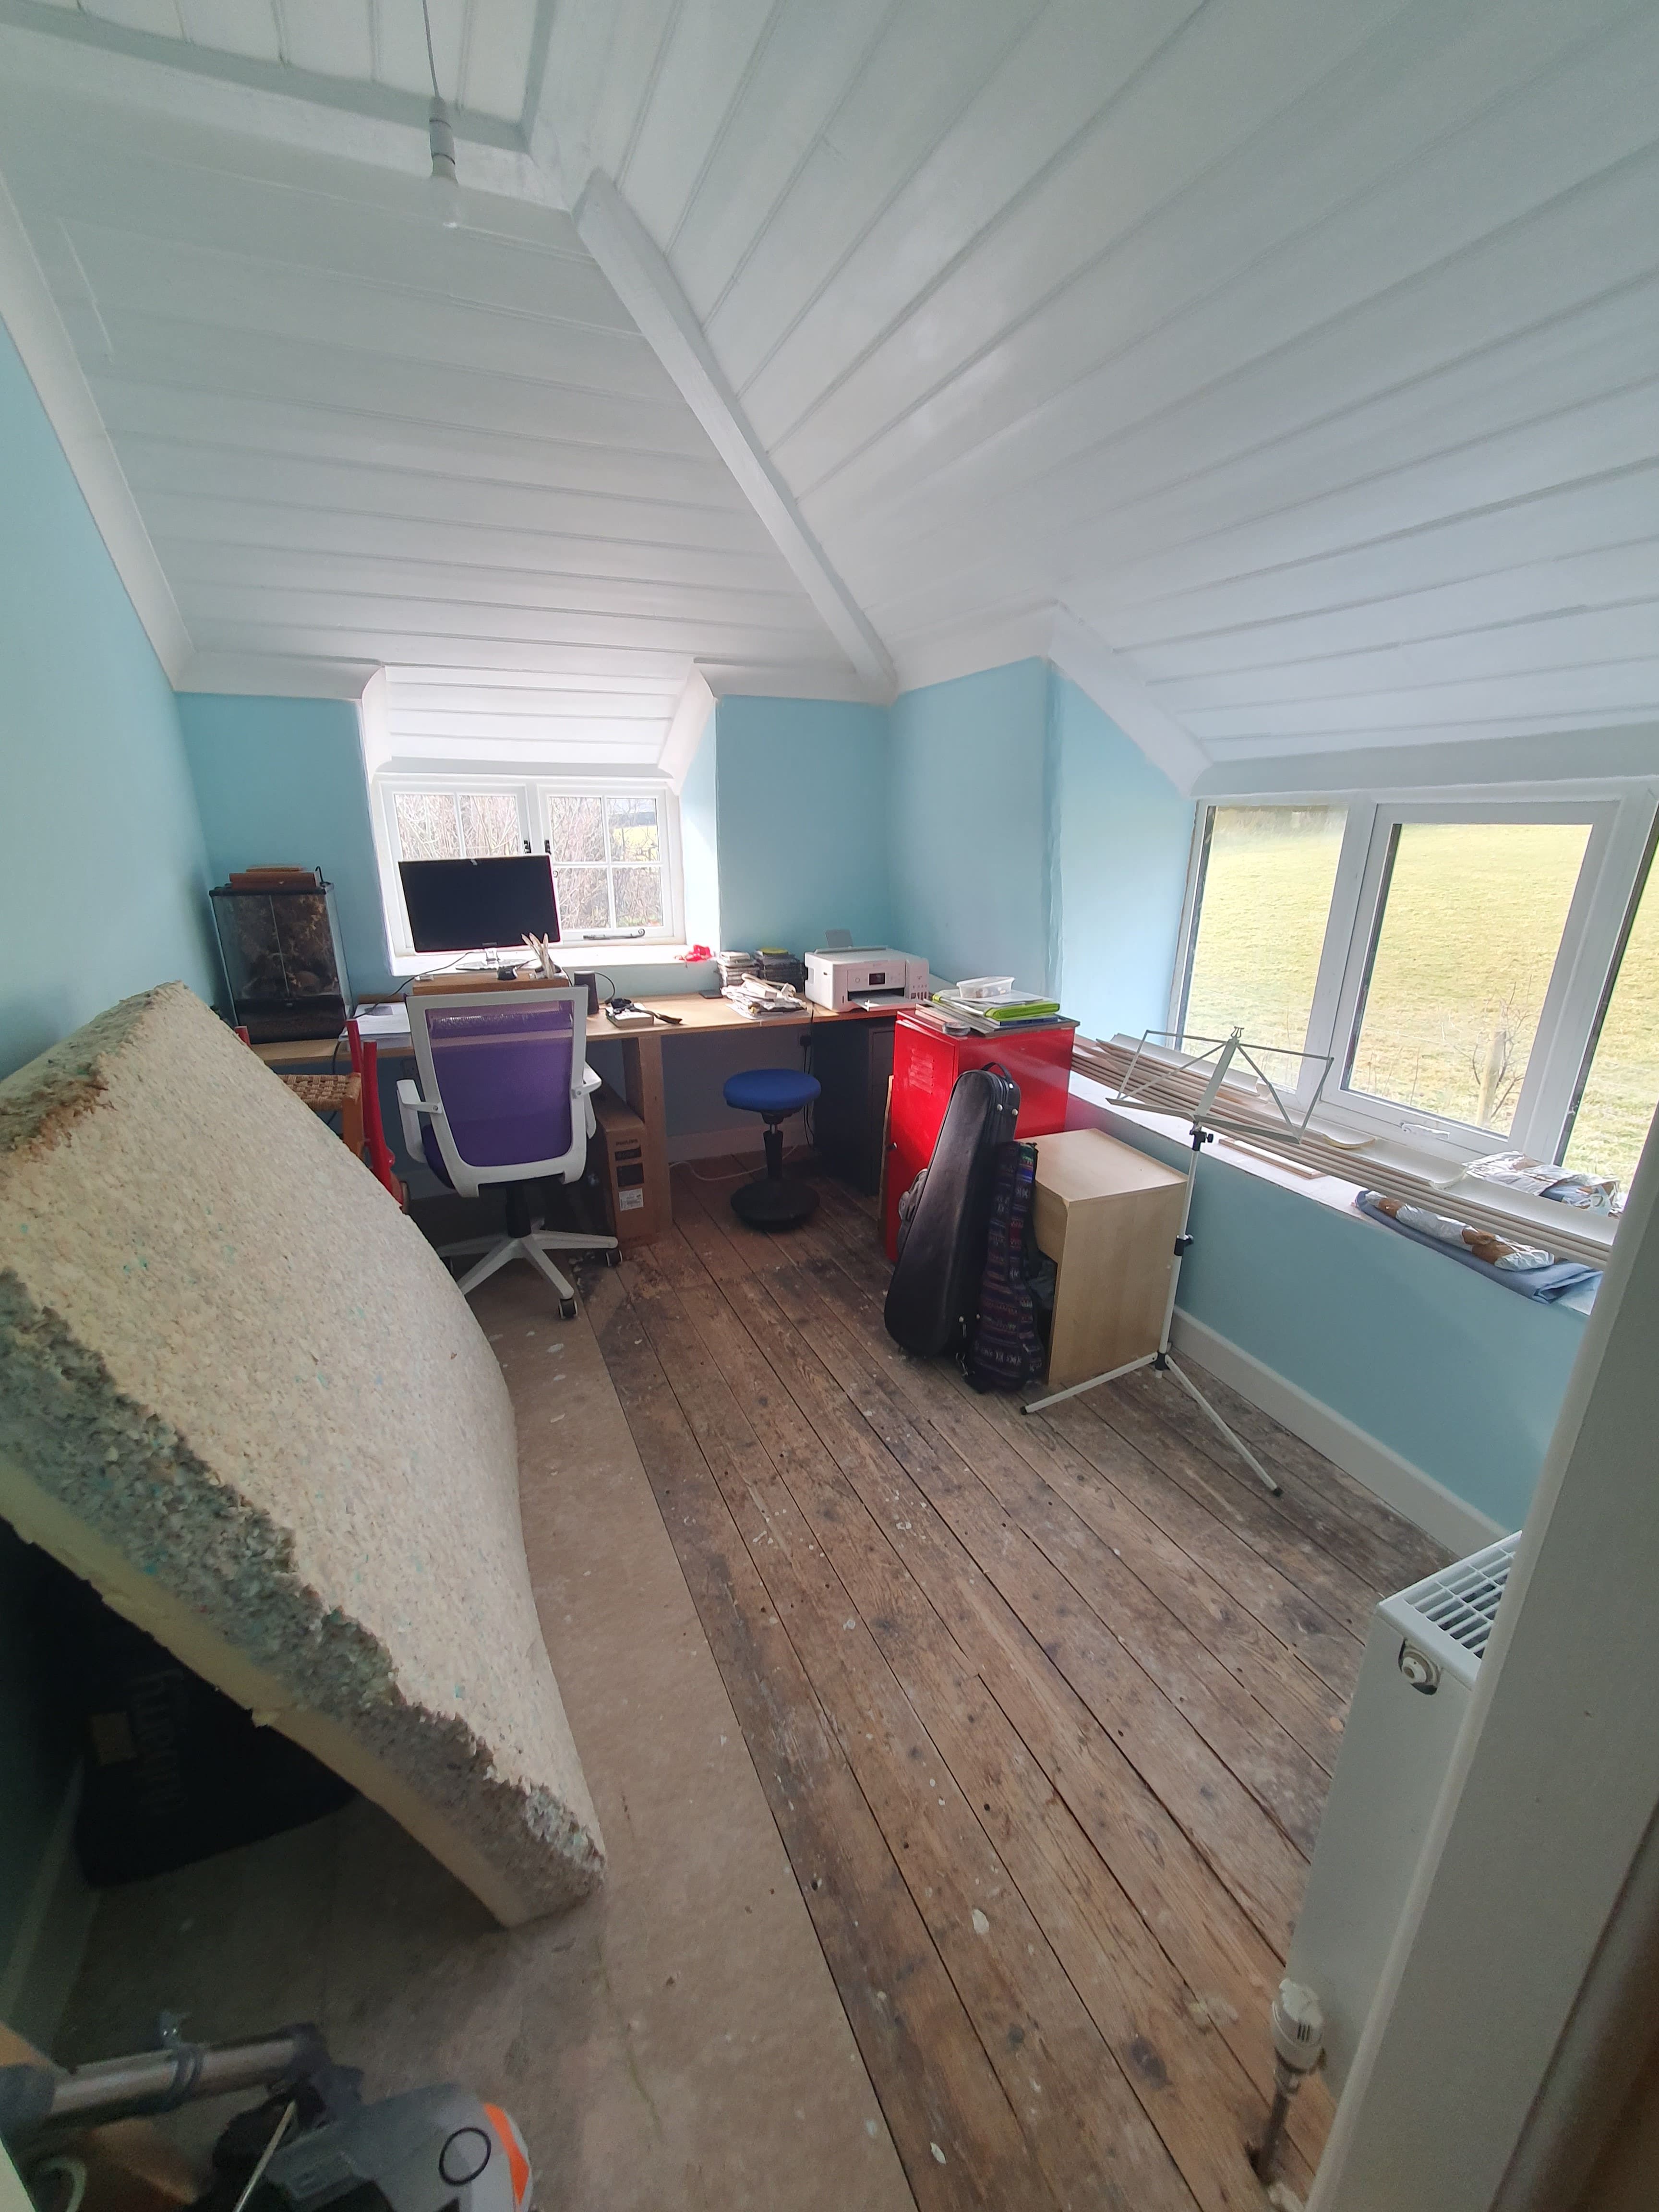
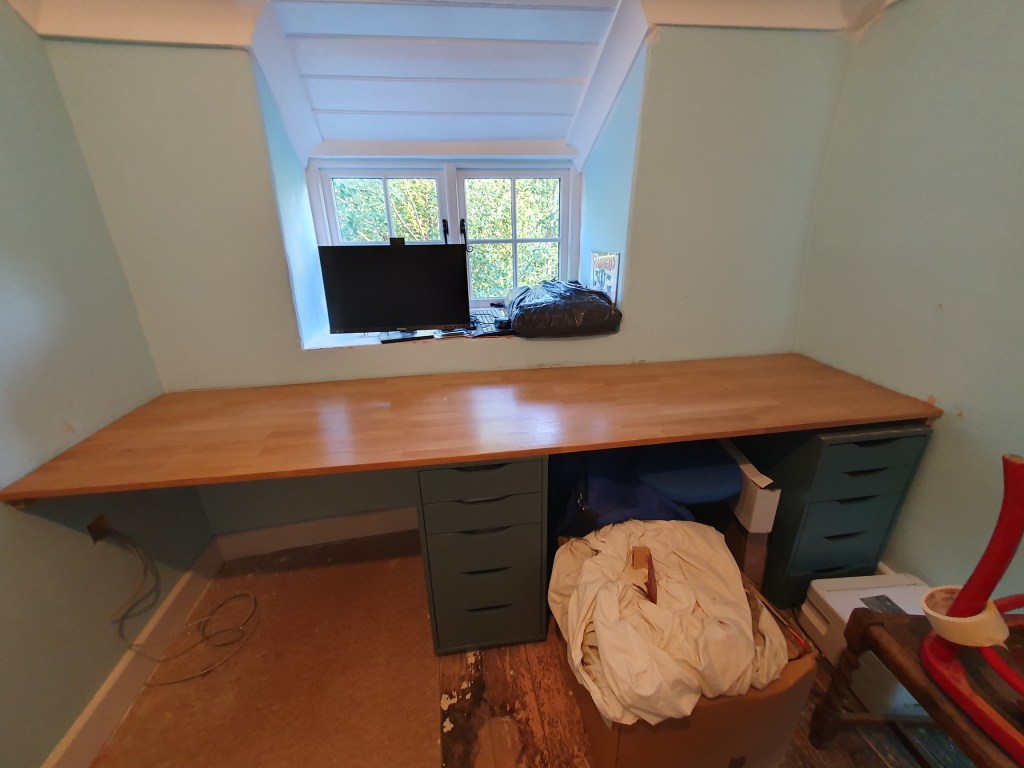
One of the jobs on my to do list was to sort the junk cluttering up the study. To do this I picked up a second hand set of draws to fit under the desk, and myself and Chris went through the boxes we’d moved from the old house.
With those bits tidied away I took DIY bits out to the shed, and took other bits and pieces to the recycling center. Finally, all that remains is a second hand mattress Chris bought to cut into beds for the dog, and a few pieces for the attic. But despite that we are now ready to get a carpet for this room, which will make it feel significantly more finished.
Spring has definitely sprung here, but I’m still hopeful we can get the inside of the house done before summer, mostly because I want to spend the summer in the garden and on the campervan. Feels like we’ve made a good step forward recently, and my list is getting a little shorter each week.
-
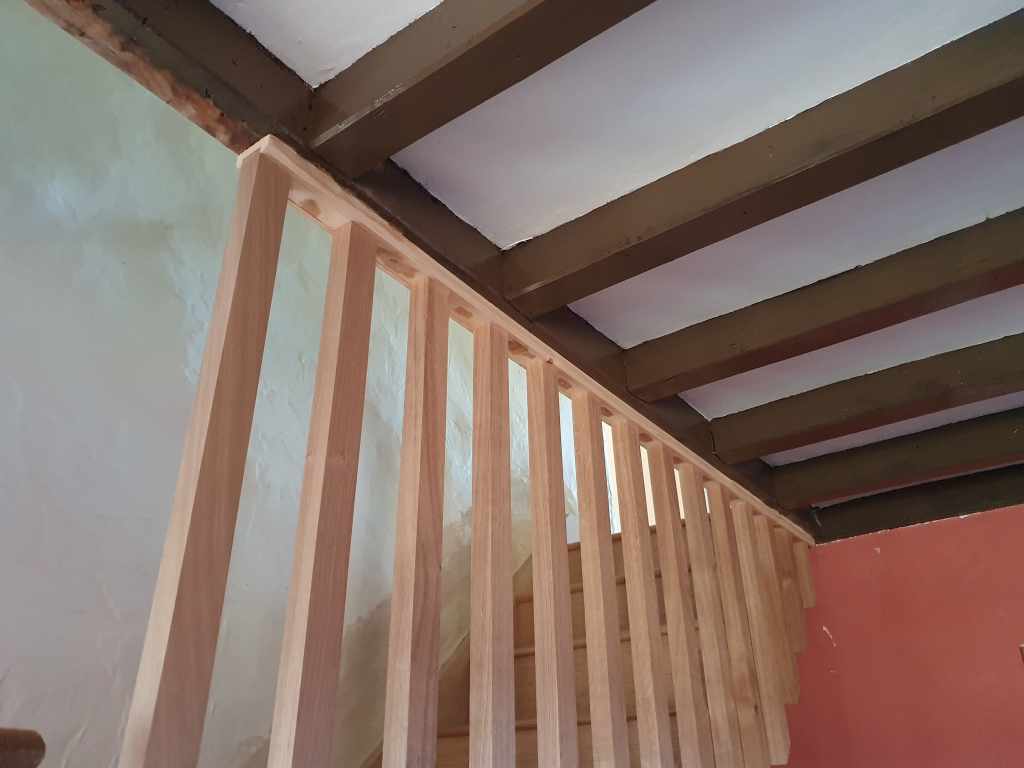
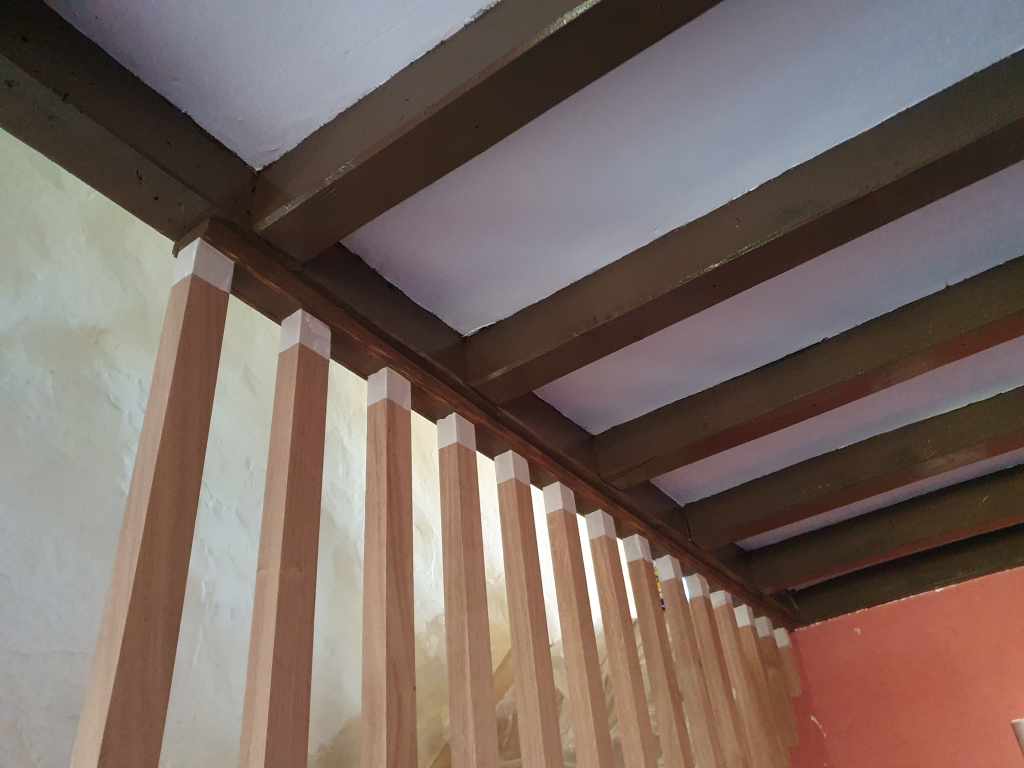
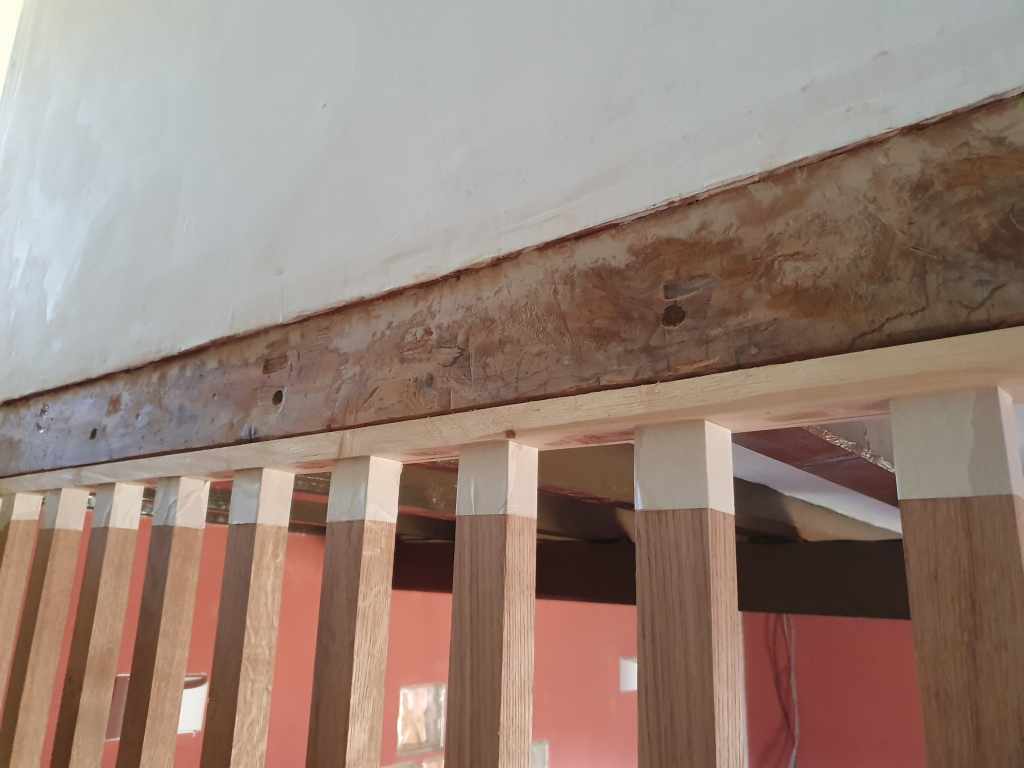
Beautify
We had spent a long time thinking about how to design the stairs to maximise space. In the end we settled on a banister attached to the wall, with slats on the otherside to stop people falling off the stairs.
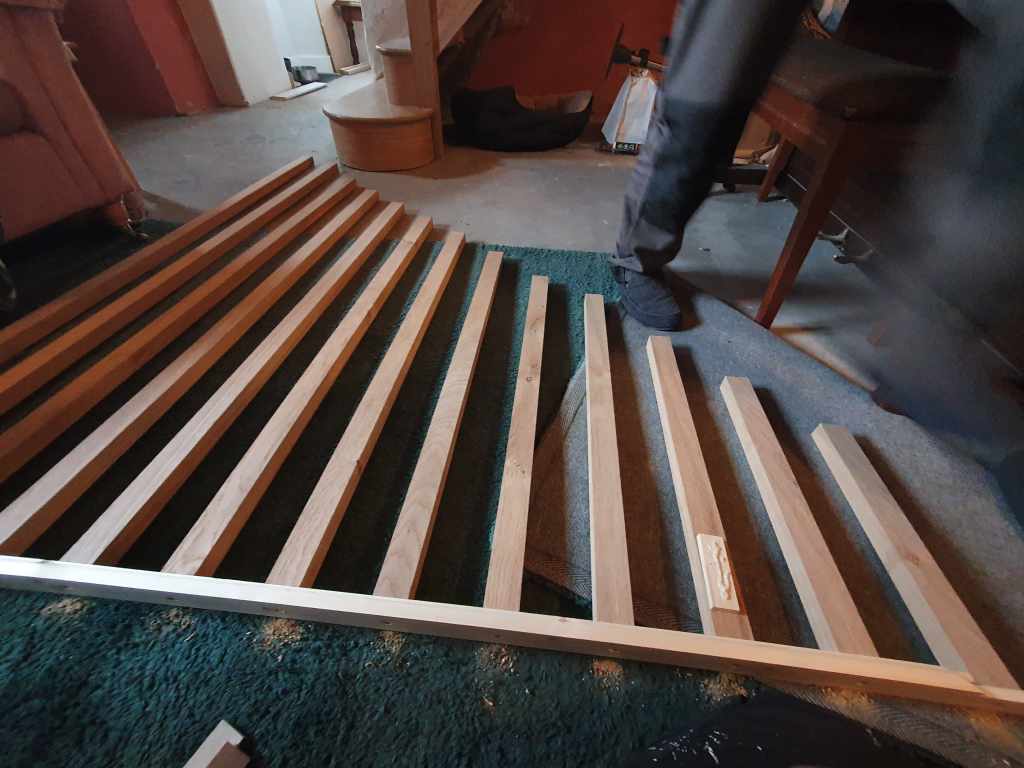
Chris ordered oak slates and a pine beam to attach the slats to. We then cut them roughly to the right length and screwed them into the beam at equal distances.
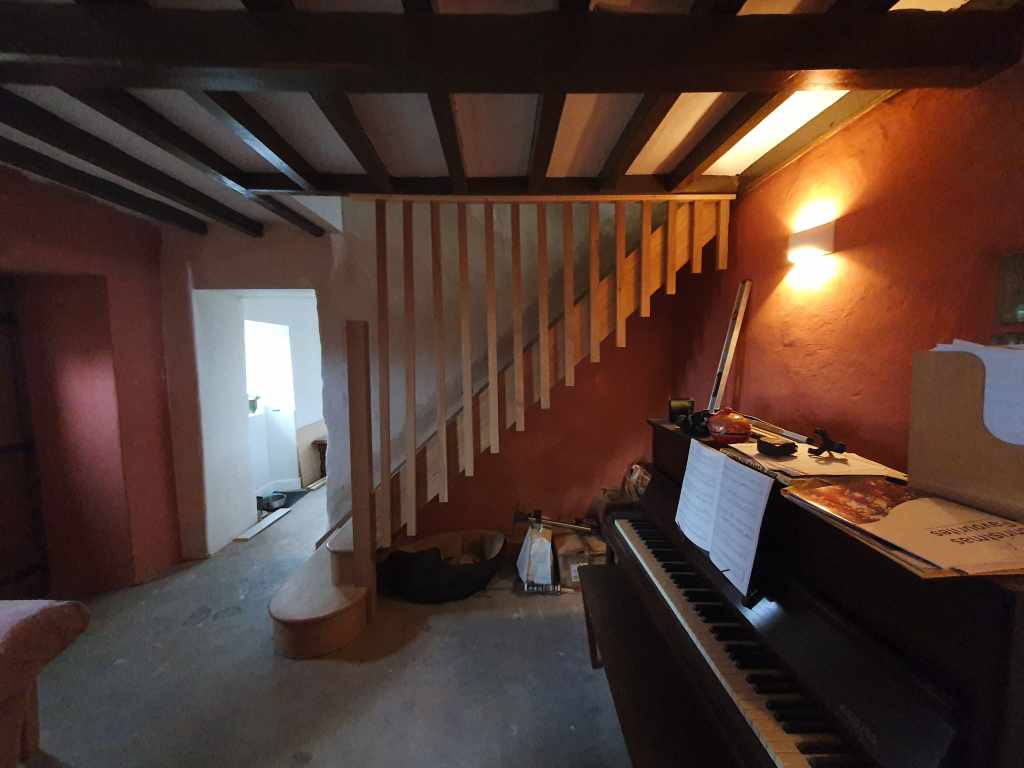
Together we lifted it up and attached the whole thing to the ceiling beam. We then checked that the beams were the right distances apart and Chris screwed from behind the stairs, while I held them in place.
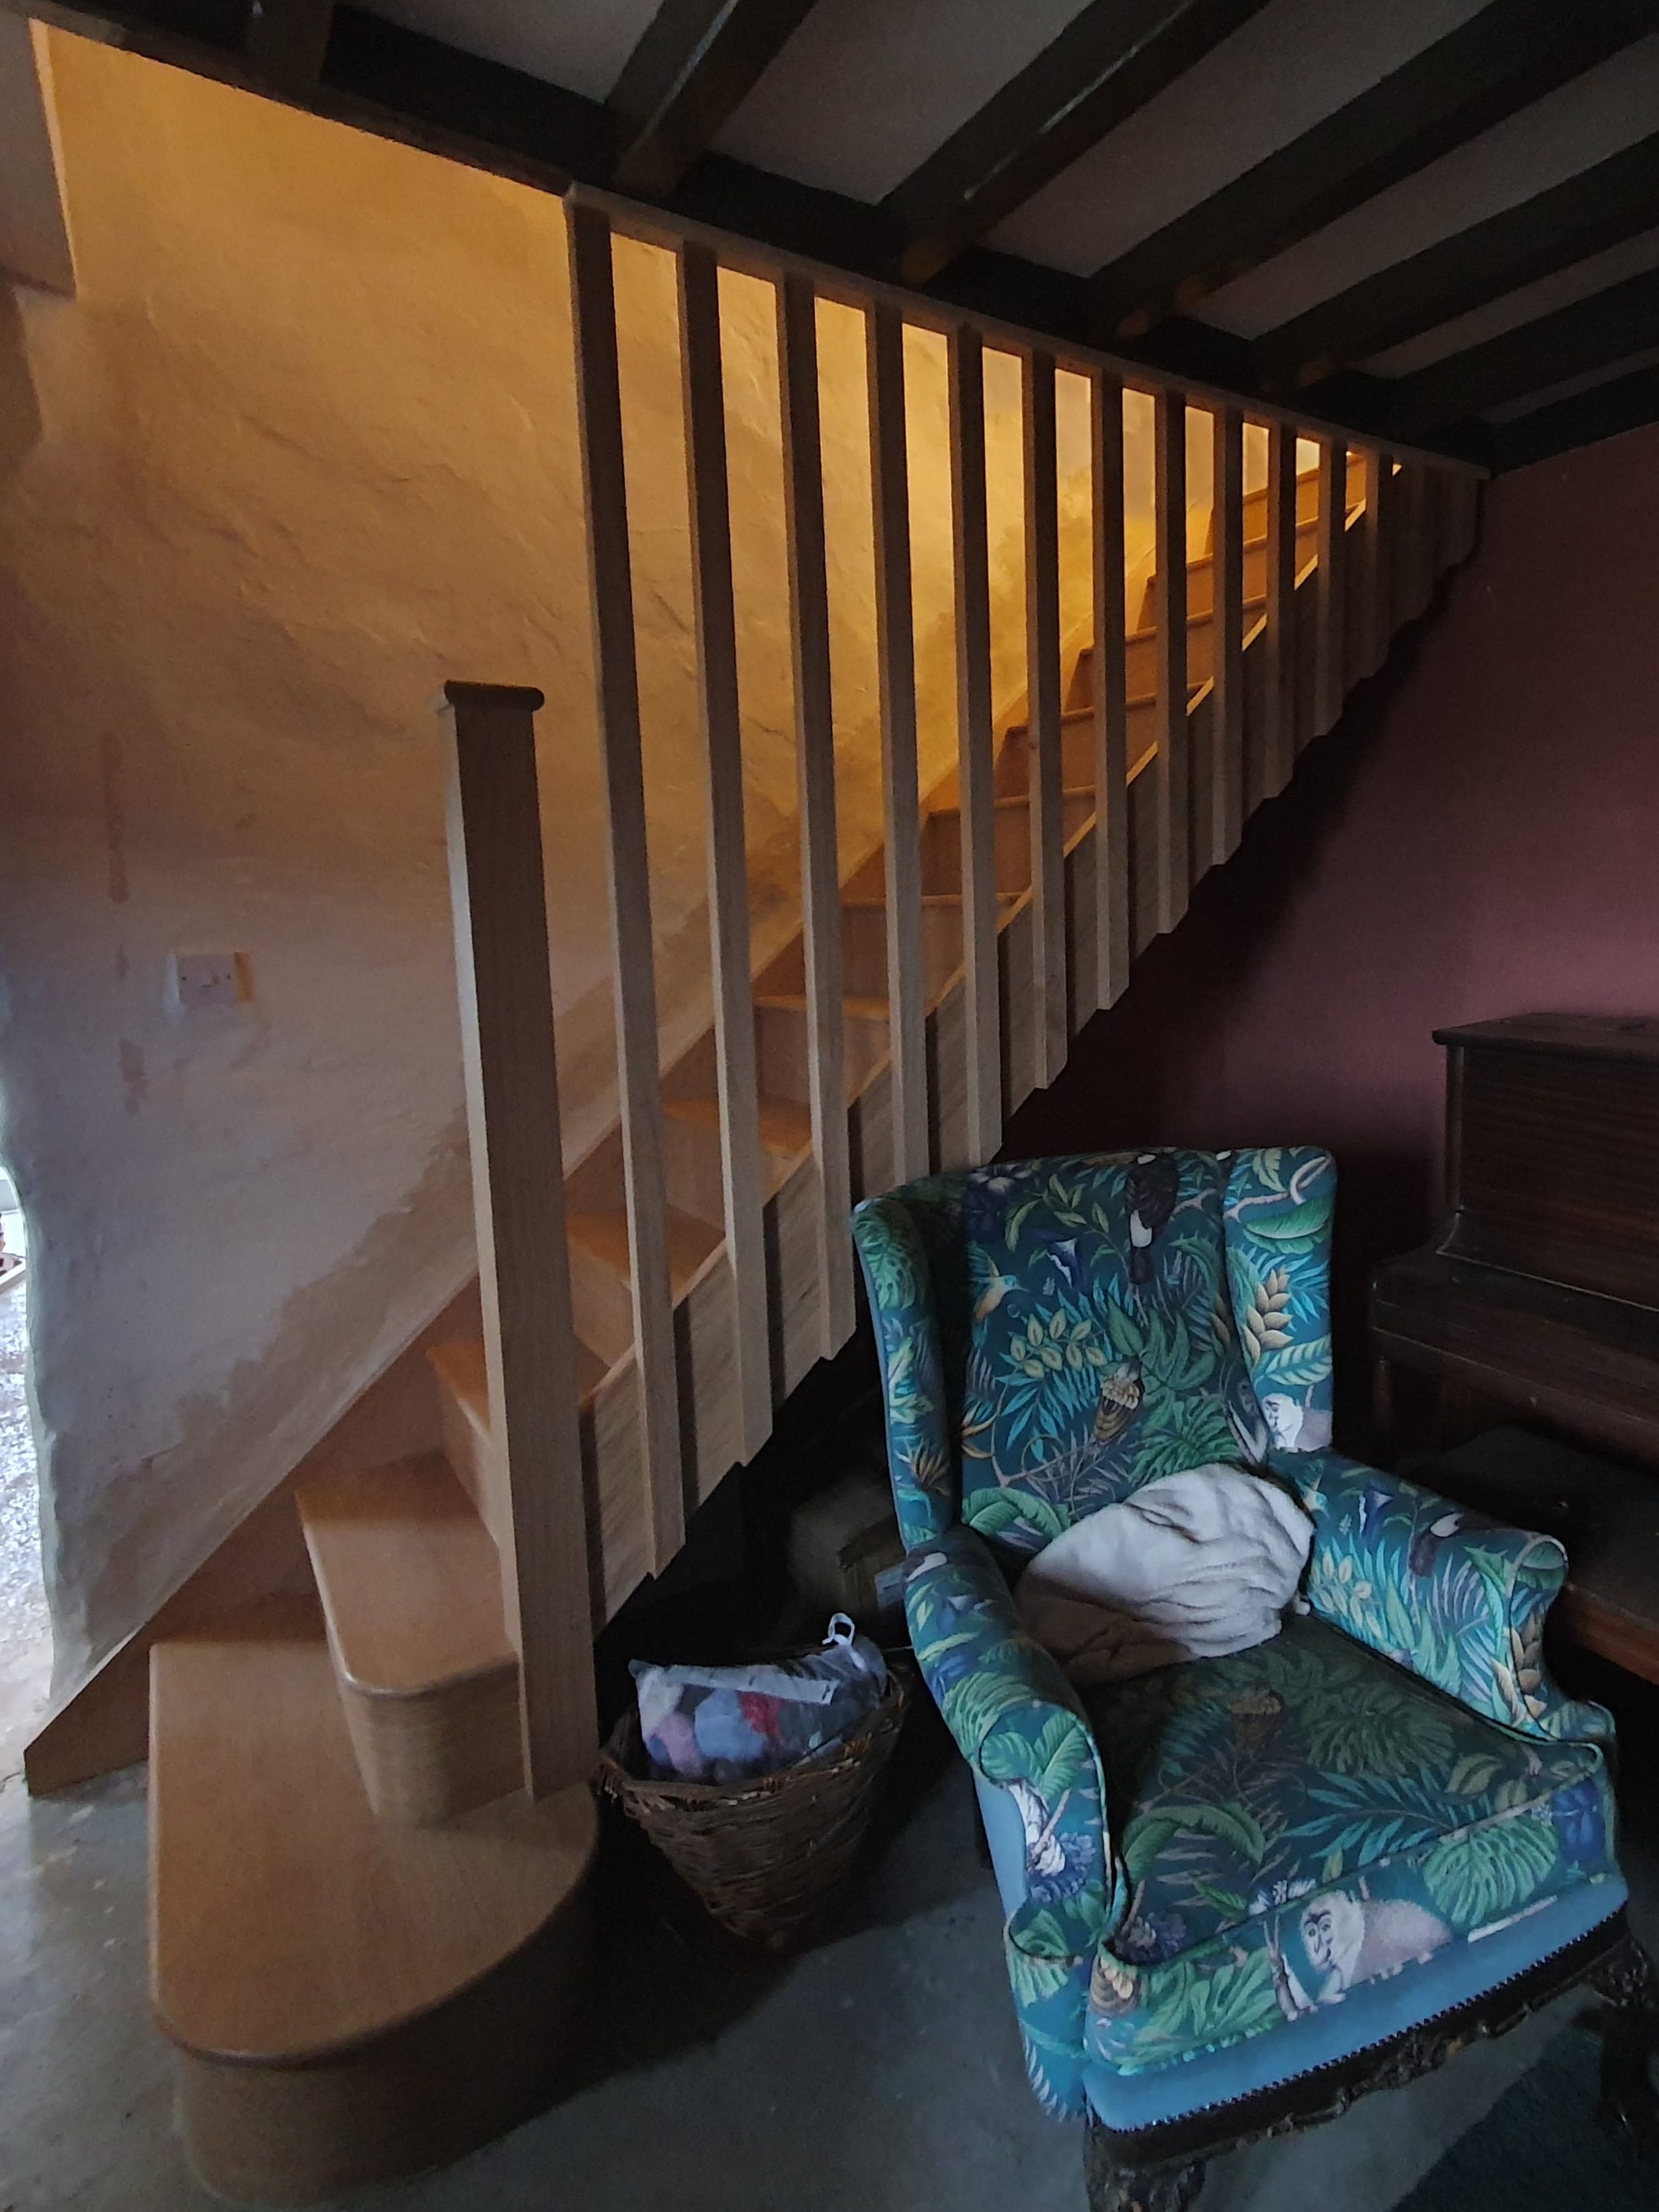
The final step was to trim down the ends to match the stairs. It’s amazing how much the slats change the feel of room, one more thing to make it look finished.
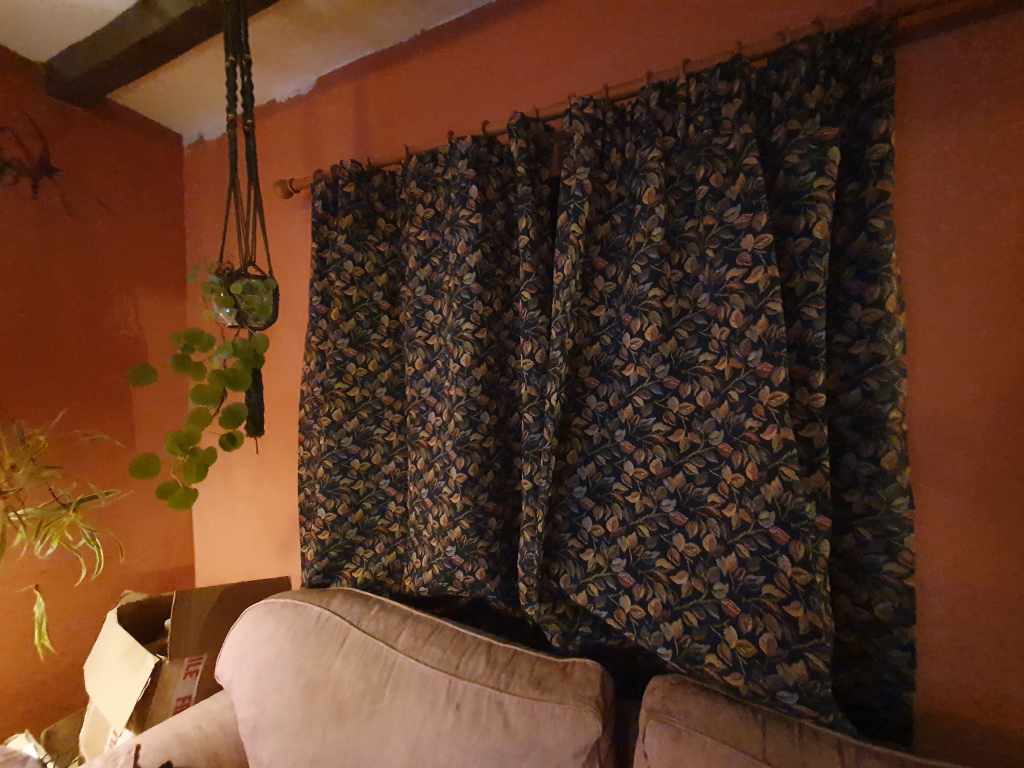
Another small change to the lounge was that Chris’s mum gave us some nicer, thicker curtains. They were a bit big so I trimmed them down to size.
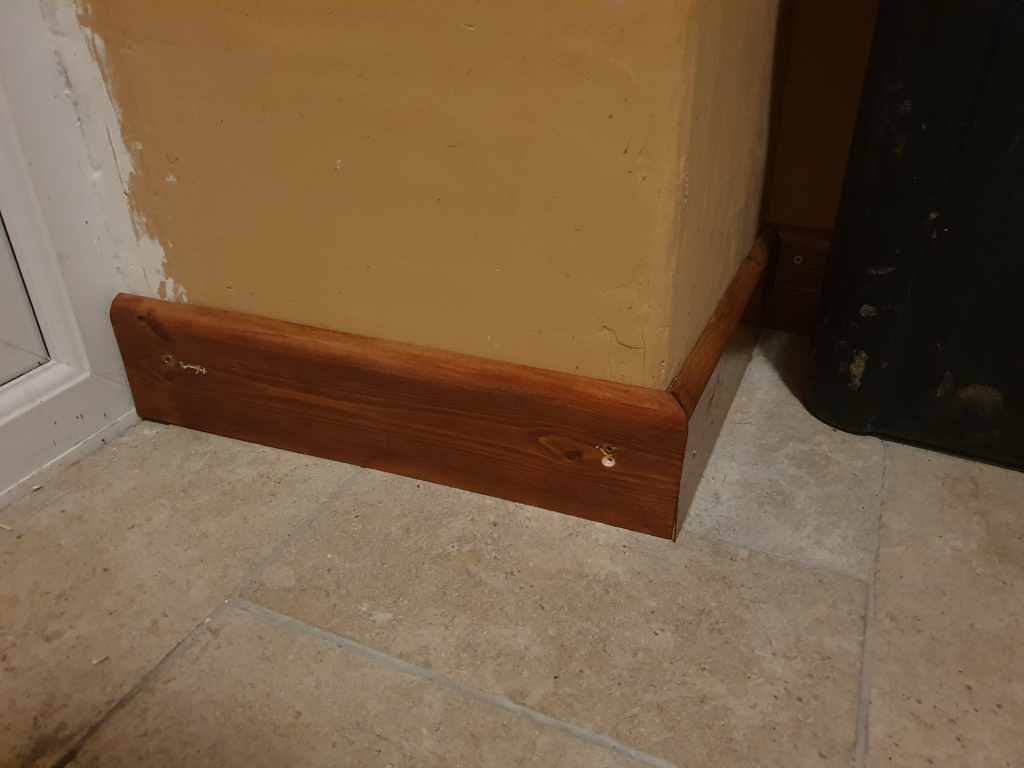
In the utility I attached the skirting, as usual it was a pain finding the studs to attach it too, but I managed it in the end. The final job will be filling the gaps.
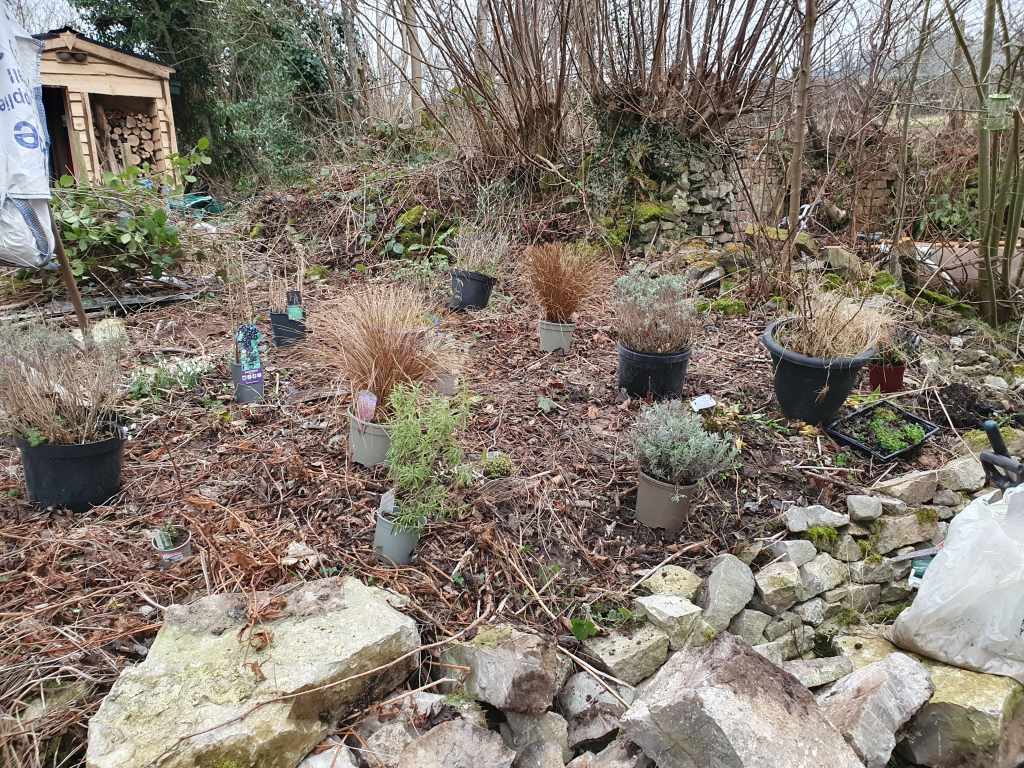
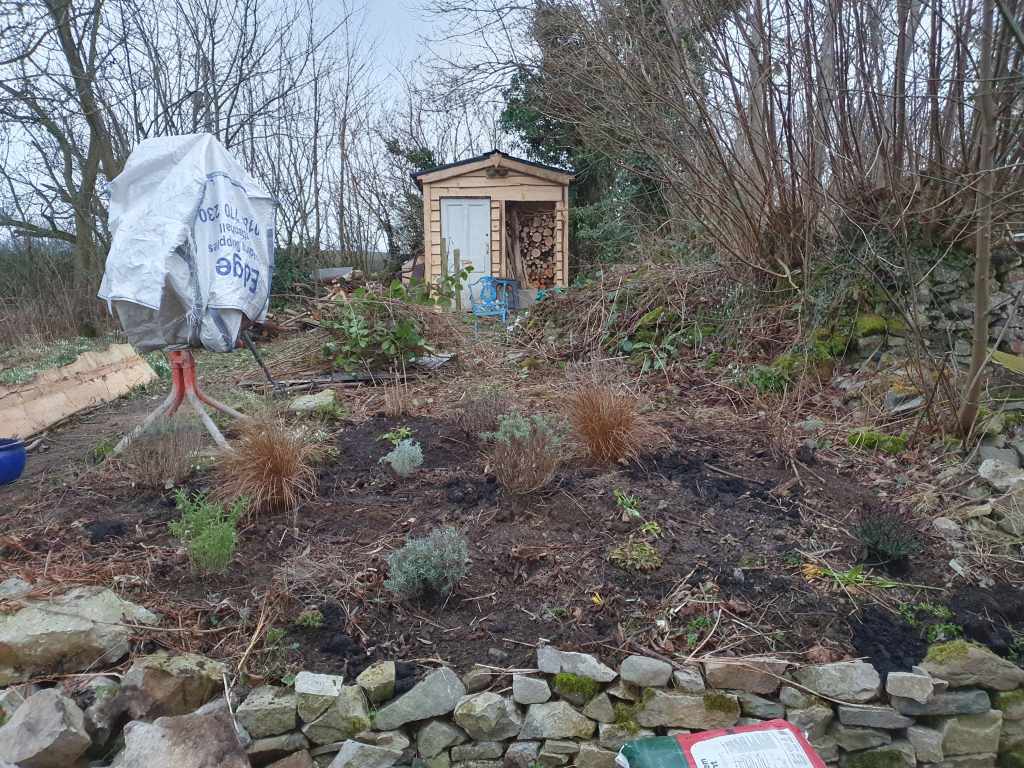
While Chris worked on the van breaks, I cleared the area of the garden immediately in front of the French doors. We look out onto this patch from the kitchen, so I thought it would be nice to have something a little prettier to look at in the spring.
The area was filled with wild raspberry canes and bramble, so I spent a good amount of time digging out the roots. I also had to move a big pile of stones taking up one corner. We’re going to replant the raspberry canes somewhere more suitable to see if they will give us a crop next year.
As well as some new plants from the garden center, I also planted some of the plants we moved from our old garden, that were struggling in pots.
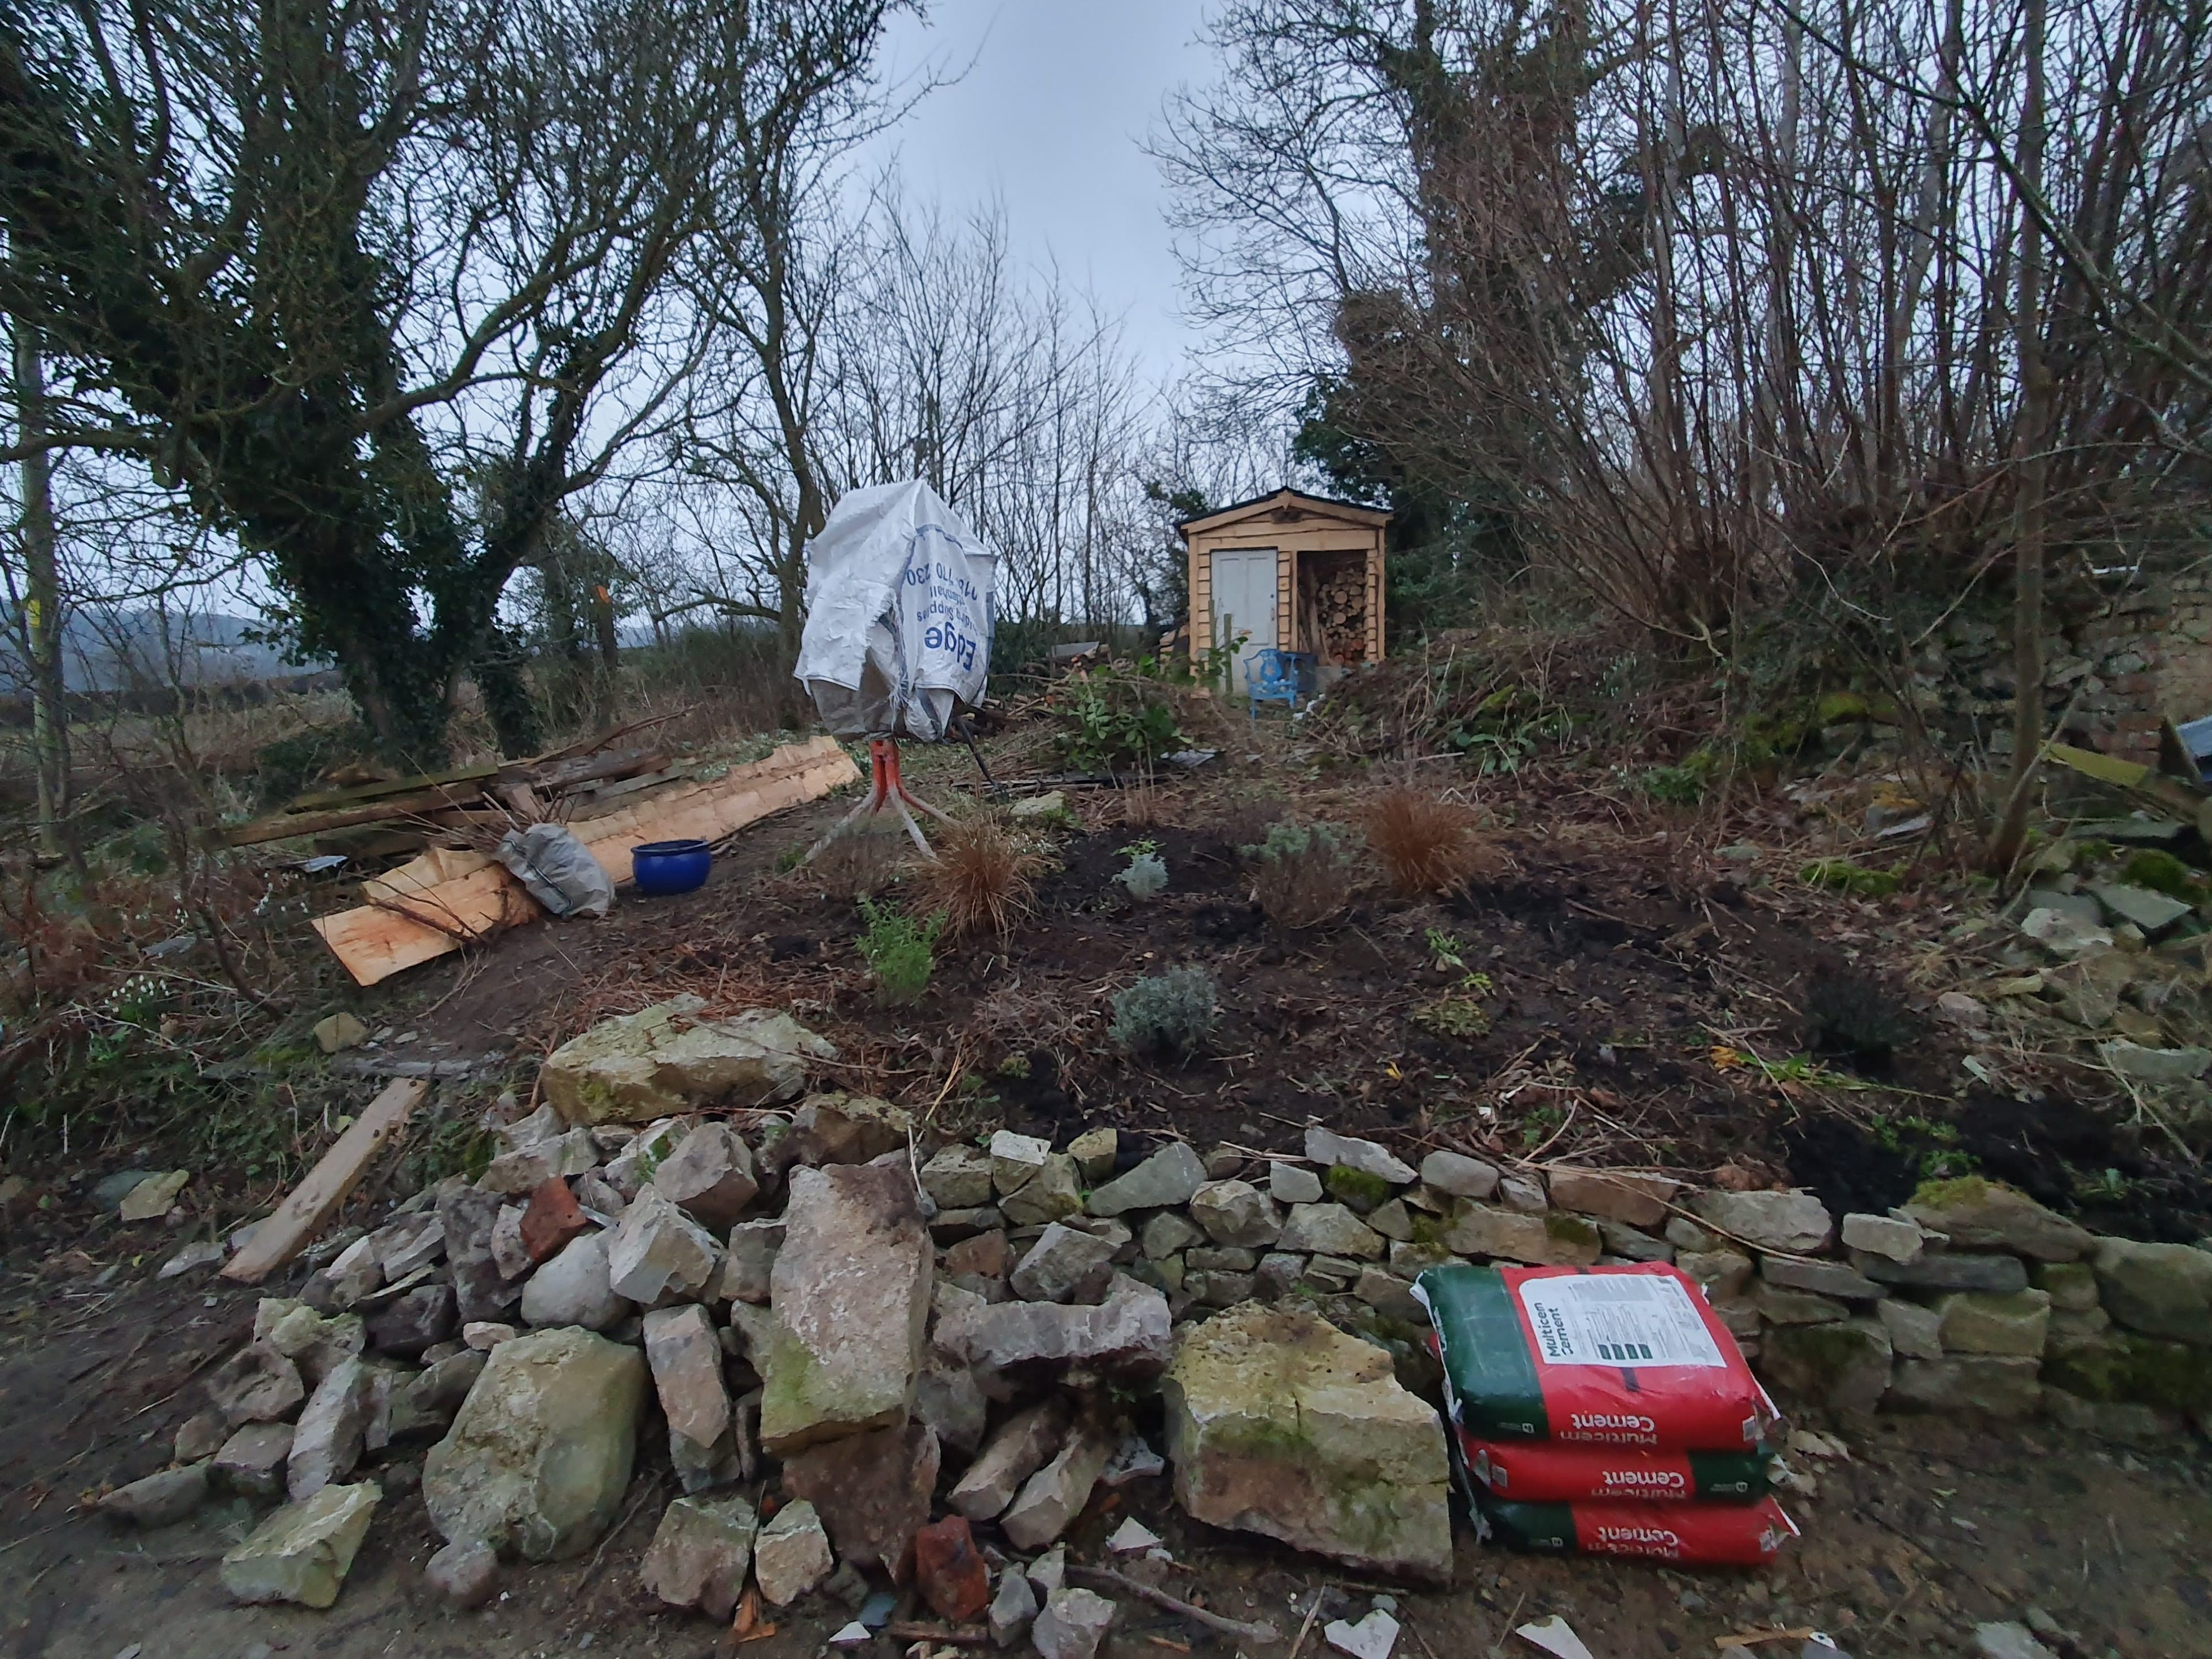
The next step will involve finishing off the drystone wall, putting in steps and a path. But at least we’ll have some flowers in the spring.
-
Chris’s Big Week Off
Chris is changing jobs, and wisely decided to take off a week between. This has given him some time to focus on some of the jobs that he’s been wanting to get done.
Unfortunately, as I’ve been working, I don’t have many photos of some of Chris’s work, as he doesn’t take any.
He spent a good deal of time on some mechanical mysteries, fixing a broken chainsaw and working on the campervan’s brakes, fan and windscreen wipers. His final bit of mechanics was clambering into the attic to connect up the ventilation, which is nearly ready to go.
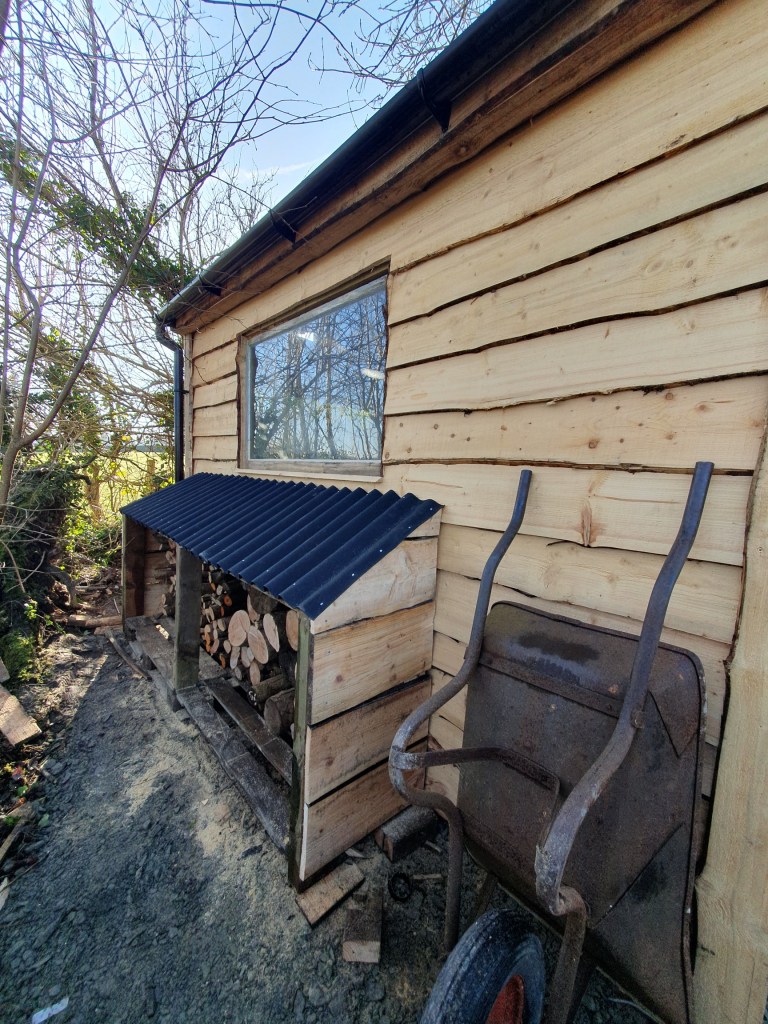
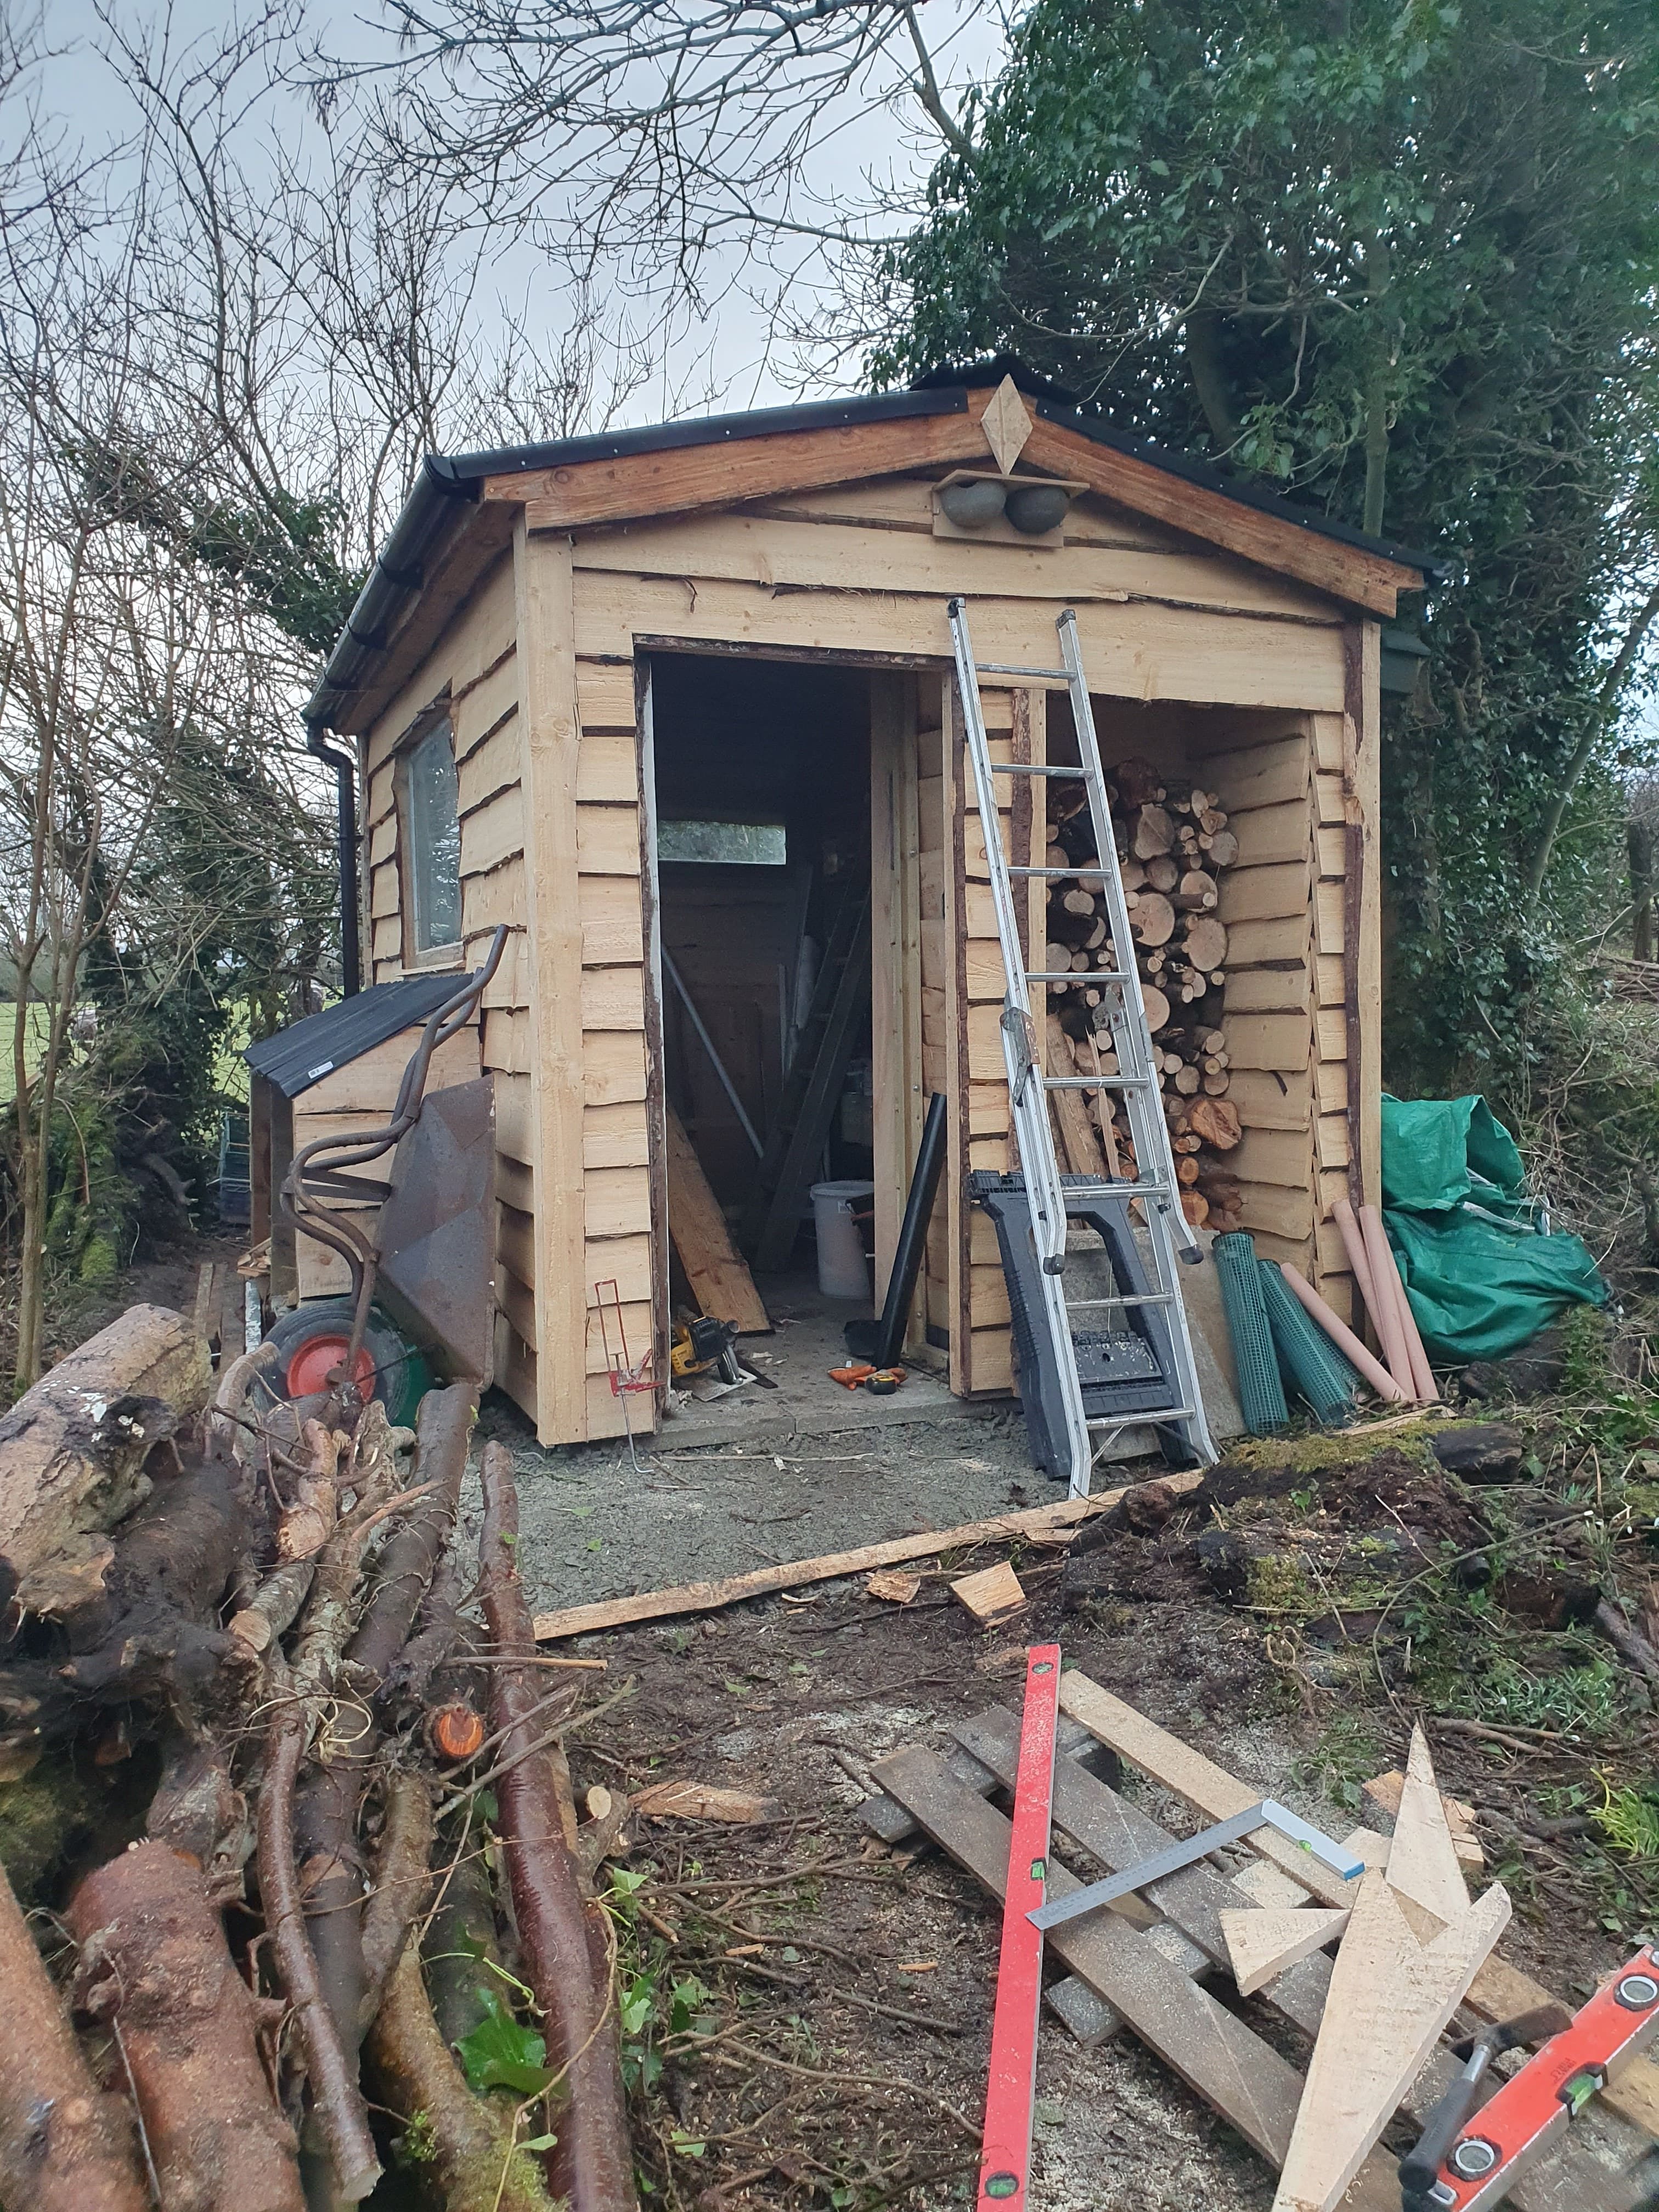
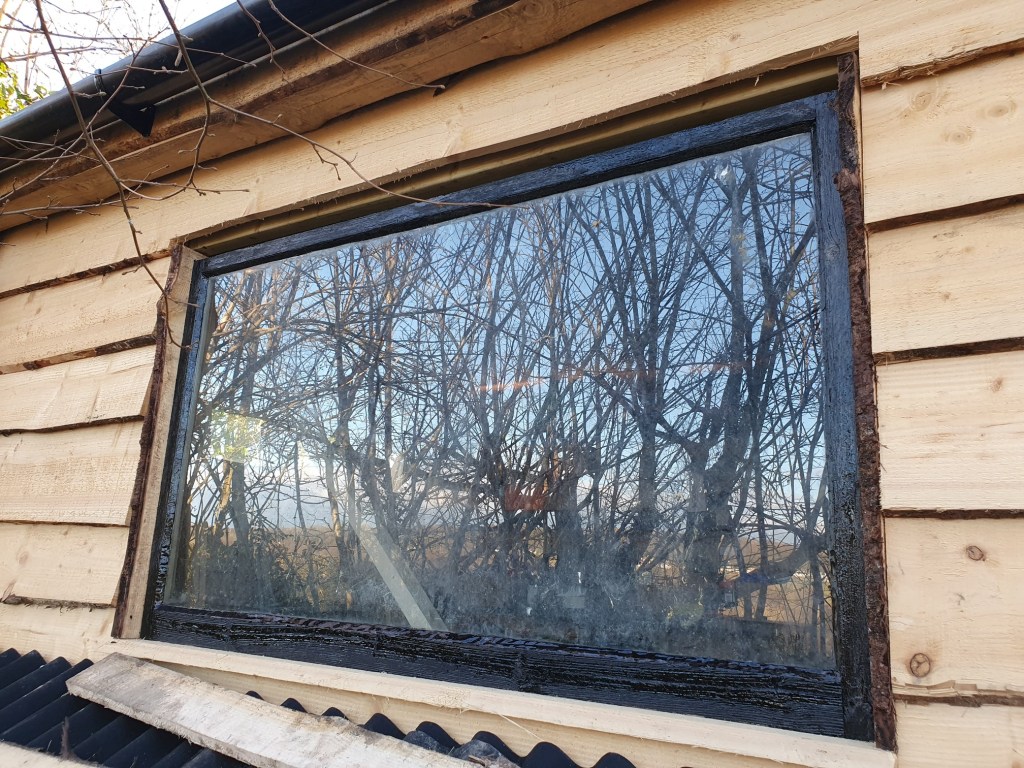
His big priority for the week however was finishing off the shed, including adding a few final boards, attaching trim to the corners and installing guttering. He also used some old wood to create a lean-to wood store, which he filled with wood from the garden that he’s cut into logs using the chainsaw. Inside he installed the final window and my new swallow nest box.
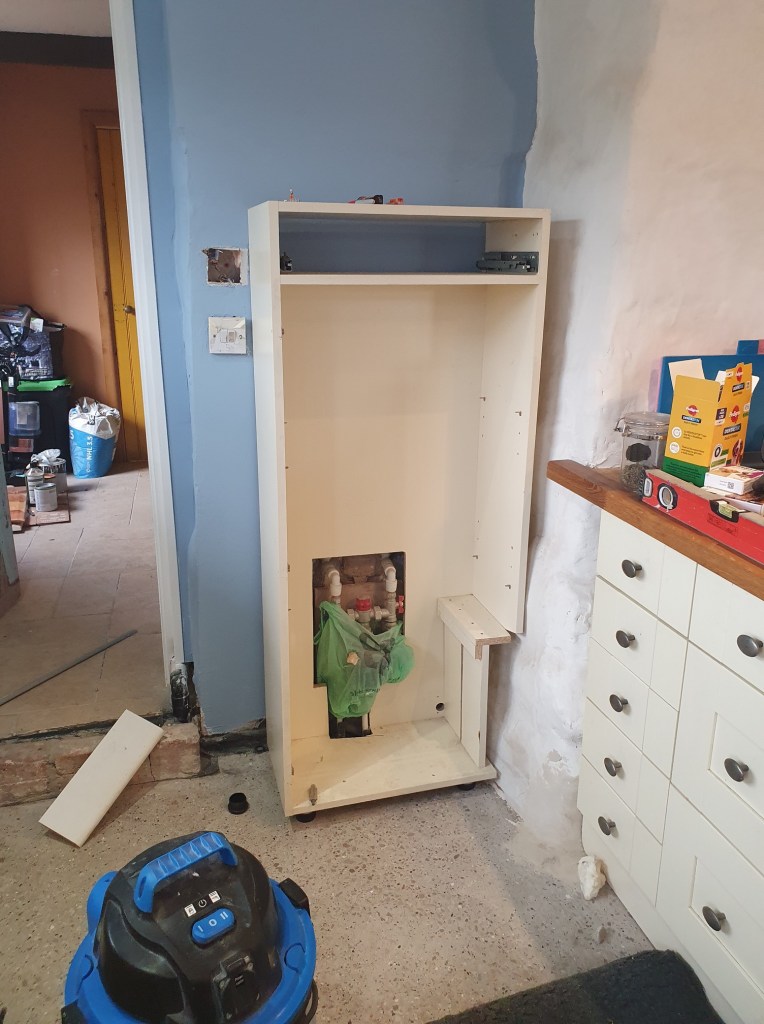
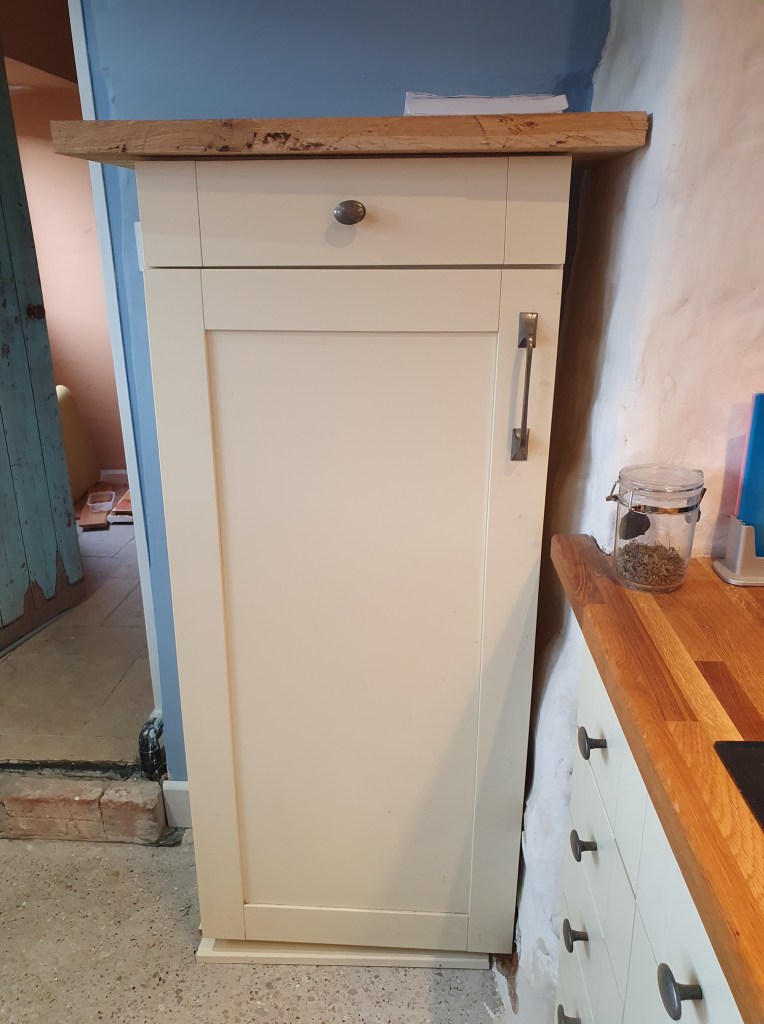
Inside the house he properly installed our final kitchen cabinet, though he’s now given himself an added job of cutting down some spare worktop to make a top.

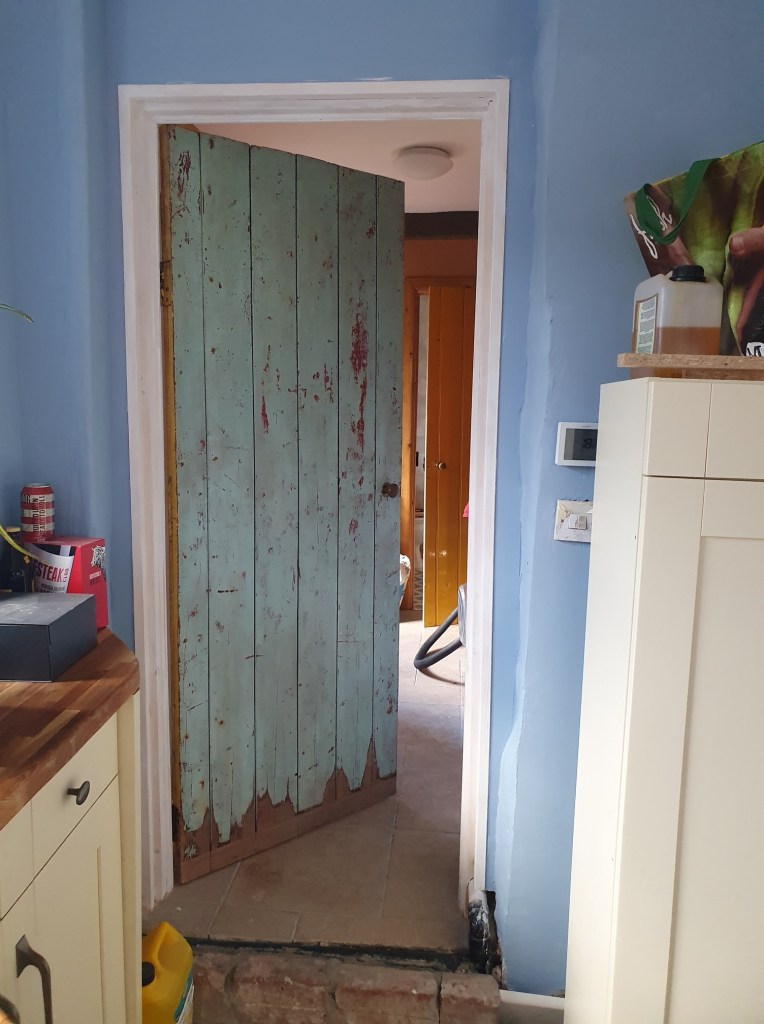
On my lunchbreak I managed to get enough enthusiasm to prime and paint the kitchen doorway.
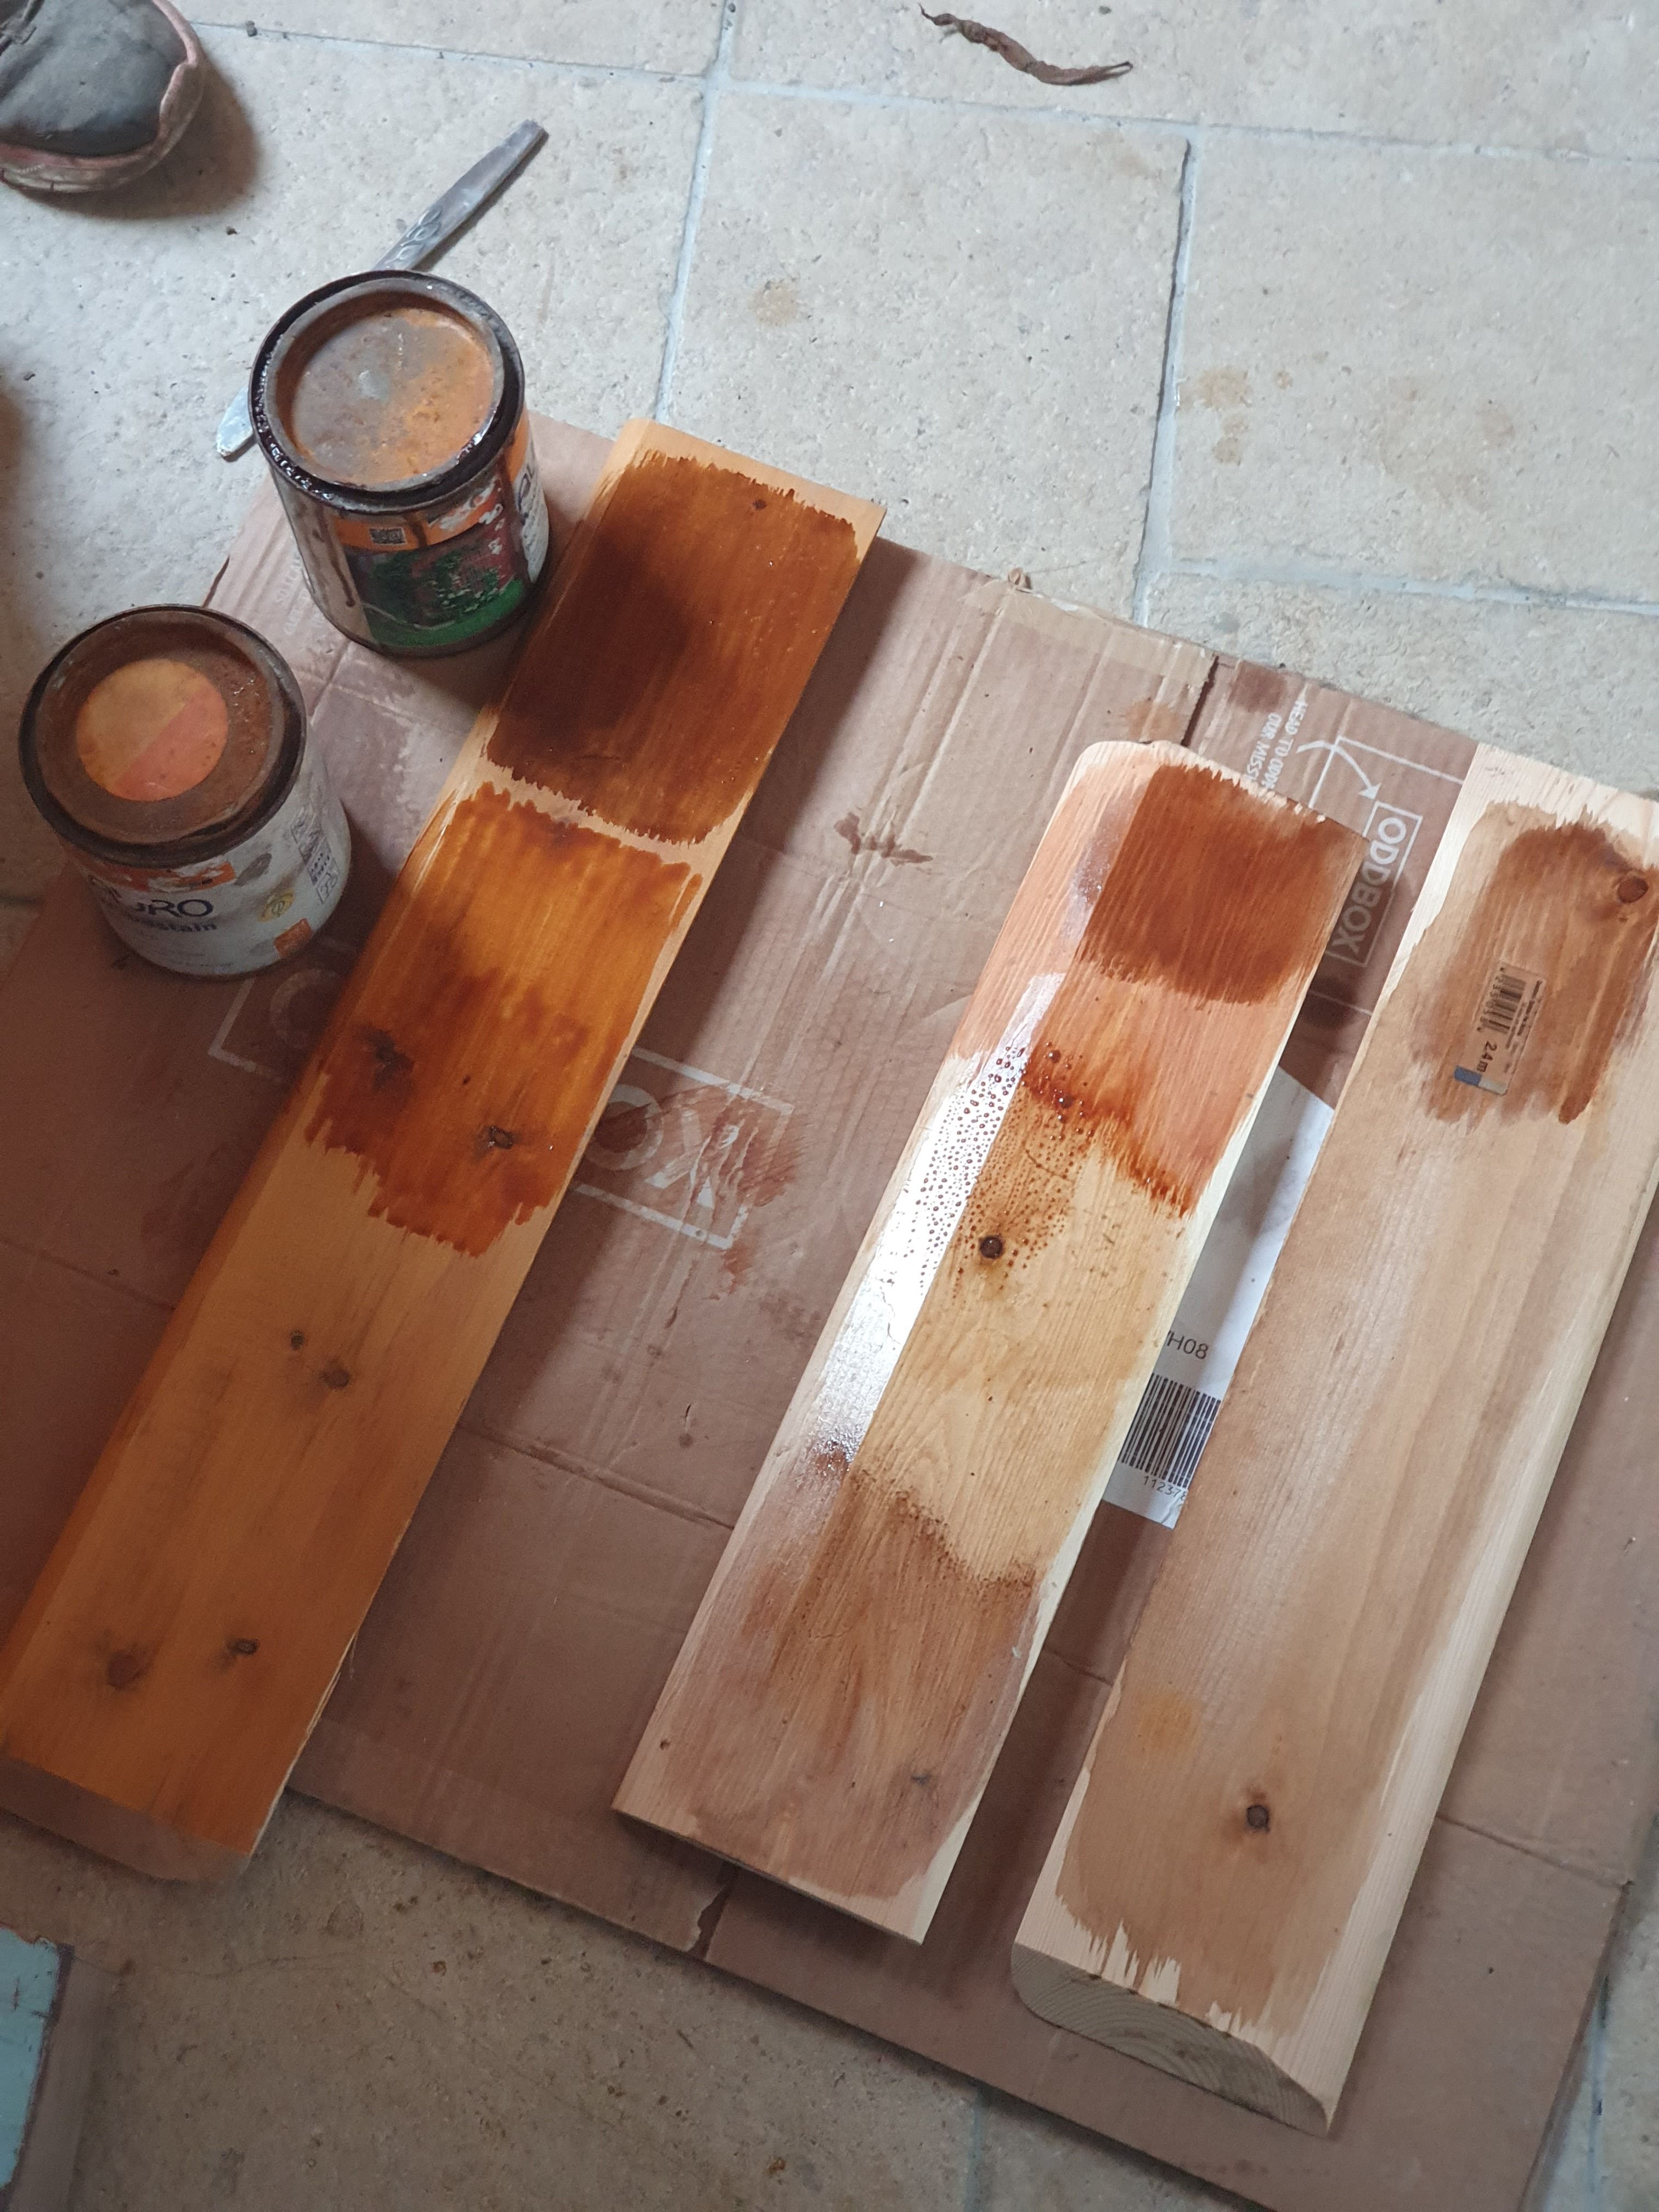
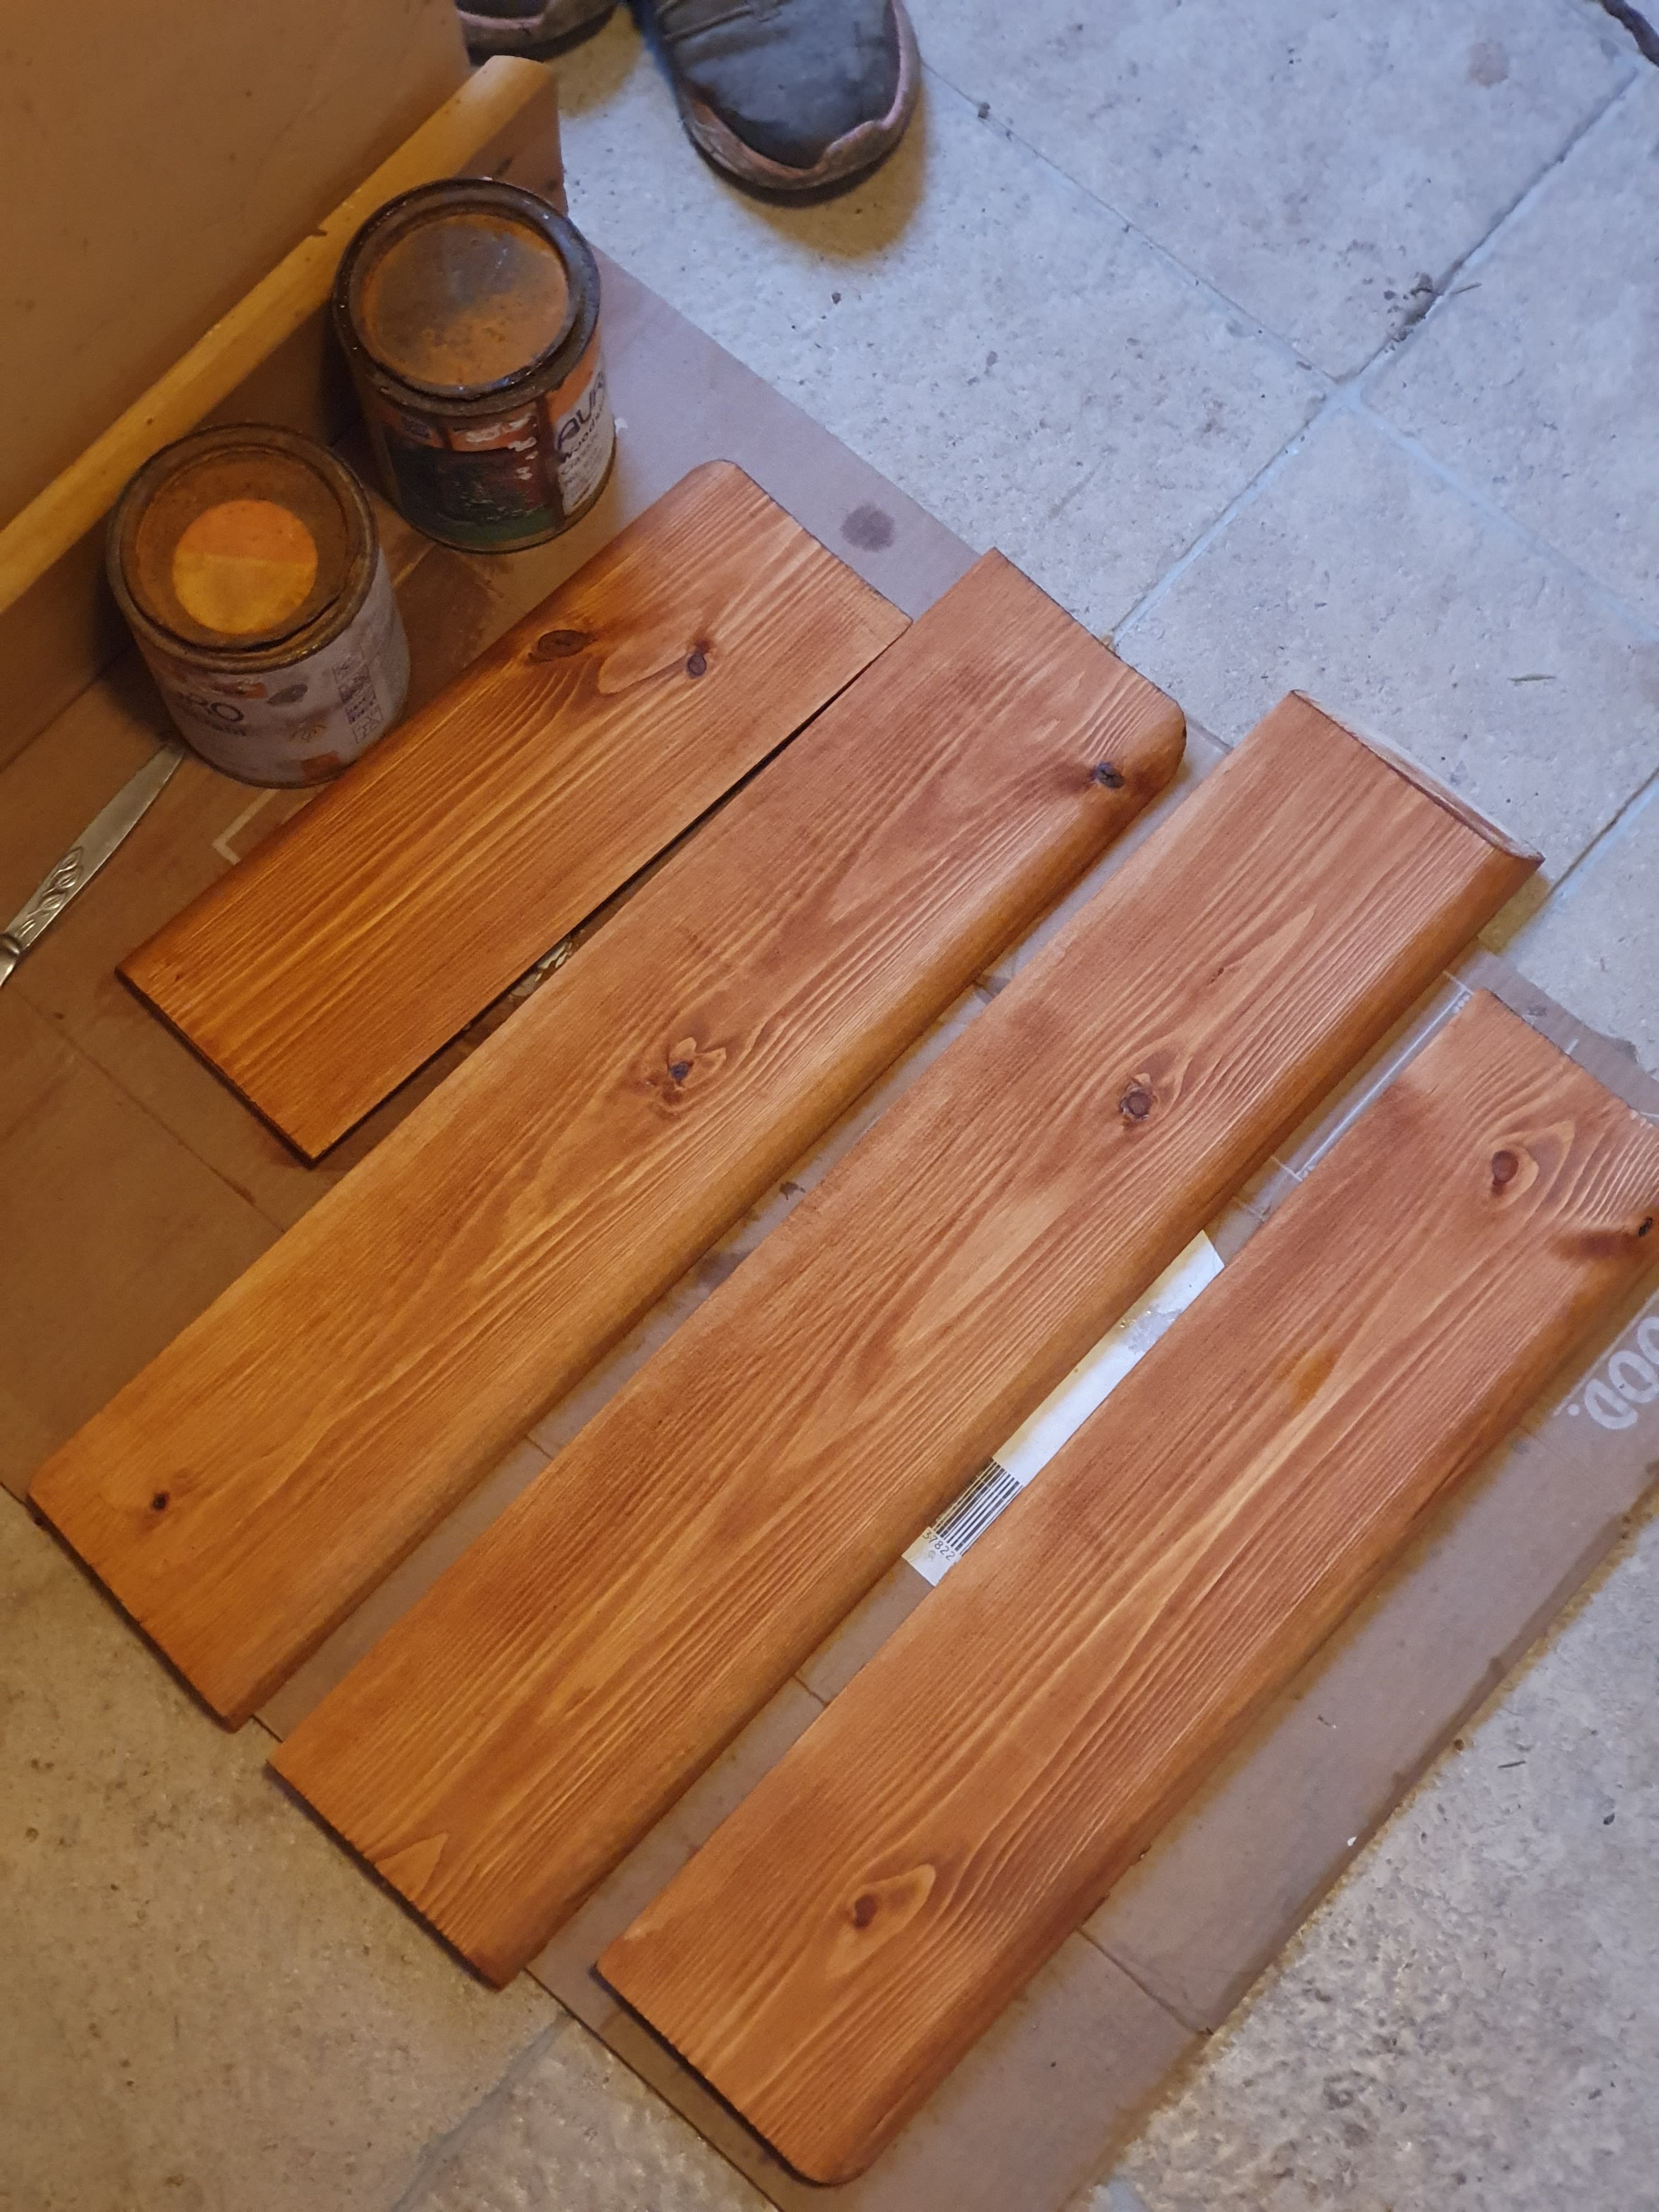
I also spent a long time playing with wood stain. Having cut half the skirting for the utility, and then run out of wood, I’d stained it with some wood stain from our collection. Recently having gotten more wood and cut the final few pieces, I looked for the matching wood stain. But after much trial and error I had to conclude it had been thrown out.
So then I started to see what colours I could combine to make the old and new skirting match. I’ve settled on a reddish undercoat for the new skirting, and then going over everything with a brown stain, not ideal but hopefully it’ll be fairly close to matching.
My other indoor job was filling, sanding and staining the architrave at the back of the kitchen worktop, a fiddly and time-consuming job.
I also spent some time cutting out templates for the downstairs windowsills, which will make the job much easier given all our wonky walls.

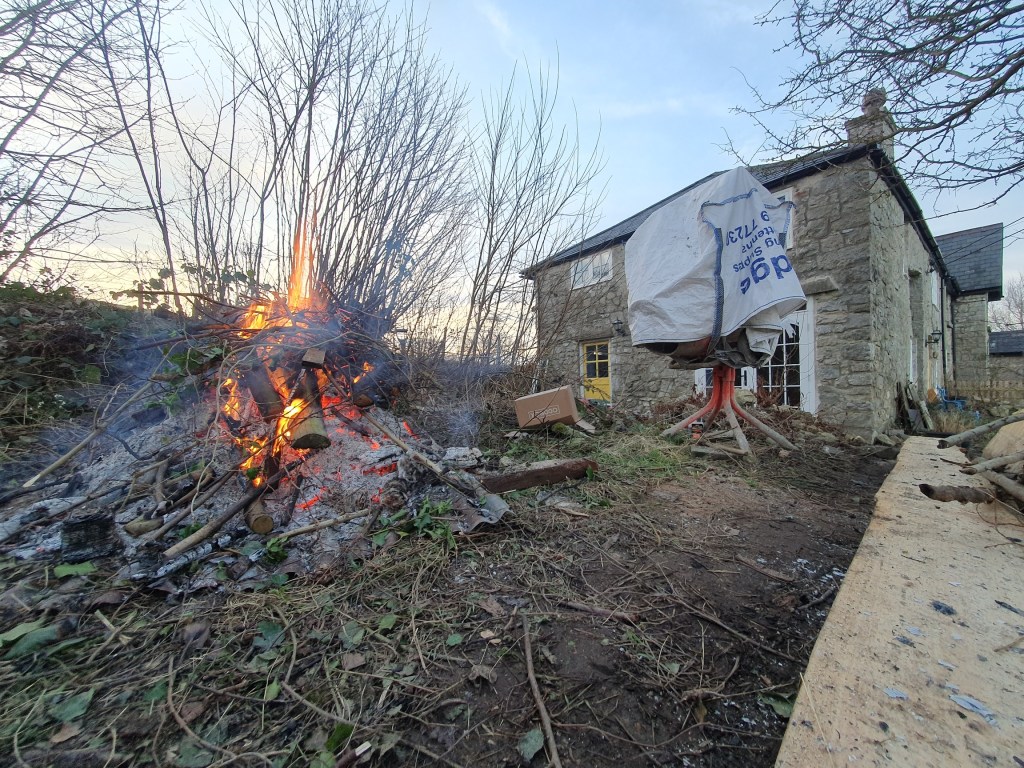
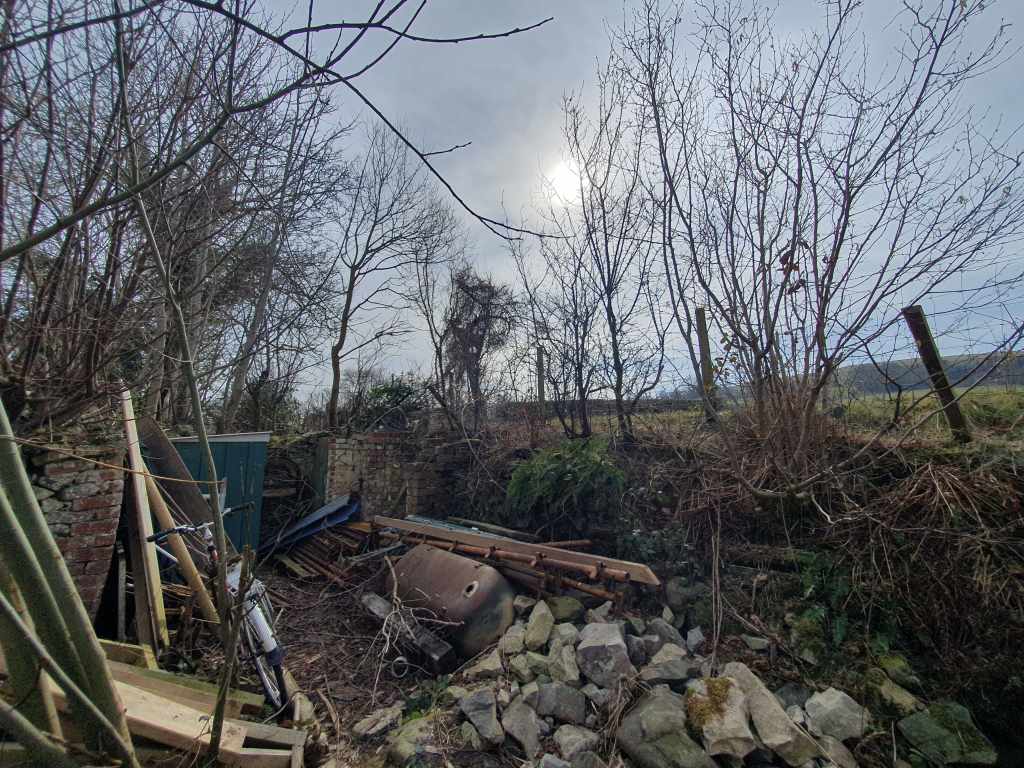
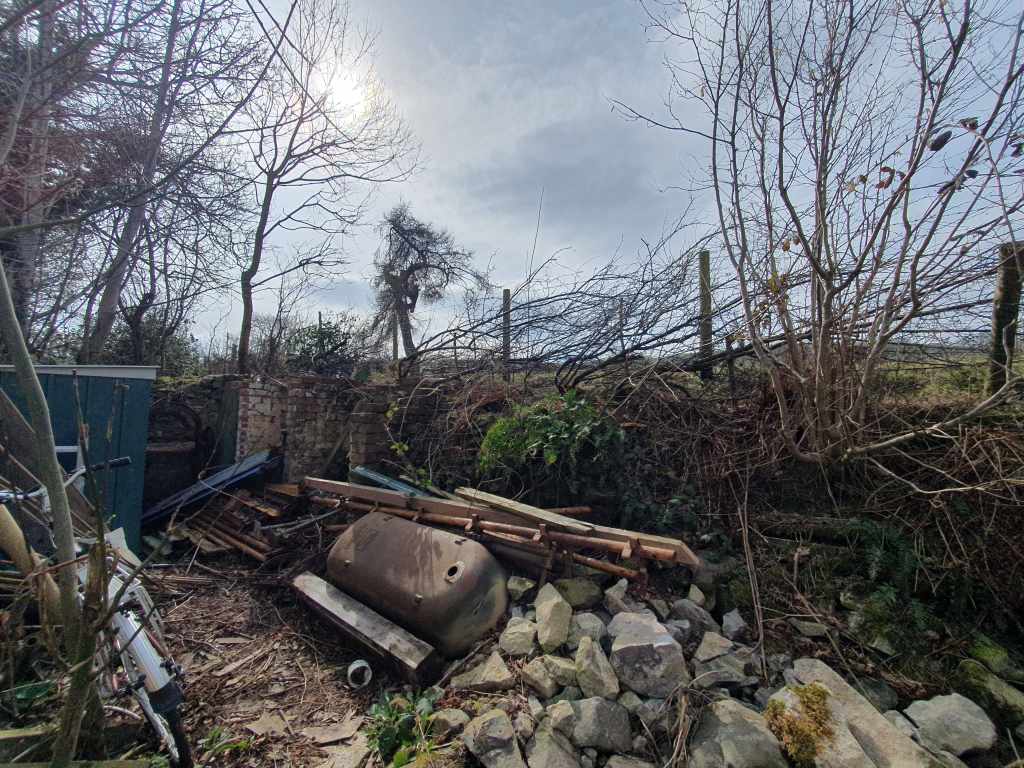
Having slowly accumulated a lot of rubbish in the garden we decided to have a tidy, filling up the car with as much as we could and heading to the recycling center. With most of the rubbish gone, we moved to tackling the piles of wood. While some of the wood was being saved for fires, we had plenty of brash from hedge laying, trimming and tree clearing, so we decided to have a bonfire.
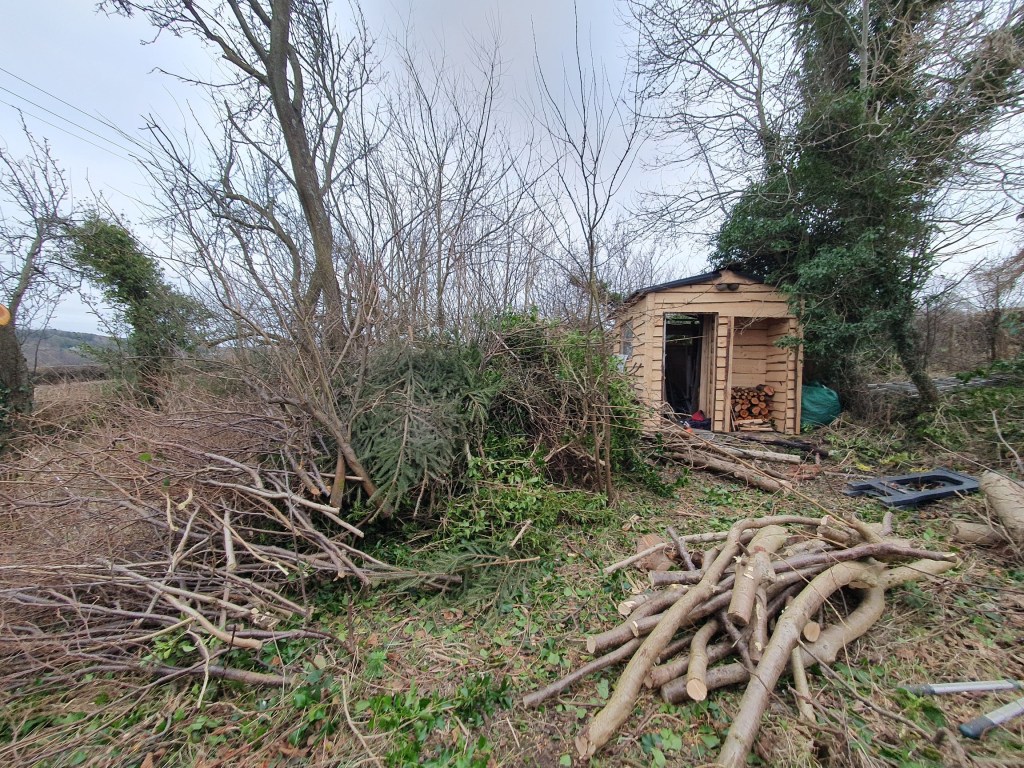
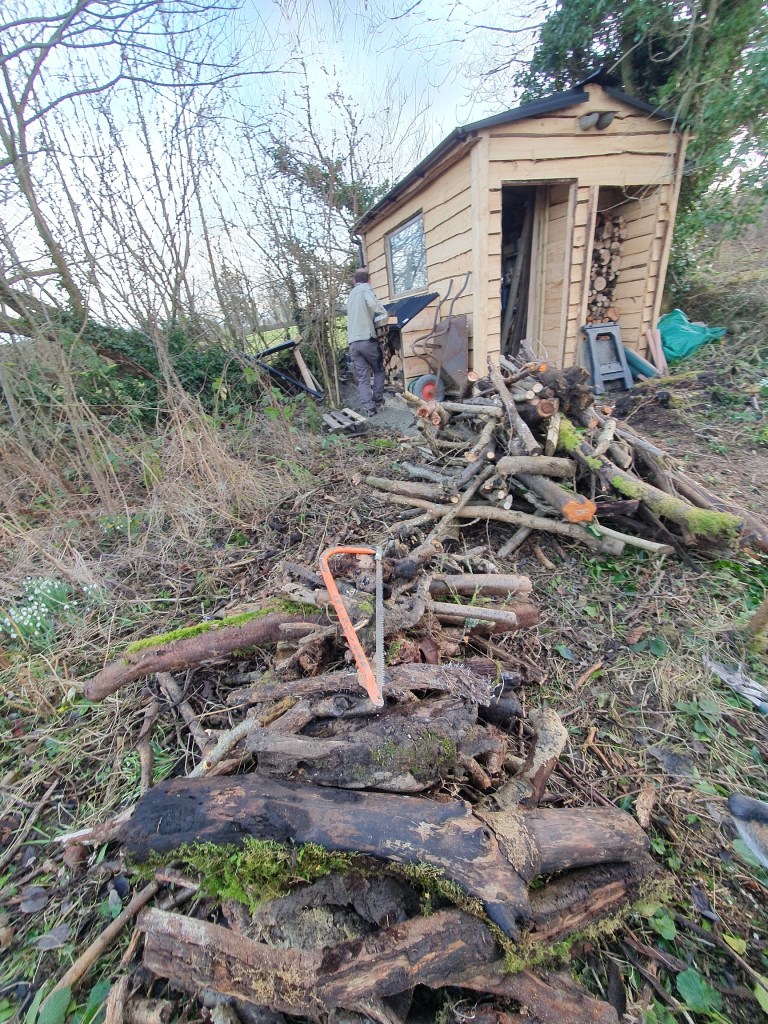
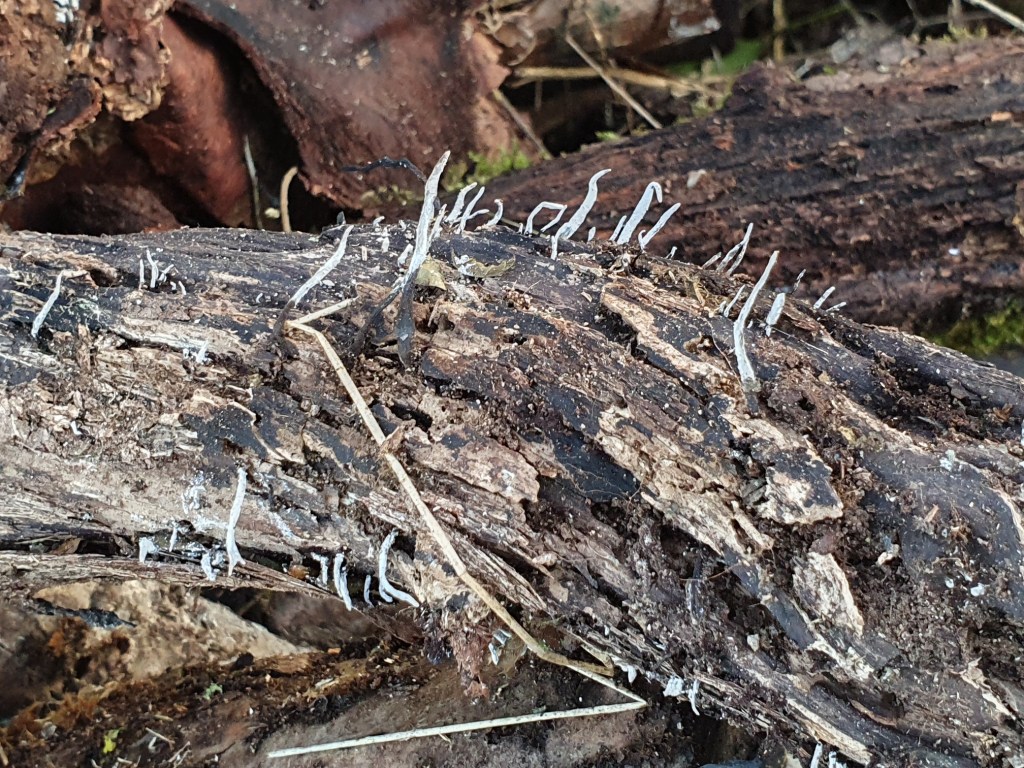
We managed to get through the huge piles, scattered around the garden. What remains is wood to be cut up for firewood, and another pile I saved to keep for a habitat pile, as it was full of fungi and other interesting things.


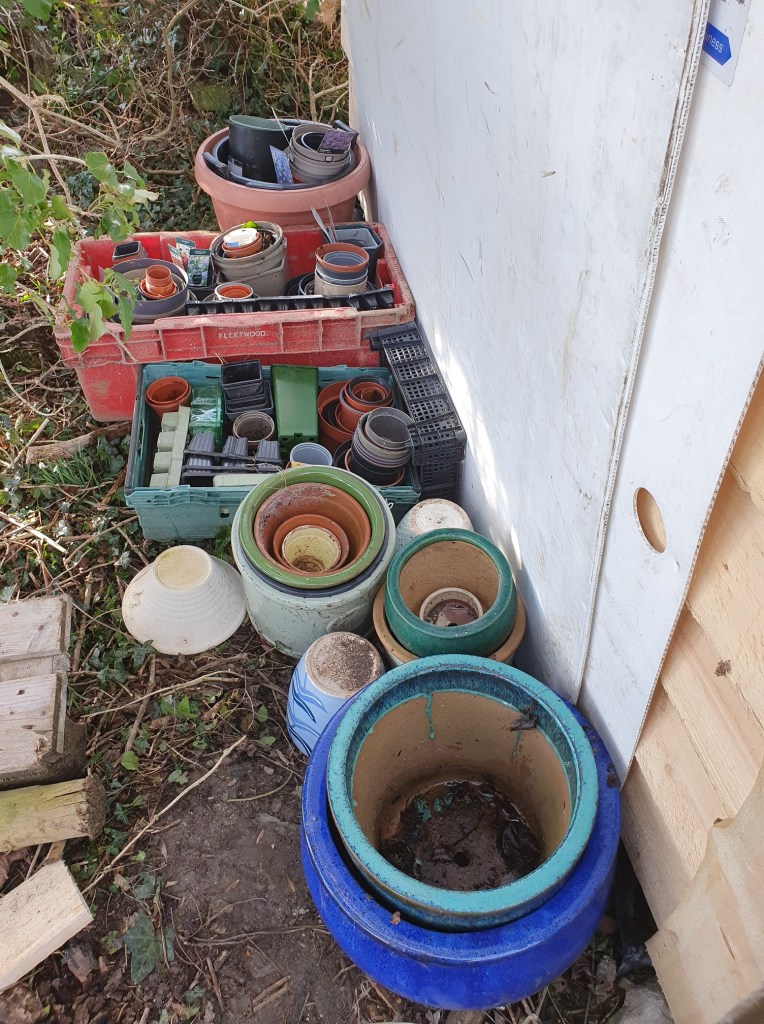
At the back of the shed I gathered together our various pots, which have been scattered around the garden since moving, and often go walkabout during high winds. Hopefully they’ be a little more protected here.
There’s a long way to go with the garden, but it’s nice to start seeing it looking a little more orderly and less chaotic. The real change will come when we build our patios, but we need some drier weather to start that job.
-
Subscribe
Subscribed
Already have a WordPress.com account? Log in now.
