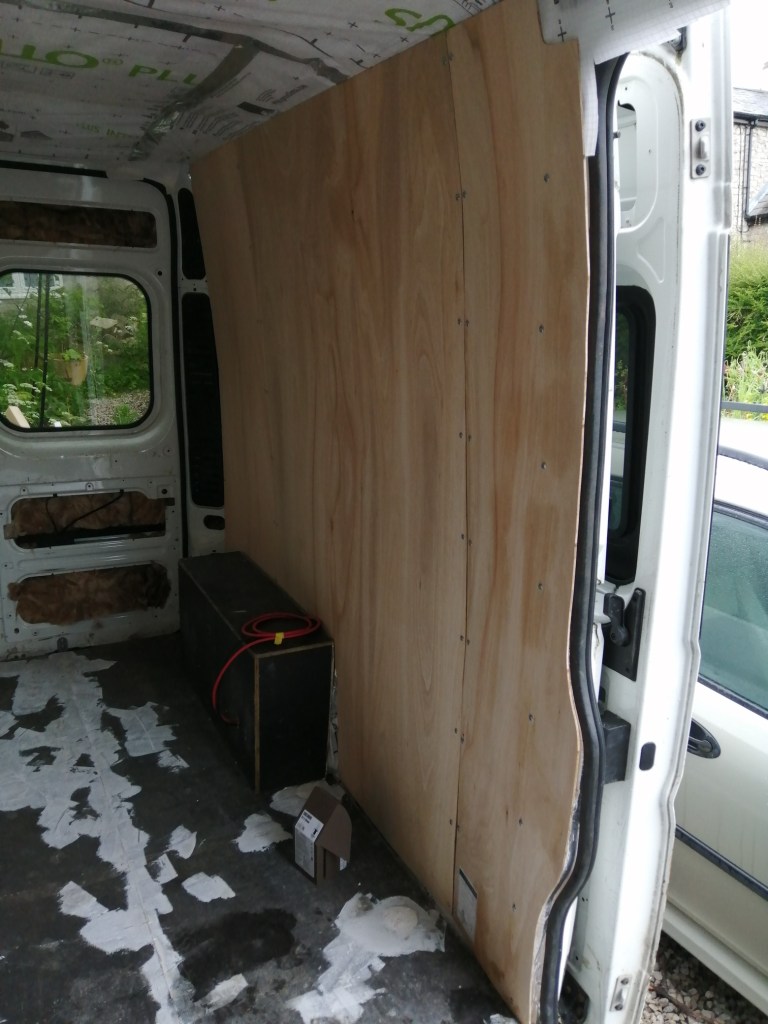
Now the van is insulated it’s time to make it look less like a van and more like somewhere you can live. Our first job was cutting and attaching thin sheets of plywood to the wall. We’re a little undecided whether to paint them or just varnish, so for now we’ve been as regular as possible with the screws to keep it looking tidy if we go with varnish. There are some some gaps between the boards, which will need filling. The one patch of wall we’ve left is the bathroom, which will need something more waterproof to line it.

While Chris installed the electric hook up in the van side, I filled any holes or dips on the floor, before sanding it flat.
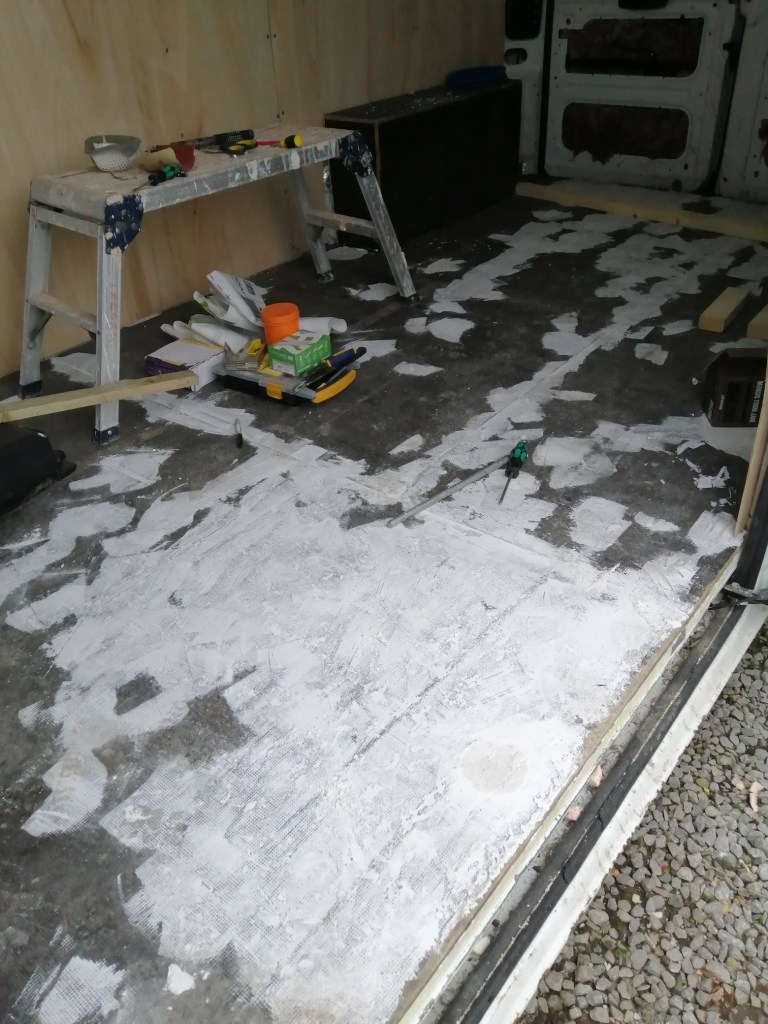
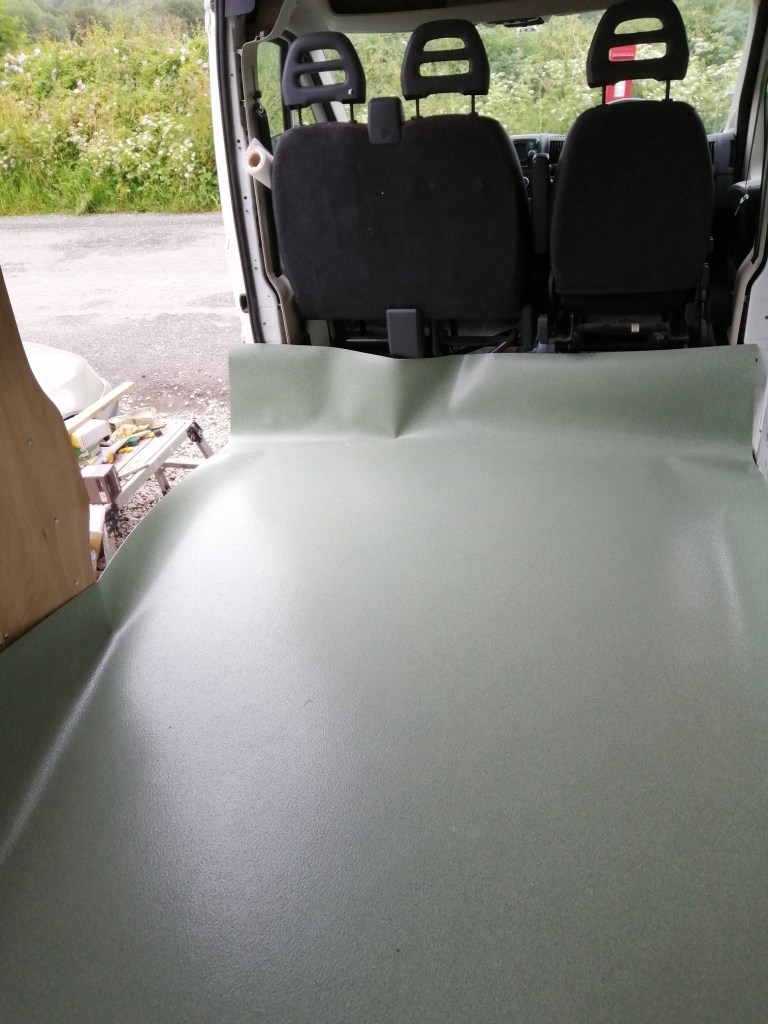
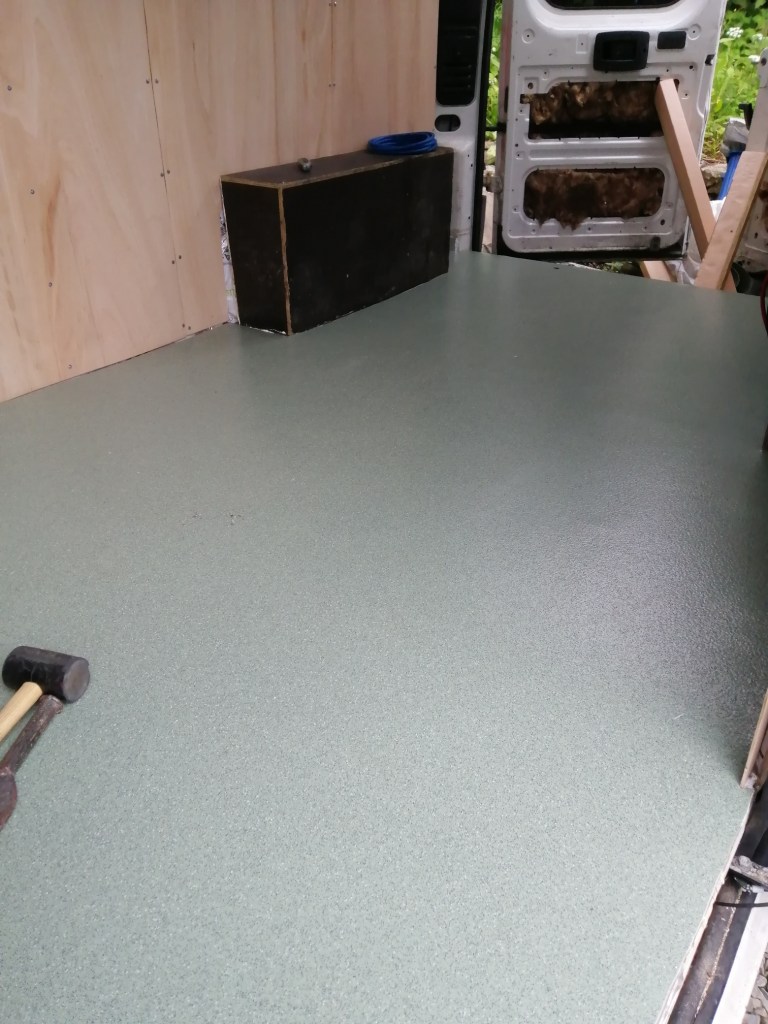
With the floor a little less bumpy we unrolled the lino and cut it shape.
We then got on with building the storage. We’d decided to have a raised floor under the bed/benches for extra storage. To build this, Chris had found a design online and adjusted it to our needs. With thick plywood on top to act as a suspended floor we’ll next build benches on top, with a table that can convert into a bed. Sounds complicated.


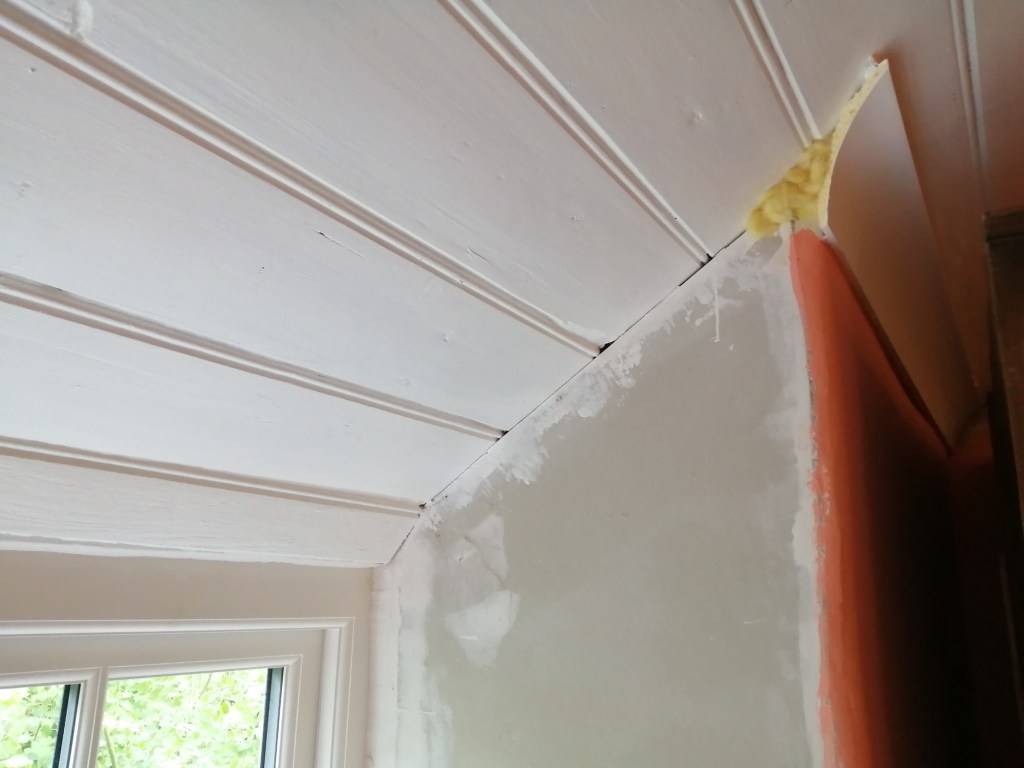
Inside the house I’ve spent a few evenings faffing around with the coving over the windows. It’s not an easy job with wonky walls and a slanting ceiling, but finally all the coving is attached, and will just need filling, and sanding and caulking…. Nearly there.

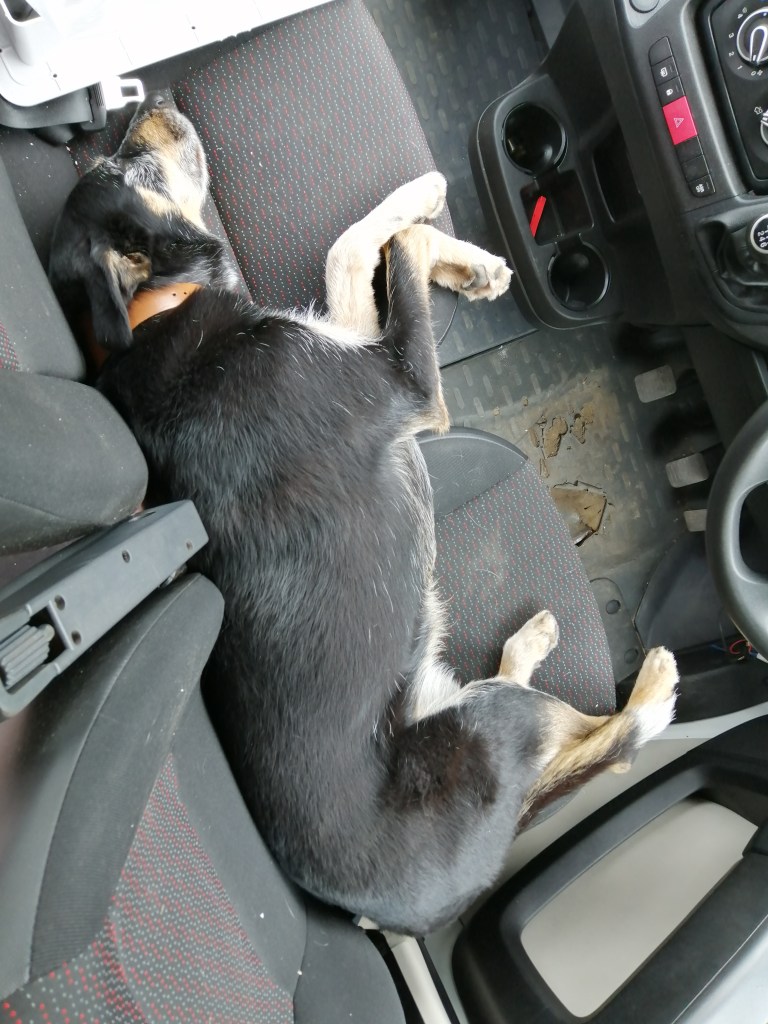
The dog has decided he doesn’t like leaving us unsupervised in the camper, so the compromise is he sleeps on the front seat while we work behind. It doesn’t look as comfortable as being asleep on the sofa, but at least it means he’s getting used to being in the van.

Leave a comment