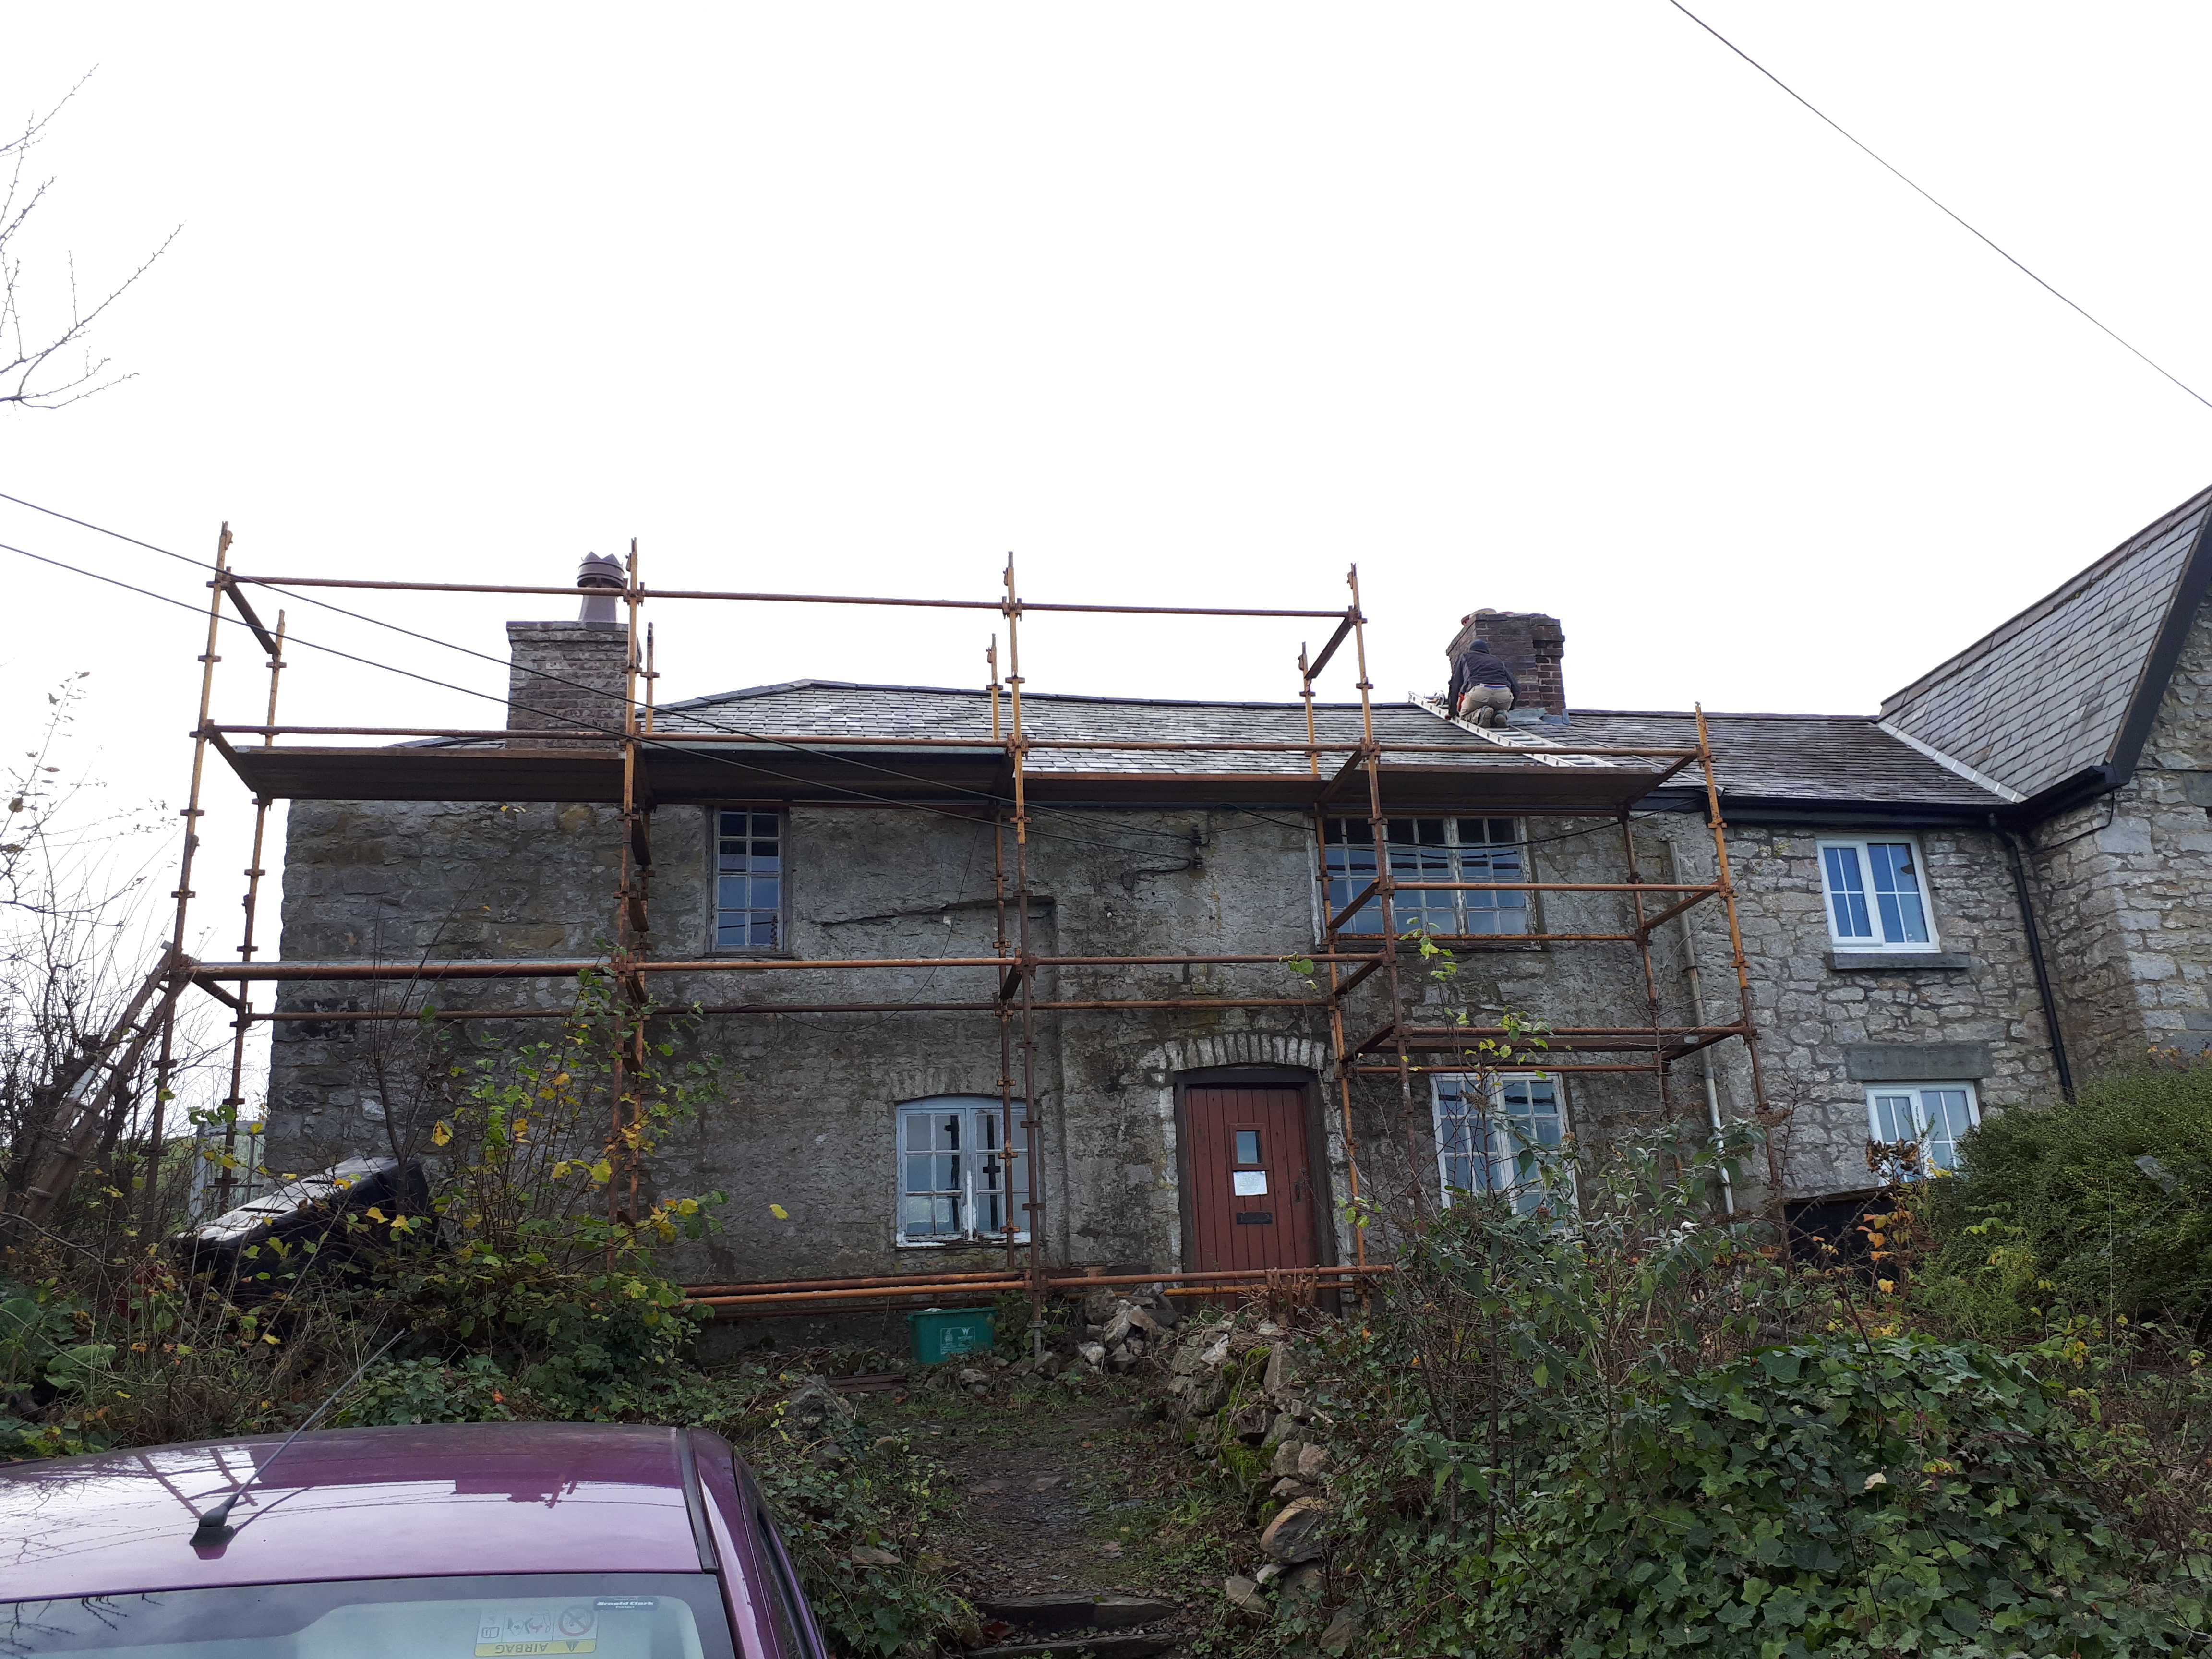
Right back at the start of our renovation, one of our first jobs had been to collect a van-full of secondhand scaffolding. From unloading the van, to putting it up, to taking it down, moving it and putting it up again, assembling and disassembling the scaffolding has been one of the most exhausting parts of the renovation. Not only that but it was the activity I was most convinced would lead to broken bones. After all clinging to a rusty pole with one hand while hitting another rusty pole with a lump hammer in the other hand, all while several meters off the ground, just seems like it should end in disaster. Yet here we are, the scaffolding coming down for the last time, and no broken bones. There were, all told, quite a lot of scaffolding related bruises, and one or two near misses, but all bones thankfully intact.
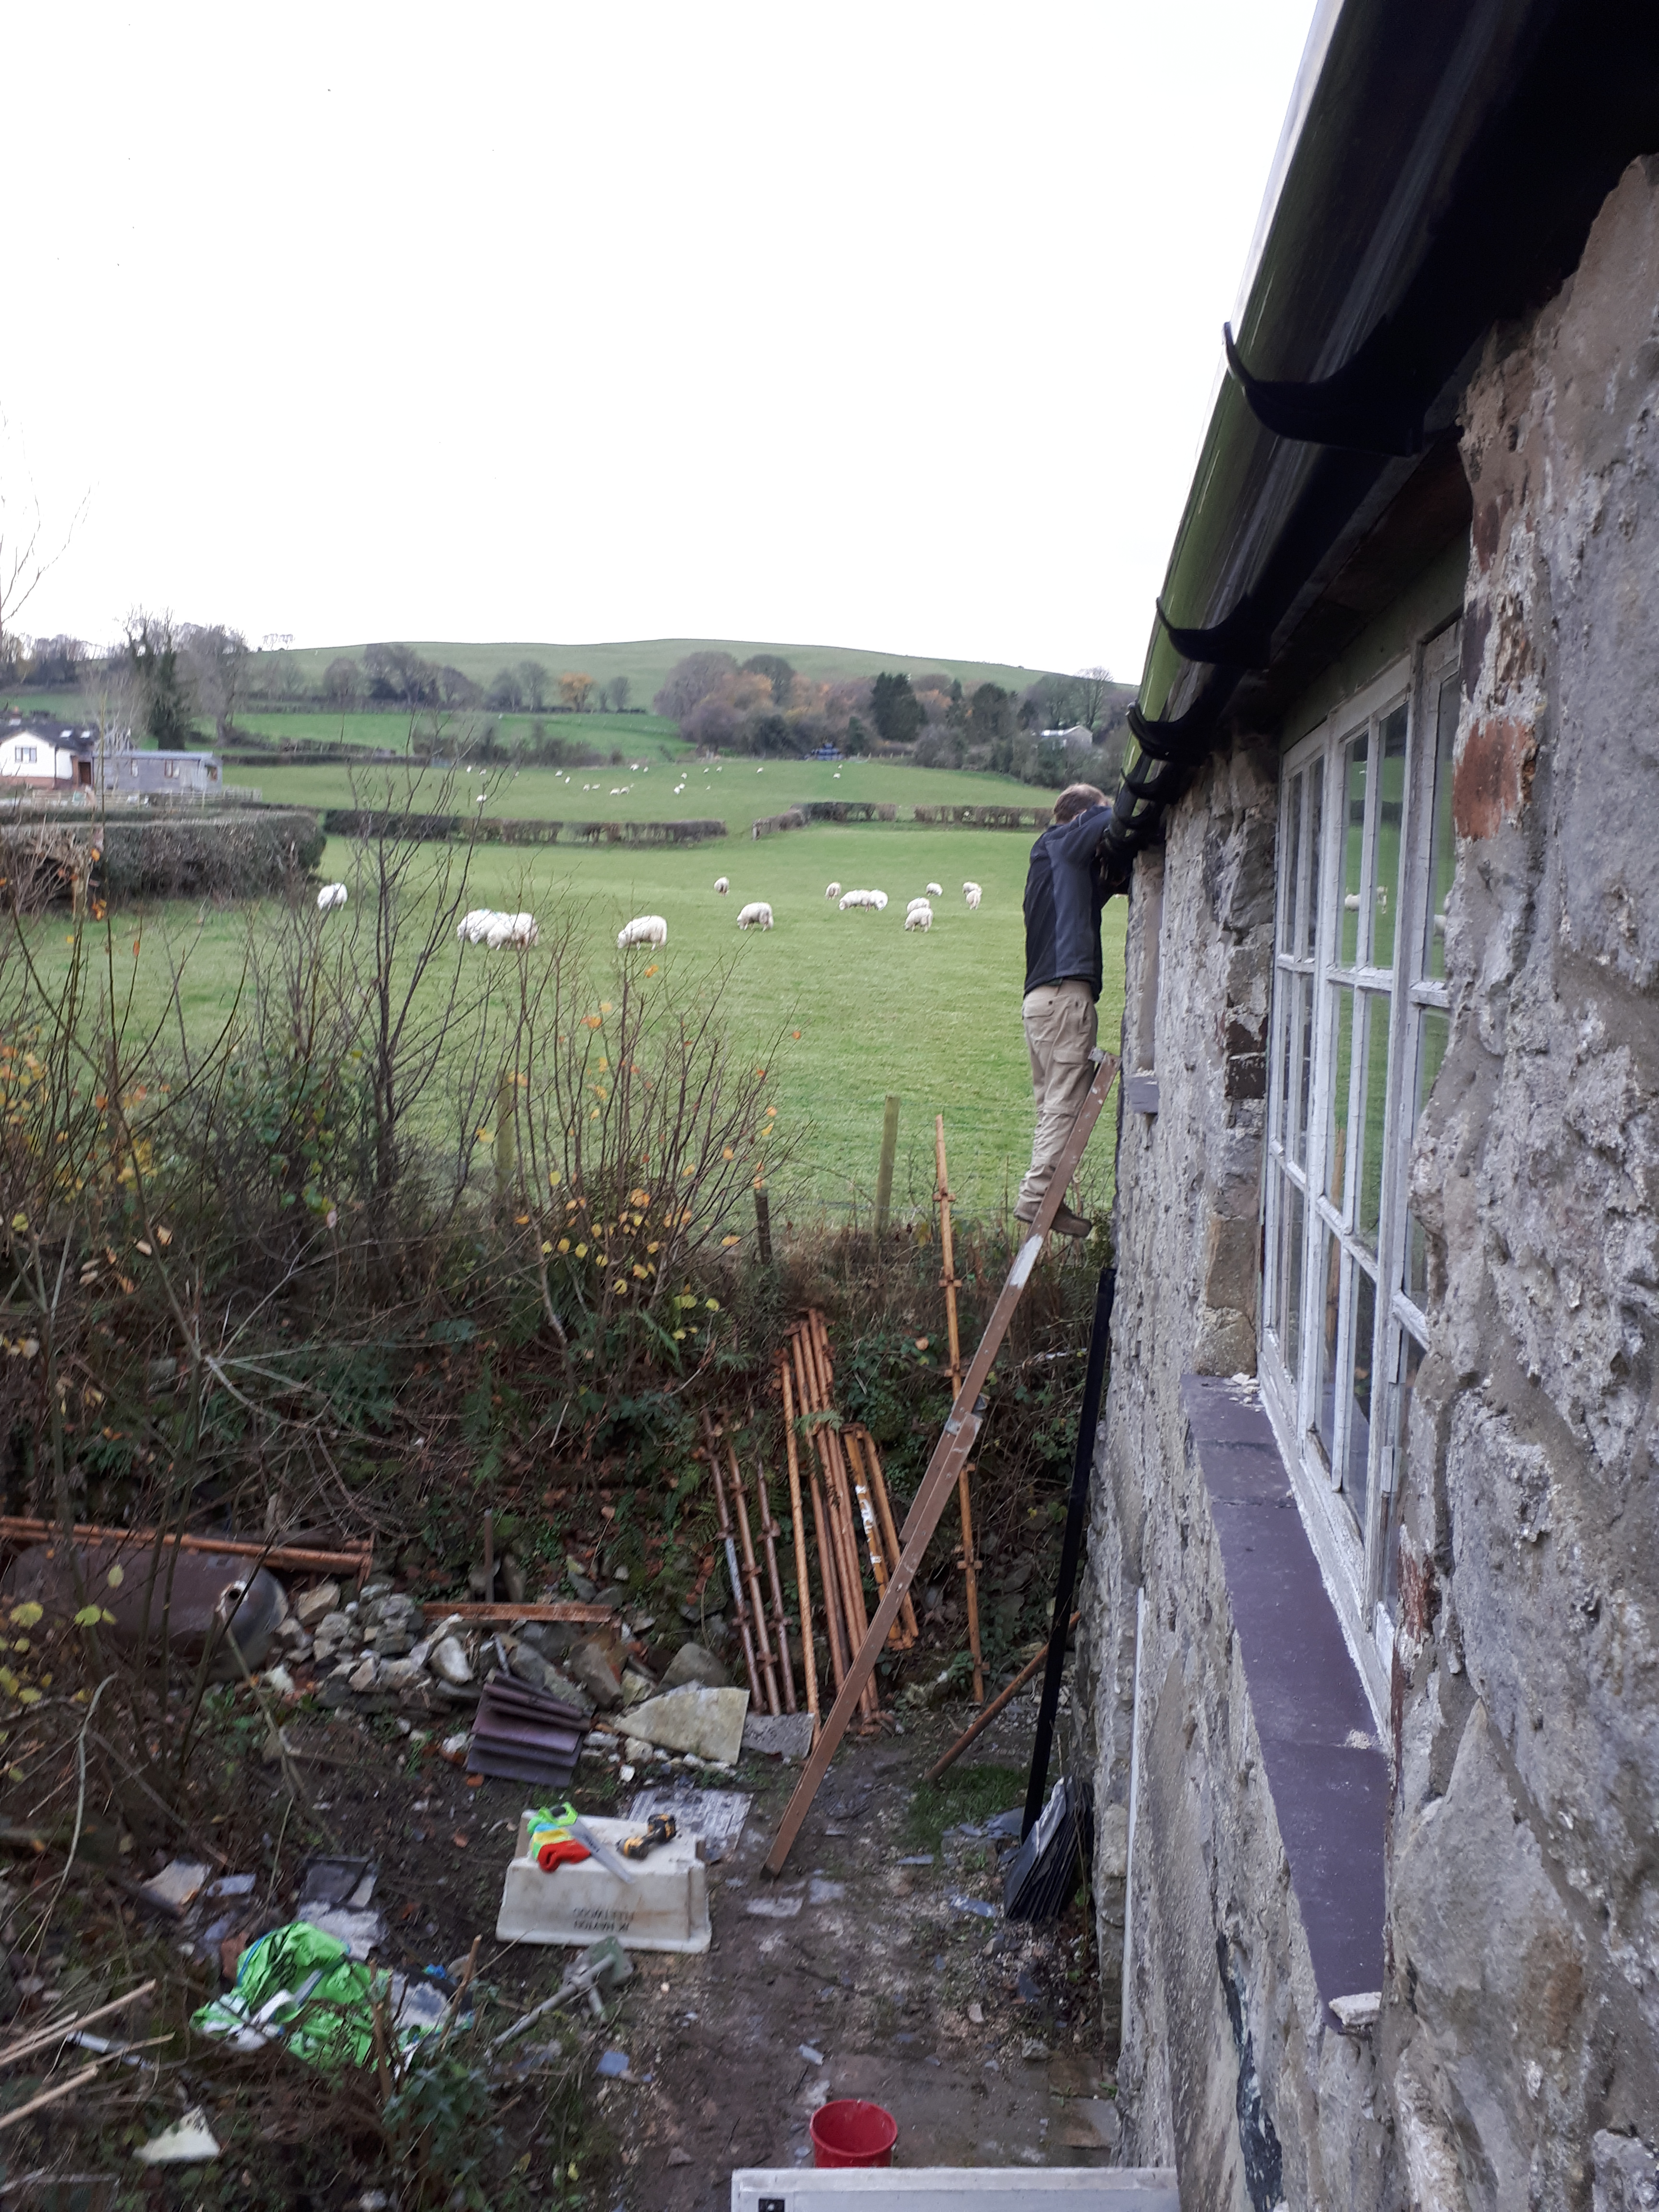
Our final task before taking down the scaffolding was to finish the last of the guttering. Rather than move the scaffolding yet again, we opted for installation via ladder on the side of the house. This was the straightest and best bit of guttering we installed, either showing we had significantly improved our skill level, or because this side of the house is the least wobbly (I think the latter).
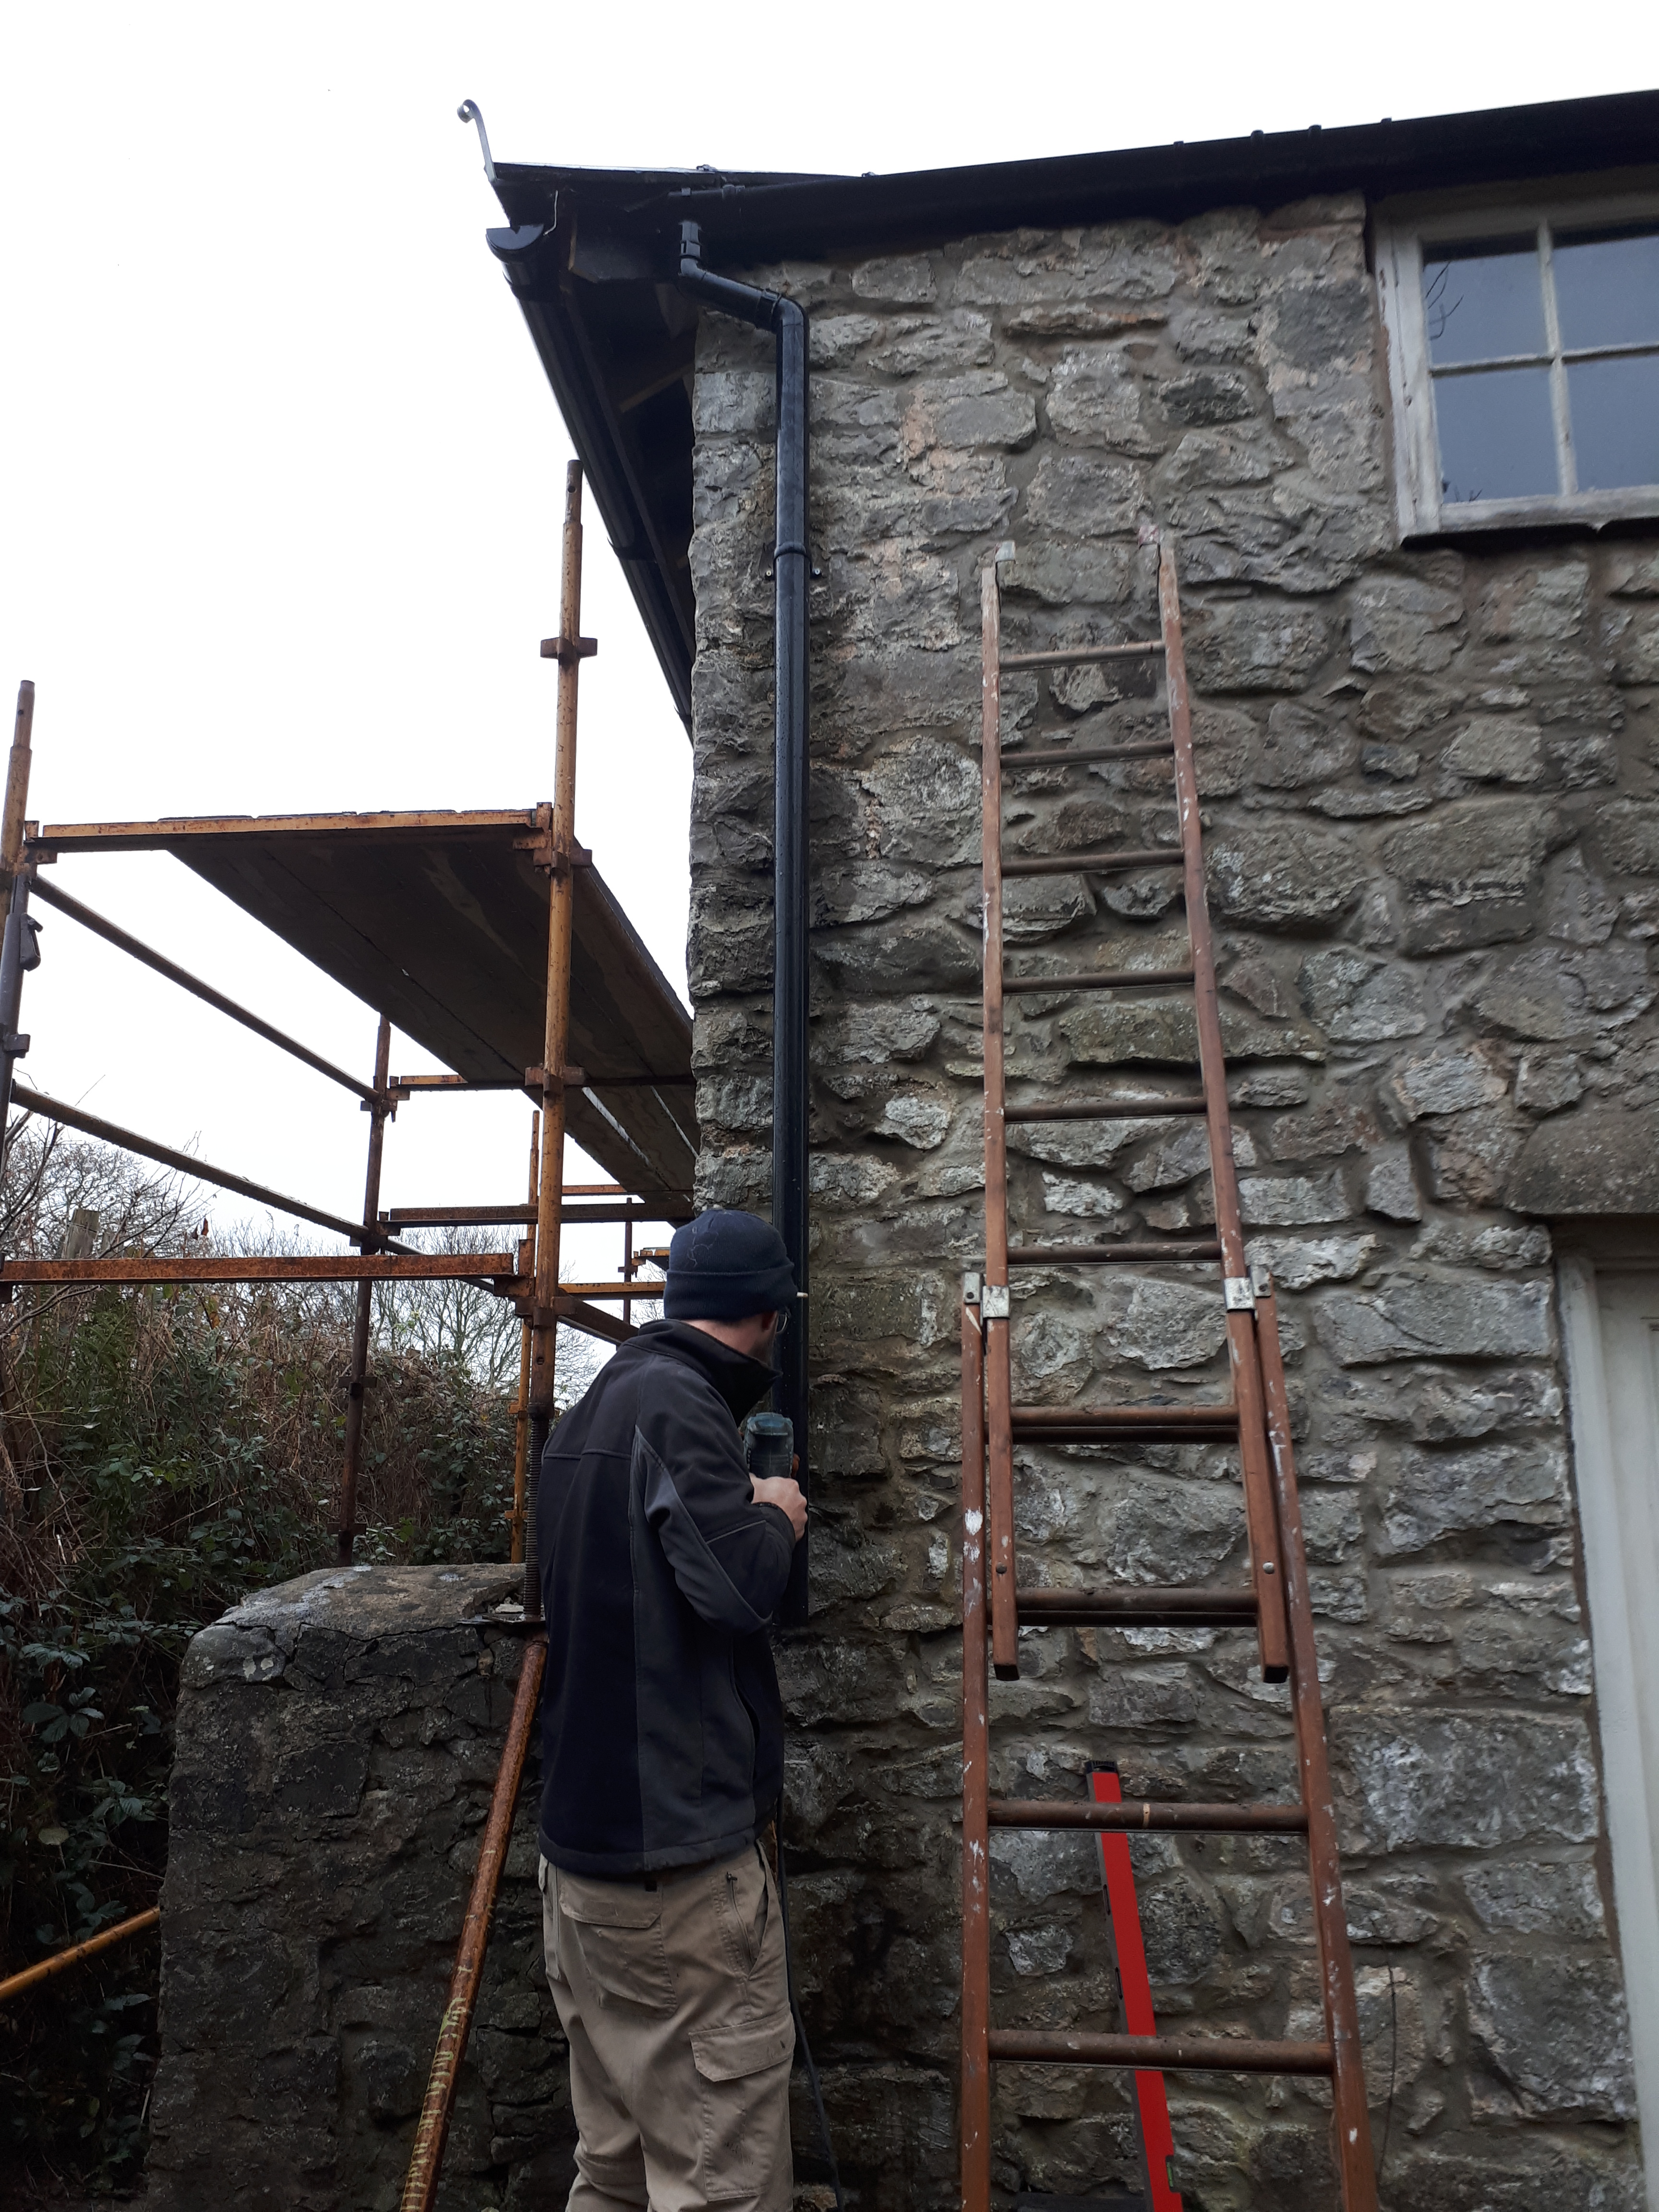
In order to install the downpipes at the front and back we needed to take down the scaffolding. As we no longer need it we will sell the majority, hopeful earning back what it cost us to buy. With the price of renting scaffolding being several hundreds a week, buying it and reselling it once we’re done will have been a significant saving.
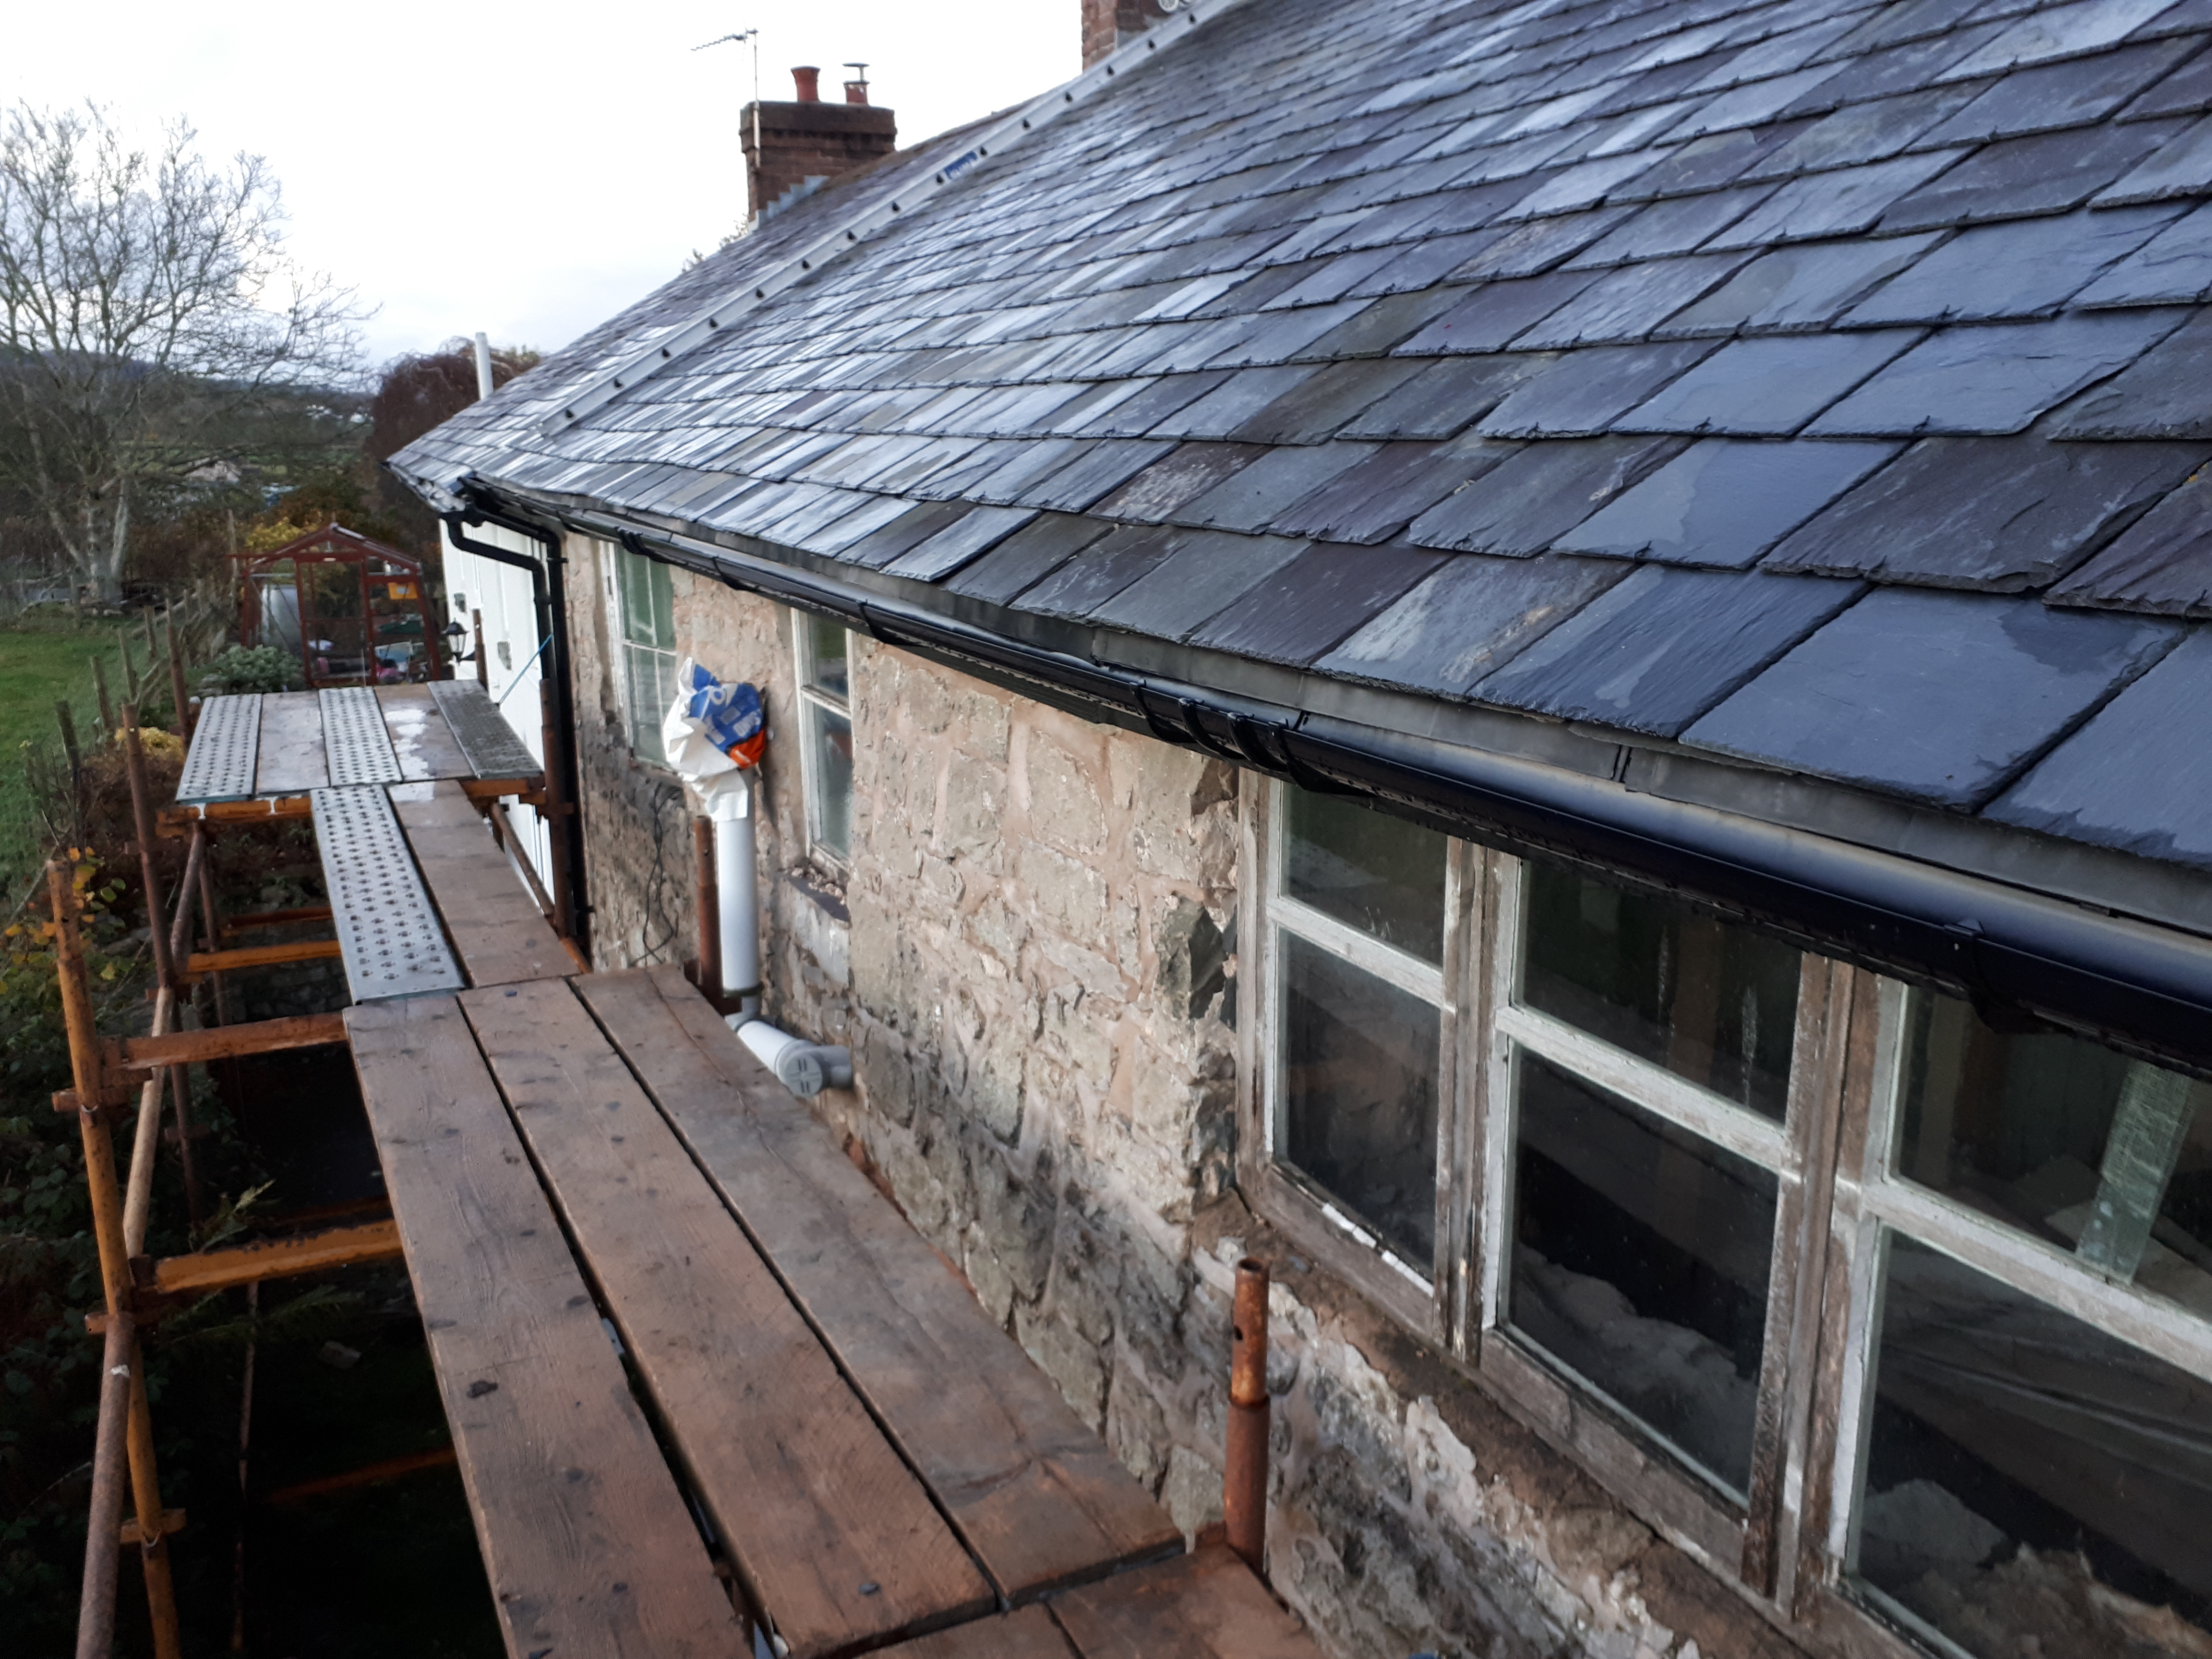

At the front we first had to reattach the mains cabel to our neighbours house before we could install the last bit of guttering. This huge wire always freaked me out, making me think of health and safety videos with people getting dramatically fried when they accidentally cut through a mains cabel. Chris was more relaxed about hammering in nails right next to this deadly wire.


Putting on the downpipe didn’t take too long, however we left the final section, as the plan is to dig a soakaway for the rainwater, so it can seep into the front garden. This will save digging drainage in front of the house. While the downpipe at the back of the house runs into an existing drain, we will need to dig a drain for the one at the side of the house. This will be part of our work with a mini digger to establish the rainwater drains at the back and side of the house. Currently, the existing pipe is crushed, and during heavy rains the water backs up and floods our neighbours kitchen. So top priority before winter truly sets in.
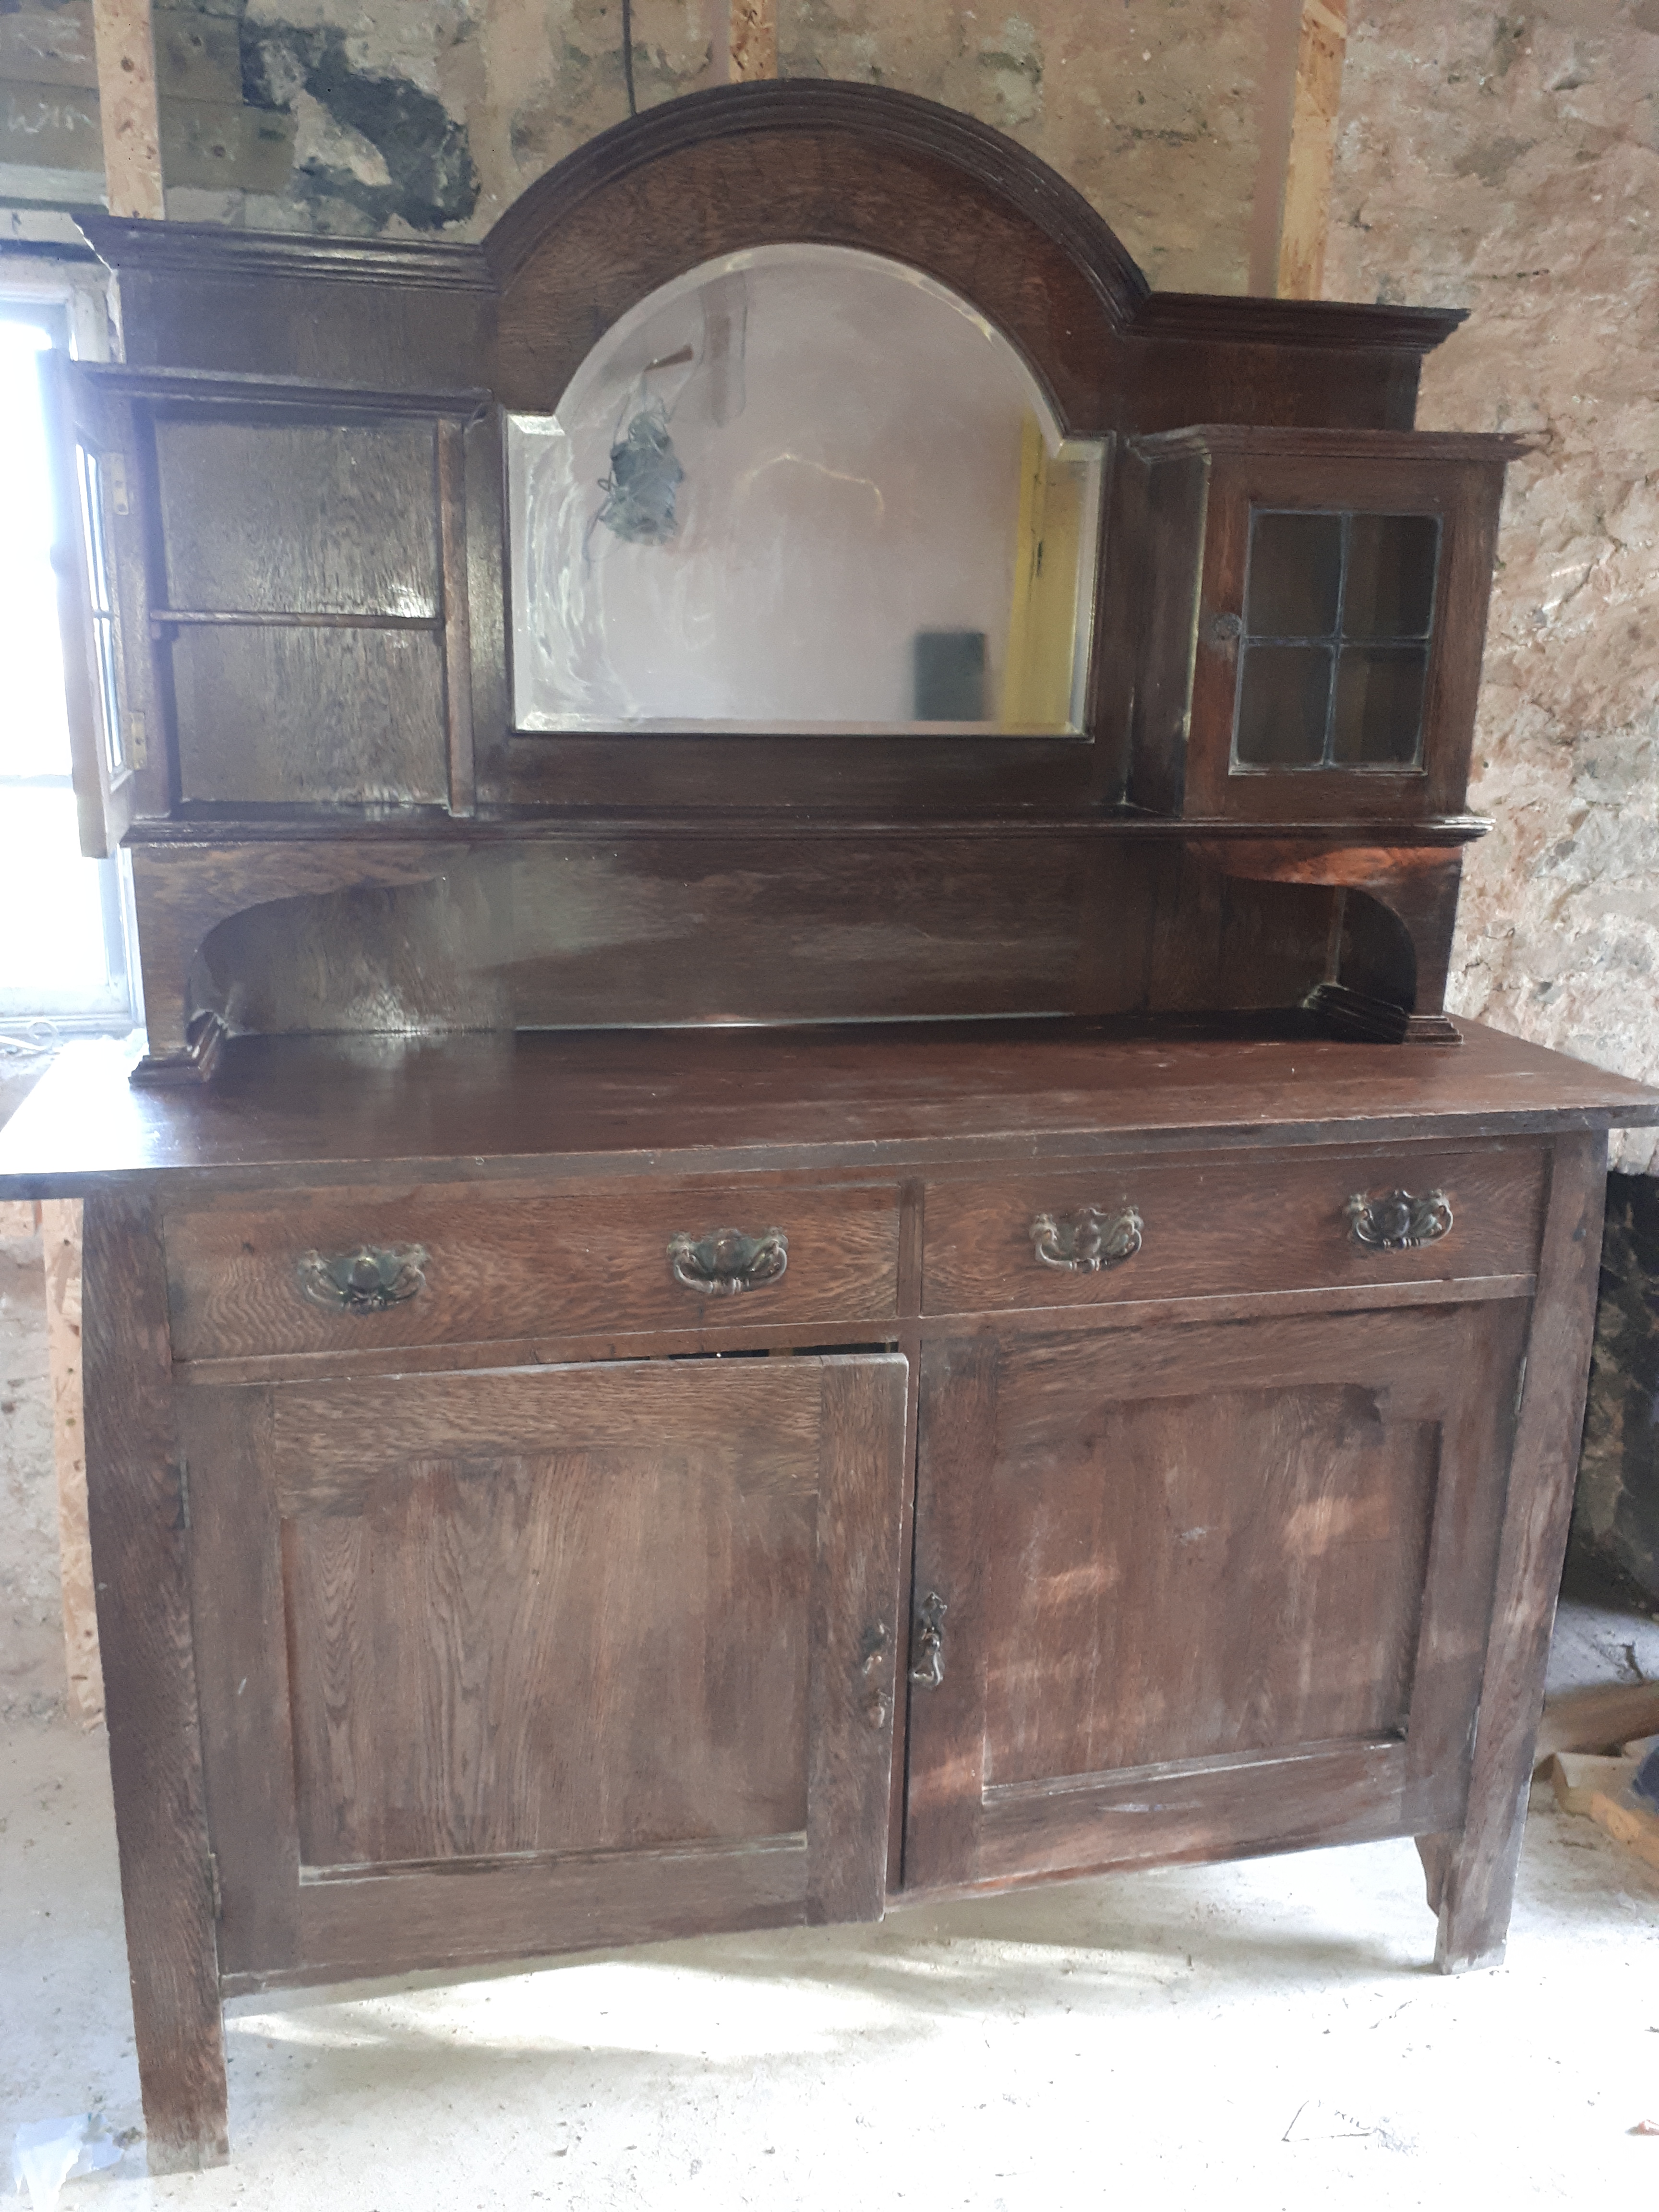
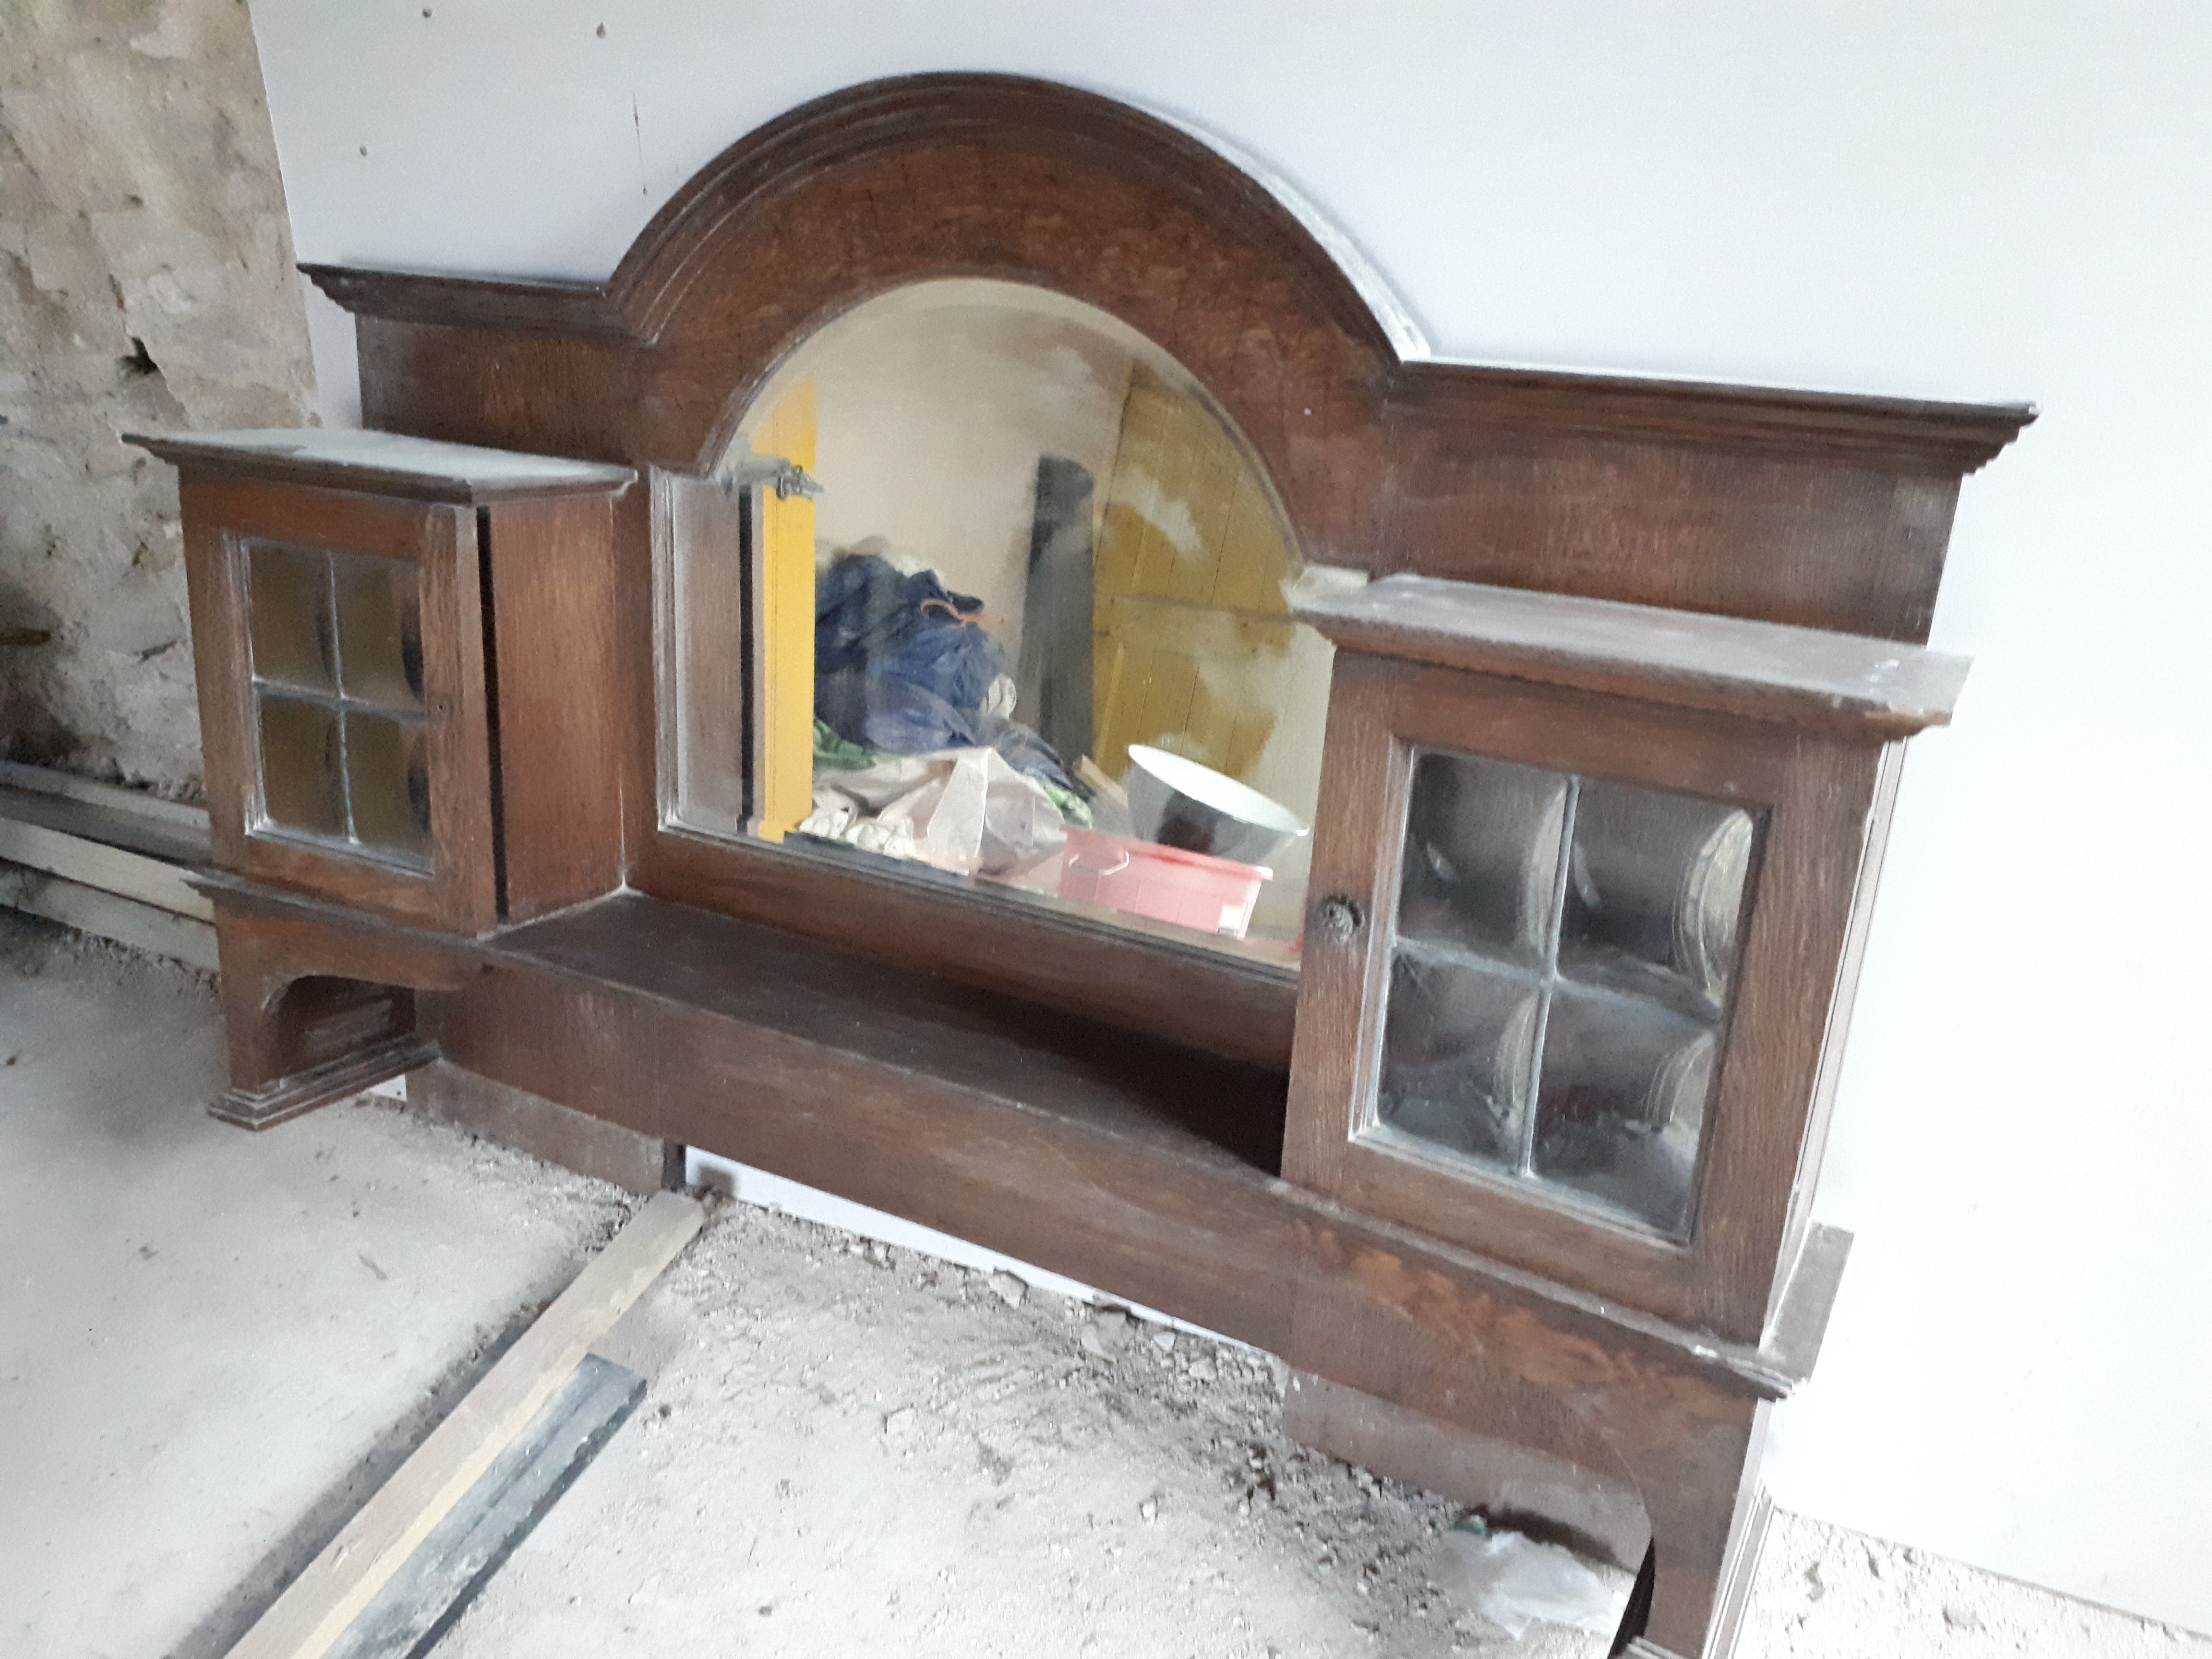
Having decided we didn’t want the old oak welsh dresser that came with the house, we managed to sell this to a couple on marketplace. However, when they arrived it turned out they didn’t want the top of the dresser, so this remains to be sold to someone else. Though I’m generally good at directing people to the house to pick up sold items I did confuse them by telling them to look for the house with the scaffolding, only to take it down before they arrived.
So now the roof is done, and the scaffolding down, we can start to work inside the house again. At the end of the day we measured up the windows ready to put an order in to replace the rotten single-pane frames. As everything has gone up in price we will be forced to install PVC windows at the back of the house, paying the extra for wooden ones at the front and the sides. Because of the design of the house, with the roof overhanging more at the back as this is where the more extreme weather comes from, currently windows cannot be opened fully at the back, as they hit the rafters. We’re therefore opting for top opening windows at the back of the house, with more traditional windows on the other sides. I’m looking forward to getting the windows in, especially now the winter is coming and the house is full of icy drafts. One more step towards a warm and comfy home.

Leave a comment