What is a padstone I hear you cry. Well I recently learnt that they are large, surprisingly heavy, blocks of concrete that prevent massive hunks of steel from dropping through your ceiling. So pretty important, all in all.
The two purlins in need of replacement in our roof are opposite each other on the side of the house that adjoins our neighbour. Luckily the two purlins on the other part of the house are in good condition. Rather than bringing more wood into the attic, our structural engineer suggested we opt for steel beams instead. This is largely due to the fact that the wood required would be too big and heavy to be manageable by hand.
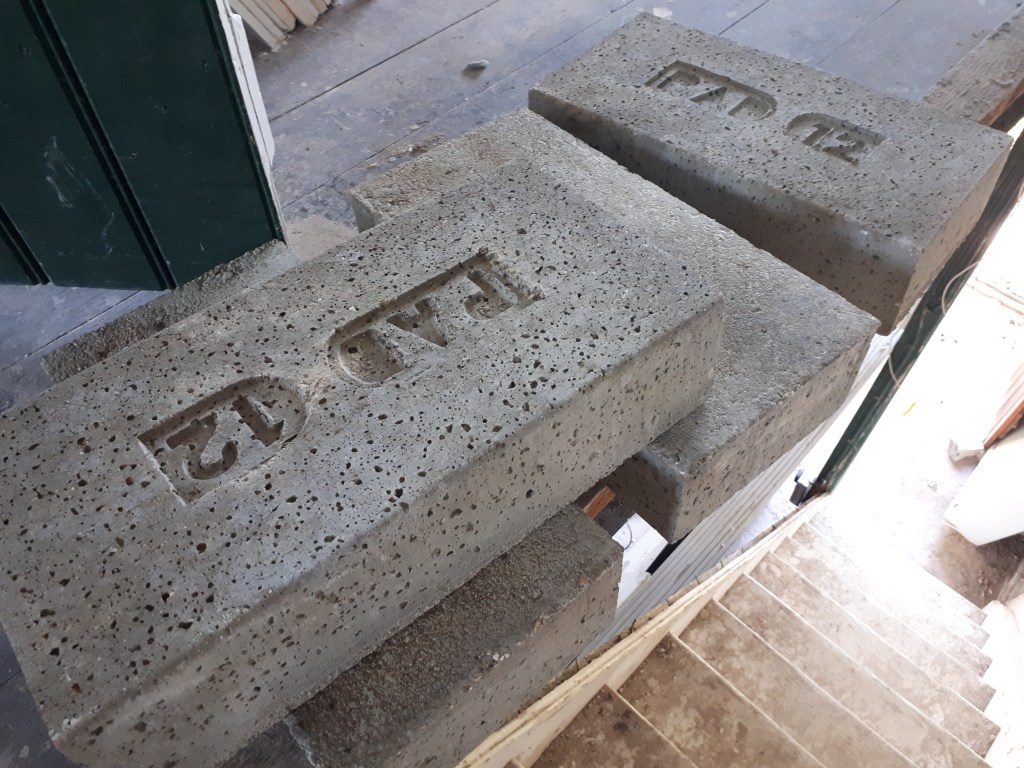
Once in place the beams will sit supported at either end on two walls, our boundary wall and what was once the boundary wall between our two, now combined, houses. Rather than sit the purlins directly on the walls our structural engineer recommended padstones of a particular size. These will help to spread the load of the heavy steel beams, and add structural integrity.
Normally it’s me who has unrealistic expectations of how long a job will take, but when Chris told me he thought installing the padstones would only take a few hours, I suspected he’d fallen for the dream of the ‘quick job’.
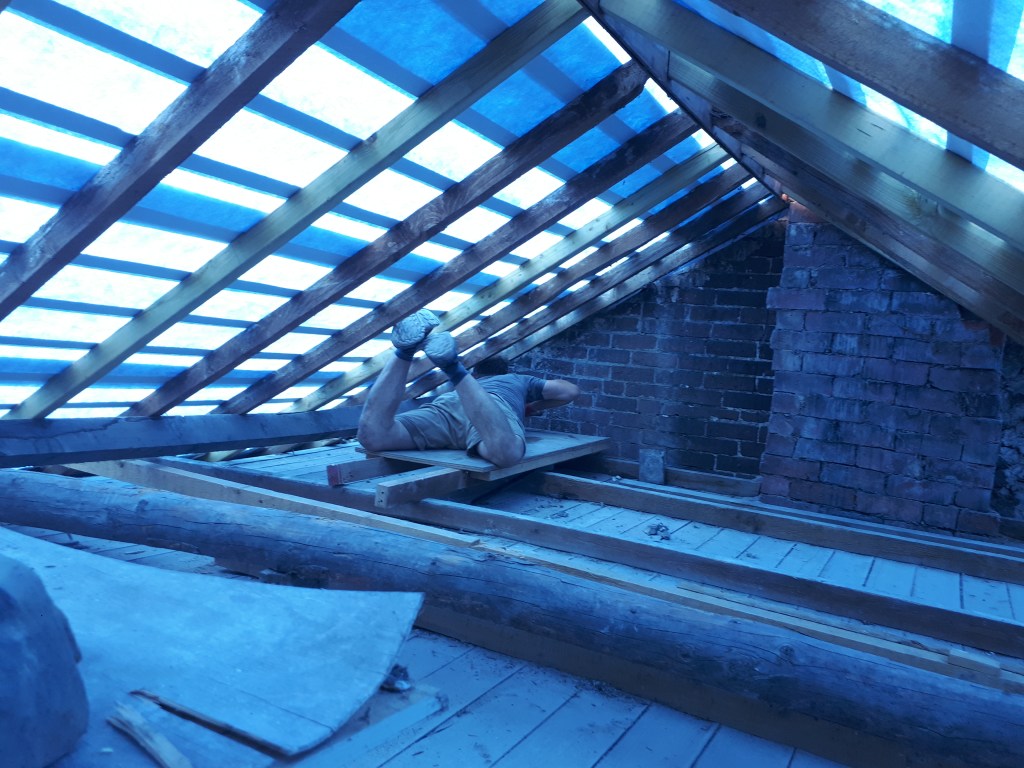
In an ideal world we would have installed the padstones when the rafters were being replaced. This would have given us much more space to work. However, because the structural engineer came down with covid we sadly didn’t have the designs in time to make this a reality. So instead, on one of the most sweltering days of the summer, we climbed up in to the cramped and suana-like attic to work bent double and soaked in sweat.
We had four padstones to install, one for each end of the two purlins. In order to get them in, we needed remove enough stone that the padstones could fit in with space for the purlins to fit below the rafters. We also had the option to cut the padstones down in length, as long as we didn’t cut them smaller than the minimum size.
While breaking out and removing the rocks and bricks from three of the sections was hot and awkward work, with little room to swing a hammer, the fourth hole was by far the hardest to create. Not only was the mortar rock-hard, unlike the slightly crumbly mortar elsewhere, we also very quickly found ourselves in our neighbour’s house…
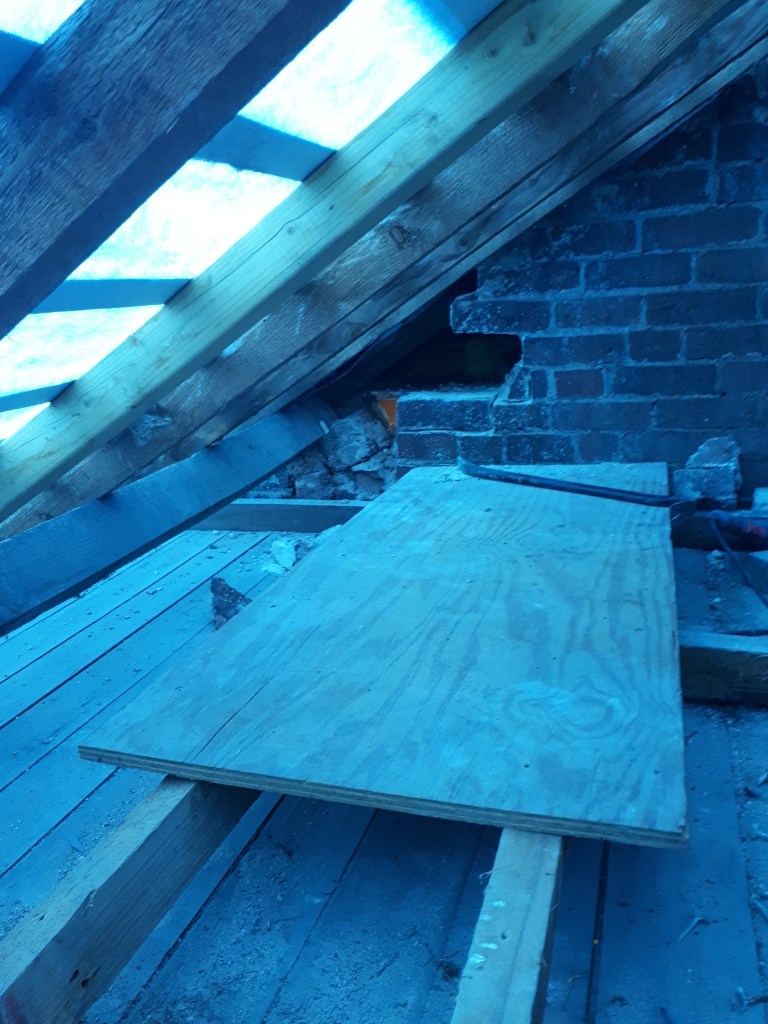
Roughly down the centre of our adjoining wall is a brick chimney. To the right of this is a stone wall, the same thick limestone walling that makes up the rest of the house, with two constructed faces, with a rubble centre. However, on the left of the chimney we have a brick wall. This wall, we were hoping, would also have two layers of brick, one of which we could remove to put our purlin in. Unfortunately this was not the case, and our first brick came out bearing the jolly yellow of our neighbour’s upstairs hall wall.
Luckily for us, Helen, who lives next door, has herself had experience of home renovation and restoration, and she was quick to reassure us that it wasn’t a big problem, and could easily be resolved after the purlins were in place. So, with her blessing, we continued to make a bigger hole in her upstairs landing, ready for the fourth padstone to be put in place.
Once the holes were ready we had to get the padstones bedded down on a layer of mortar and make sure they were both flat and opposite their partner. In order to better line them up we used a laser leveller, which looks like something from Mission Impossible.
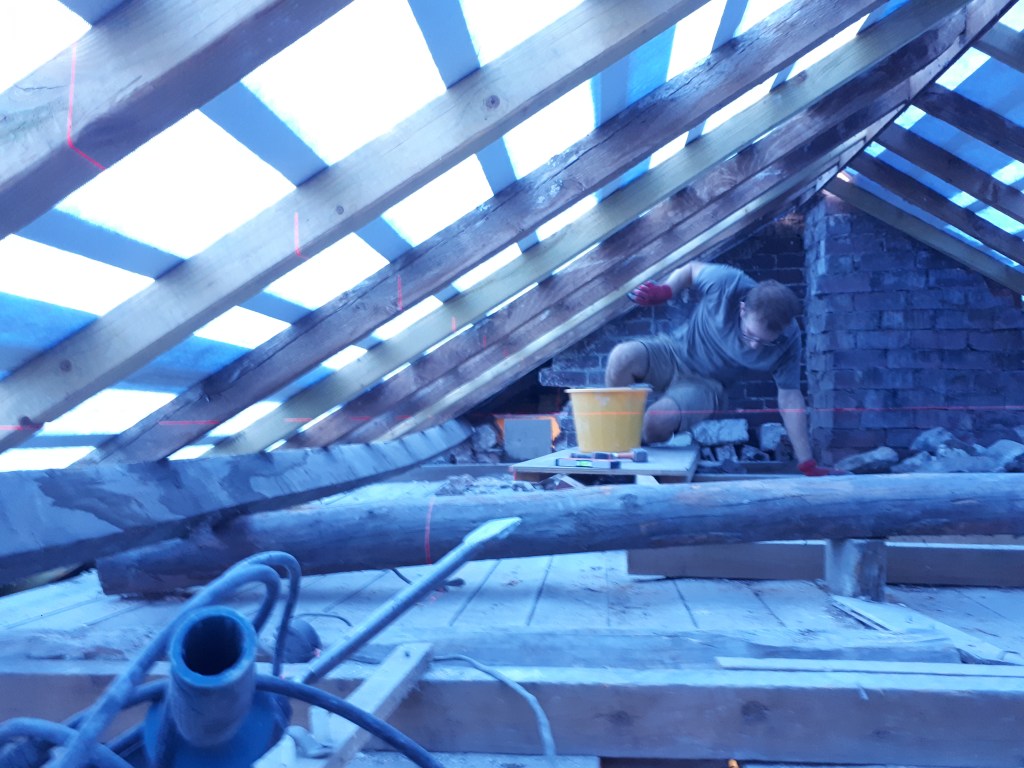
Around two stone lighter after our intensive hot yoga session, we finally had all four padstones in. Once set we will need to build back the walls around the padstones, to better secure them in place. Then we’ll be ready to get our 5 meter lengths of steel in place. Exciting? Or terrifying….
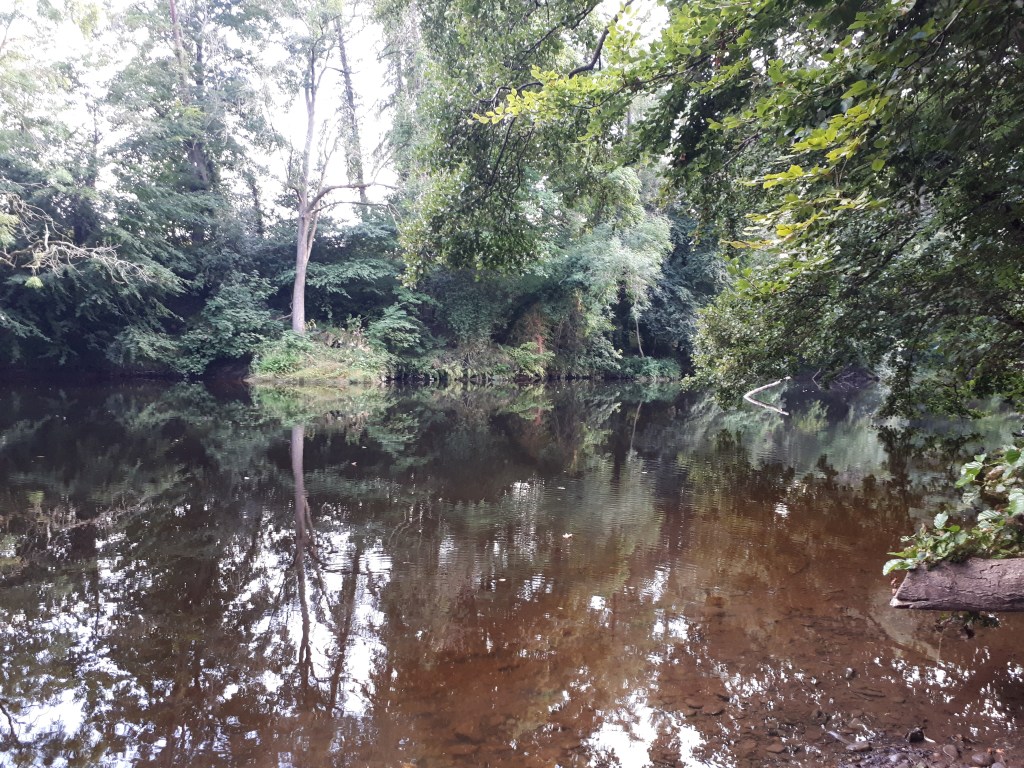
After our hot and dusty evening we headed out for a swim in our favourite spot on our local river, something we’ll miss once we’ve moved. Still, hopefully there will be other new and exciting places surrounding our new home once we move. Once, that is, the house is finished…

Leave a comment